Crispy Tofu and Vegetable Stir-Fry with Low-Sodium Tamari Glaze (Easy Plant-Based Dinner)

Large platter of golden pan-seared tofu medallions tossed with broccoli and vegetables

For home cooks exploring plant-forward eating, cooking tofu often results in a familiar disappointment: soft, spongy cubes that absorb excess oil and turn mushy in the skillet. Yet in professional wok stations, tofu achieves a crackling golden crust that drinks up savory sauces while remaining tender inside. This Crispy Tofu and Vegetable Stir-Fry with Low-Sodium Tamari Glaze unlocks restaurant-style texture through simple moisture extraction, a light starch coating, and flash-searing alongside crisp seasonal vegetables.
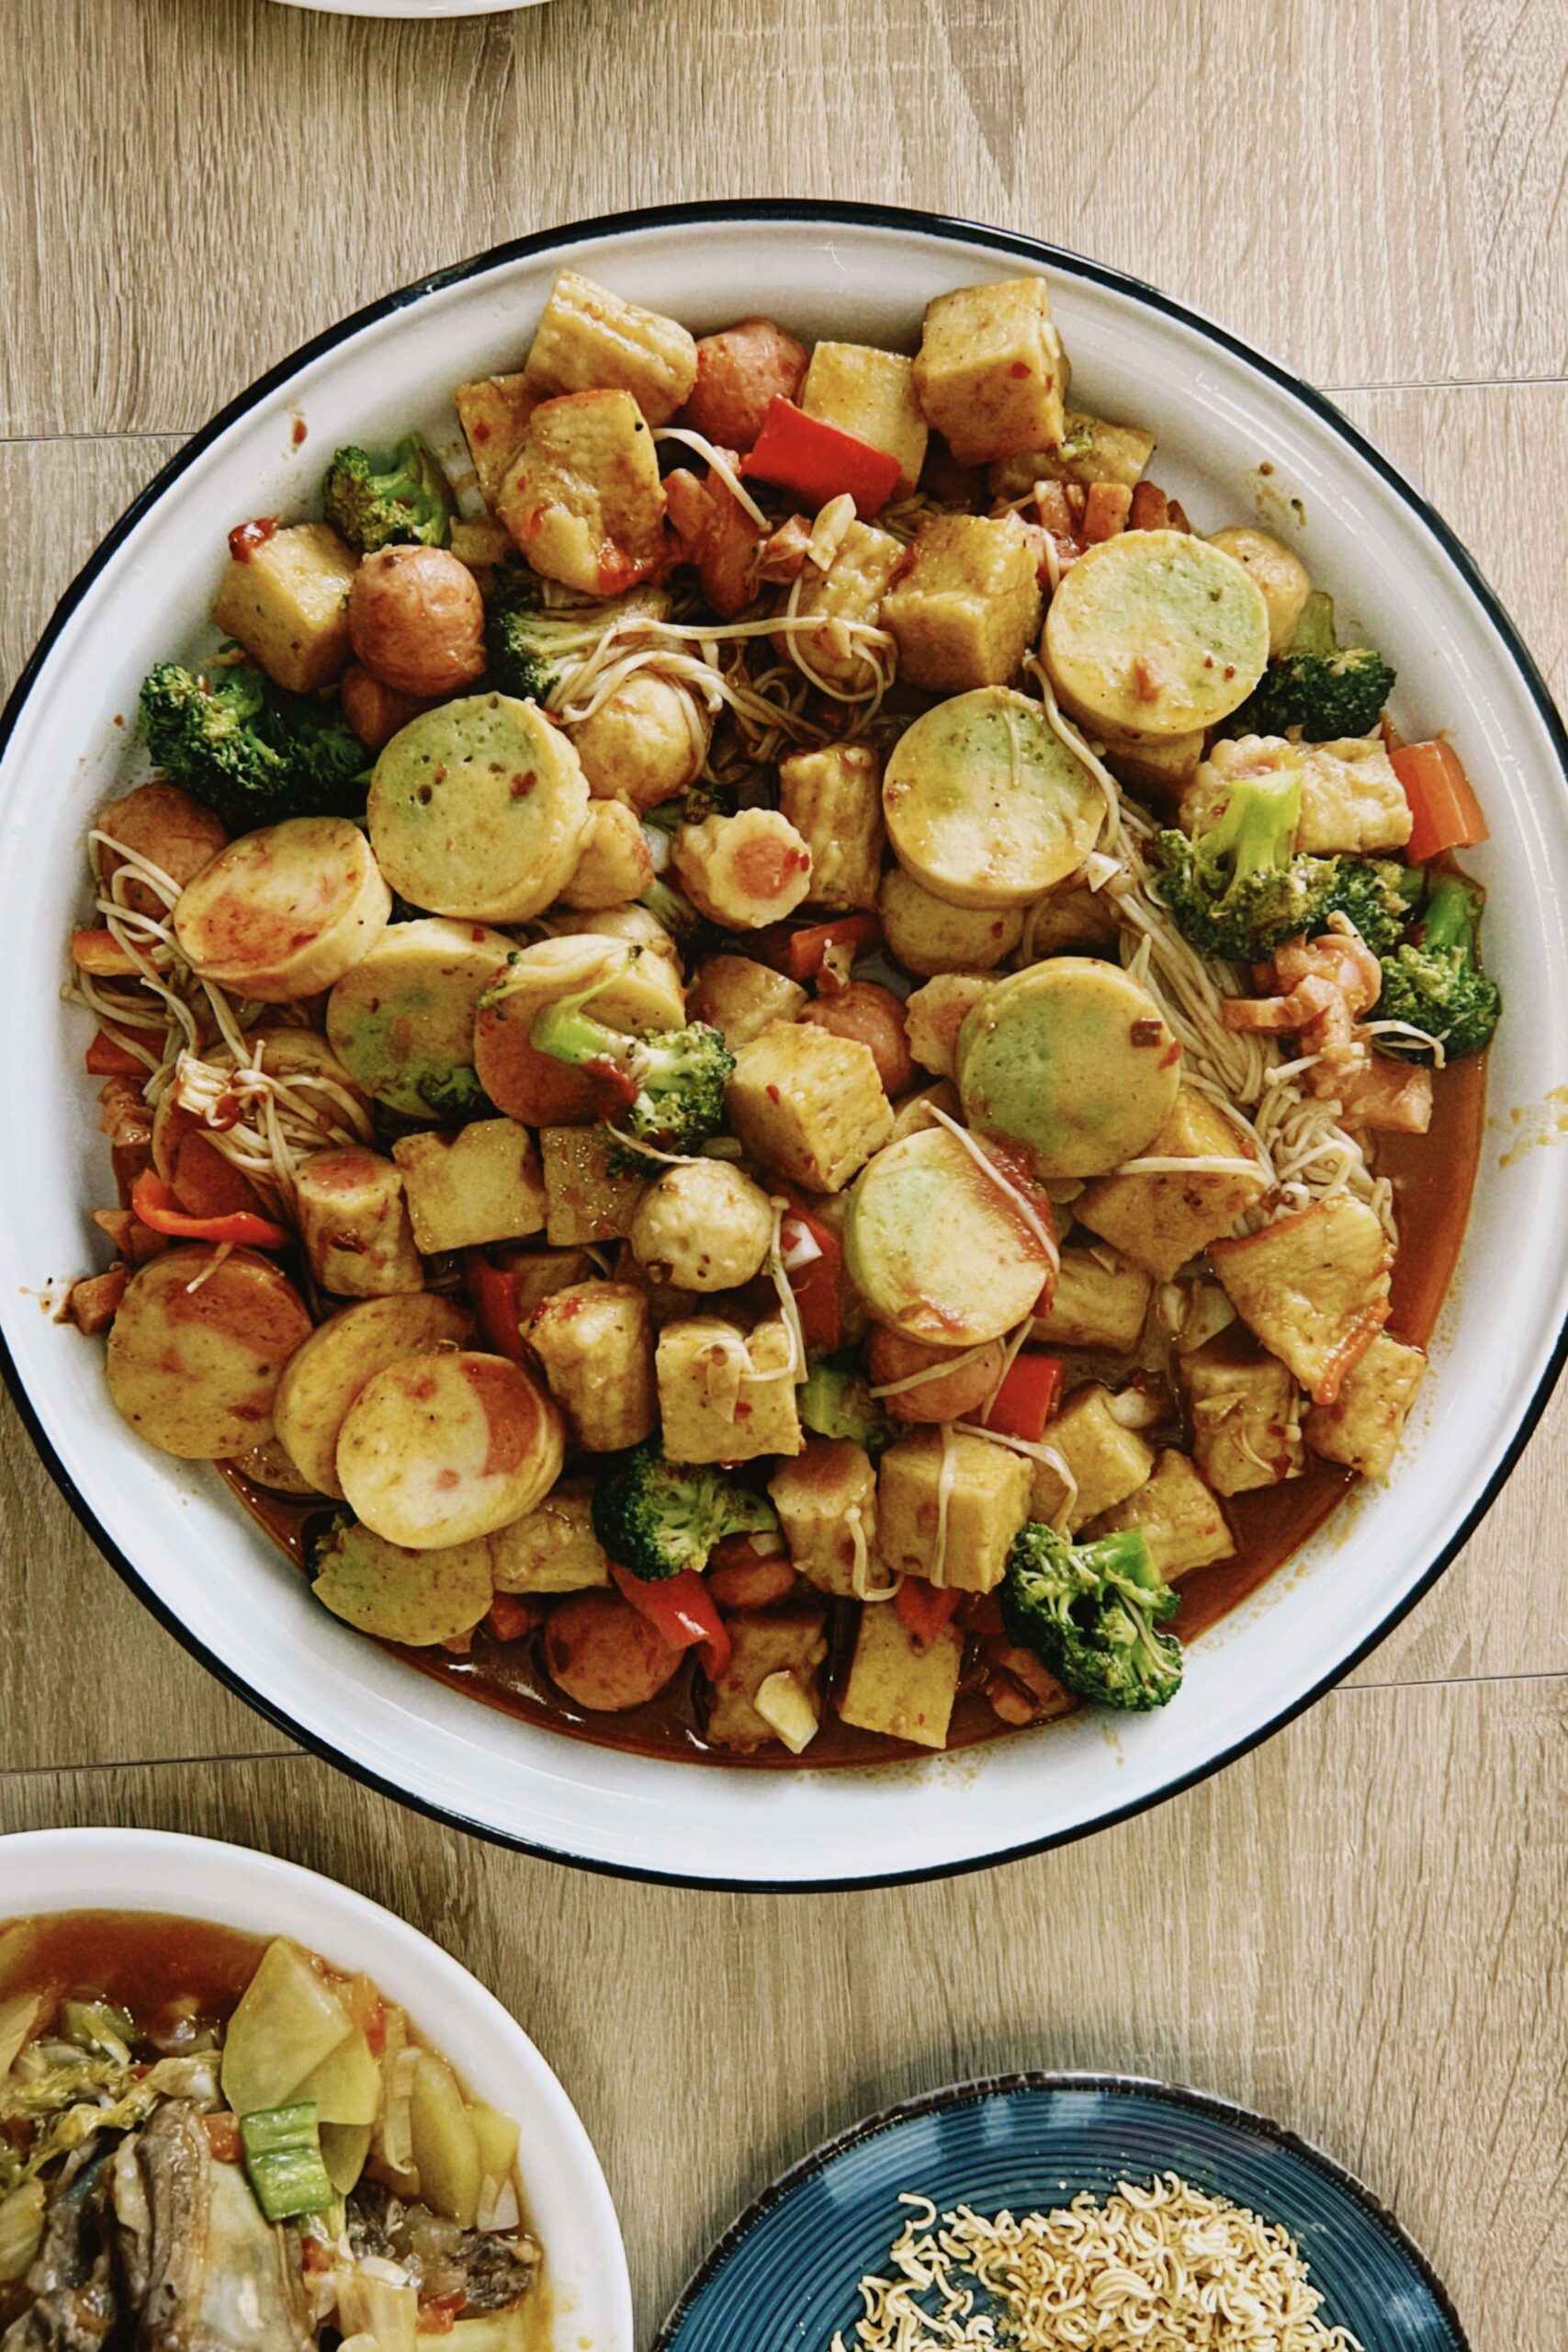
Large platter of golden pan-seared tofu medallions tossed with broccoli and vegetables
Golden pan-seared tofu combined with tender garden vegetables in a savory garlic glaze.

The Science of Crispy Tofu: Moisture vs. The Maillard Reaction

Soy curd is packed with water that actively fights against crisp browning. If wet tofu hits hot oil, the escaping water boils surface proteins into steam rather than crisping them. Achieving an irresistible crunch requires three key kitchen steps:

  • The Heavy Press: Wrap extra-firm or super-firm tofu in clean kitchen towels and weigh it down with a heavy cast-iron skillet for 15 to 20 minutes to squeeze out trapped liquid.
  • The Cornstarch Barrier: Tossing pressed, cubed tofu in a thin dusting of cornstarch or arrowroot powder absorbs residual surface moisture, creating a delicate crust that crisps instantly in the skillet.
  • High-Heat Searing: Cook the cubes undisturbed in a single layer over medium-high heat until each side releases naturally from the pan with a golden crust.

Fresh Stir-Fry Components and Pantry Sauce

Prepping every ingredient before turning on the stove ensures crisp vegetables that hold their snap:

  • Protein Foundation: 1 block (14 oz) extra-firm or super-firm organic tofu, pressed and cut into 3/4-inch cubes.
  • Starch Coating: 1.5 tablespoons cornstarch, 1/2 teaspoon garlic powder, and a pinch of fine sea salt.
  • Vibrant Vegetables: 2 cups fresh broccoli florets, 1 sliced red or yellow bell pepper, 1 cup trimmed snap peas, and 1 cup sliced cremini mushrooms.
  • Aromatics: 3 cloves fresh garlic, minced, along with 1 tablespoon freshly grated ginger root.
  • Savory Tamari Glaze: 3 tablespoons low-sodium gluten-free tamari (or coconut aminos), 1 tablespoon toasted sesame oil, 1 tablespoon pure maple syrup, 1 teaspoon rice vinegar, and 1/2 teaspoon cornstarch dissolved in 2 tablespoons cold water.
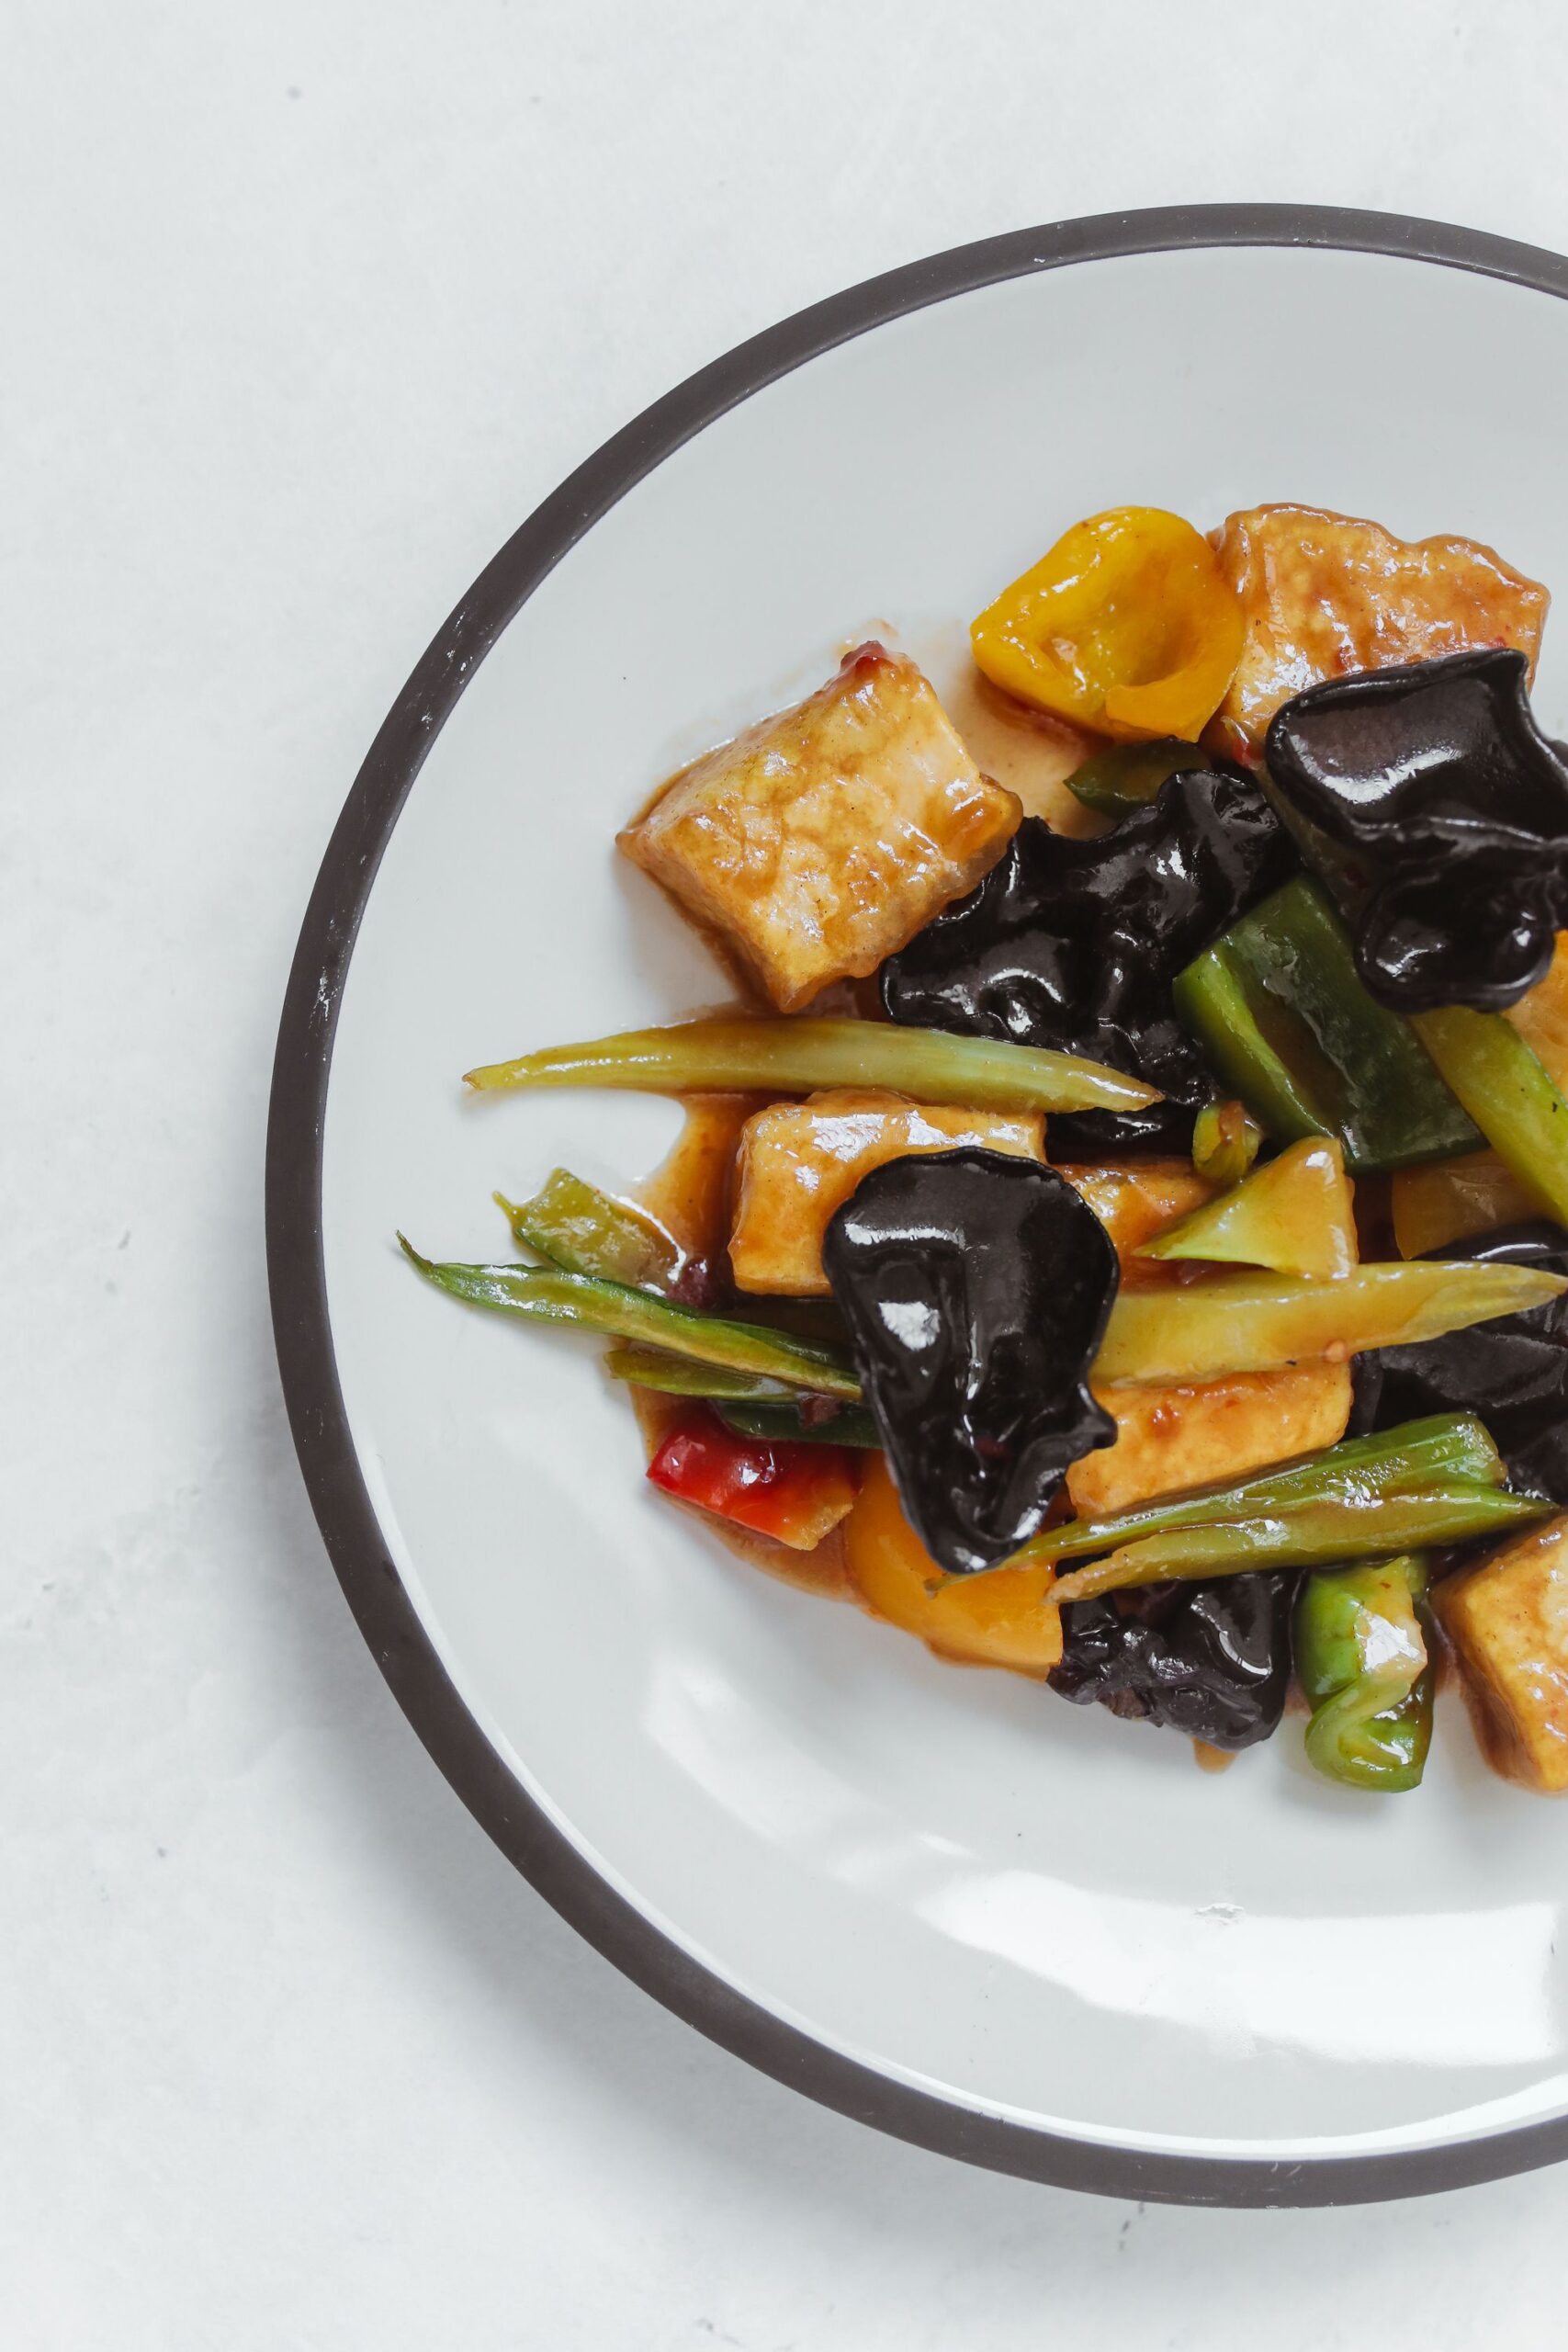
Plated crispy tofu cubes coated in savory glaze with bell peppers and snap peas
A glossy tamari-ginger glaze clings lightly to golden seared tofu and tender-crisp snap peas.

Step-by-Step Stir-Fry Instructions

  1. Dust the Tofu: Place pressed tofu cubes into a medium mixing bowl. Sprinkle with cornstarch, garlic powder, and salt. Gently toss until each cube has an even, translucent white coating.
  2. Crisp the Tofu: Heat 1.5 tablespoons of avocado oil in a wide nonstick skillet or seasoned carbon steel wok over medium-high heat. Add the tofu cubes in a single layer with space between them. Sear undisturbed for 3 to 4 minutes per side until all surfaces turn deeply golden and crisp. Transfer to a paper-towel-lined plate.
  3. Flash-Sauté the Vegetables: In the same hot pan, add another teaspoon of oil. Toss in the broccoli, bell peppers, snap peas, and sliced mushrooms. Stir-fry vigorously over high heat for 3 to 4 minutes. Add a splash of water to create steam that cooks the broccoli through while keeping its vibrant green snap.
  4. Bloom Aromatics and Glaze: Push vegetables to the edges of the pan, making a well in the center. Add the minced garlic and grated ginger, cooking for 30 seconds until fragrant. Pour in the whisked tamari sauce mixture.
  5. Toss and Finish: Bring the sauce to a quick simmer for 60 seconds until it bubbles and thickens into a glossy glaze. Return the crispy tofu cubes to the skillet, tossing gently to coat every piece without softening the crust.
  6. Garnish and Serve: Spoon over warm brown rice, soba noodles, or quinoa, finishing with toasted sesame seeds and sliced scallions.
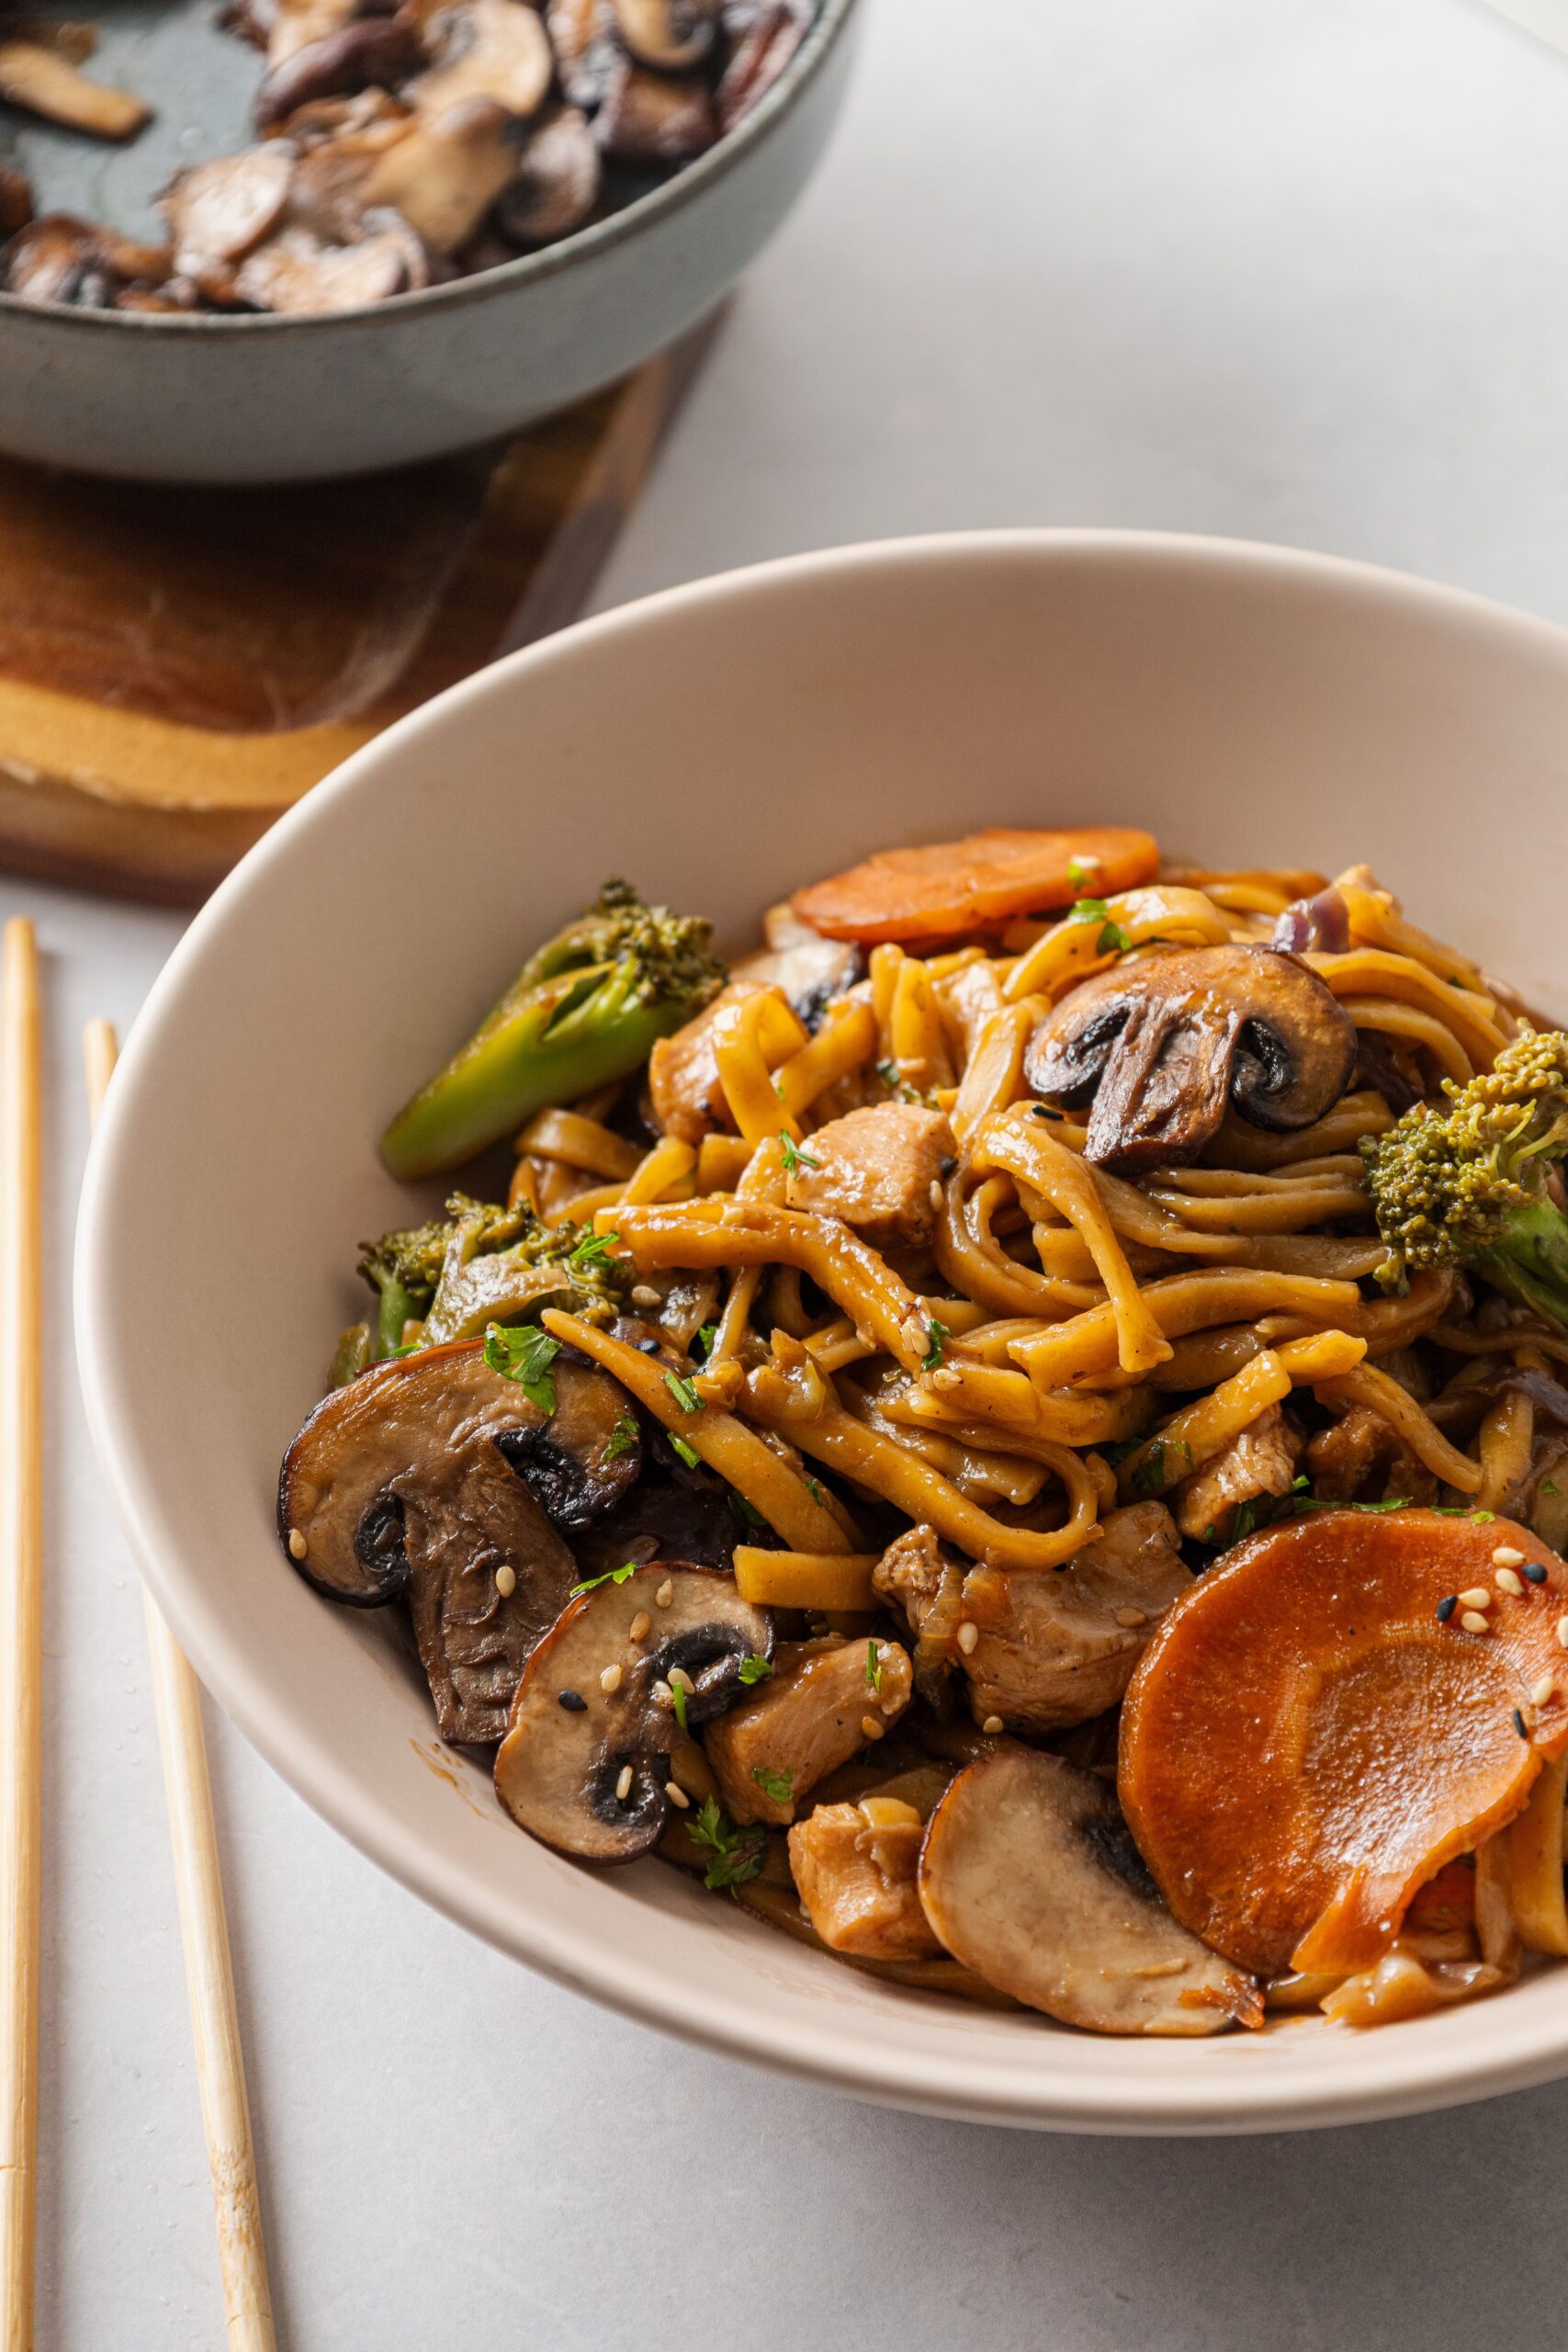
Bowl of stir-fried noodles tossed with sautéed mushrooms carrots and crisp broccoli
Stir-fried vegetables and savory noodles make an energizing, fiber-rich plant-based dinner.

Nutritional Profile & Functional Wellness Benefits

Key ComponentPrimary IngredientNutritional Impact
Complete Plant ProteinExtra-Firm Soy TofuSupplies roughly 18g of clean protein per serving, containing all essential amino acids with zero dietary cholesterol.
Sulforaphane AntioxidantsFresh Broccoli FloretsCruciferous compounds that support natural cellular detoxification pathways and liver health.
Anti-Inflammatory GingerolFresh Grated GingerPromotes comfortable digestive motility and provides pleasant culinary heat without excess sodium.
Low-Sodium Mineral BalanceGluten-Free TamariDelivers savory umami depth with less sodium than conventional commercial soy sauces.

Meal Prep and Reheating Guidance

While fresh stir-fries are best enjoyed hot off the burner, you can prep this meal for next-day lunches:

  • Cooling & Storage: Allow the stir-fry to cool completely before transferring to airtight glass containers. Store in the refrigerator for up to 3 to 4 days.
  • Restoring Crispness: Reheating in a microwave can make tofu soft. For best results, reheat in a hot dry skillet or 375°F (190°C) air fryer for 3 to 4 minutes to restore its crispy outer texture.

Frequently Asked Questions

Can I use silken tofu for this stir-fry?
No. Silken tofu contains high water content and breaks apart during cooking. Always use extra-firm or super-firm vacuum-packed tofu for pan-searing.

Can I bake or air-fry the tofu instead of pan-frying?
Yes! Arrange the cornstarch-dusted cubes on a parchment-lined tray and bake at 400°F (204°C) for 20 minutes, or air-fry at 390°F for 12 to 14 minutes, shaking halfway through.

What other vegetables work well in this stir-fry?
Baby corn, sliced water chestnuts, zucchini, and bok choy all hold up well under high heat without becoming watery.
Silky Turmeric Red Lentil Soup with Cumin and Lemon (Anti-Inflammatory Comfort)

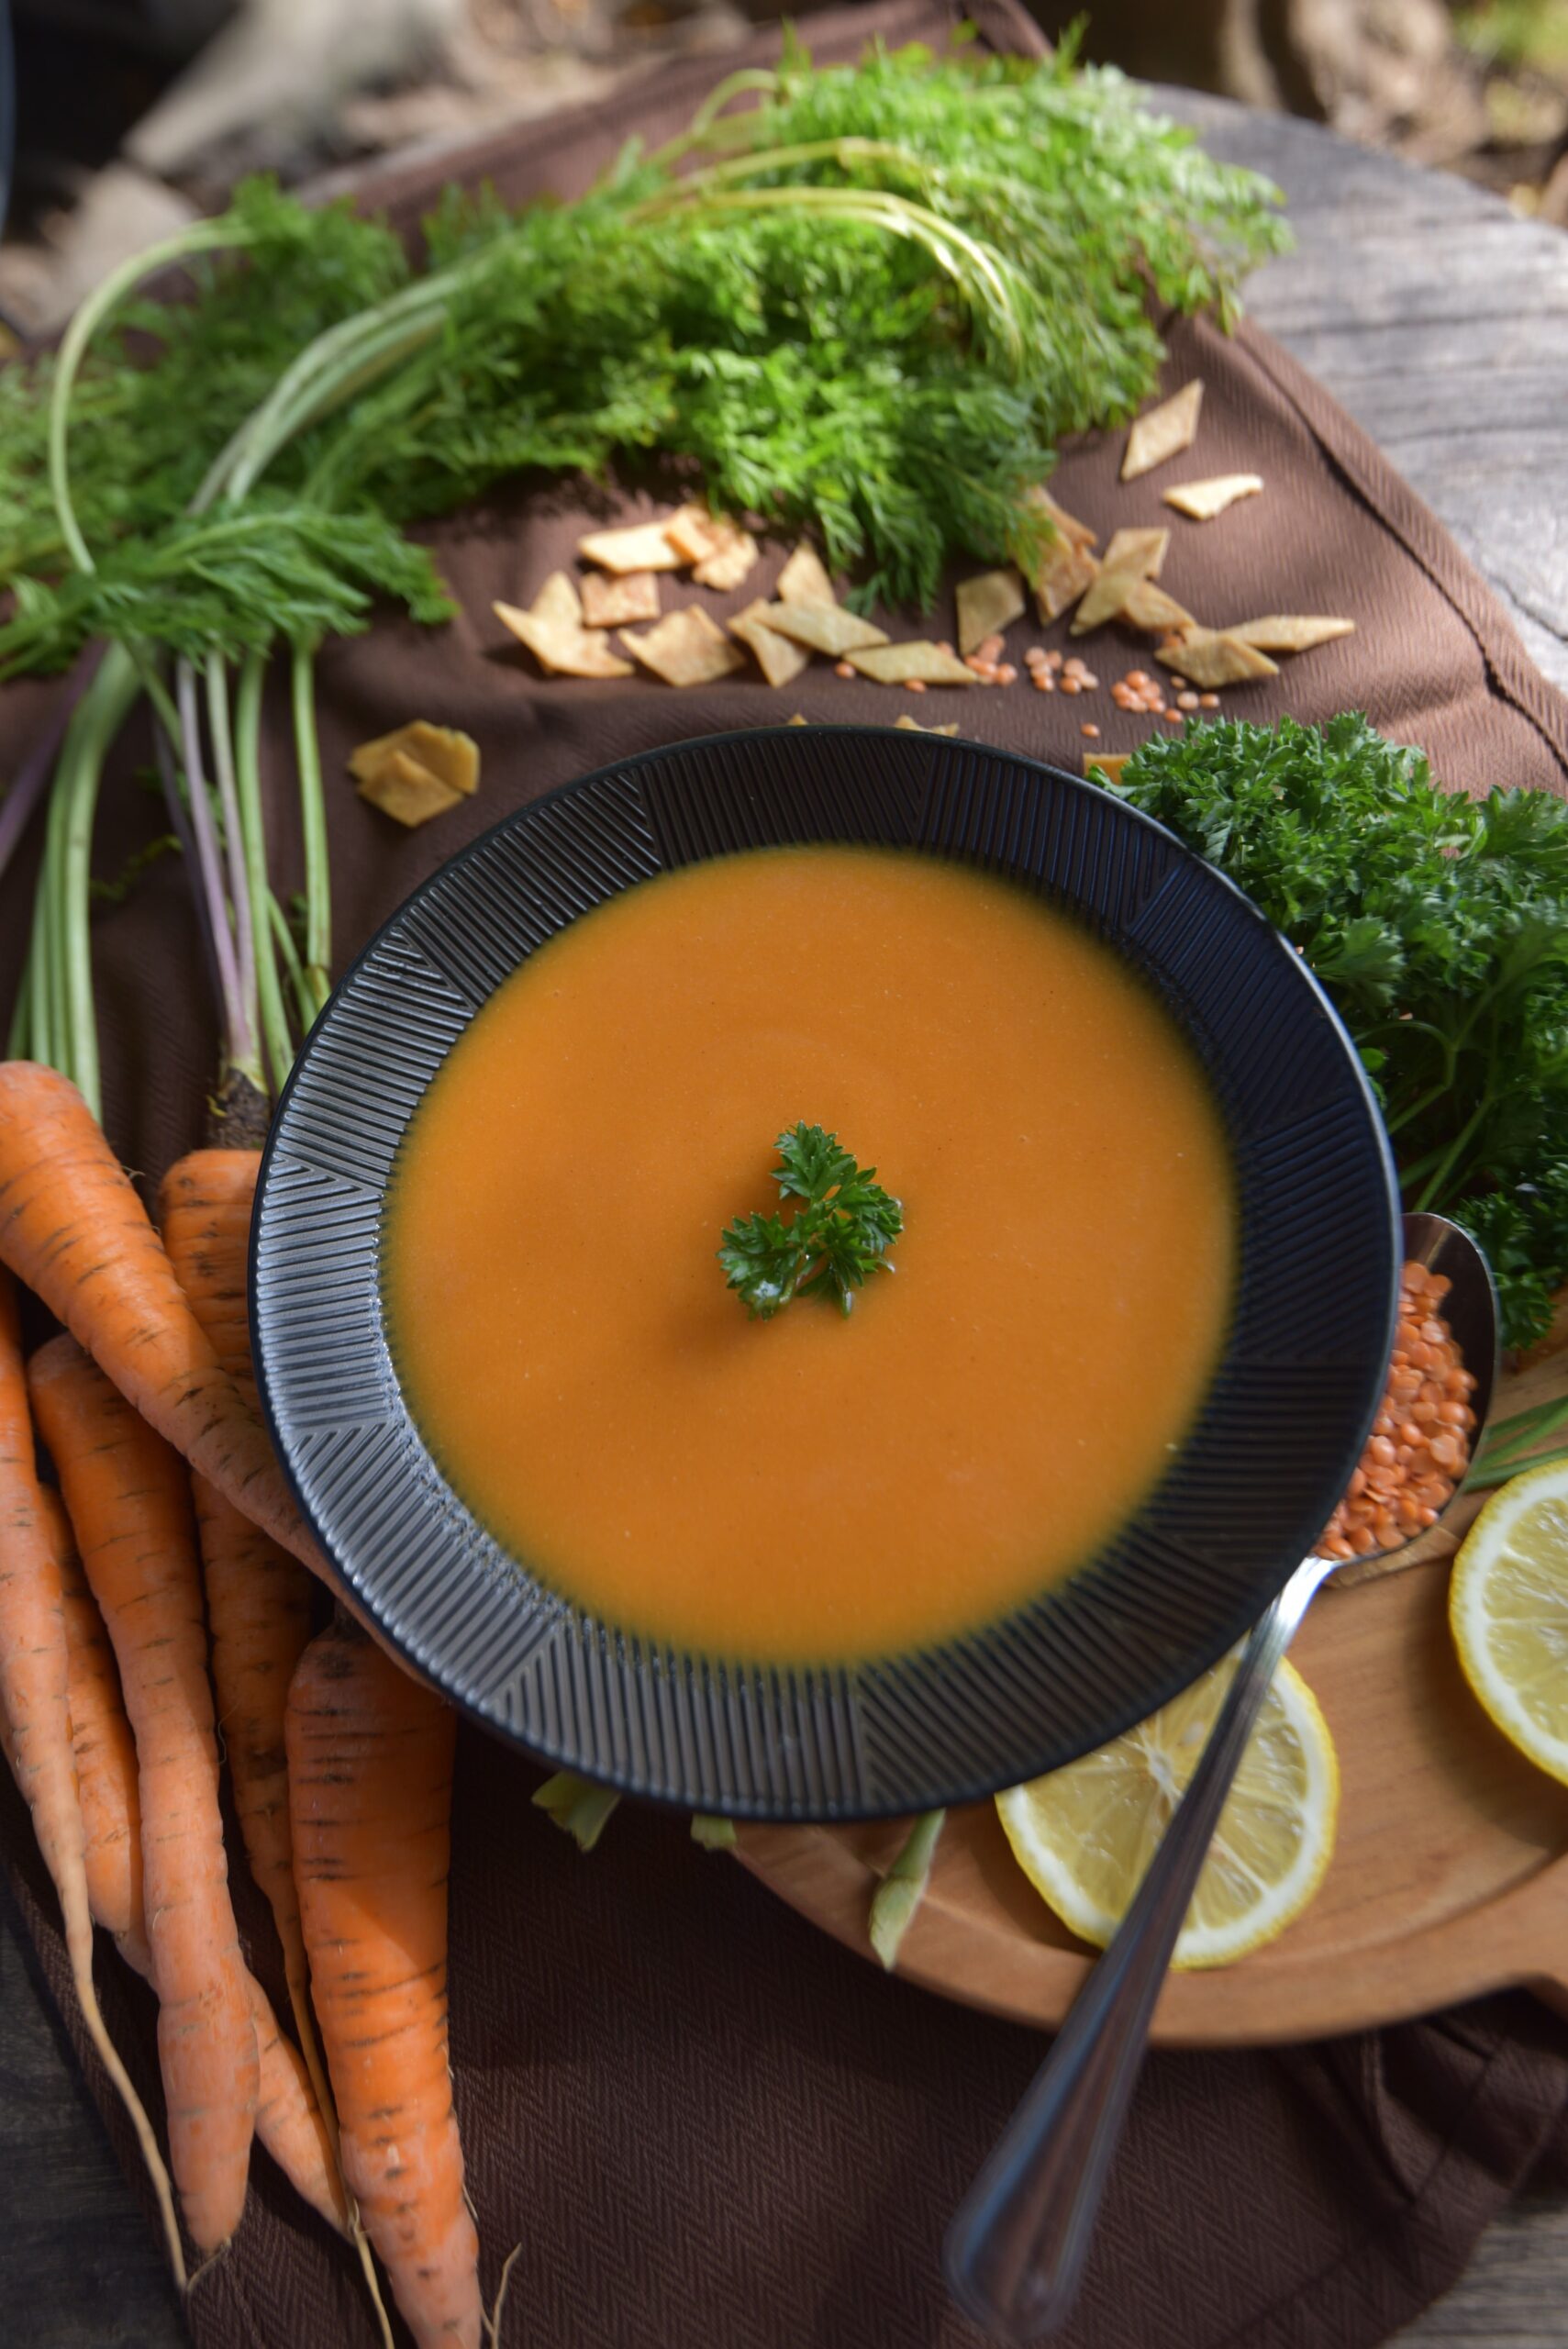
Creamy blended red lentil soup garnished with fresh parsley and lemon slices in a black bowl

When chilly weather arrives or your digestive system demands gentle, restorative nourishment, few dishes soothe quite like a bowl of homemade red lentil soup. This Silky Turmeric Red Lentil Soup with Cumin and Lemon combines golden legumes, earthy ground spices, and bright fresh citrus into a velvety one-pot meal. It cooks in just thirty minutes without soaking, delivering rich plant protein and potent anti-inflammatory benefits to your weeknight table.

Creamy blended red lentil soup garnished with fresh parsley and lemon slices in a black bowl
A velvety bowl of blended red lentil soup served with fresh garden carrots and lemon wedges.

Why Red Lentils Are the Ultimate Fast-Cooking Legume

Unlike brown, green, or black beluga lentils that retain a firm exterior hull and require 45 minutes of simmering, red lentils have had their seed coats mechanically removed and are split in half. This unique milling profile transforms how they behave in the stockpot:

  • No Overnight Soaking Required: Split red lentils soften completely in 20 to 25 minutes of gentle simmering, making them accessible for spur-of-the-moment cooking.
  • Natural Starch Thickening: As they simmer, the starch granules inside the split seeds expand and break down, naturally thickening the broth into a rich, creamy puree without heavy cream, butter, or flour roux.
  • Superior Digestibility: Removing the fibrous outer hull makes red lentils significantly gentler on sensitive stomachs, reducing the bloating often associated with whole beans.

Key Ingredients and Aromatic Spices

Building layered flavor in vegetarian soups relies on blooming ground spices in warm fat before introducing cooking liquids:

  • Split Red Lentils: 1.5 cups dry red lentils, sorted and rinsed thoroughly in a fine-mesh sieve under cold running water until the runoff turns clear.
  • Aromatic Base: 1 large yellow onion, 2 medium carrots, and 4 cloves of fresh garlic, finely diced to melt into the broth.
  • The Spice Blend: 1 teaspoon ground turmeric, 1.5 teaspoons ground cumin, 1/2 teaspoon ground coriander, a pinch of smoked paprika, and red chili flakes for warming heat.
  • Simmering Liquid: 5 to 6 cups of low-sodium vegetable broth or filtered water.
  • The Citrus Lift: The freshly squeezed juice of 1 whole lemon. Acid balances the earthy legumes and activates volatile spice aromatics right before serving.
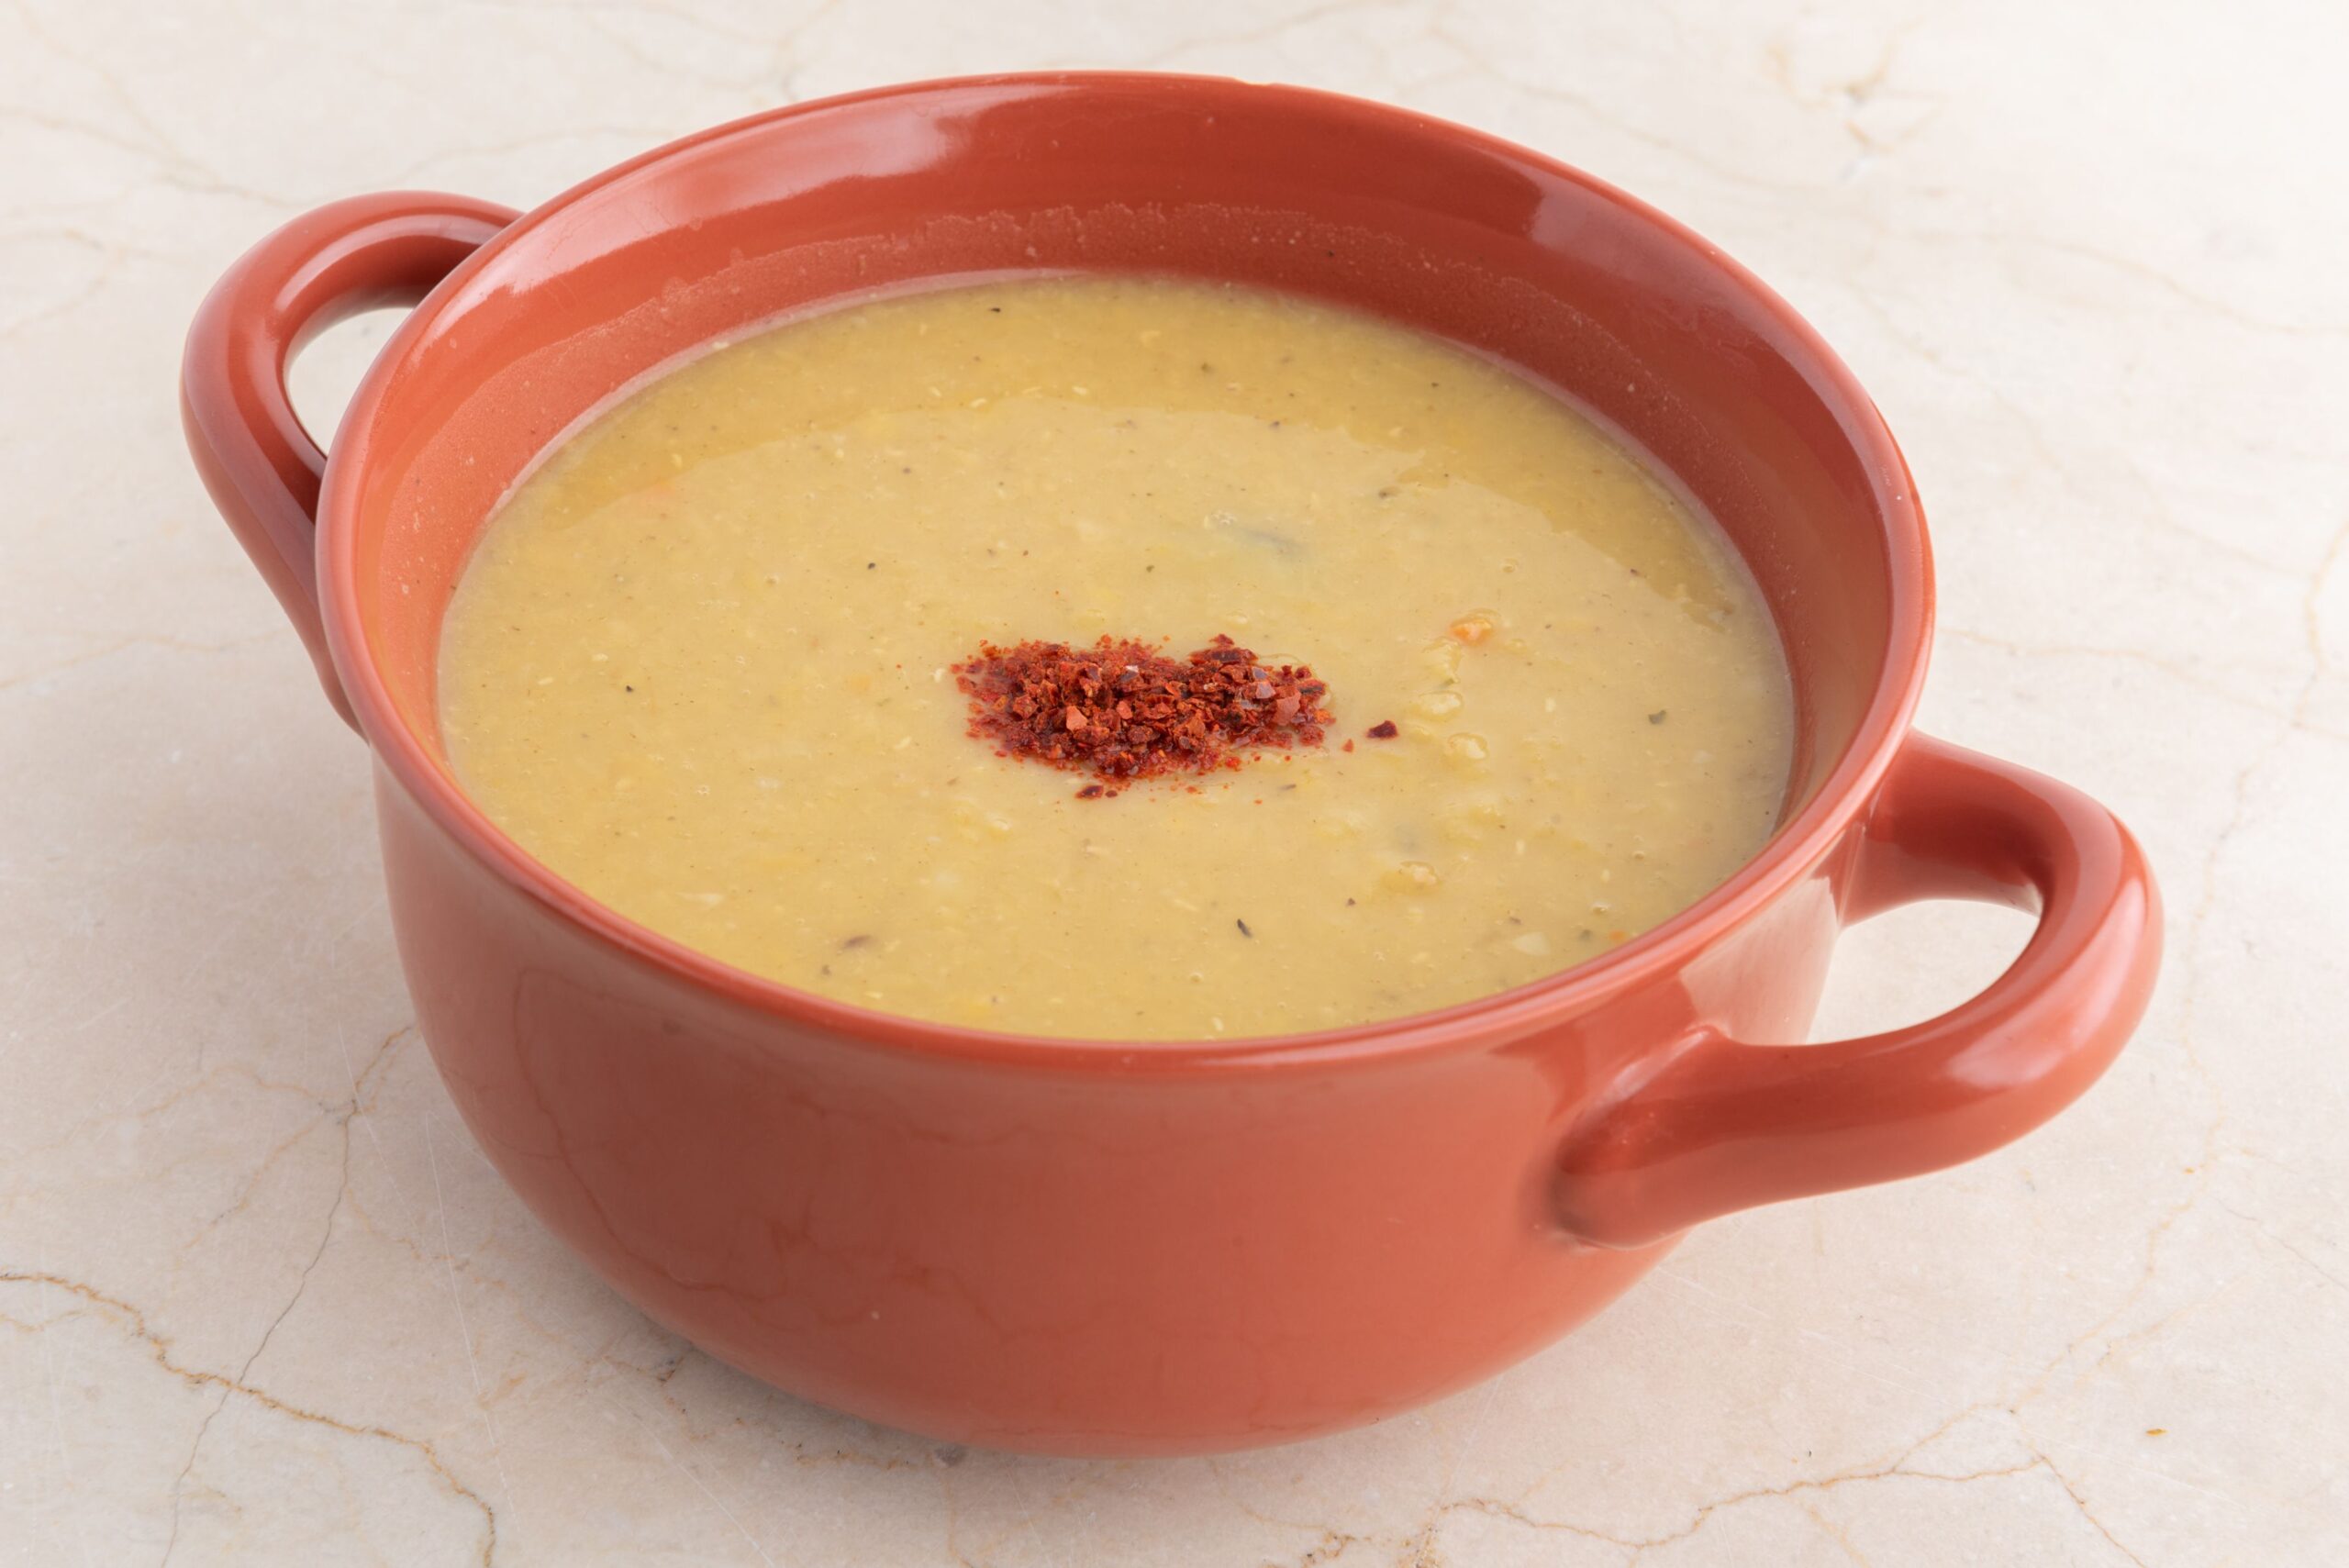
Warm yellow spiced lentil soup served in a rustic clay bowl topped with chili flakes
Toasting ground turmeric and cumin creates an earthy foundation and vibrant color.

Step-by-Step Soup Preparation

  1. Sweat the Aromatics: Heat 2 tablespoons of extra virgin olive oil in a heavy Dutch oven or stockpot over medium heat. Add the diced onion and carrot with a pinch of sea salt. Sauté for 6 to 8 minutes until the vegetables soften and turn translucent.
  2. Bloom the Spices: Stir in the minced garlic, ground cumin, turmeric, coriander, and chili flakes. Cook continuously for 60 to 90 seconds. The warm oil draws out the fat-soluble curcumin in turmeric and volatile terpenes in cumin, preventing a raw spice taste.
  3. Add Lentils and Broth: Add the rinsed red lentils into the pot, stirring to coat them in the golden spiced oil. Pour in 5 cups of vegetable broth, scraping any caramelized bits off the bottom of the pot.
  4. Simmer to Tenderness: Bring the liquid to a rolling boil over medium-high heat. Immediately reduce heat to low, cover with a tilted lid, and simmer gently for 20 to 25 minutes until the lentils and carrots are completely tender.
  5. Blend to Desired Texture: For a silky restaurant finish, use an immersion blender directly in the pot to puree the soup until smooth. If you prefer rustic body, pulse briefly or whisk vigorously to break up the lentils while leaving soft vegetable chunks.
  6. Brighten with Lemon: Remove from heat and stir in the fresh lemon juice and sea salt to taste. Ladle into warm bowls and garnish with fresh cilantro or parsley leaves.
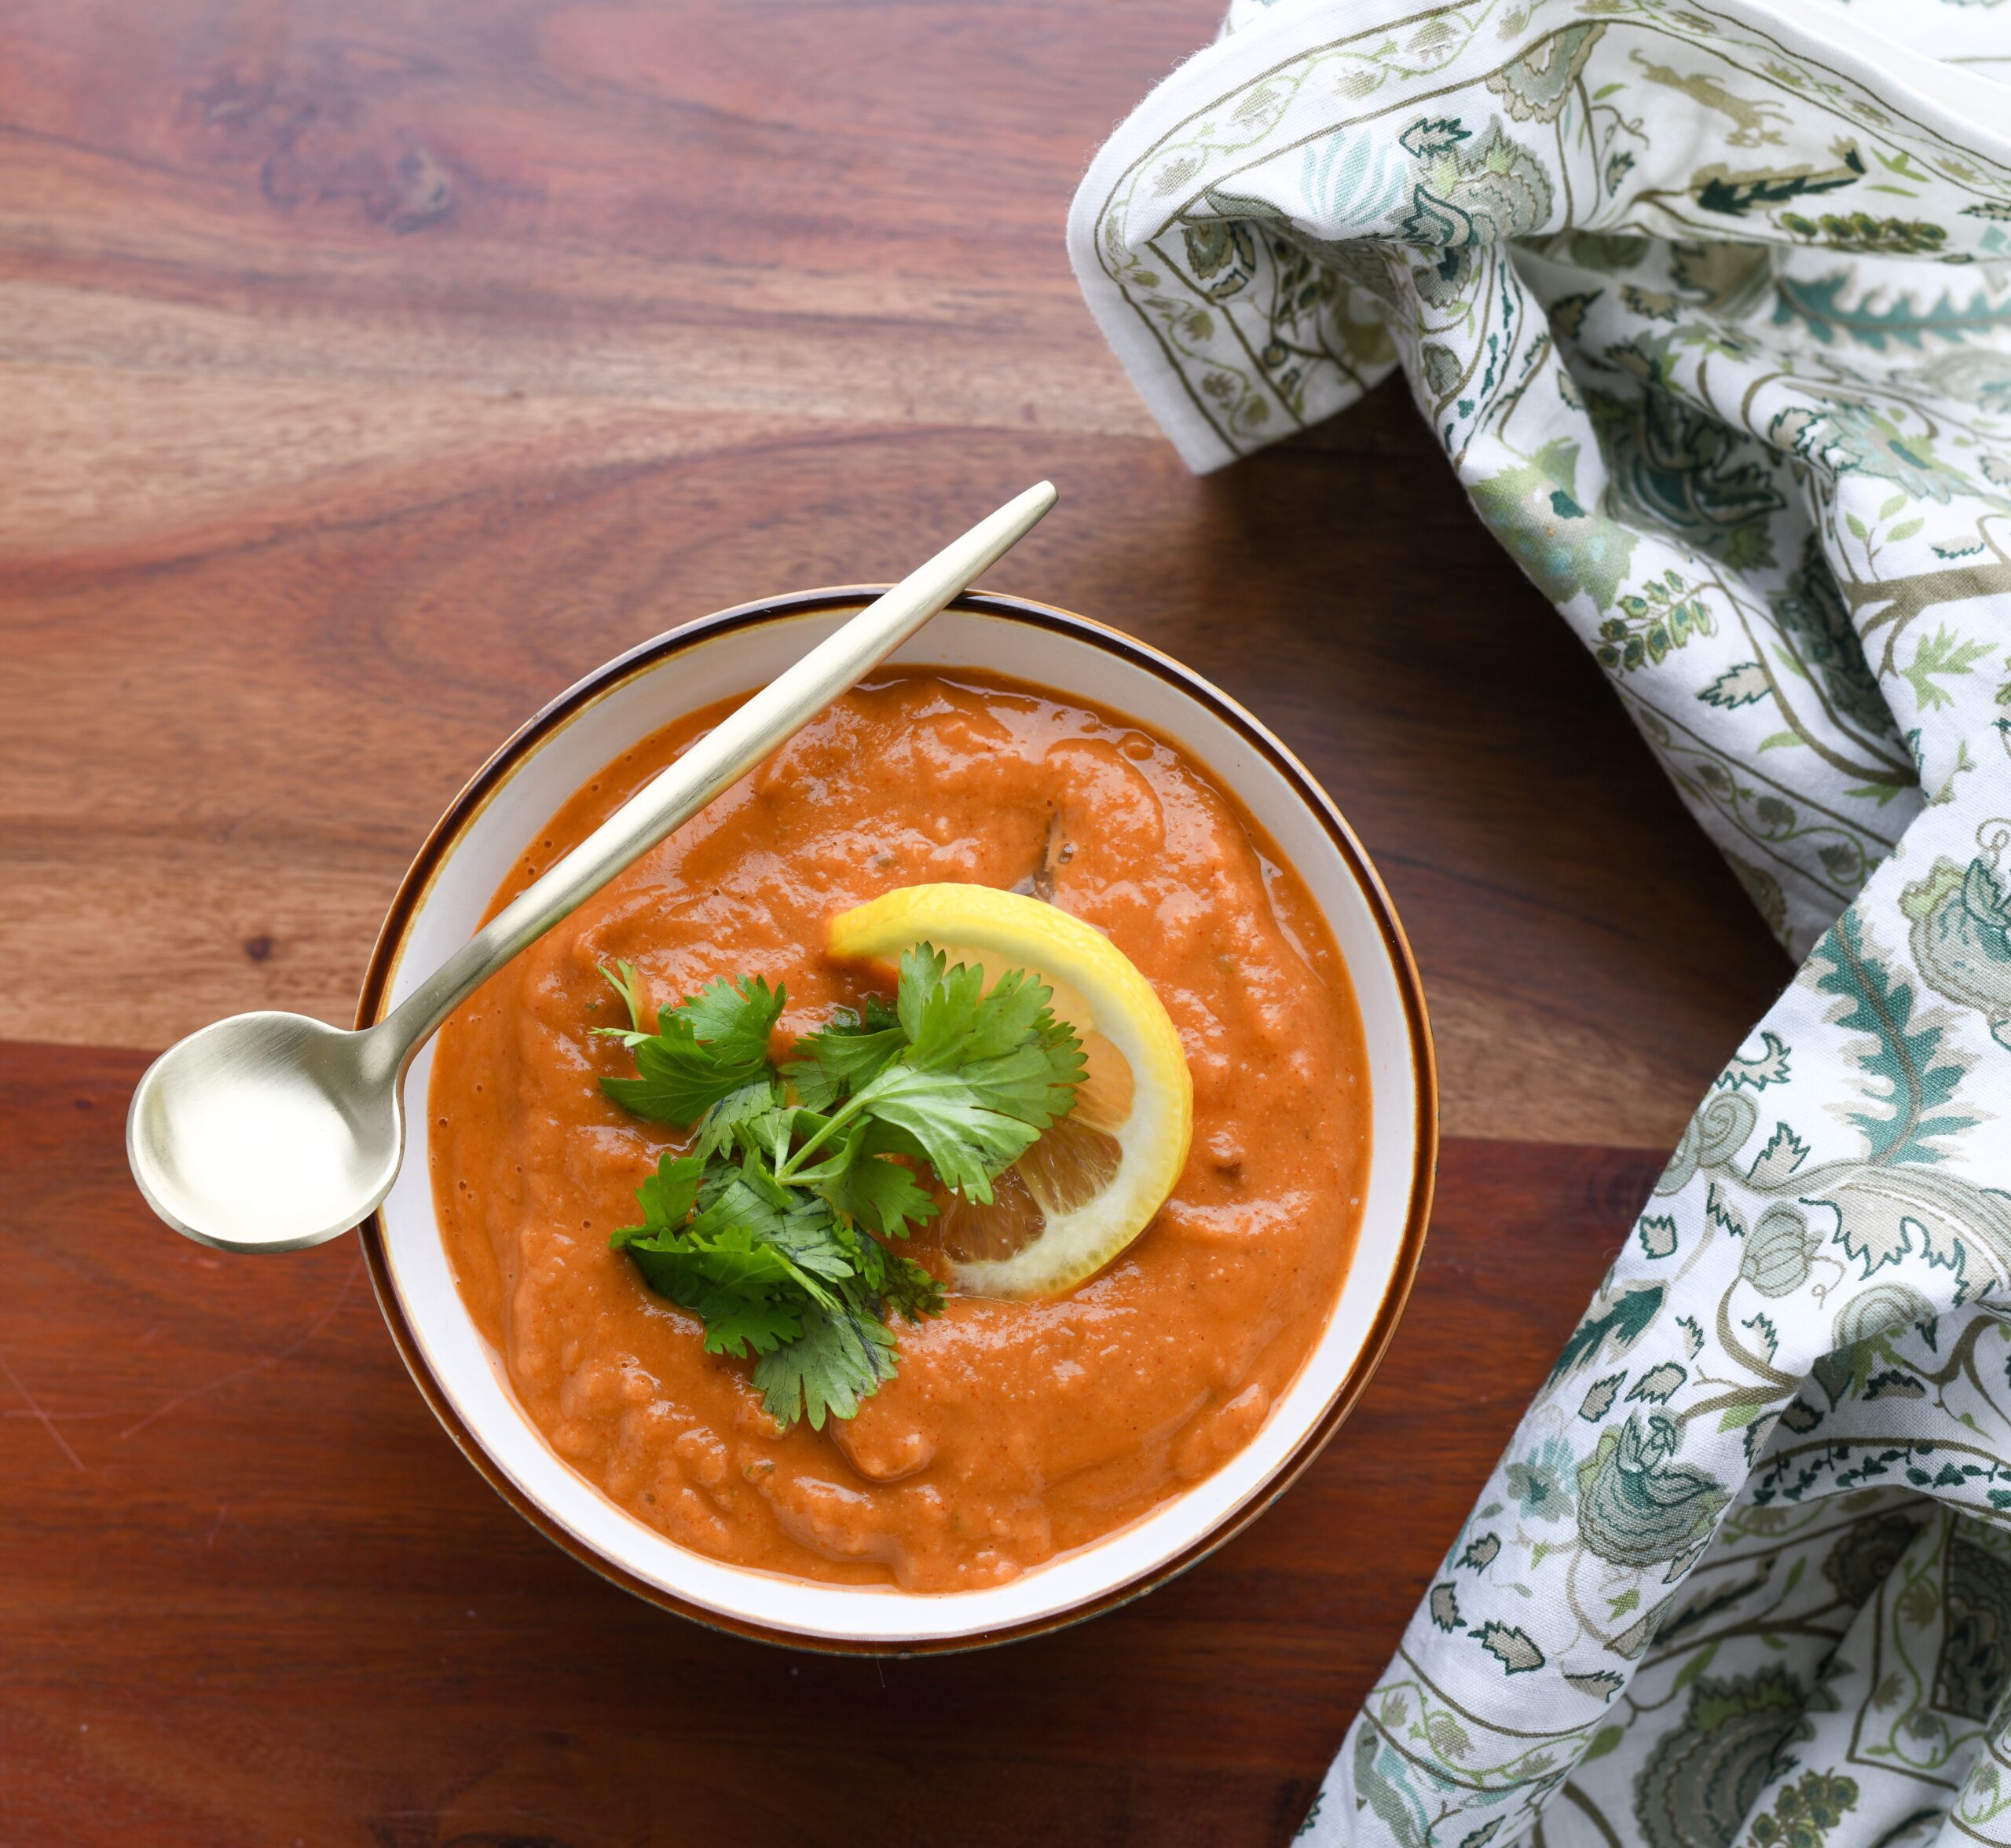
Rich golden red lentil soup topped with fresh cilantro and a lemon wheel with a spoon
A finishing squeeze of fresh lemon juice balances the richness of the legumes.

Functional Nutritional Benefits

Nutrient CompoundNatural SourceHealth & Wellness Benefit
Bioavailable CurcuminGround Turmeric + Black PepperPowerful antioxidant that helps modulate systemic inflammation and supports joint comfort.
Plant-Based Soluble FiberSplit Red LentilsBinds to digestive bile acids to promote healthy cholesterol levels and fuel gut microbiota.
Non-Heme Dietary IronLentils + Lemon Vitamin CThe high vitamin C content in fresh lemon juice converts plant iron into an easily absorbable form.
Clean Complex ProteinRed Lentils (18g per cup cooked)Supplies essential building blocks for muscle repair without cholesterol or saturated animal fat.

Storage, Freezing, and Reheating

Lentil soup is an outstanding candidate for batch prep, as its flavor profiles continue to meld and deepen overnight:

  • Refrigeration: Allow soup to cool completely before transferring to airtight glass containers. Keeps fresh in the refrigerator for up to 5 days.
  • Freezer Storage: Freeze in portioned freezer-safe jars or silicone containers, leaving an inch of headspace for liquid expansion. Stores well for up to 3 months.
  • Reheating Adjustments: As the soup cools, red lentils absorb remaining liquid and thicken into a stew-like consistency. When reheating on the stovetop, stir in 1/4 cup of fresh water or broth to restore its silky texture.

Frequently Asked Questions

Can I use green or brown lentils instead of red?
Green or brown lentils can be used, but they hold their shape and will require 15 to 20 minutes of additional simmering time. They produce an earthy, chunky soup rather than a naturally creamy puree.

Why is lemon juice added at the very end of cooking?
Boiling fresh citrus juice dissipates its bright floral aroma and can impart a bitter flavor. Adding it off the heat preserves vibrant vitamin C and provides a crisp acidity.

Can I add leafy greens to this soup?
Yes. Stir in 2 cups of fresh baby spinach, chopped kale, or Swiss chard during the final 3 minutes of simmering until wilted.

How to Build a Nutrient-Dense Superfood Smoothie Bowl That Keeps You Full for Hours

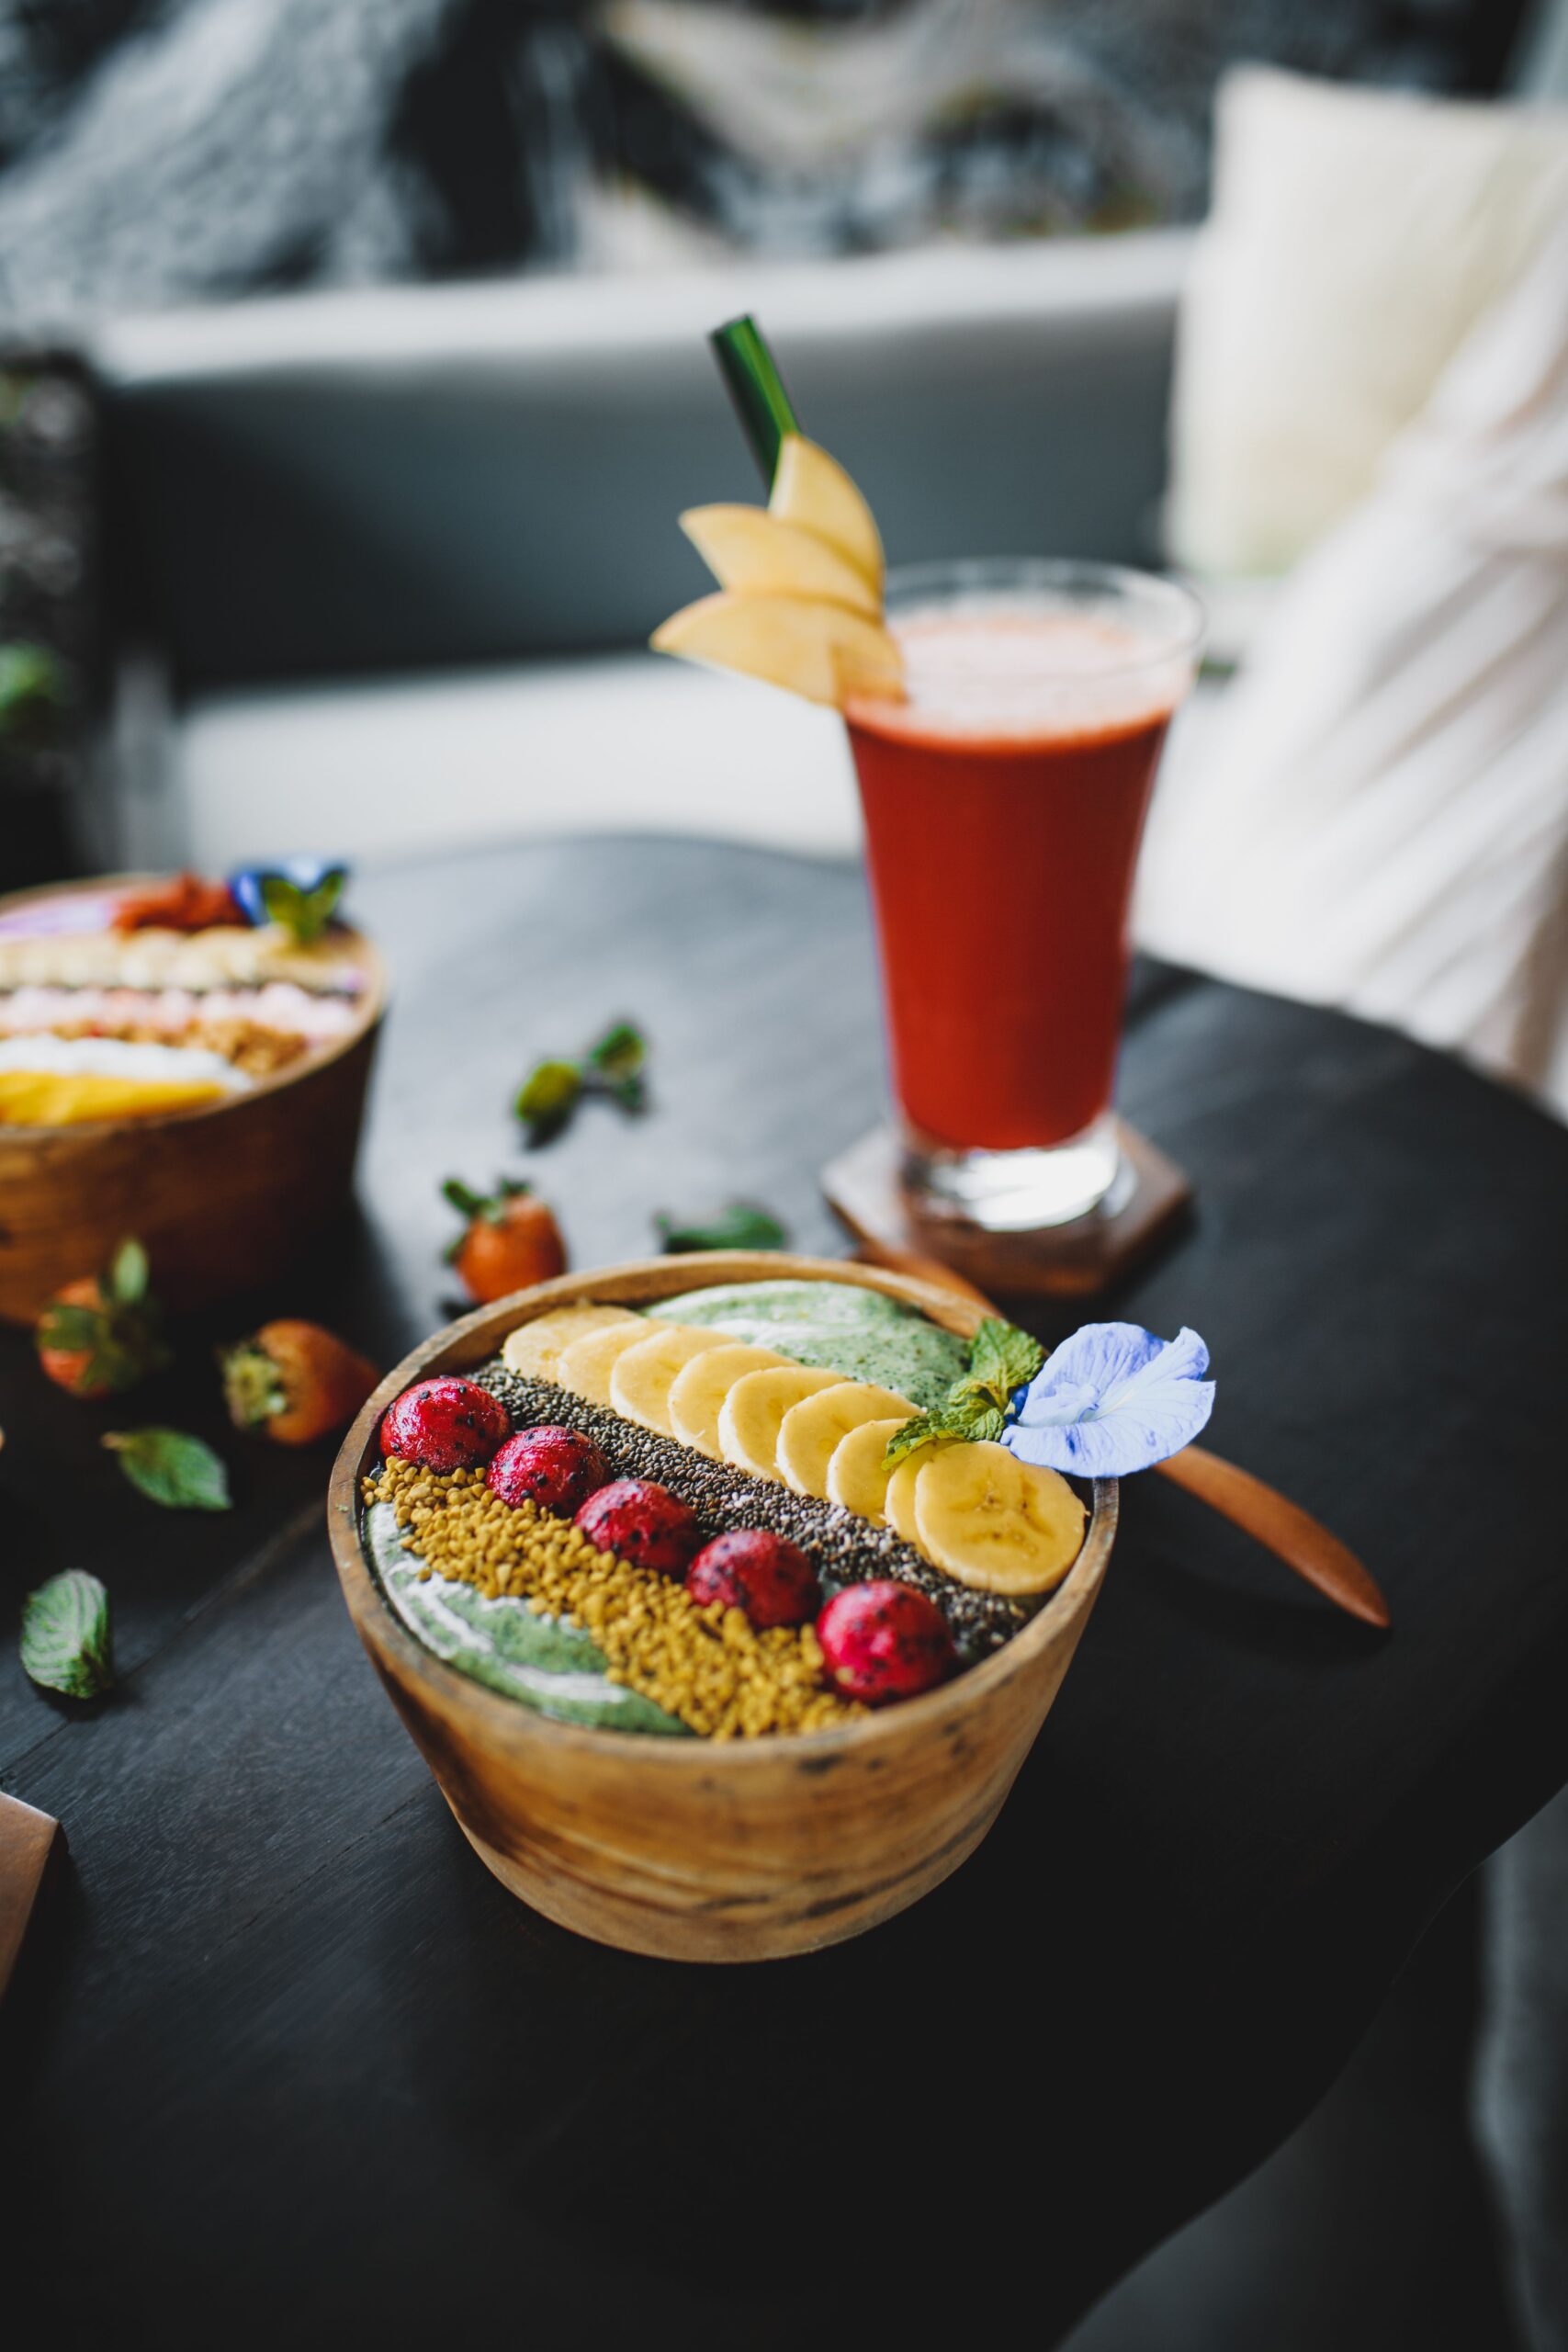
Thick green smoothie bowl topped with banana slices, chia seeds, and fresh berries in a wooden bowl

Smoothie bowls have become a modern breakfast icon, yet many popular cafe versions are little more than glorified desserts loaded with fruit sugars, sweetened plant milks, and calorie-dense granolas that trigger mid-morning energy crashes. Creating a truly restorative Nutrient-Dense Superfood Smoothie Bowl requires understanding the balance between natural low-glycemic carbohydrates, satiating healthy fats, clean proteins, and dietary fiber. When constructed with intention, a spoonable smoothie provides long-lasting metabolic energy without blood sugar spikes.

Thick green smoothie bowl topped with banana slices, chia seeds, and fresh berries in a wooden bowl
A nutrient-dense smoothie bowl loaded with functional superfoods, seeds, and fresh fruit.

The Anatomy of a High-Satiety Smoothie Bowl

To keep you energized and satisfied for four to five hours, every balanced bowl should follow a reliable four-part functional formula:

  • Antioxidant & Fiber Base: Frozen wild blueberries, blackberries, or raspberries provide rich anthocyanins and gut-friendly prebiotic fiber while naturally maintaining lower sugar concentrations than tropical fruits.
  • Clean Satiating Protein: Unsweetened plant-based protein powder, collagen peptides, or organic hemp seeds supply amino acids necessary for muscle maintenance and neurotransmitter synthesis.
  • Metabolic Healthy Fats: Half an avocado, pure almond butter, or soaked chia seeds slow digestive gastric emptying, stabilizing insulin responses and keeping hunger signals at bay.
  • Hydration Element: Unsweetened almond milk, light coconut milk, or cold-filtered water to bring the blender blades into motion without introducing unnecessary liquid sugars.

Achieving the Perfect Thick, Spoonable Texture

The hallmark of an authentic smoothie bowl is its velvety, soft-serve ice cream consistency that holds whole toppings without letting them sink to the bottom. Achieving that thickness requires strict blender physics:

  1. Rely Exclusively on Frozen Produce: Never use liquid water ice cubes, which melt into a watery, separated slush. Rely entirely on fully frozen fruit, frozen avocado chunks, or steamed-and-frozen zucchini or cauliflower for natural thickness.
  2. Minimal Liquid Ratio: Start with no more than 1/4 to 1/3 cup of liquid for every two cups of frozen solid ingredients. The blender will resist initially; use the tamper tool to continuously push ingredients down into the spinning blades.
  3. The Power of Soluble Gels: Incorporating soaked chia seeds or ground flaxseeds creates natural mucilage gels that emulsify liquid and fruit fibers into a smooth pudding texture.
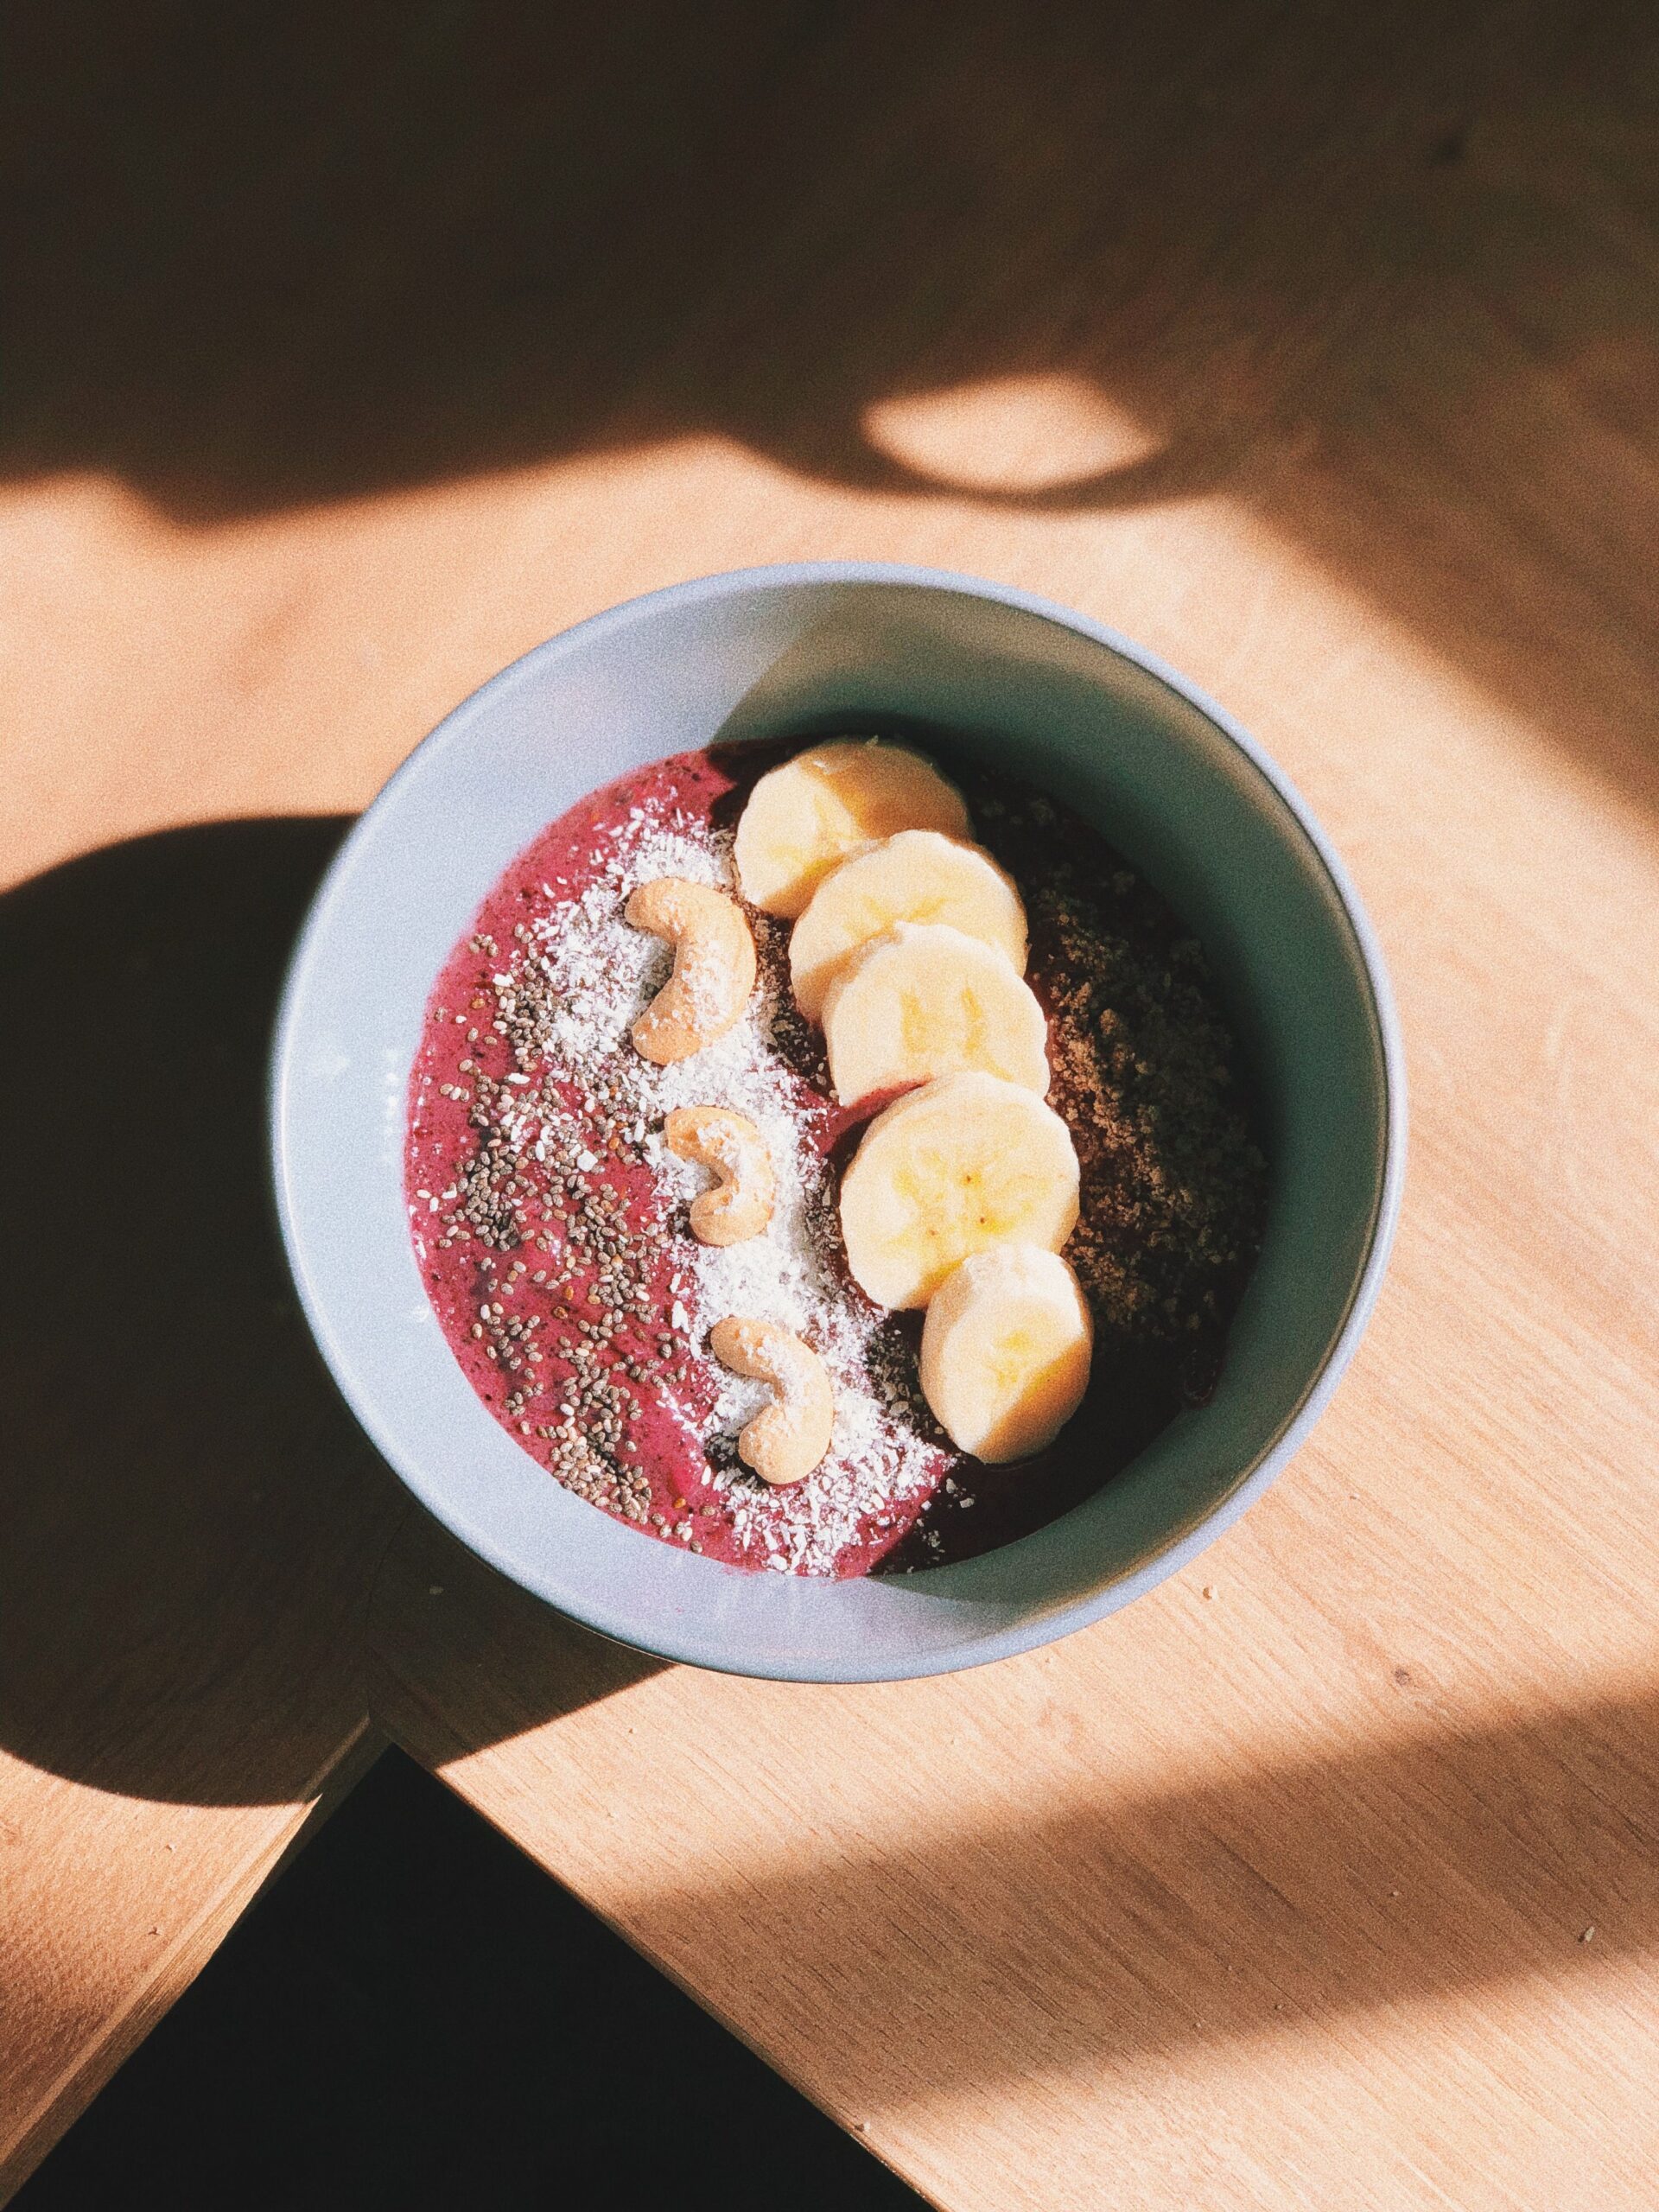
Overhead shot of a berry smoothie bowl decorated with sliced banana, cashews, shredded coconut, and chia seeds
Arranging toppings in tidy sections adds contrasting textures and visually appealing presentation.

Nutrient Comparison: Smoothie Bowl vs. Traditional Smoothie

FeatureSpoonable Smoothie BowlDrinking Straw Smoothie
Digestion & ChewingChewing toppings activates salivary amylase enzymes, signaling fullness early.Liquid calories pass quickly through the stomach without full satiety signals.
Liquid Sugar ContentMinimal liquids used; centered on dense fibers and healthy lipids.Often diluted with fruit juices or excessive sweetened plant milks.
Texture VarietyContrasting textures (creamy base, crunchy seeds, chewy fruit).Uniform liquid profile that is quickly consumed in minutes.
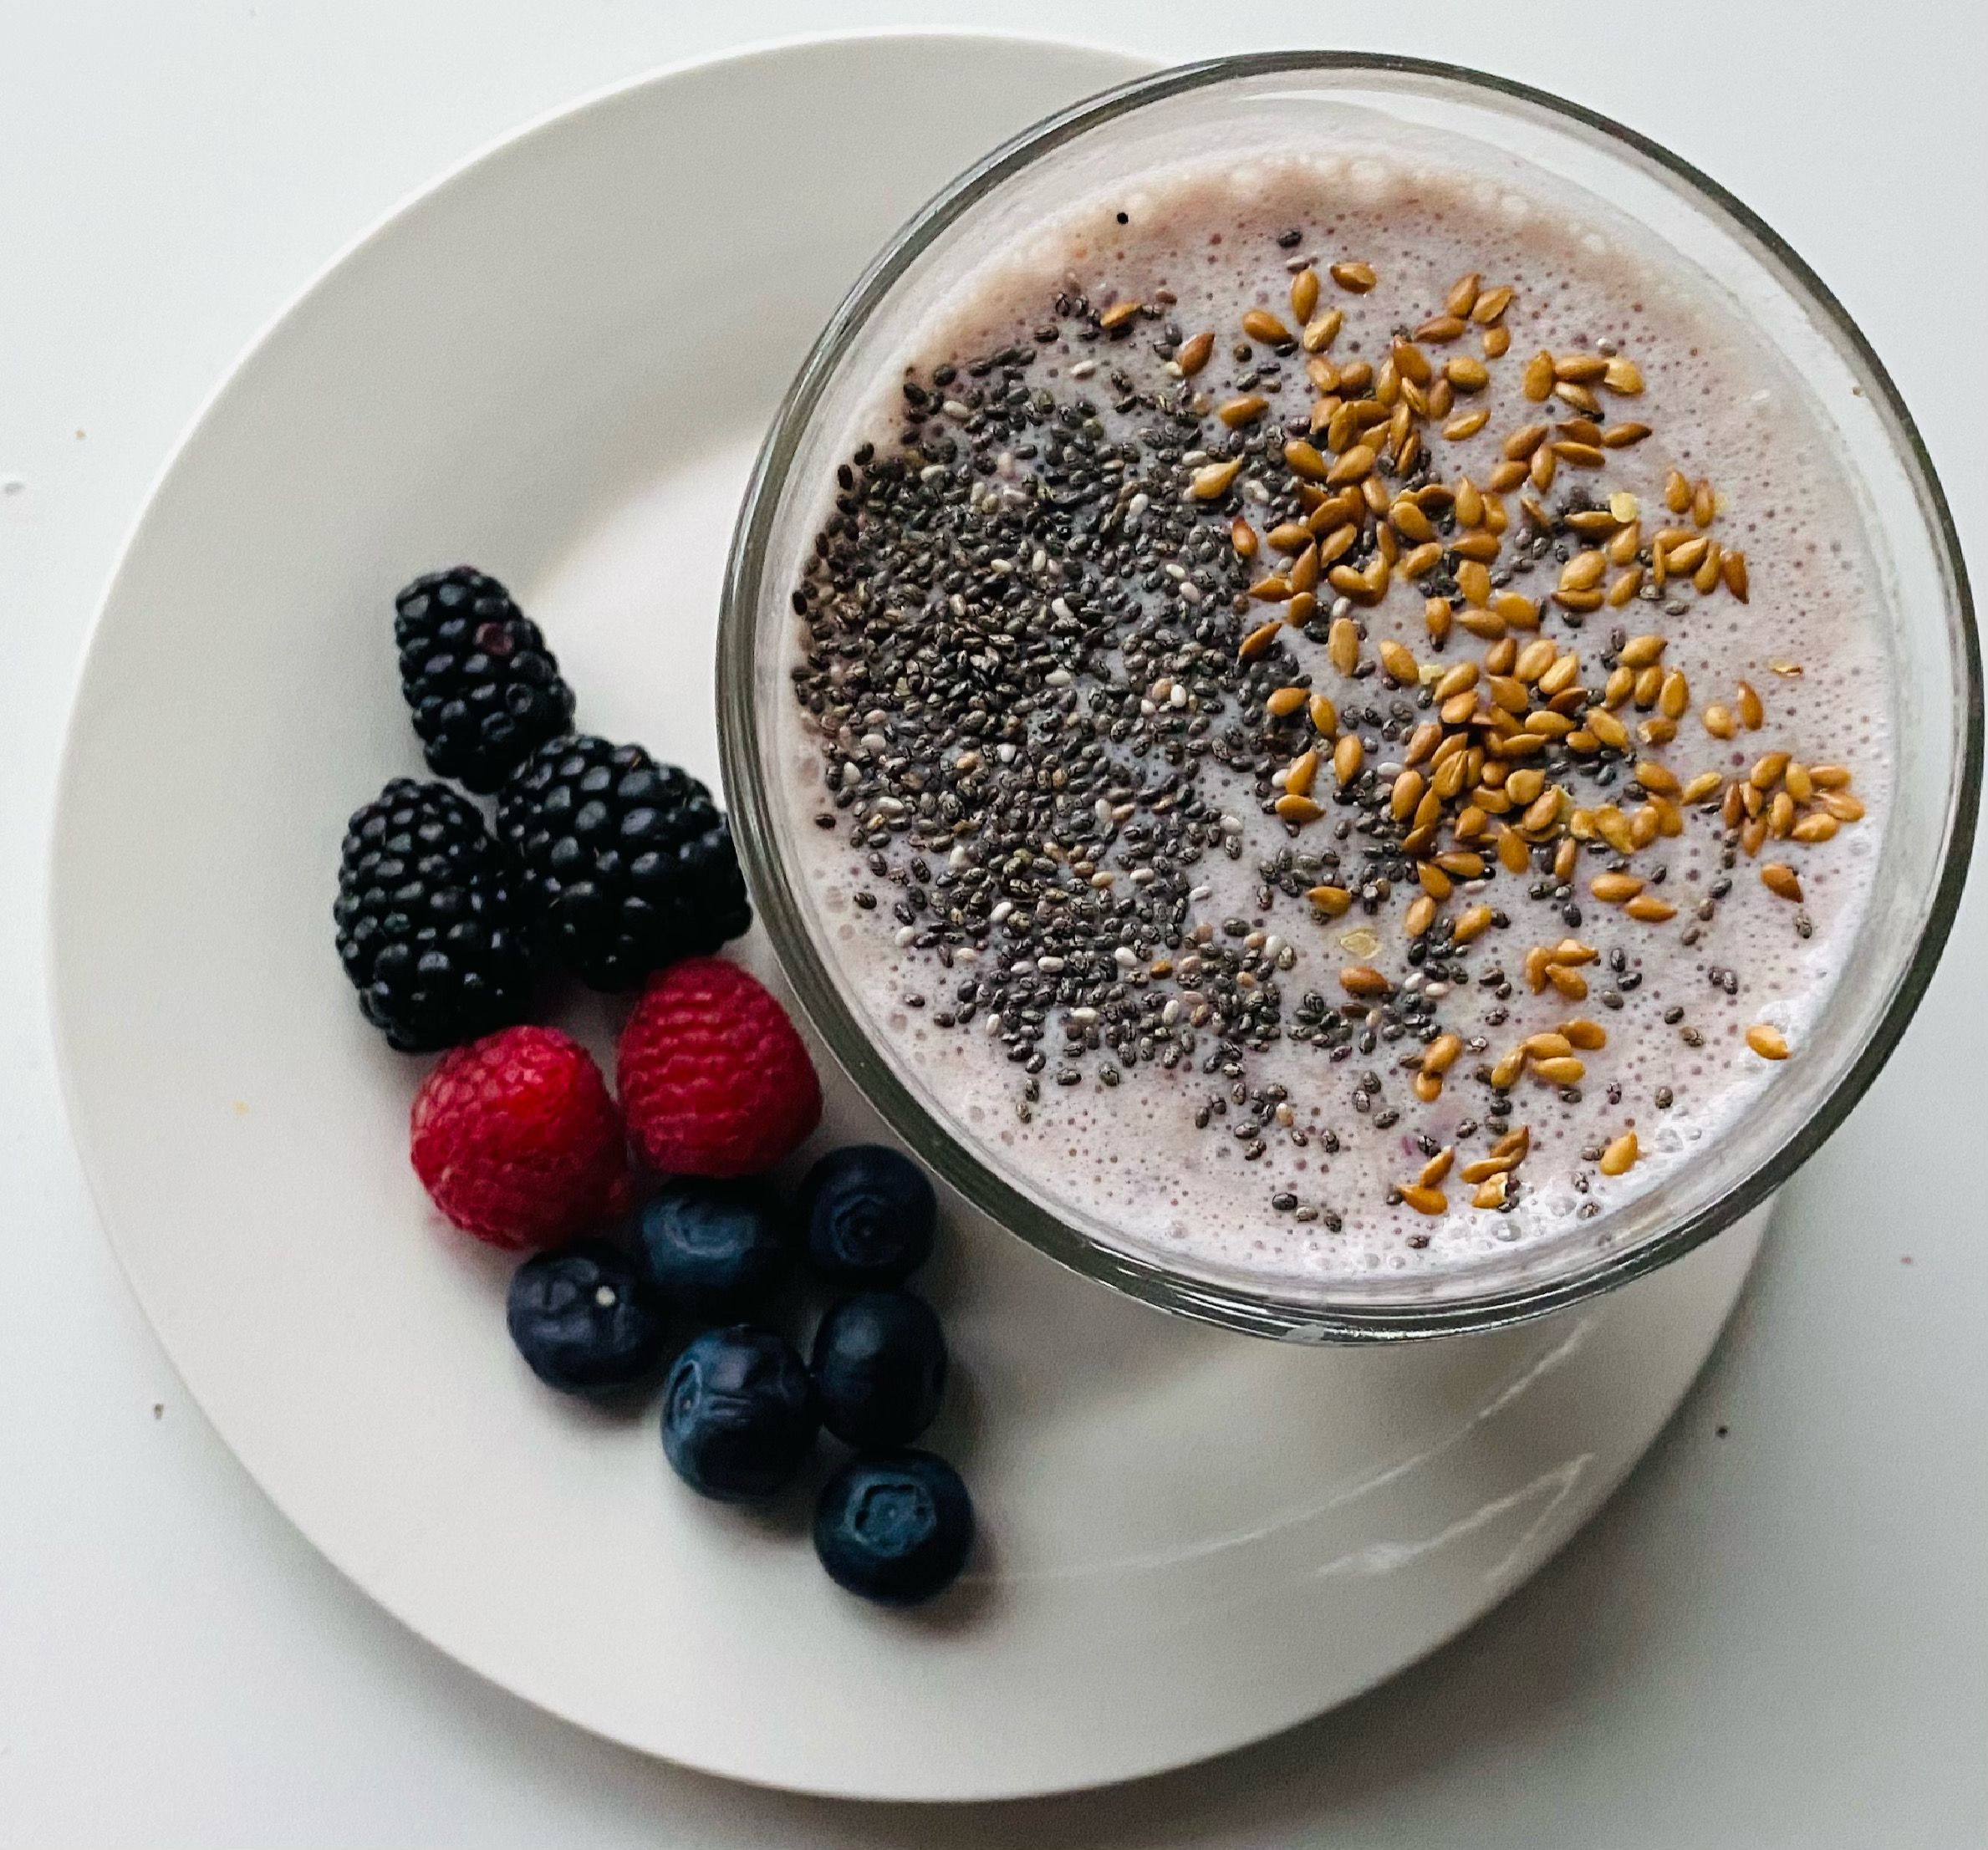
Glass bowl of creamy berry smoothie topped with chia seeds, flax seeds, and fresh wild berries
Chia and flax seeds deliver plant-based omega-3s and long-lasting dietary fiber.

Functional Superfood Toppings Guide

Toppings should not merely serve as decoration—they provide valuable crunch, minerals, and enzymes:

  • Raw Chia & Golden Flax Seeds: High in alpha-linolenic acid (plant-based omega-3) to reduce systemic inflammation.
  • Shelled Raw Hemp Hearts: Delivers an optimal 3:1 ratio of omega-6 to omega-3 along with complete plant protein and iron.
  • Unsweetened Coconut Flakes: Supplies medium-chain triglycerides (MCTs) that the liver directly converts into cellular energy.
  • Raw Pumpkin Seeds (Pepitas): Packed with elemental zinc and magnesium, essential for restful sleep cycles and muscle recovery.

Frequently Asked Questions

Can I add green vegetables without changing the fruity flavor?
Yes. Adding baby spinach or frozen steamed cauliflower florets will thicken your bowl and boost folate and fiber without altering the berry flavor profile.

How do I prevent my blender from stalling with so little liquid?
Add your liquid base first so it rests beneath the blender blades. Follow with protein powders or seeds, and place heavy frozen berries and ice-cold ingredients on top.

Can I make smoothie bowls ahead of time?
For optimal texture, smoothie bowls should be enjoyed immediately after blending. However, you can portion all dry ingredients and frozen fruits into freezer bags for a 60-second morning blend.

Herb-Roasted Salmon with Crispy Potatoes and Green Beans (Easy Weeknight Meal)

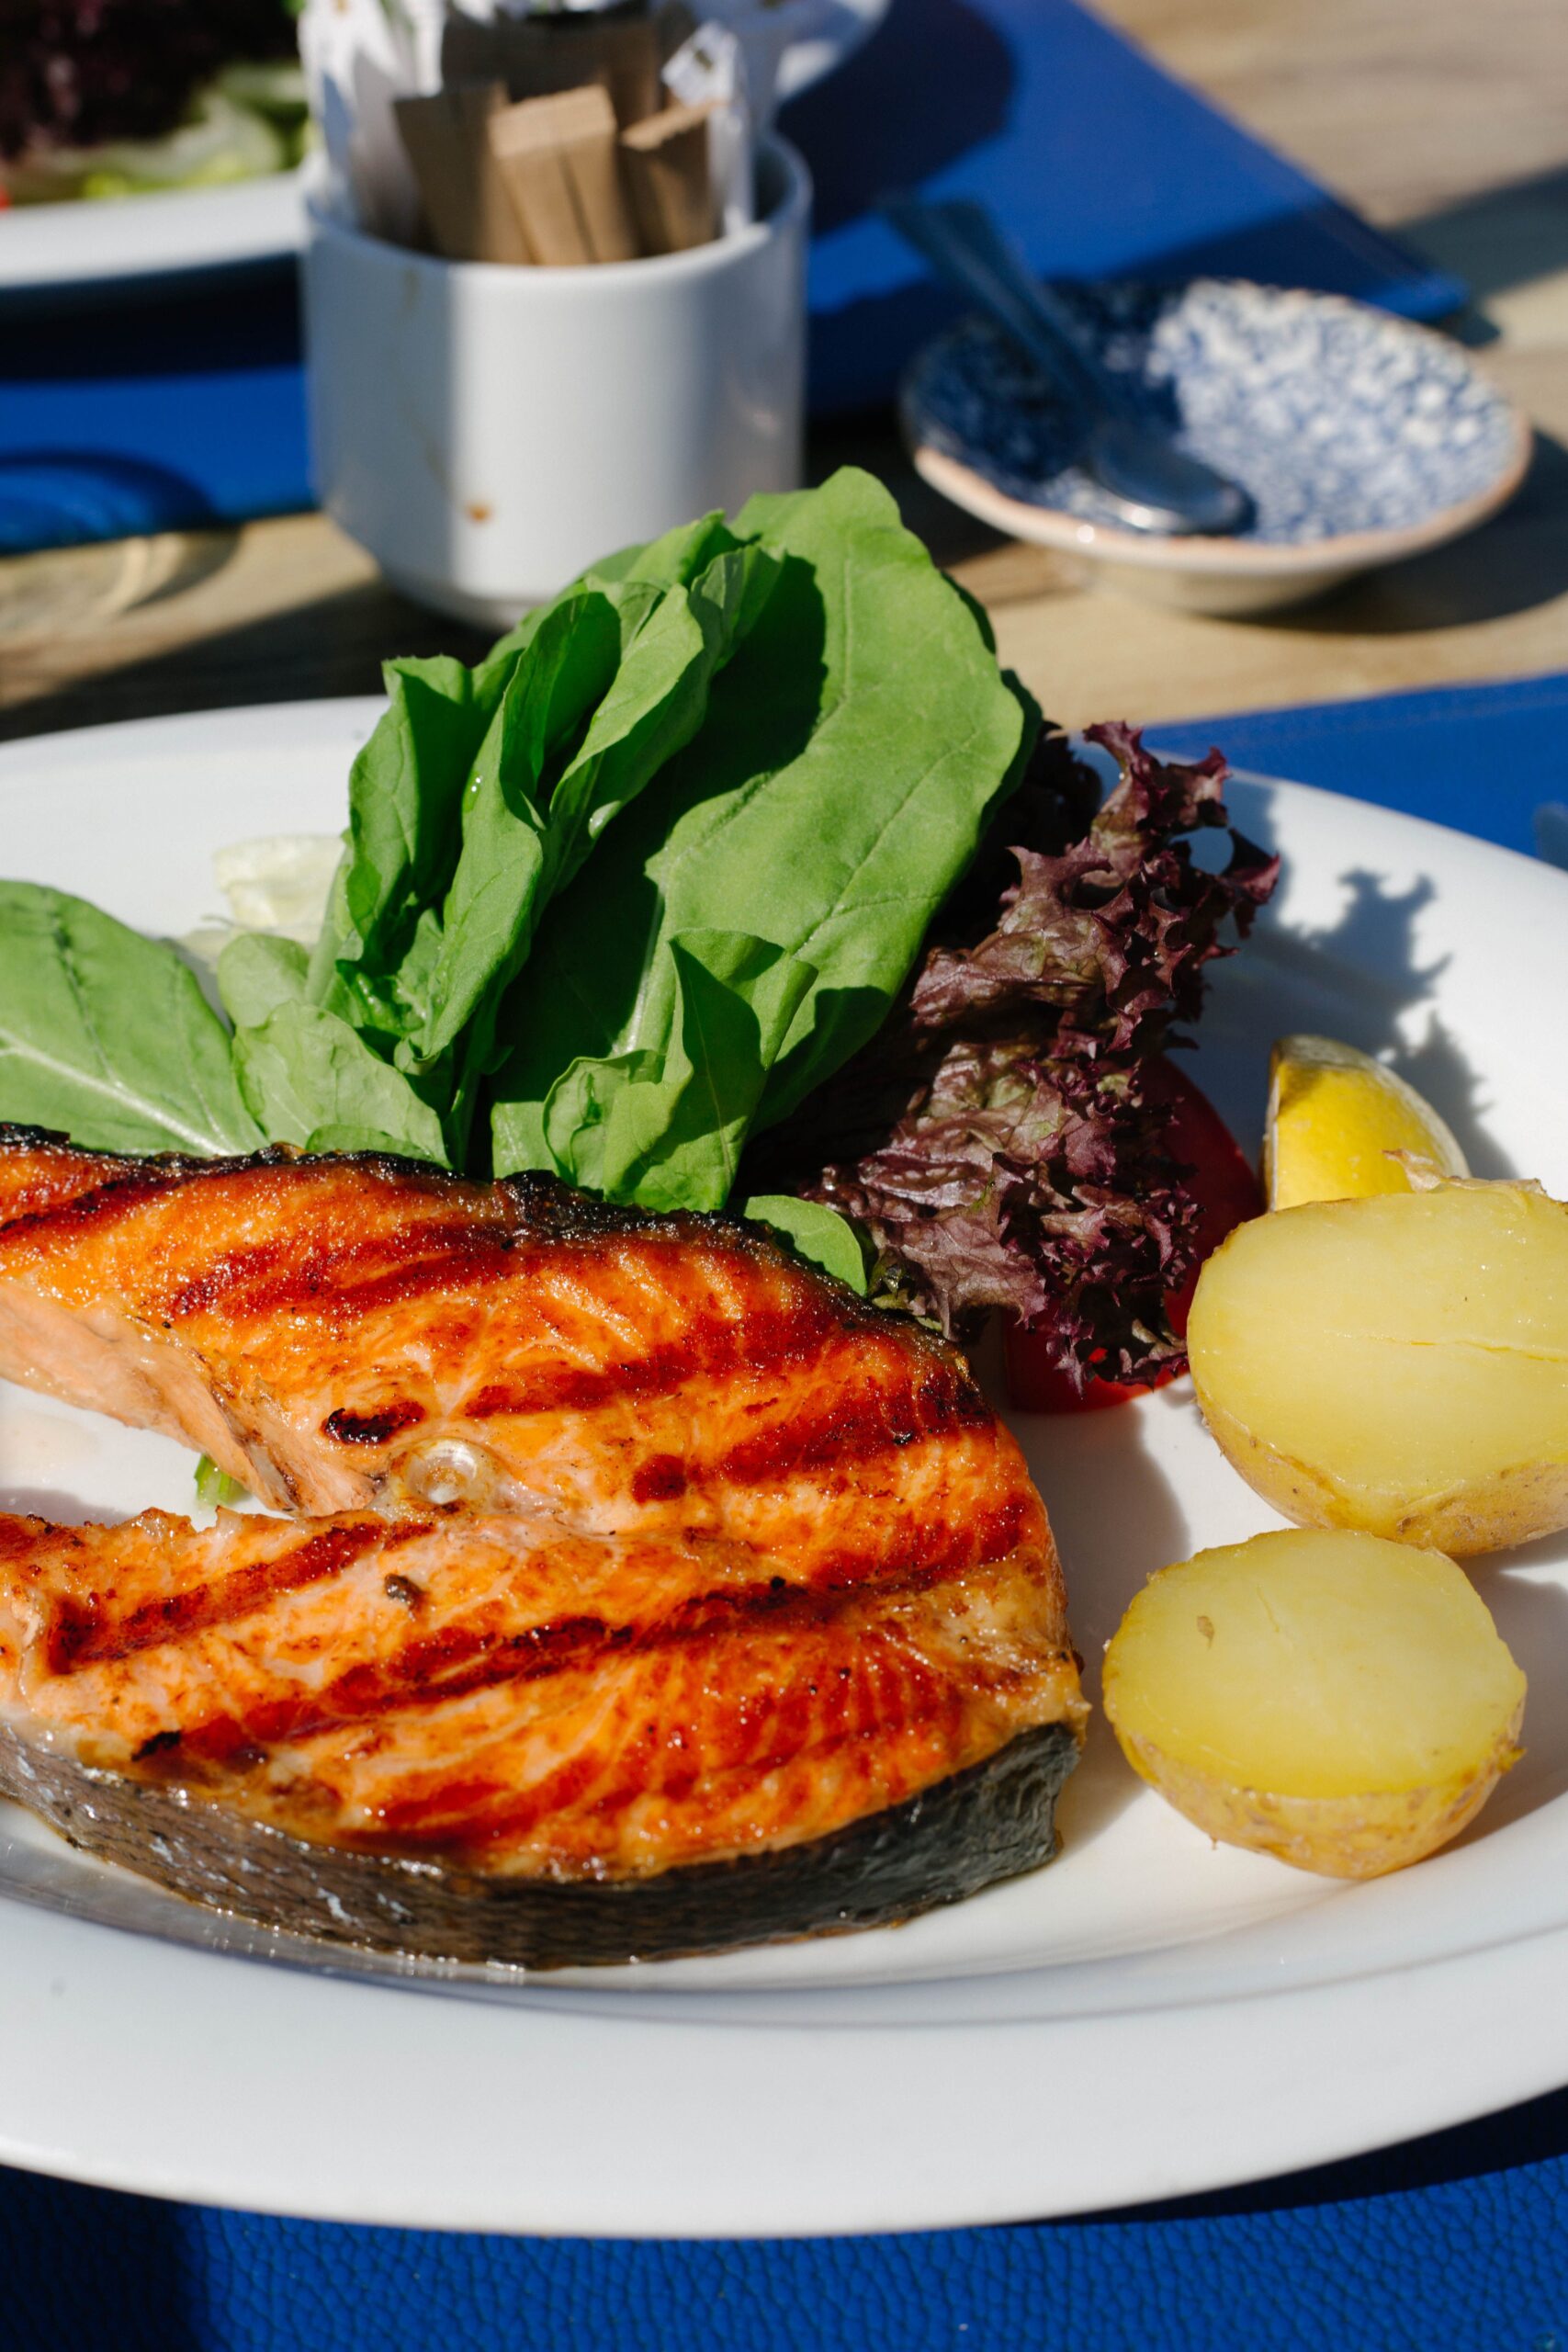
Grilled salmon steak served with boiled potatoes and fresh salad greens on a plate

Preparing a wholesome dinner after a demanding day often leads to a familiar kitchen dilemma: sacrificing nutritional balance for speed, or spending an hour washing multiple pots and pans. This Herb-Roasted Salmon with Crispy Potatoes and Green Beans delivers the ideal compromise. Featuring perfectly flaky, heart-healthy wild salmon, golden seasoned potatoes, and tender green beans, this balanced plate provides dense micronutrients and sustained energy with effortless kitchen timing.

Grilled salmon steak served with boiled potatoes and fresh salad greens on a plate
A nutrient-dense seafood plate balancing quality lean protein, healthy fats, and unrefined carbohydrates.

Nutritional Breakdown: The Power of Whole Food Synergy

Unlike standard heavy dinners loaded with refined starches or processed fats, this plate brings together three functional food groups that work synergistically to support overall vitality:

  • Cardioprotective Omega-3s (EPA & DHA): Salmon is an exceptional source of long-chain omega-3 fatty acids, which actively fight cellular inflammation, promote arterial health, and enhance cognitive function.
  • Potassium & Complex Fuel: Skin-on potatoes roasted with extra virgin olive oil provide steady glycogen replenishment alongside more potassium than a typical banana, helping regulate fluid balance.
  • Gut-Supporting Prebiotics: Tender green beans deliver insoluble fiber, vitamins A, C, and K, feeding beneficial digestive microflora without causing glycemic spikes.

Ingredients for Balanced Flavor

Clean culinary prep relies on letting high-quality primary ingredients shine with simple pantry herbs:

  • Salmon: 2 center-cut fillets or wild salmon steaks (approx. 6 oz each), patted dry.
  • Potatoes: 3 medium Yukon gold or baby red potatoes, cut into uniform wedges or bite-sized cubes.
  • Green Beans: 2 cups fresh green beans, stems neatly trimmed.
  • Healthy Cooking Fat: 2 tablespoons cold-pressed extra virgin olive oil.
  • Aromatic Seasoning: 1 teaspoon dried oregano, 1/2 teaspoon dried rosemary, 2 cloves minced garlic, sea salt, and freshly ground black pepper.
  • Citrus Finish: 1 fresh lemon, cut into wedges for serving.
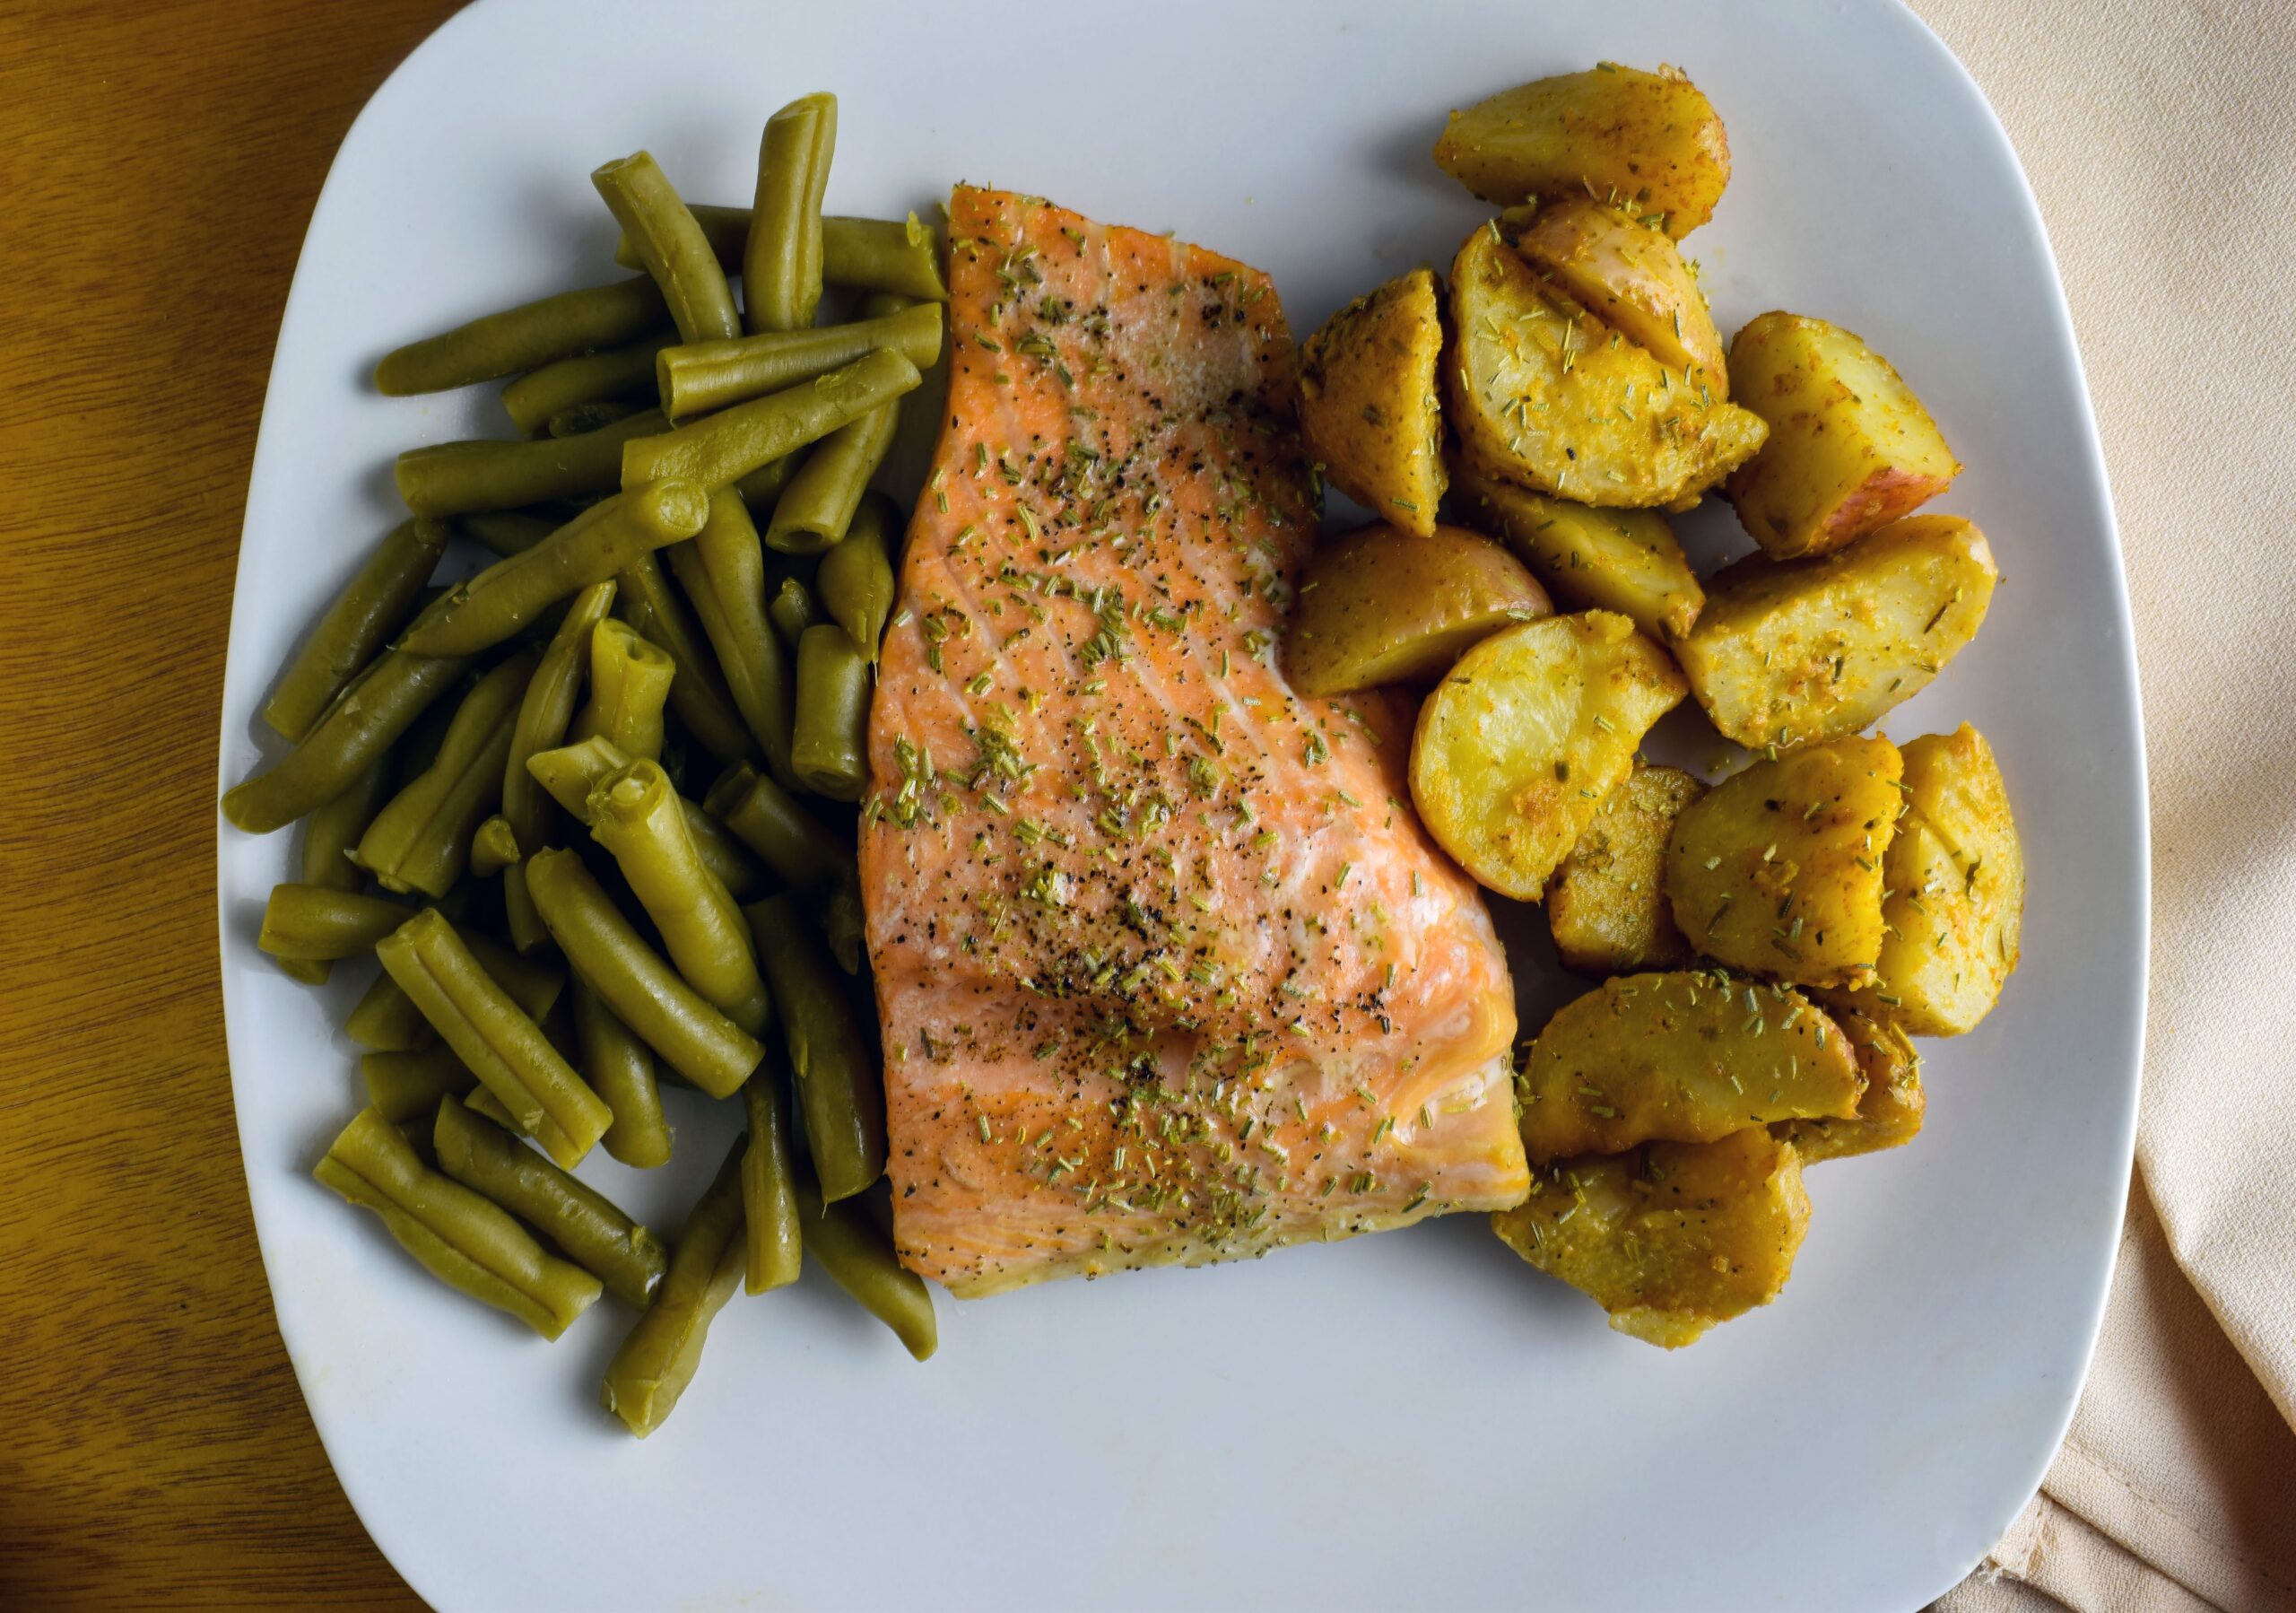
Baked herb-seasoned salmon fillet served with roasted potato wedges and tender green beans
Uniformly cooked potatoes and crisp-tender green beans create an appetizing, colorful side pairing.

Step-by-Step Cooking Instructions

  1. Preheat and Prep the Oven: Preheat your oven to 400°F (204°C). Line a large rimmed baking sheet with parchment paper for easy cleanup and even heat transfer.
  2. Par-Cook the Potatoes: Toss potato wedges in 1 tablespoon of olive oil, salt, pepper, and dried herbs. Spread them out on the baking sheet and roast for 15 minutes before adding any delicate ingredients, ensuring the centers turn creamy and edges turn golden.
  3. Season the Protein and Greens: While the potatoes bake, pat your salmon dry with paper towels. Toss the trimmed green beans with the remaining olive oil and minced garlic. Season the salmon fillets generously with kosher salt, black pepper, and dried oregano.
  4. Combine and Roast: Slide the baking sheet out. Push the potatoes to one edge, arrange the salmon in the center, and scatter the seasoned green beans across the remaining space.
  5. Bake to Flaky Perfection: Return the tray to the oven and roast for 12 to 14 minutes. The salmon is done when it flakes tenderly under light fork pressure and registers 140°F–145°F (60°C–63°C) internally.
  6. Brighten and Plate: Squeeze fresh lemon juice over the fish and vegetables just before eating to awaken the natural herbal aromatics.
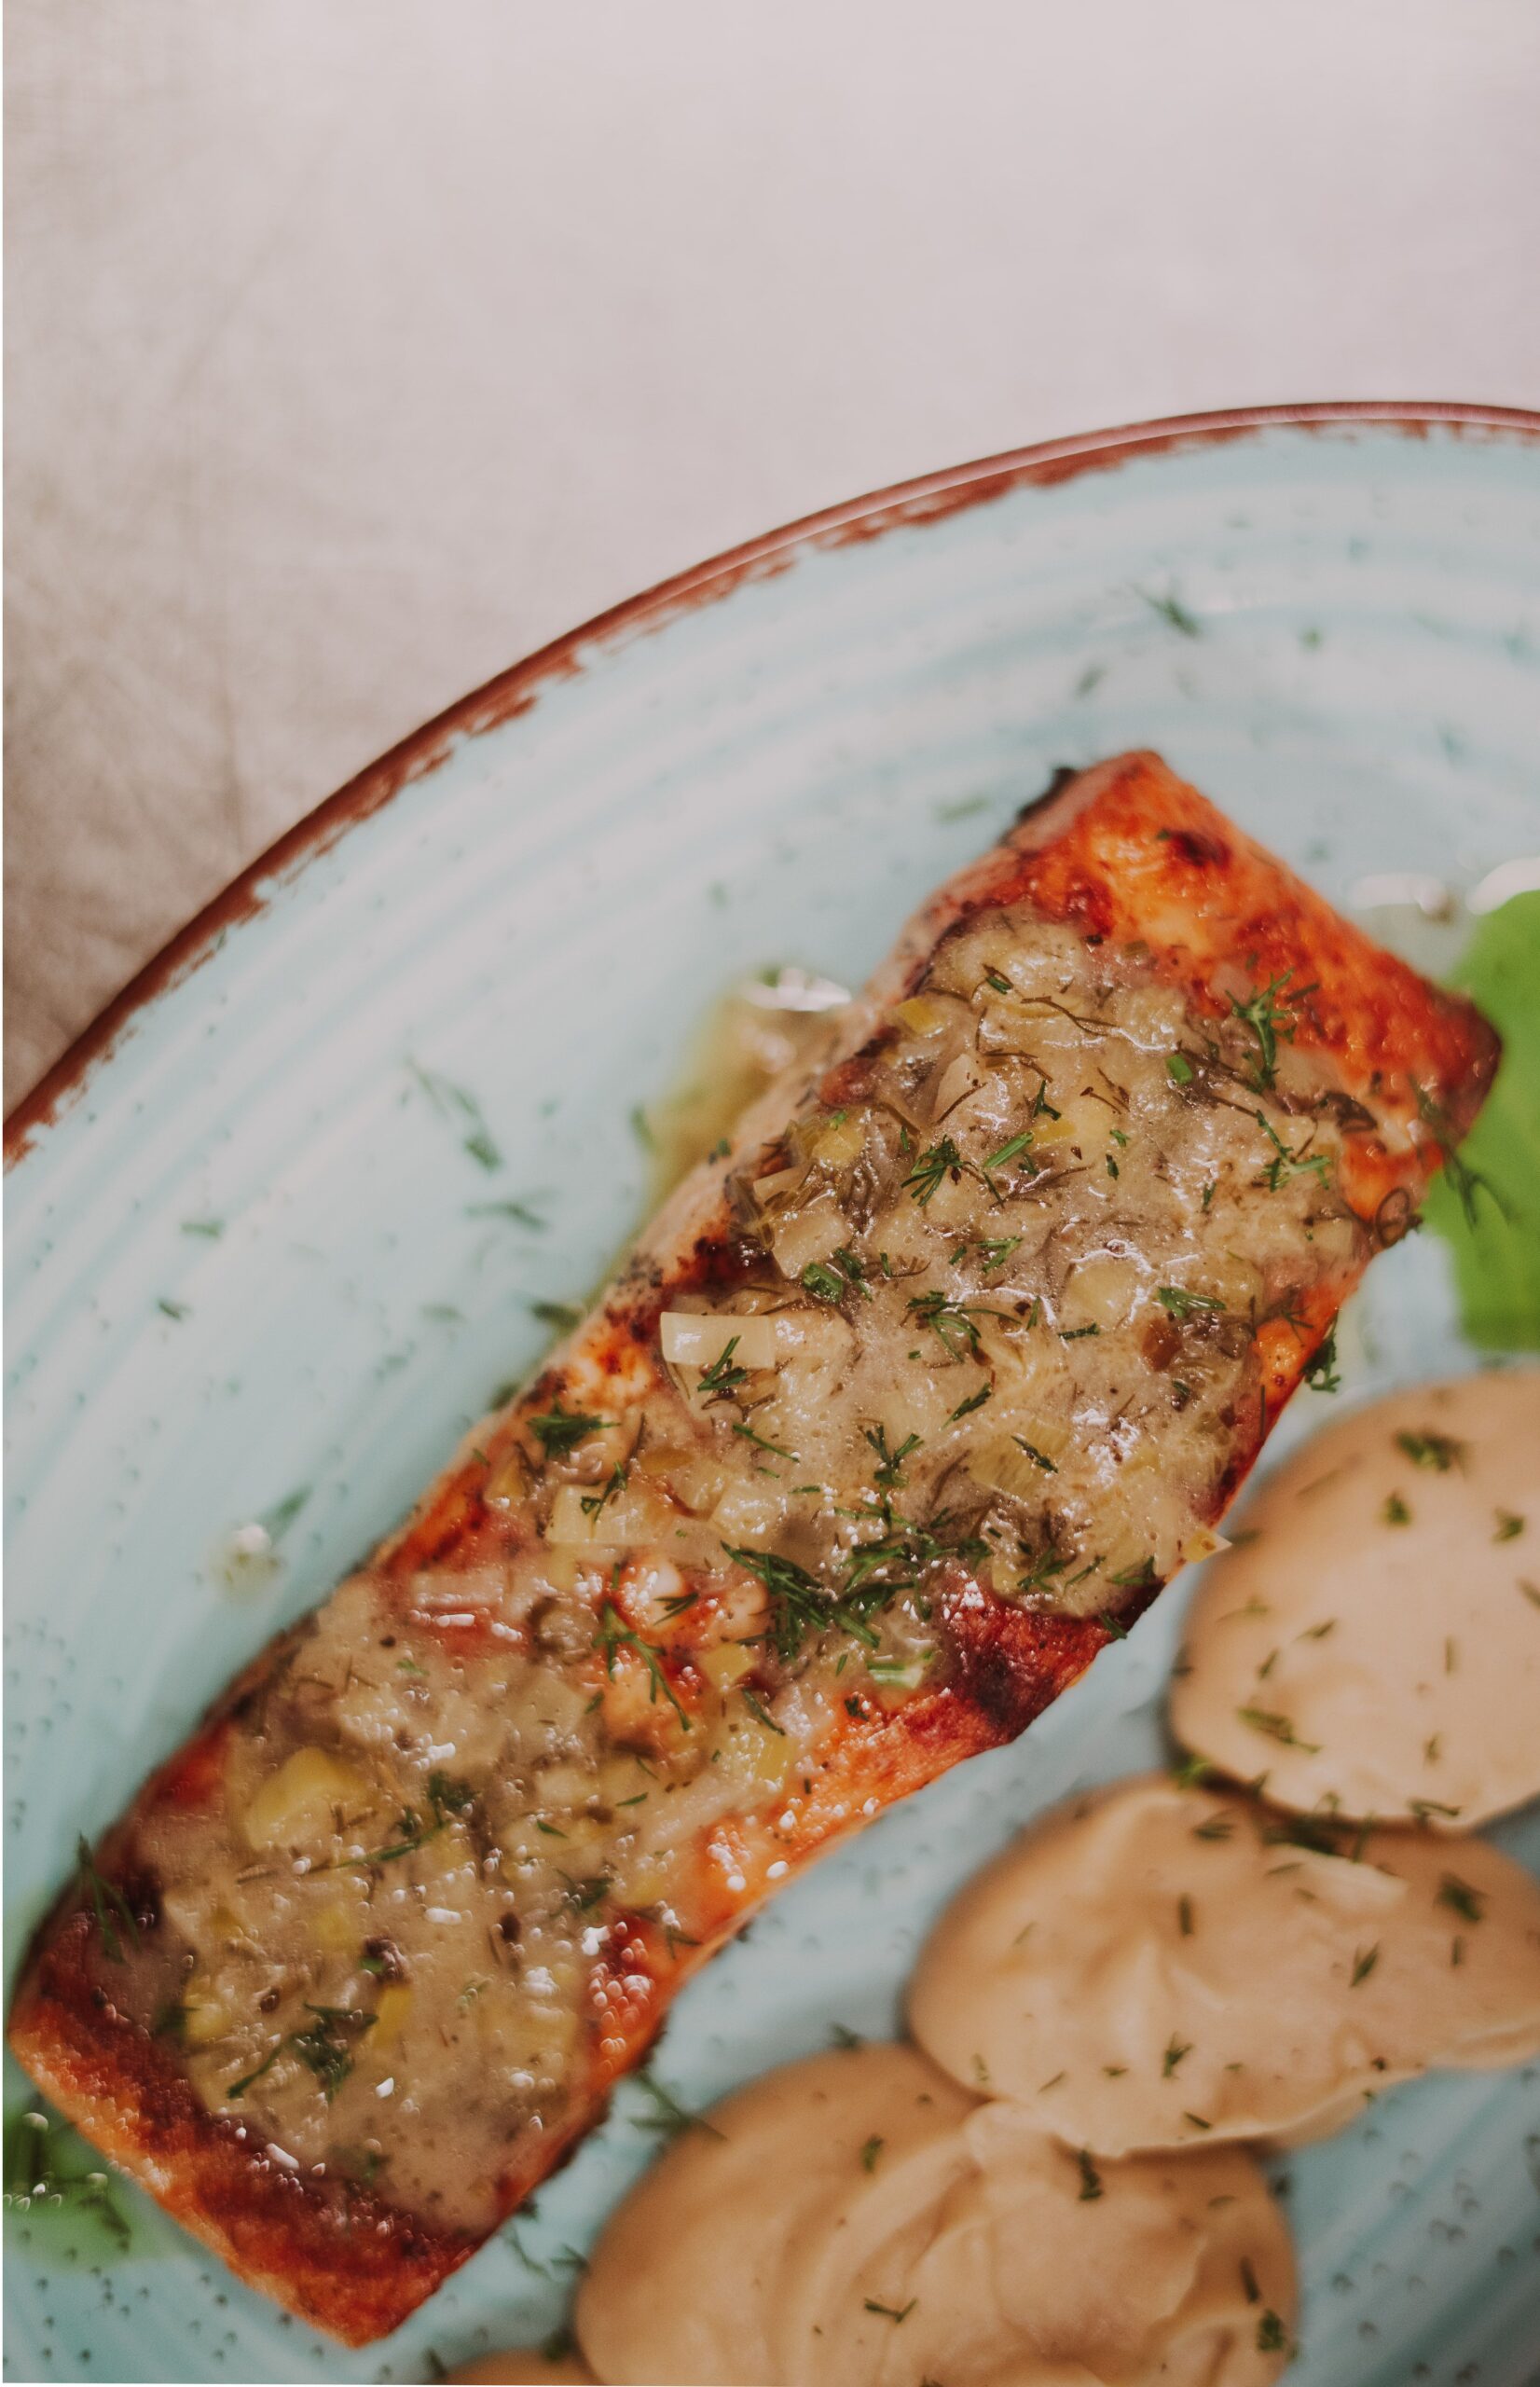
Herb-crusted roasted salmon fillet plated with delicate cream sauce and greens
A beautifully cooked fillet separates into tender, succulent flakes while holding its natural juices.

Dietary Adaptations & Swaps

Dietary GoalModificationNutritional Benefit
Lower CarbohydrateReplace potato wedges with cauliflower floretsCuts net carbs significantly while maintaining hearty cruciferous bulk.
Green Vegetable SwapUse slender asparagus spears or tender broccoliniAdds vibrant crunch and reduces vegetable prep time to zero.
Extra RichnessAdd a spoonful of olive tapenade or Greek yogurt dill sauceIntroduces pleasant probiotic tang and satisfying healthy lipids.

Storage and Meal Prep Best Practices

This dish holds up well for next-day lunches if stored with care:

  • Refrigeration: Allow food to reach room temperature, then place into airtight glass meal prep containers. Keeps fresh for up to 3 days.
  • Gentle Warming: To prevent the salmon from drying out, reheat in an oven or toaster oven at 300°F (150°C) for 6 to 8 minutes, or flake cold straight over a bed of crisp arugula.

Frequently Asked Questions

How do I avoid the white stuff (albumin) leaking from baked salmon?
Albumin is simply natural protein that coagulates when fish is cooked too aggressively or overcooked. Pull your salmon as soon as it turns opaque in the center to keep it moist and clean.

Can I use frozen green beans?
Fresh green beans produce the best snap and texture. If using frozen beans, thaw and blot them completely dry with towels before roasting to prevent excess pan steam.

Should I bake salmon with the skin on?
Yes. Baking with the skin on insulates the fish flesh from direct pan heat, retaining natural moisture and making the fillet easy to lift with a spatula.

The Ultimate Mediterranean Quinoa Salad Bowl with Avocado, Fresh Greens, and Herb Vinaigrette

Plated Mediterranean quinoa salad with sliced avocado, pomegranate seeds, and dressing in a white serving dish

When building a nutrient-dense lunch or light dinner, the goal is finding the balance between long-lasting metabolic energy and bright, refreshing flavors. This Mediterranean Quinoa Salad Bowl brings together fluffy whole-grain quinoa, creamy sliced avocado, crisp garden greens, sweet burst tomatoes, and a tangy homemade herb emulsion. It offers a complete plant-powered foundation that satisfies hunger without feeling heavy.

Plated Mediterranean quinoa salad with sliced avocado, pomegranate seeds, and dressing in a white serving dish
A nutrient-rich Mediterranean quinoa bowl featuring fresh produce, healthy fats, and vibrant garnishes.

Why Quinoa Serves as the Ultimate Salad Base

Unlike refined grains or standard white rice, quinoa is a nutrient-dense seed that cooks into light, airy pearls with a subtle nutty undertone. In modern culinary nutrition, it holds a distinct advantage:

  • A Rare Complete Plant Protein: Quinoa contains all nine essential amino acids that the human body cannot synthesize on its own, making it an ideal base for balanced plant-forward eating.
  • High Satiety & Stable Digestion: Rich in both soluble and insoluble fiber, it slows gastric emptying to provide steady, crash-free blood sugar regulation throughout the afternoon.
  • Mineral Density: It provides valuable dietary amounts of magnesium, iron, zinc, and folate, supporting active cellular repair and cardiovascular wellness.

Essential Ingredients and Flavor Elements

Layering complementary textures—from tender grains to crisp produce and smooth fats—creates a salad that stays interesting down to the final bite:

  • Cooked Quinoa: 1.5 cups cooked and cooled white or tricolor quinoa, gently fluffed with a fork.
  • Ripe Haas Avocado: 1 medium avocado, halved, pitted, and sliced into tender wedges for rich monounsaturated fatty acids.
  • Fresh Produce Layer: 1 cup halved sweet cherry tomatoes, 1 thinly sliced Persian cucumber, and 2 cups torn crisp baby romaine or mixed field greens.
  • Crunch & Texture Garnishes: Toasted sesame seeds, ruby pomegranate arils for pleasant sweet-tart pops, and briny Kalamata olives.
  • Herbaceous Citrus Dressing: Cold-pressed extra virgin olive oil whisked with fresh lemon juice, Dijon mustard, minced garlic, sea salt, and cracked black pepper.
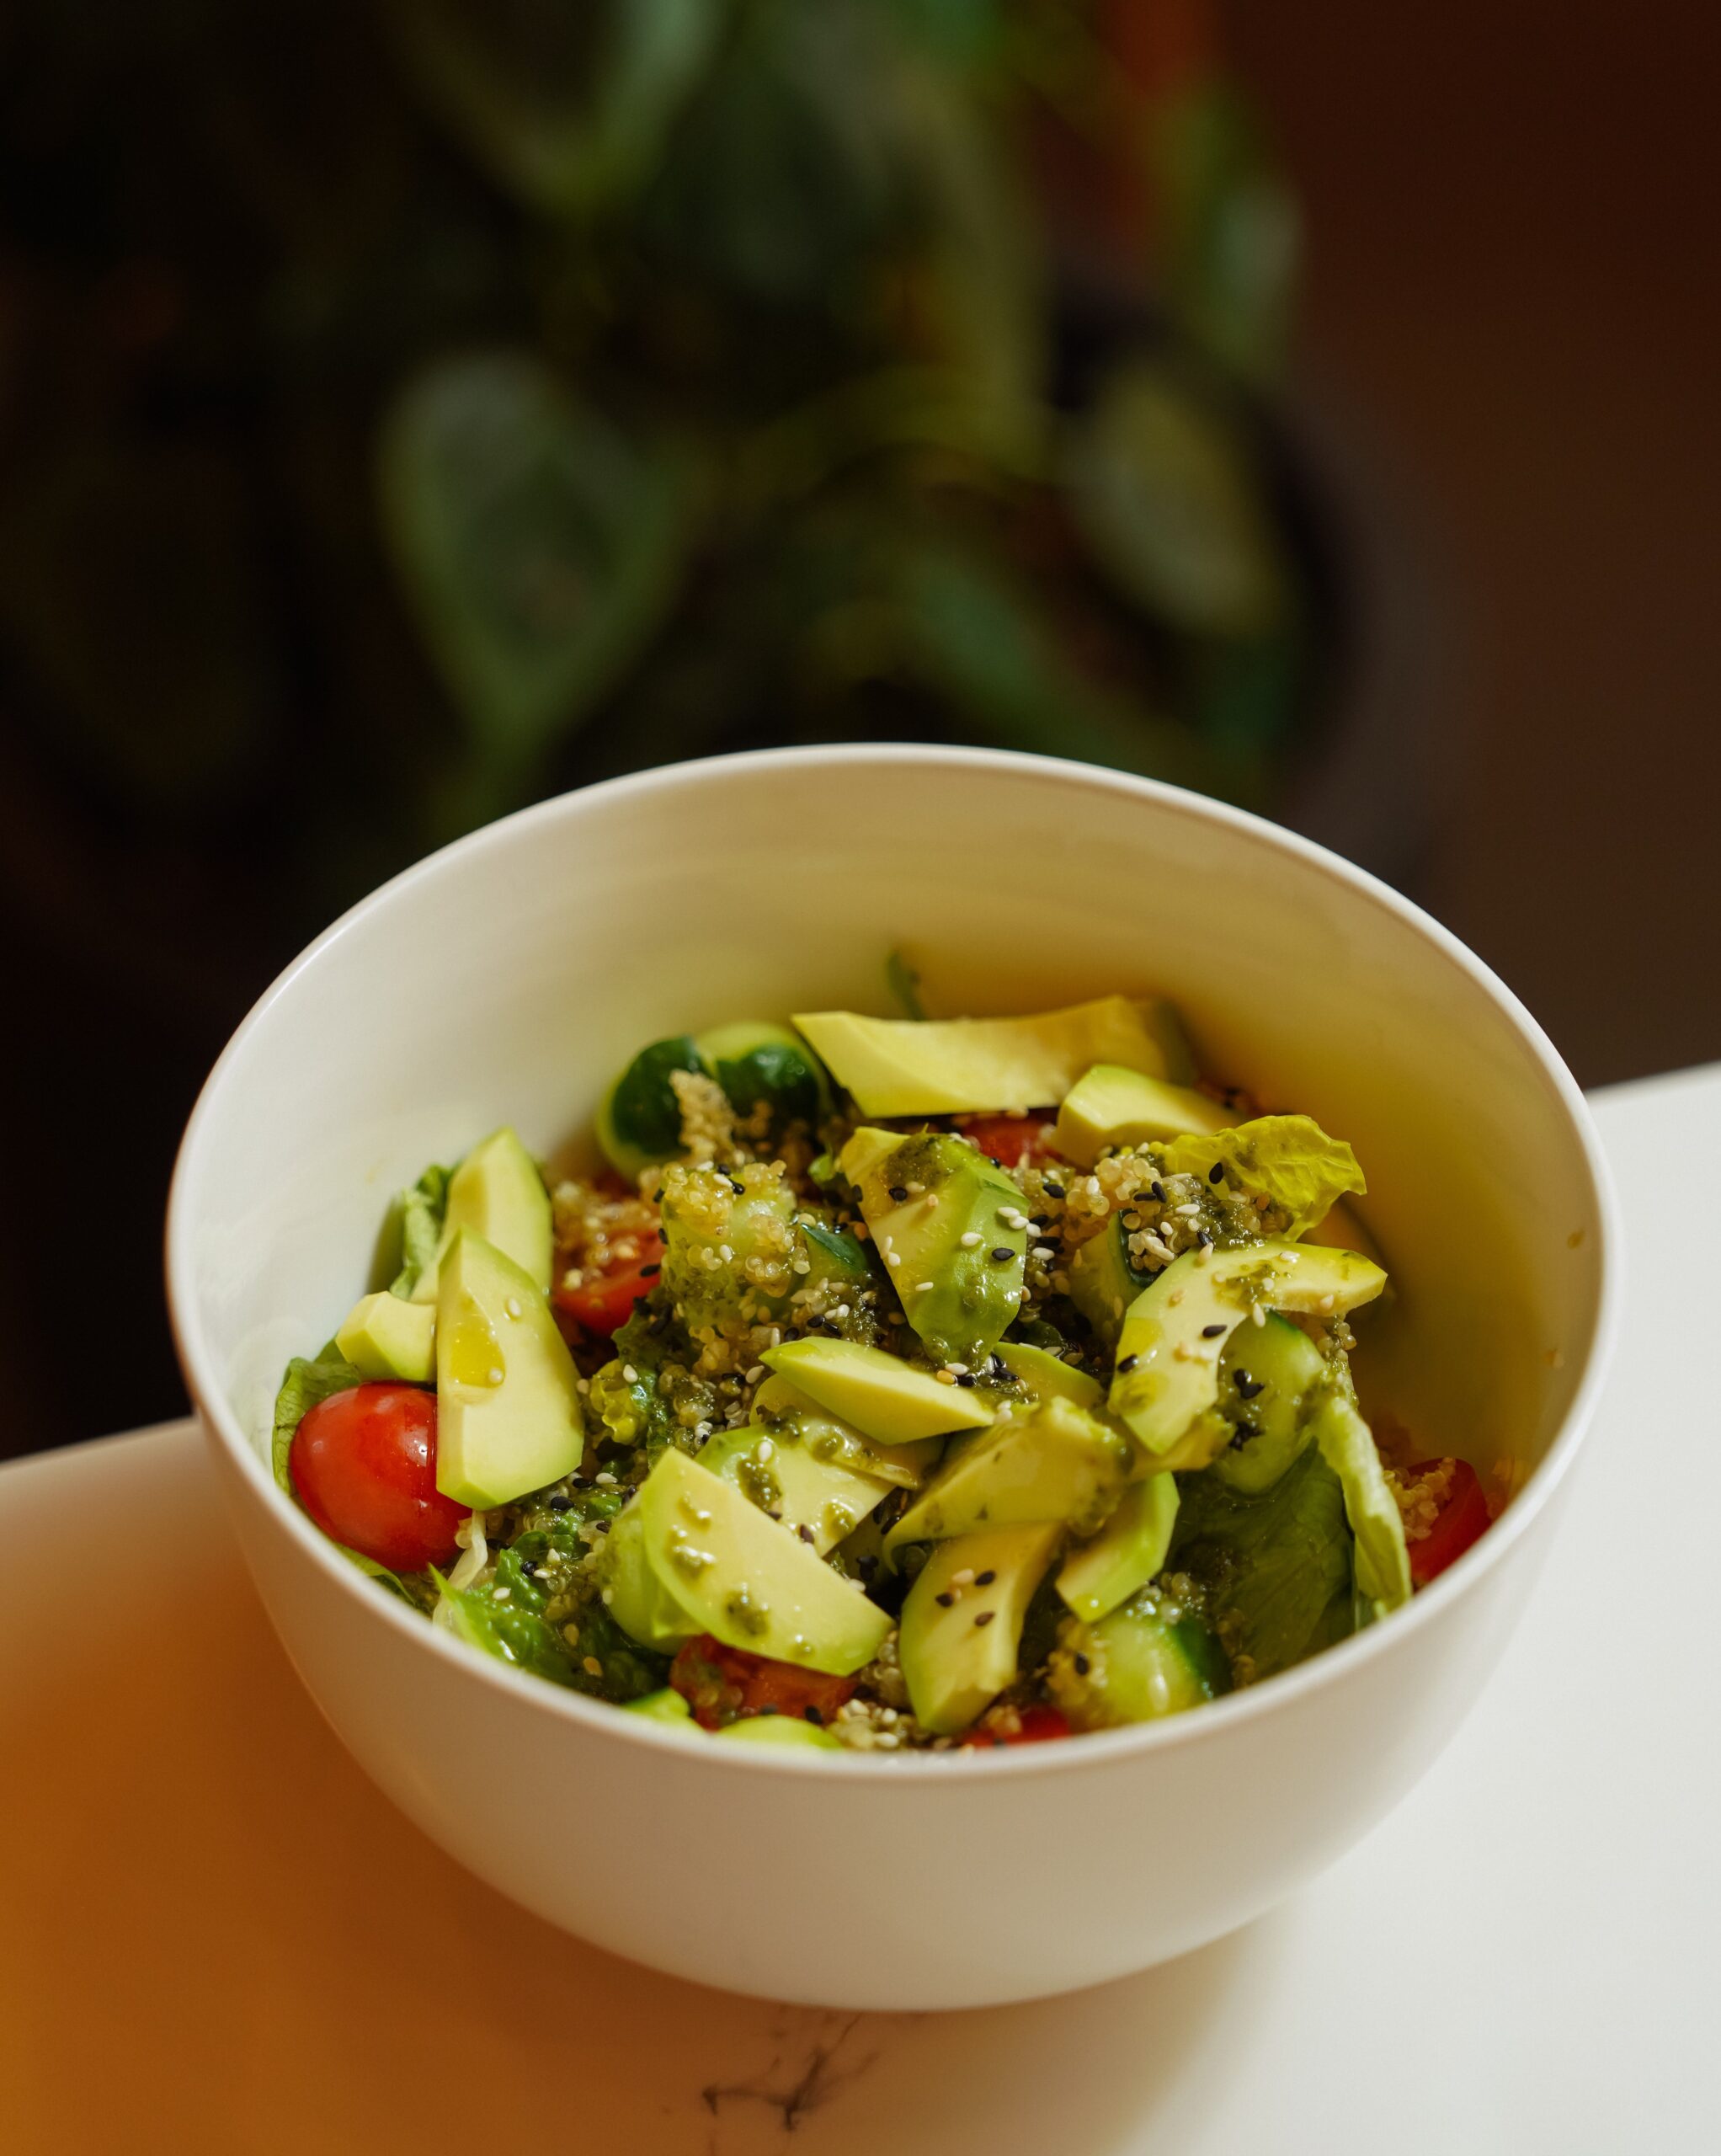
White ceramic bowl filled with fresh quinoa salad, diced avocado, cherry tomatoes, and sesame seeds
Dicing avocado and vegetables into uniform bite-sized pieces ensures balanced forkfuls.

Step-by-Step Bowl Preparation

  1. Rinse and Fluff the Quinoa: Always rinse uncooked quinoa thoroughly in a fine-mesh sieve under cold running water for 60 seconds to wash away natural bitter saponins. Simmer in water or low-sodium vegetable stock at a 1:1.75 ratio for 15 minutes, remove from heat, rest covered for 5 minutes, and fluff with a fork. Let it cool to room temperature.
  2. Whisk the Emulsion: In a small glass jar or ramekin, combine 3 tablespoons extra virgin olive oil, 1.5 tablespoons freshly squeezed lemon juice, half a teaspoon of smooth Dijon mustard, a pinch of sea salt, and freshly ground black pepper. Whisk or shake vigorously until thick and emulsified.
  3. Toss the Base Greens: In a wide serving bowl, lightly toss the crisp mixed greens and room-temperature quinoa with half of the dressing so every grain is lightly seasoned.
  4. Arrange Toppings: Top the dressed quinoa base in tidy sections with cucumber slices, sweet cherry tomatoes, and fan out the fresh sliced avocado across the center.
  5. Garnish and Serve: Scatter toasted sesame seeds, pomegranate arils, and olives over top. Drizzle remaining dressing over the avocado right before serving to lock in freshness.
Top-down view of a colorful quinoa salad bowl loaded with avocado slices, cucumber, and fresh greens
An overhead look at fresh whole ingredients assembled into a vibrant, high-satiety lunch.

Customization Options and Protein Pairings

Dietary GoalSuggested Add-InCulinary & Nutritional Impact
Extra Lean ProteinGrilled sliced chicken breast or seared wild shrimpBoosts protein to 35g+ while keeping total fats focused on heart-healthy unsaturated lipids.
Vegan Protein BoostCrispy roasted spiced chickpeas or pan-fried edamameAdds satisfying textural crunch alongside extra dietary zinc and iron.
Tangy Dairy AccentCrumbled goat cheese or authentic Greek sheep’s fetaIntroduces a sharp, creamy contrast that complements earthy quinoa and sweet tomatoes.

Meal Prep and Make-Ahead Recommendations

This bowl is exceptionally well-suited for advance batch cooking if you follow one simple rule: keep wet dressing and sliced avocado separate until mealtime.

  • Quinoa Prep: Cook a large batch of quinoa on Sunday. Stored in an airtight container, it stays fresh, fluffy, and clean-tasting in the refrigerator for up to 5 days.
  • Vegetable Storage: Store sliced cucumbers and cherry tomatoes in a sealed glass container lined with a dry paper towel to catch excess moisture.
  • Preserving Avocado: Slice the avocado fresh right before dining. If you must pre-slice it, coat the exposed flesh generously with fresh lemon juice and press parchment paper directly onto the cut surface.

Frequently Asked Questions

Should quinoa be served warm or cold in this salad?
Room temperature or slightly chilled is ideal. Warm quinoa will wilt delicate baby greens and soften sliced avocado prematurely.

Can I swap quinoa for another ancient grain?
Yes. Farro, pearled barley, wild rice, or bulgur wheat work smoothly as hearty whole-grain alternatives without altering the dressing ratios.

How do I keep the salad from becoming soggy?
Ensure your washed salad greens and cucumbers are spun thoroughly dry before building the bowl, and always add dressing just before you sit down to eat.