Creamy Tuscan Garlic Salmon (Easy 30-Minute Dinner)

Creamy Tuscan garlic salmon in skillet with spinach and tomatoes

Delivering a restaurant-caliber seafood entrée at home often feels intimidating due to the delicate thermal tolerances of wild fish and the finicky nature of dairy emulsions. This Creamy Tuscan Garlic Salmon bridges the gap between weeknight speed and culinary precision. By mastering proper pan surface temperature, fond deglazing, and gentle fat emulsification, you can achieve golden pan-seared crusts and a velvety, garlic-infused sauce studded with blistered tomatoes and tender greens in exactly 30 minutes—without relying on artificial starch thickeners.
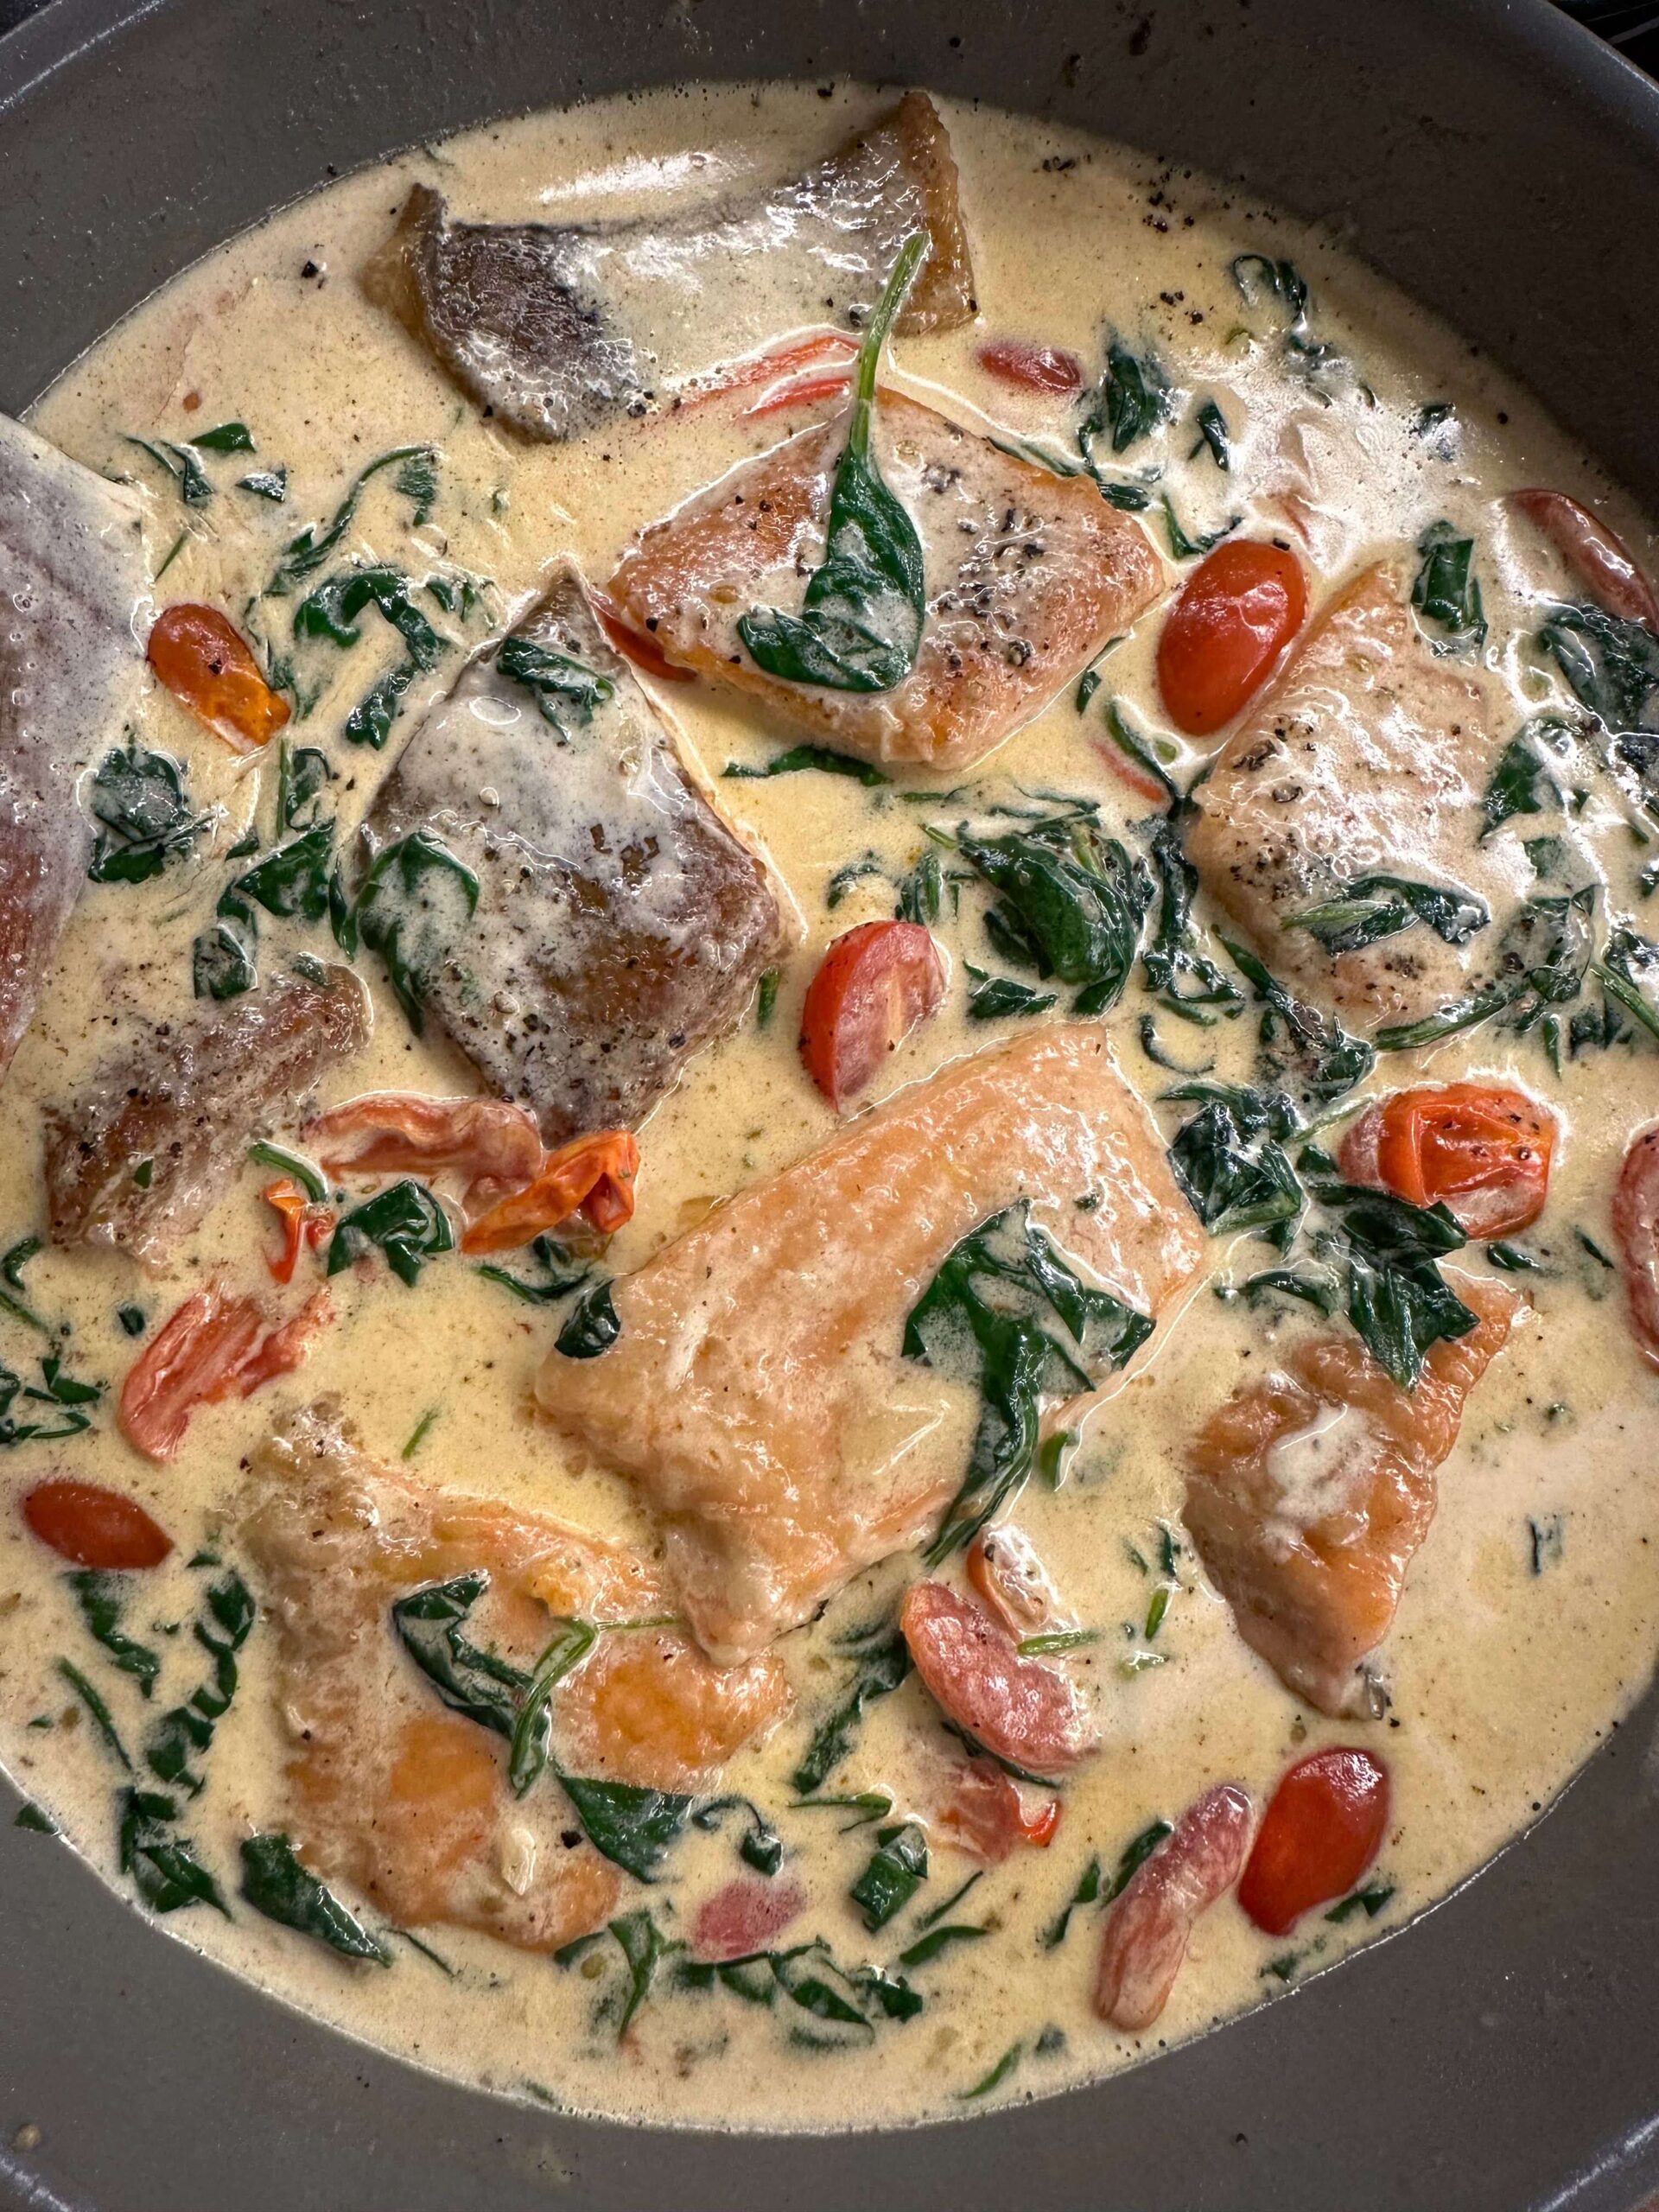
Creamy Tuscan garlic salmon in skillet with spinach and tomatoes
Simmering the salmon fillets gently in the reduced garlic-cream emulsion locks in moisture and infuses flavor.

Culinary Science: The Keys to Flawless Pan-Seared Salmon

Achieving crisp exterior searing while retaining succulent, flaky muscle fibers inside relies on understanding two critical thermodynamic milestones:

  • The Moisture-Searing Paradox: Water turns to steam at 212°F (100°C), while the Maillard browning reaction requires pan surface temperatures between 280°F and 330°F (138°C–165°C). If salmon surfaces enter the skillet wet, the fish steams rather than sears, yielding a rubbery gray exterior and sticking to the pan metal.
  • Albumin Extrusion Prevention: Those unappealing white protein droplets that often leach out of cooked salmon consist of coagulated albumin. Albumin squeezes out when muscle fibers contract too violently under rapid overcooking. Gentle residual simmering in the sauce holds internal temperatures right at 125°F–135°F (52°C–57°C) for medium doneness, keeping the proteins relaxed.

Ingredient Specifications & Flavor Dynamics

  • Salmon Fillets: 4 center-cut portions (approx. 6 oz / 170g each). Center-cut fillets feature consistent thickness from edge to edge, ensuring uniform cooking rates.
  • Fat Blend for Searing: 1 tbsp high-smoke point oil (avocado or light olive oil) paired with 1 tbsp unsalted butter. The oil raises the thermal threshold, allowing butter milk solids to brown into nutty aromatics without burning.
  • Fresh Garlic: 6 medium cloves, finely microplaned or minced. Microplaning ruptures more alliinase cell walls, creating an intense savory garlic backdrop.
  • Heavy Whipping Cream: 1 cup (minimum 36% butterfat). Lower-fat dairy or half-and-half contains too much water and will separate when hitting acidic tomato juices.
  • Low-Sodium Broth: 1/3 cup rich vegetable or poultry stock to dissolve the caramelized pan fond and lighten the sauce viscosity.
  • Blistered Tomatoes: 1 cup whole sweet cherry tomatoes, sliced in half. High heat caramelizes their natural fructose into sweet-tart flavor bursts.
  • Tender Greens: 3 cups mature baby spinach, destemmed and dried.
  • Aged Parmigiano-Reggiano: 1/2 cup finely microplaned directly from the wedge. Natural glutamates provide deep umami and bind the dairy fats cleanly.
  • Aromatics & Seasoning: 1 tsp dried Mediterranean oregano and basil, 3/4 tsp fine kosher salt, and freshly cracked tellicherry black peppercorns.

Step-by-Step Culinary Workflow
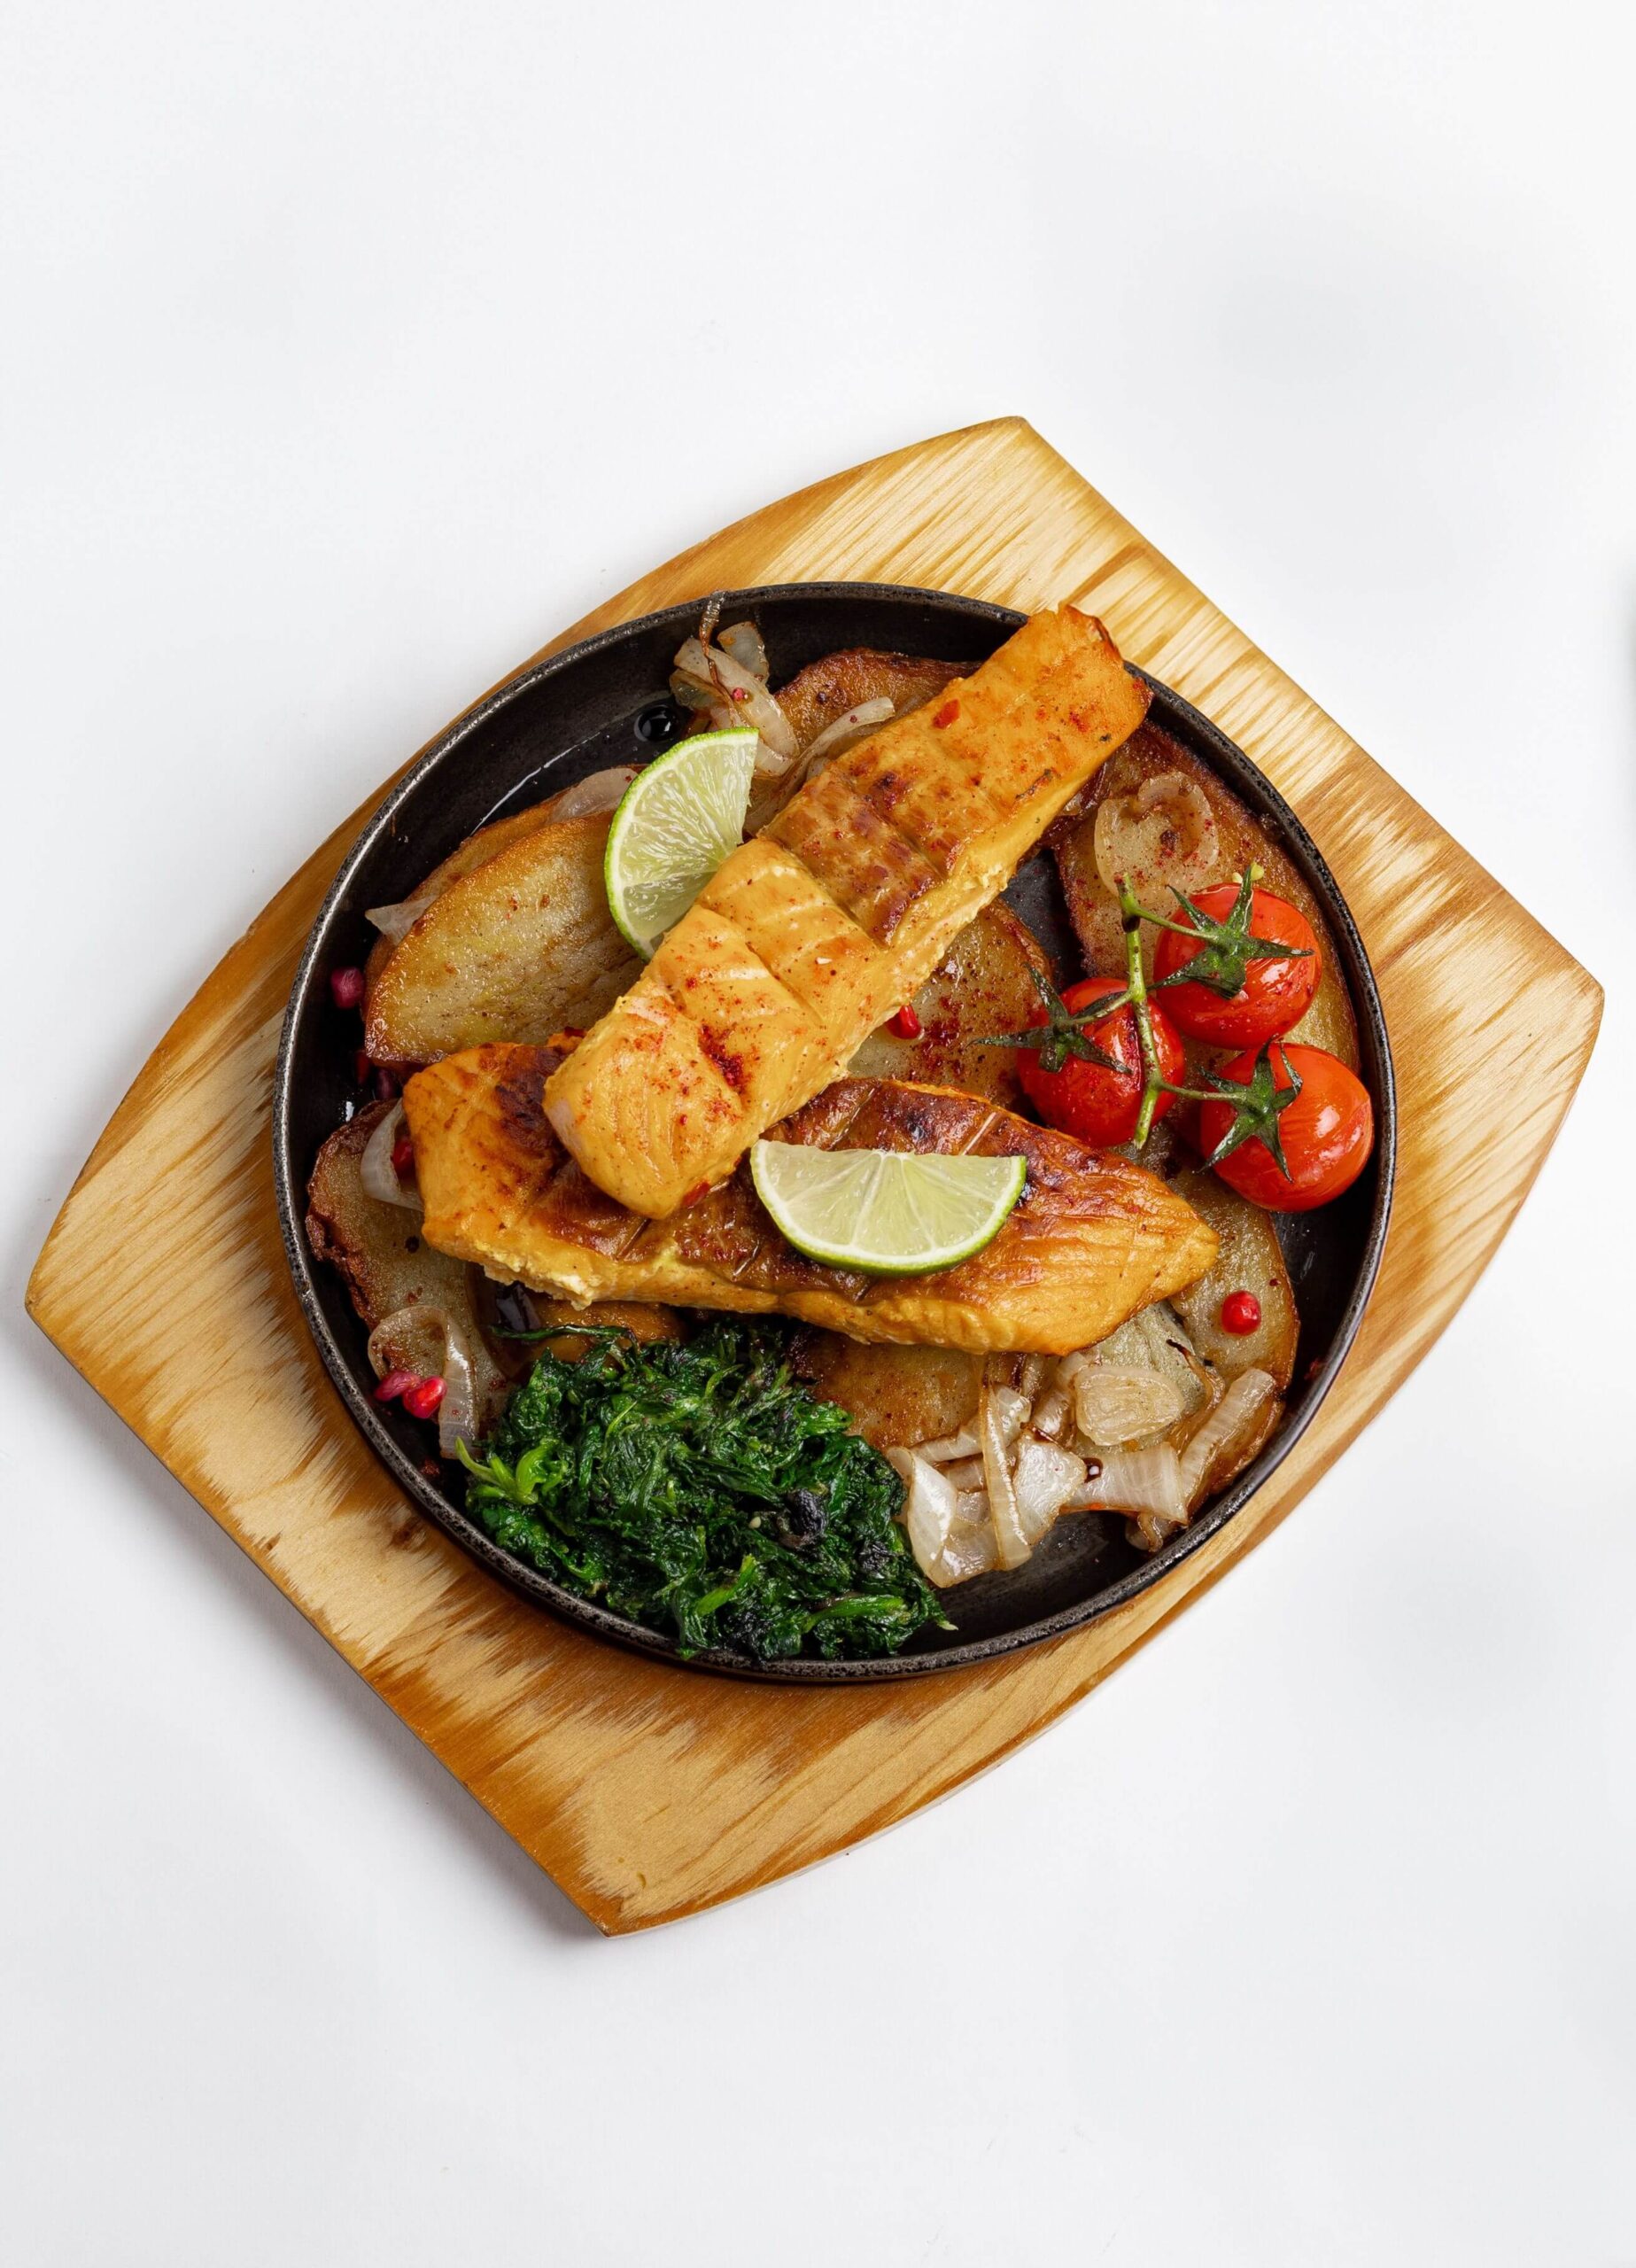
Pan seared salmon fillets cooked to golden perfection
Undisturbed searing establishes a clean release layer and deep caramelized crust.
  1. Surface Dehydration: Pull the salmon from refrigeration 15 minutes prior to cooking. Blot the surfaces with paper towels until completely matte and dry to the touch. Season both sides with kosher salt and cracked black pepper immediately before they hit the pan.
  2. Initial Crust Formation: Heat your heavy stainless steel or seasoned cast-iron skillet over medium-high heat until the oil ripples. Lay the fillets down away from you to prevent hot splatter. Sear undisturbed for 4 minutes. Once the edges turn opaque and the crust naturally releases from the metal, flip carefully and sear the second side for 2 to 3 minutes. Transfer to a resting plate; the fillets should remain slightly underdone at the core.
  3. Sweating Aromatics: Drop the heat to medium. Add minced garlic and cherry tomato halves into the residual fond. Sauté for 60 to 90 seconds until the garlic turns fragrant and pale gold—do not let it brown into bitterness.
  4. Deglaze and Reduce: Pour in the chicken broth. Use a flat wooden spoon to scrape every bit of caramelized fish and butter sugars from the bottom of the pan. Simmer for 2 minutes until the liquid reduces by half.
  5. Emulsify the Cream: Reduce heat to medium-low. Slowly pour in the heavy cream while gently whisking. Bring to a calm, rolling simmer (not a violent boil). Whisk in the microplaned parmesan in two batches until completely melted and glossy.
  6. Wilt Greens & Finish: Fold in the baby spinach leaves. As soon as the spinach collapses into the sauce (approx. 90 seconds), nestle the seared salmon fillets back into the skillet along with their resting plate juices. Baste the warm sauce over the fillets for 2 minutes until internal core temperature reaches 130°F–135°F (55°C–57°C). Remove from heat immediately.

Professional Troubleshooting & Technique Matrix

SymptomUnderlying Root CauseCulinary Correction
Sauce splits or looks greasySimmering at excessive heat or using pre-shredded anti-caking cheeseLower temperature to low simmer; always hand-grate Parmigiano-Reggiano from the block.
Salmon sticks or tearsFlipping prematurely before protein crust forms a clean mechanical releaseEnsure pan is shimmering hot before adding fish; wait until bottom edge lifts freely without spatula force.
Overly thin sauceSpinach introduced wet or broth not reduced adequatelySpin spinach completely dry in a salad spinner; let stock reduce by 50% prior to adding cream.
Bitter undertonesScorched garlic during initial sweatRegulate stovetop heat to medium-low before adding alliums, and deglaze within 90 seconds.

Pairing and Plating Architecture

Because the garlic parmesan cream sauce delivers substantial richness and unctuous mouthfeel, accompaniments should provide structured starches to absorb sauce or bright acidity to cleanse the palate between bites.
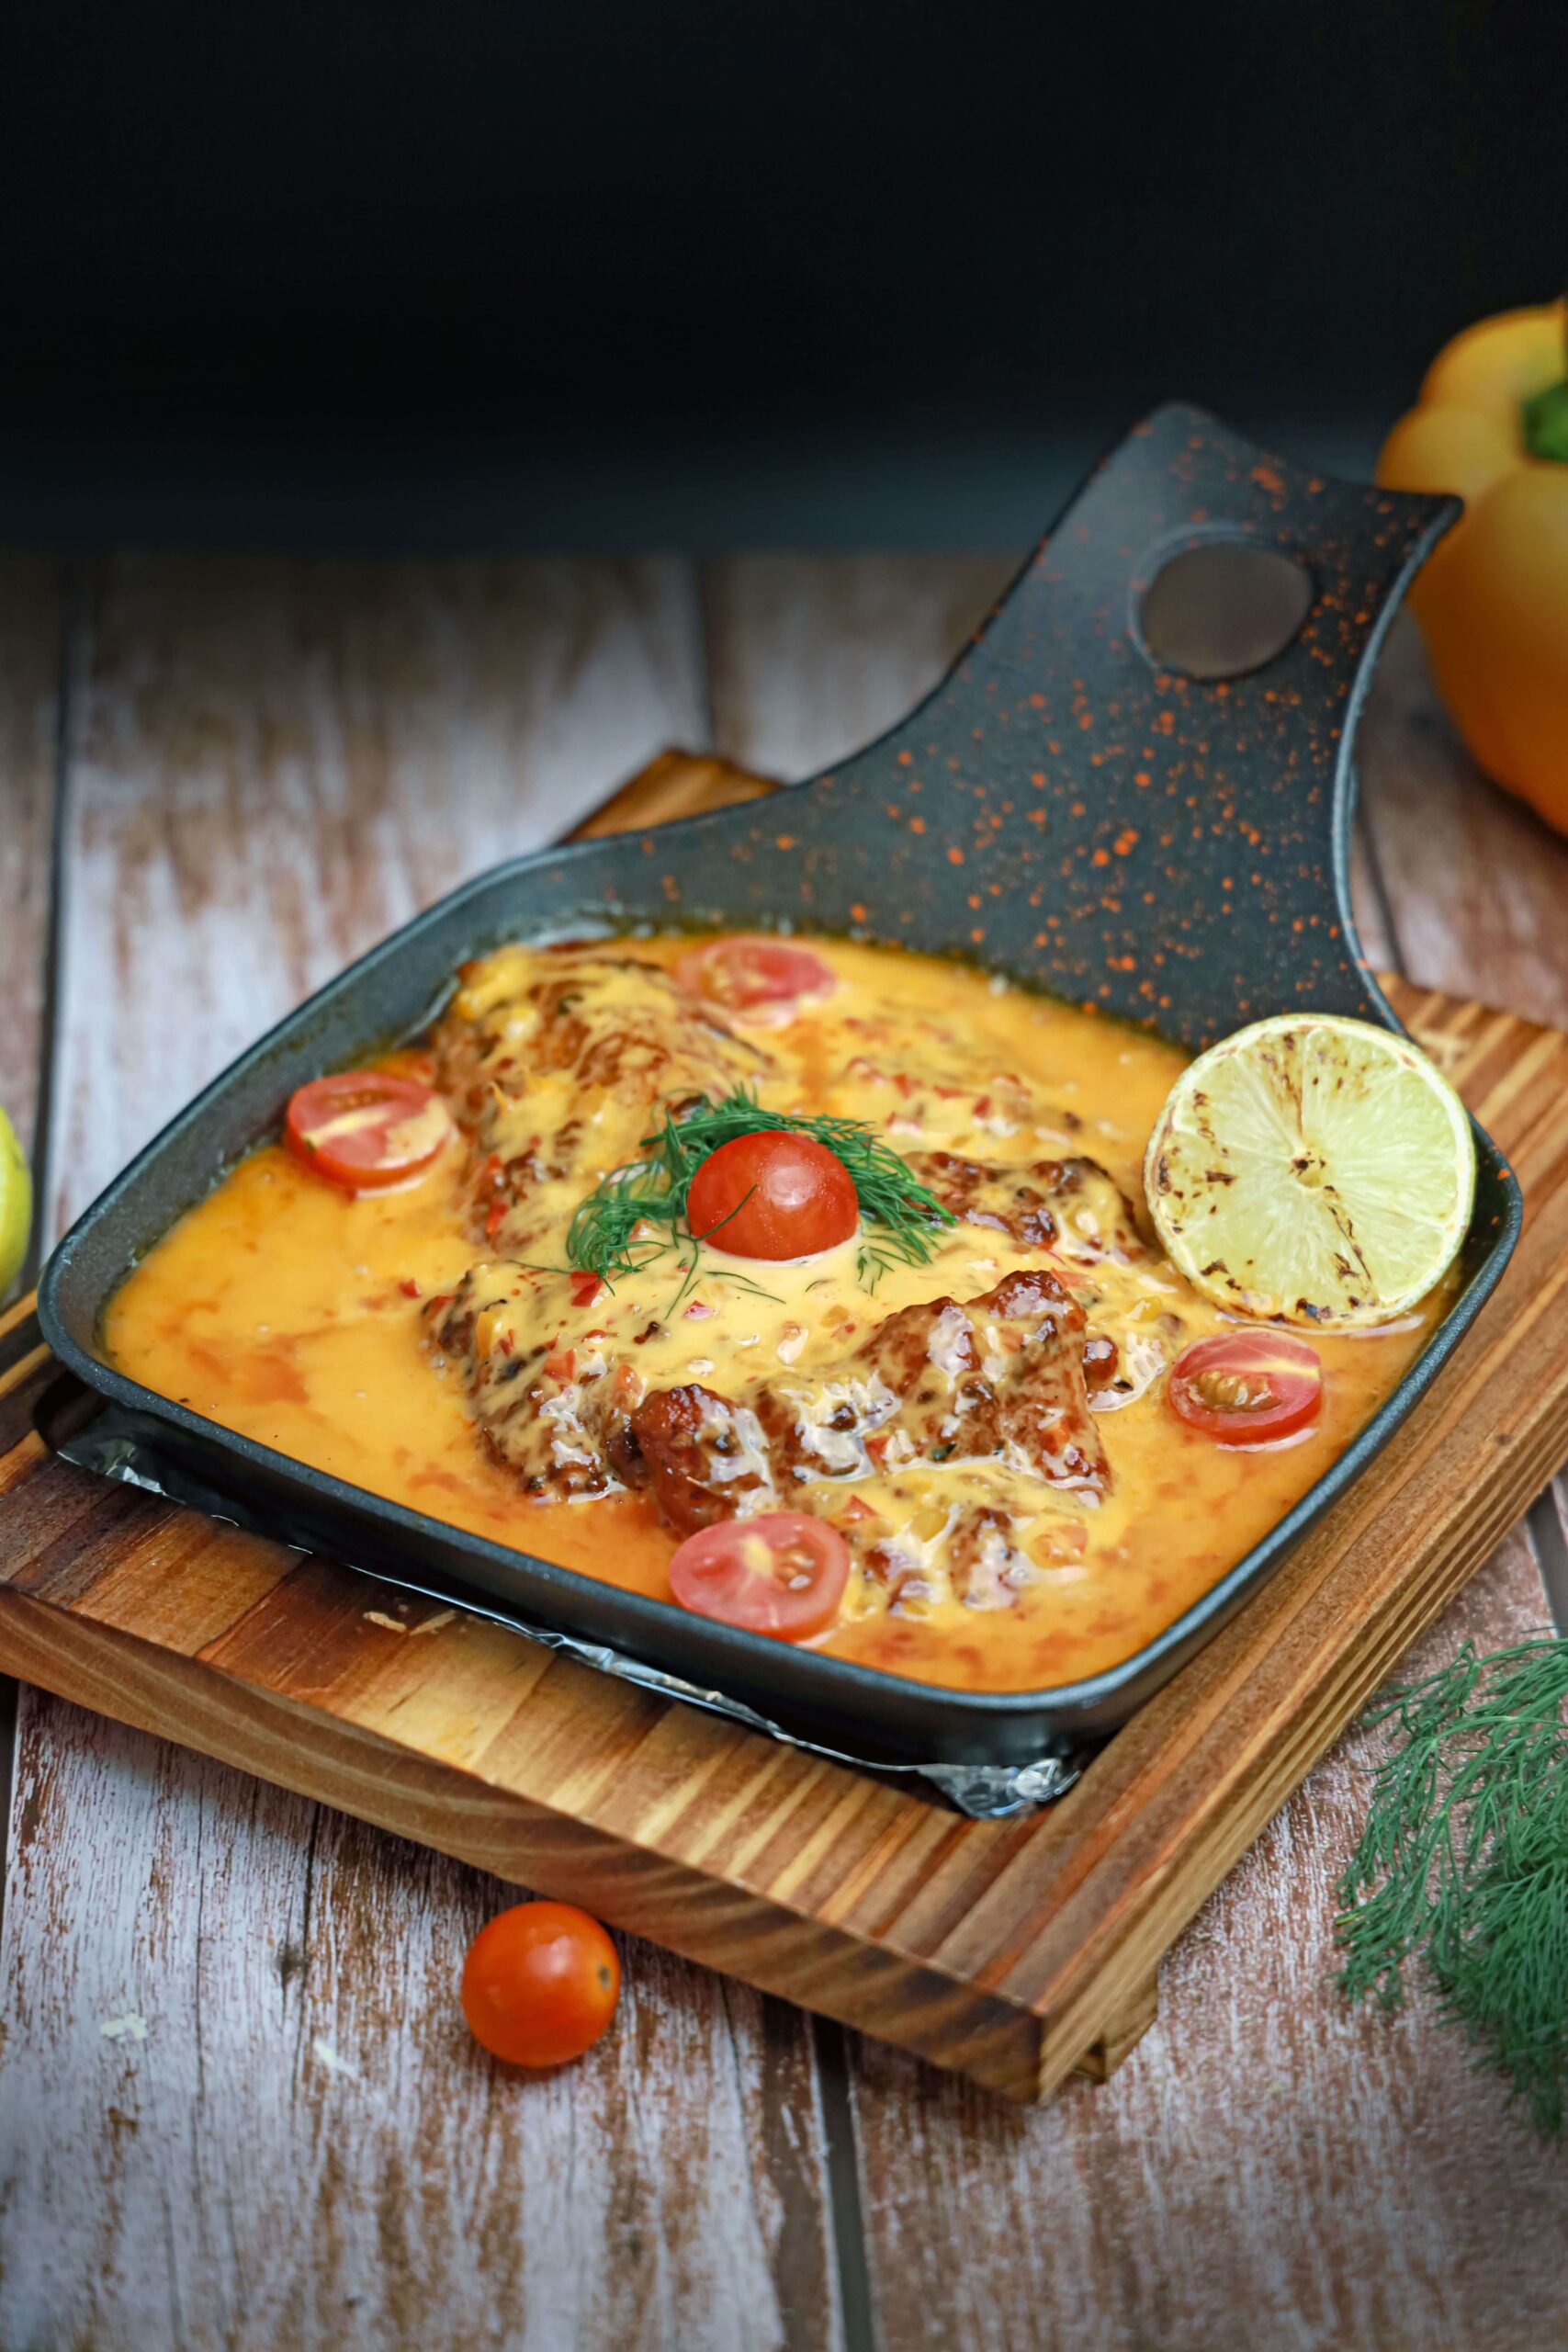
Plated Tuscan style salmon with sauce and fresh citrus garnish
Presenting the seared fillet atop a bed of wilted greens keeps the top crust crisp while capturing the cream reduction.
  • Starch Foundations: Serve alongside warm crusty artisan sourdough, al dente fettuccine tossed in extra virgin olive oil, or fluffy jasmine rice.
  • Low-Carb Alternatives: Butter-basted spiralized zucchini ribbons (zoodles), pureed garlic cauliflower mash, or blistered pencil asparagus.
  • The Citrus Lift: Finish each plate with an immediate squeeze of fresh Meyer lemon juice across the fillet. The citric acid cuts dairy coating and accentuates oceanic sweetness.

Storage and Reheating Protocols

  • Chilling & Shelf Life: Cool leftover fish and sauce to ambient room temperature within 45 minutes. Seal in an airtight glass container and store in the main refrigerator body (not door shelves) for up to 3 days.
  • Skillet Reheating (Recommended): Avoid microwaves, which shatter dairy emulsion bonds and turn fish dry and rubbery. Instead, place salmon and sauce in a small skillet over low heat, add 1 tablespoon of stock or water, cover with a tight lid, and steam gently for 4 to 5 minutes.
  • Freezer Notice: High-fat dairy sauces do not undergo freeze-thaw cycles cleanly. Freezing will fracture the emulsion and create a grainy, watery matrix upon thawing.

Frequently Asked Questions

Can I use skin-on salmon fillets?
Yes. Sear the skin-side down first for 5 minutes until crispy and rigid. When plating, spoon sauce around the base rather than over the top to keep the skin crisp.

Can I make this dairy-free?
Substitute full-fat unsweetened culinary coconut milk or cashew cream for the heavy whipping cream, and utilize nutritional yeast or dairy-free aged hard cheese alternatives.

What is the best way to handle sun-dried tomatoes instead of cherry tomatoes?
If using oil-packed sun-dried tomatoes, drain them thoroughly and slice into thin strips. Add them alongside the garlic so they soften and release their concentrated sweet-tart sugars into the pan oils.
20-Minute Sheet Pan Lemon Herb Salmon (Easy Weeknight Recipe)

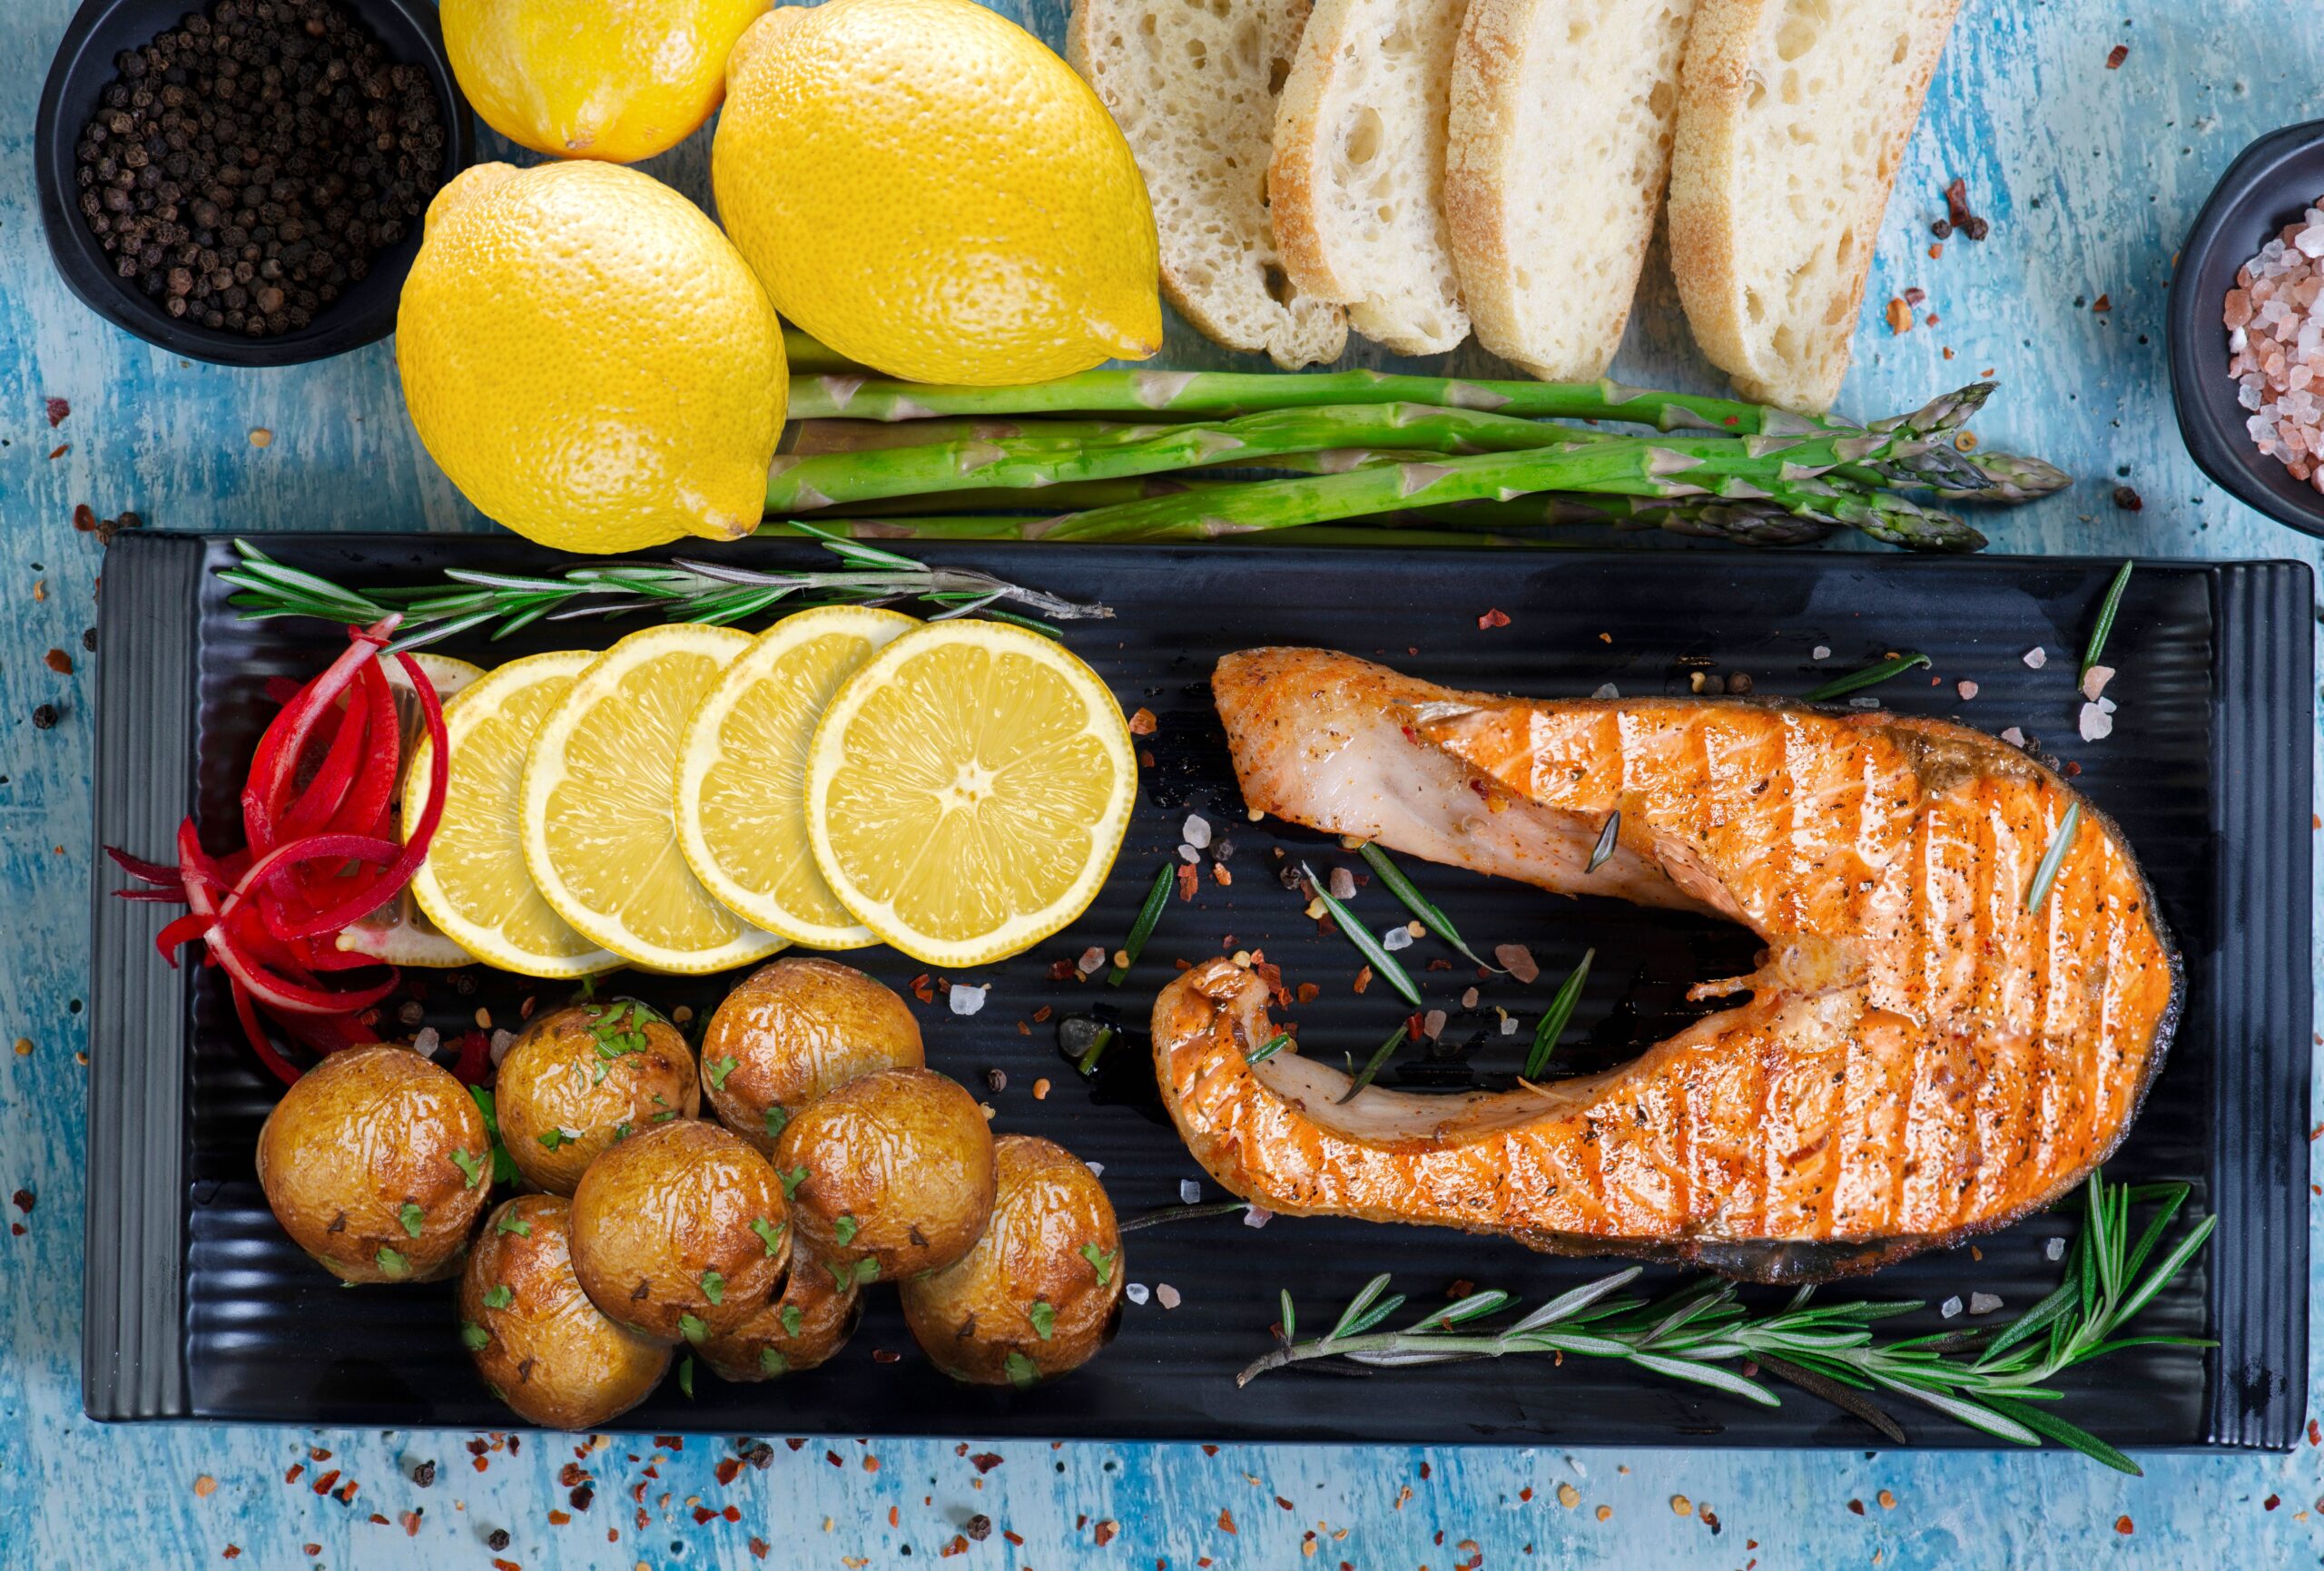
Pan-seared lemon herb salmon steak served with roasted baby potatoes and fresh herbs

When busy weeknights demand a dinner that is nutritious, elegant, and virtually effortless to clean up, this 20-Minute Sheet Pan Lemon Herb Salmon is the ultimate answer. Featuring succulent, flaky salmon steaks infused with fragrant herbs, melted garlic butter, and bright lemon citrus alongside roasted vegetables, this meal brings Mediterranean restaurant quality straight to your home table.

Pan-seared lemon herb salmon steak served with roasted baby potatoes and fresh herbs
Savory herb-seasoned salmon paired with golden baby potatoes and zesty fresh lemon wheels.

Why High-Heat Roasting Delivers the Best Salmon

Roasting salmon at 400°F (200°C) locks in delicate natural oils without boiling the fish in its own moisture. This method yields major culinary benefits:

  • Flaky, Moist Flakes: High thermal penetration crisps the exterior crust while retaining pure tenderness in the center of the fillet.
  • Effortless Herb Infusion: Searing under lemon slices lets warm citrus juices and melted butter continuously baste the fish as it cooks.
  • Single-Pan Simplicity: Roasting side vegetables on the same parchment sheet keeps weeknight dishwashing to an absolute minimum.

“Never overbake salmon. Pull it from the oven the moment the center turns slightly translucent; resting on the hot pan carries it to perfection.”


Ingredients & Flavor Essentials

  • Salmon: 4 fresh salmon portions or steaks (about 6 ounces each), patted completely dry.
  • Extra Virgin Olive Oil: 2 tablespoons, divided between vegetables and fish.
  • Quality Butter: 2 tablespoons unsalted butter, melted.
  • Fresh Lemon: 2 whole lemons (1 juiced and zested, 1 cut into thin rounds for roasting).
  • Fresh Garlic: 4 cloves, finely minced or microplaned.
  • Herbs & Seasonings: 2 tablespoons fresh dill or rosemary, 1 teaspoon dried oregano, 1 teaspoon kosher salt, and 1/2 teaspoon freshly cracked black pepper.
  • Vegetable Sides: Pre-steamed baby potatoes, asparagus spears, or zucchini slices for roasting alongside.

Step-by-Step Preparation & Roasting Method

  1. Preheat & Prep: Set oven to 400°F (200°C). Line a heavy metal rimmed baking sheet with parchment paper.
  2. Mix Herb Glaze: In a small bowl, whisk together melted butter, 1 tablespoon olive oil, minced garlic, lemon zest, 1 tablespoon lemon juice, chopped dill, oregano, salt, and black pepper.
  3. Assemble the Tray: Pat the salmon dry with paper towels. Place salmon down the center. Arrange parboiled baby potatoes or vegetables around the edges, tossed in remaining olive oil and a pinch of salt.
  4. Glaze the Fish: Spoon the herb butter mixture generously across each salmon portion, then crown each piece with fresh lemon slices.
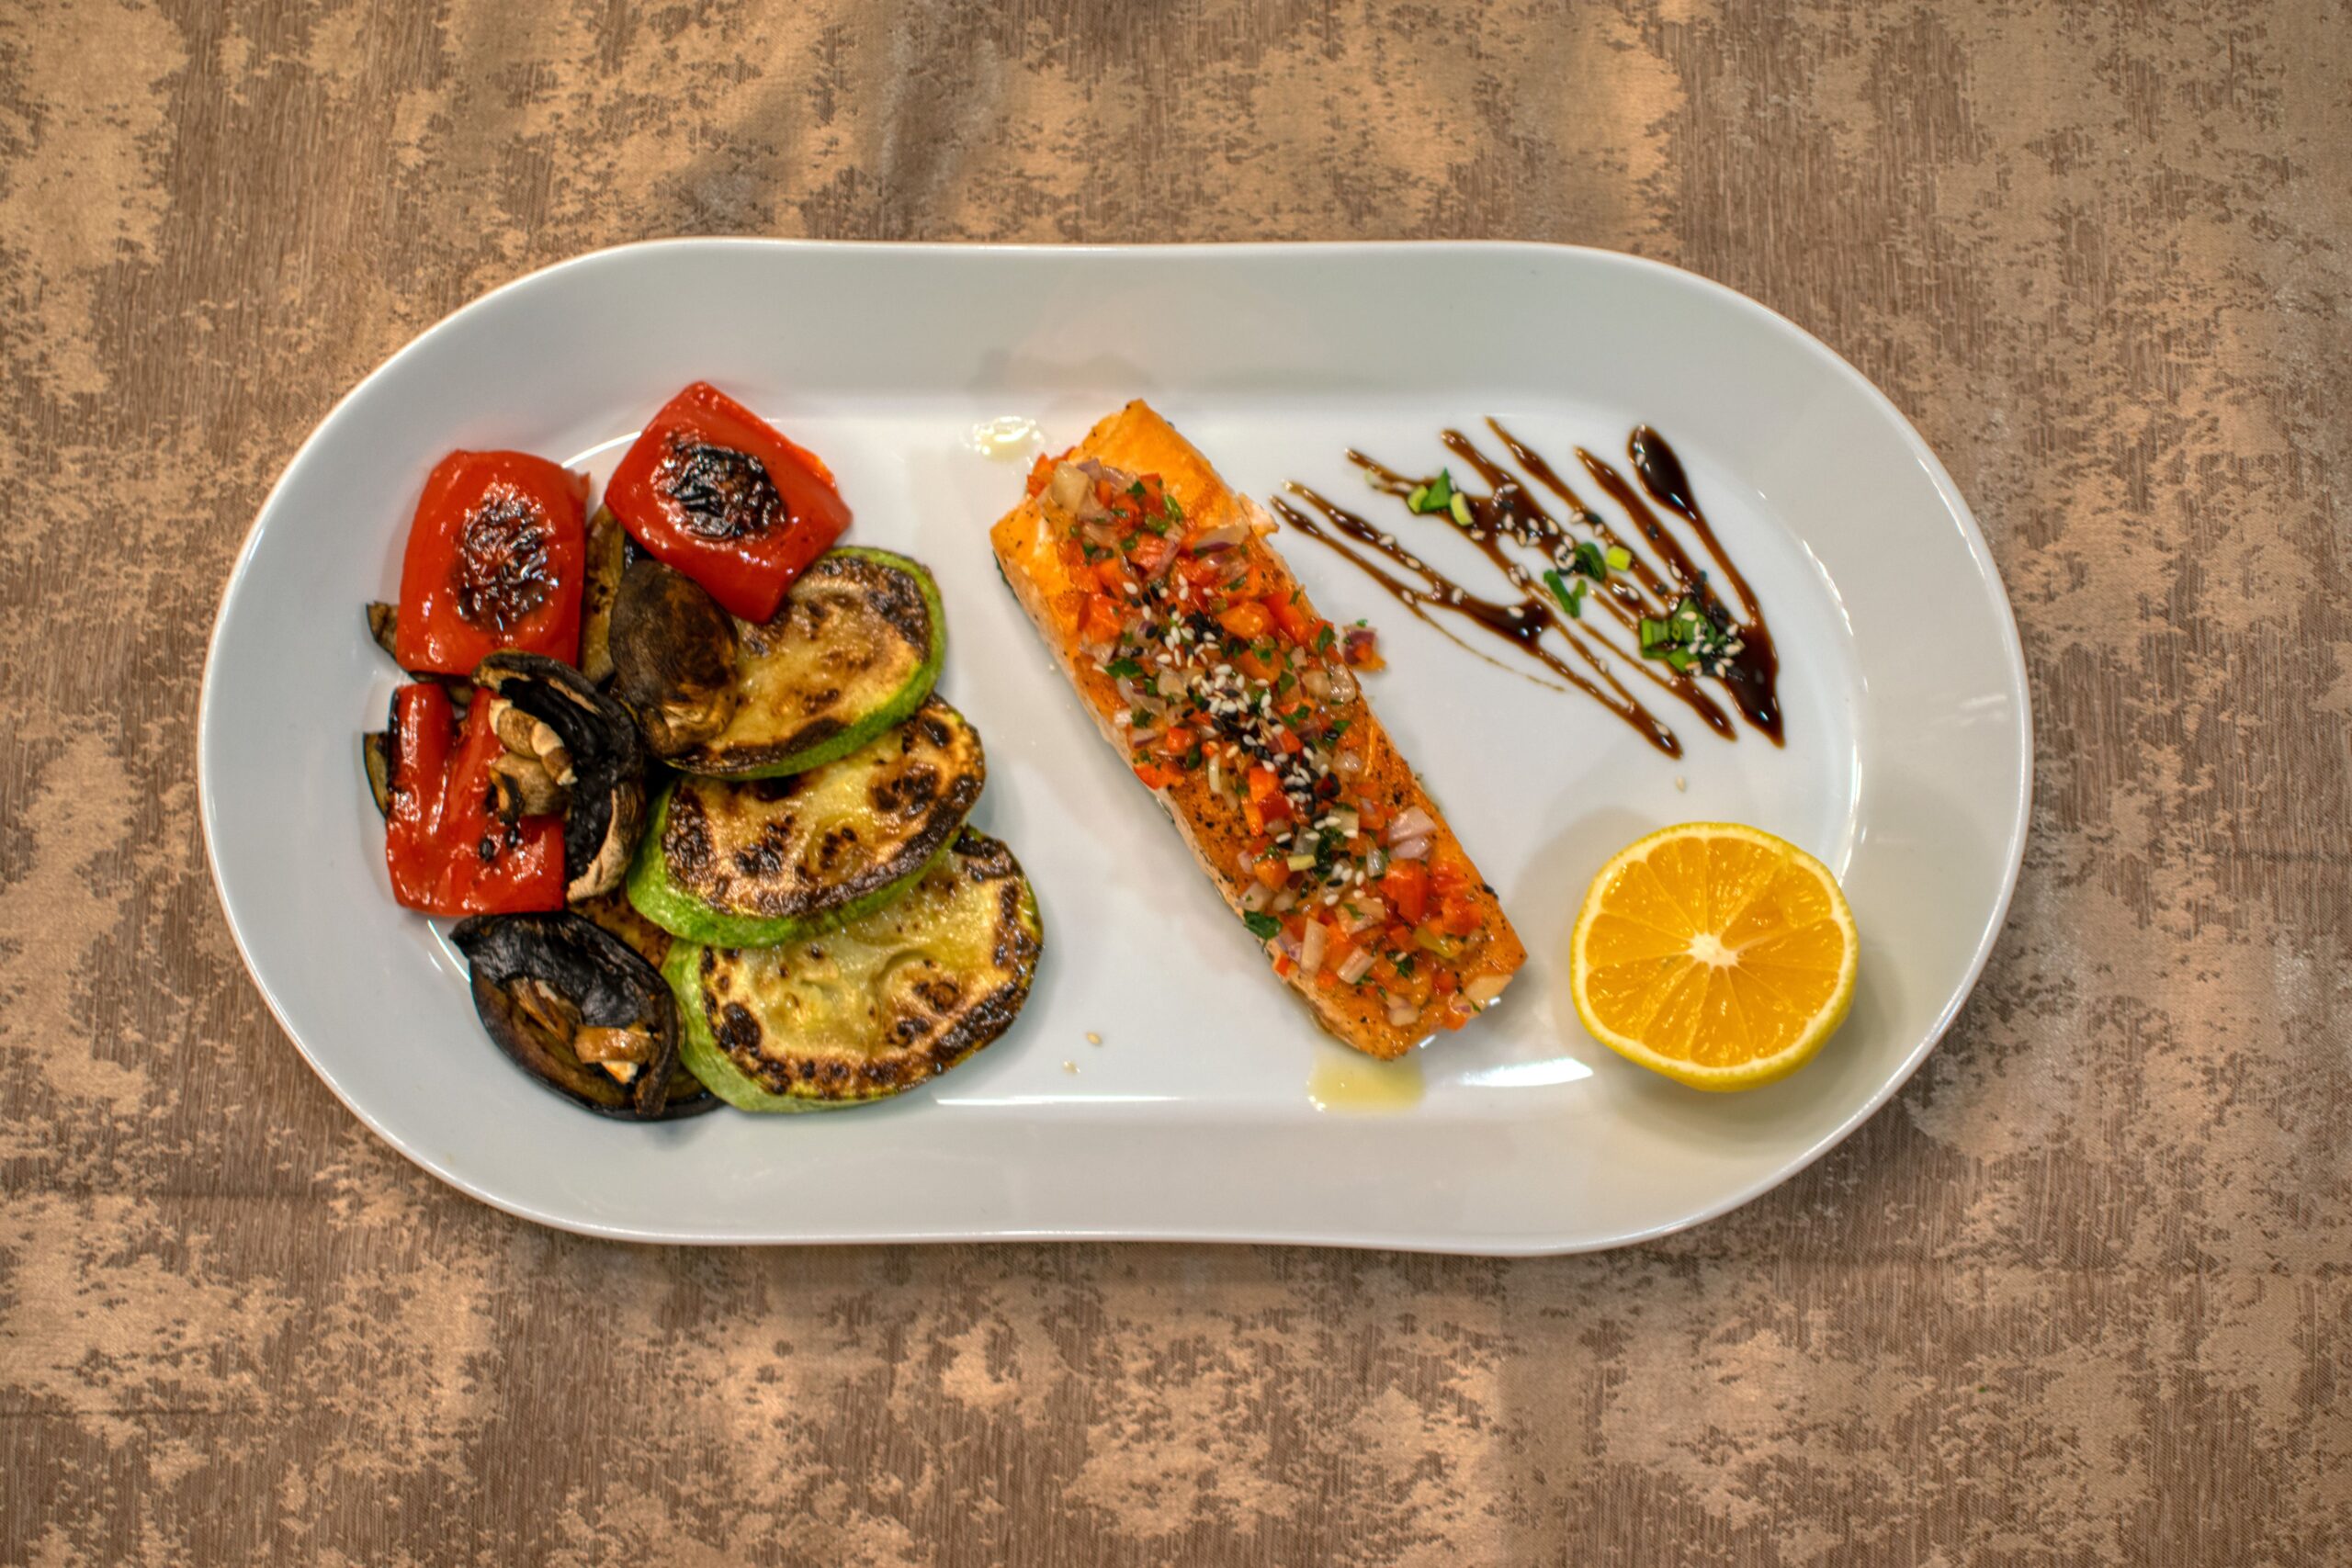
Roasted seasoned salmon fillet served with grilled zucchini and sweet peppers on a white oval platter
Herb-crusted salmon roasted with vibrant Mediterranean vegetables and citrus.
  1. Roast: Bake on the center rack for 12 to 14 minutes until fish flakes effortlessly with a fork (internal temperature reaches 140°F / 60°C).
  2. Optional Broil Finish: Turn the broiler on high for 60 to 90 seconds to achieve caramelized edges on the lemon and vegetables.
  3. Rest and Garnish: Remove pan from oven, let rest for 2 minutes, and garnish with fresh herbs before plating.

Troubleshooting Common Salmon Roasting Mistakes

Problem Encountered Likely Cause Chef Solution
White liquid leaking (albumin) Placing cold fish into hot oven Let salmon rest at room temperature for 10 minutes before roasting.
Dry, chalky texture Overbaking past 145°F Check doneness at minute 11; residual pan heat finishes the cooking out of the oven.
Soggy roasted vegetables Pan overcrowding Spread vegetables in a single layer so moisture evaporates into roast rather than steam.

Pairing & Serving Inspirations

This vibrant seafood meal pairs harmoniously with refreshing and wholesome side dishes:

  • Grain Bowls: Serve over warm fluffy quinoa, orzo pasta, or steamed jasmine rice to catch every drop of herb lemon butter.
  • Crisp Green Salad: Accompany with a peppery arugula salad dressed in balsamic vinegar and shaved parmesan.
  • Artisan Bread: Add toasted sourdough or garlic ciabatta for wiping pan juices clean.
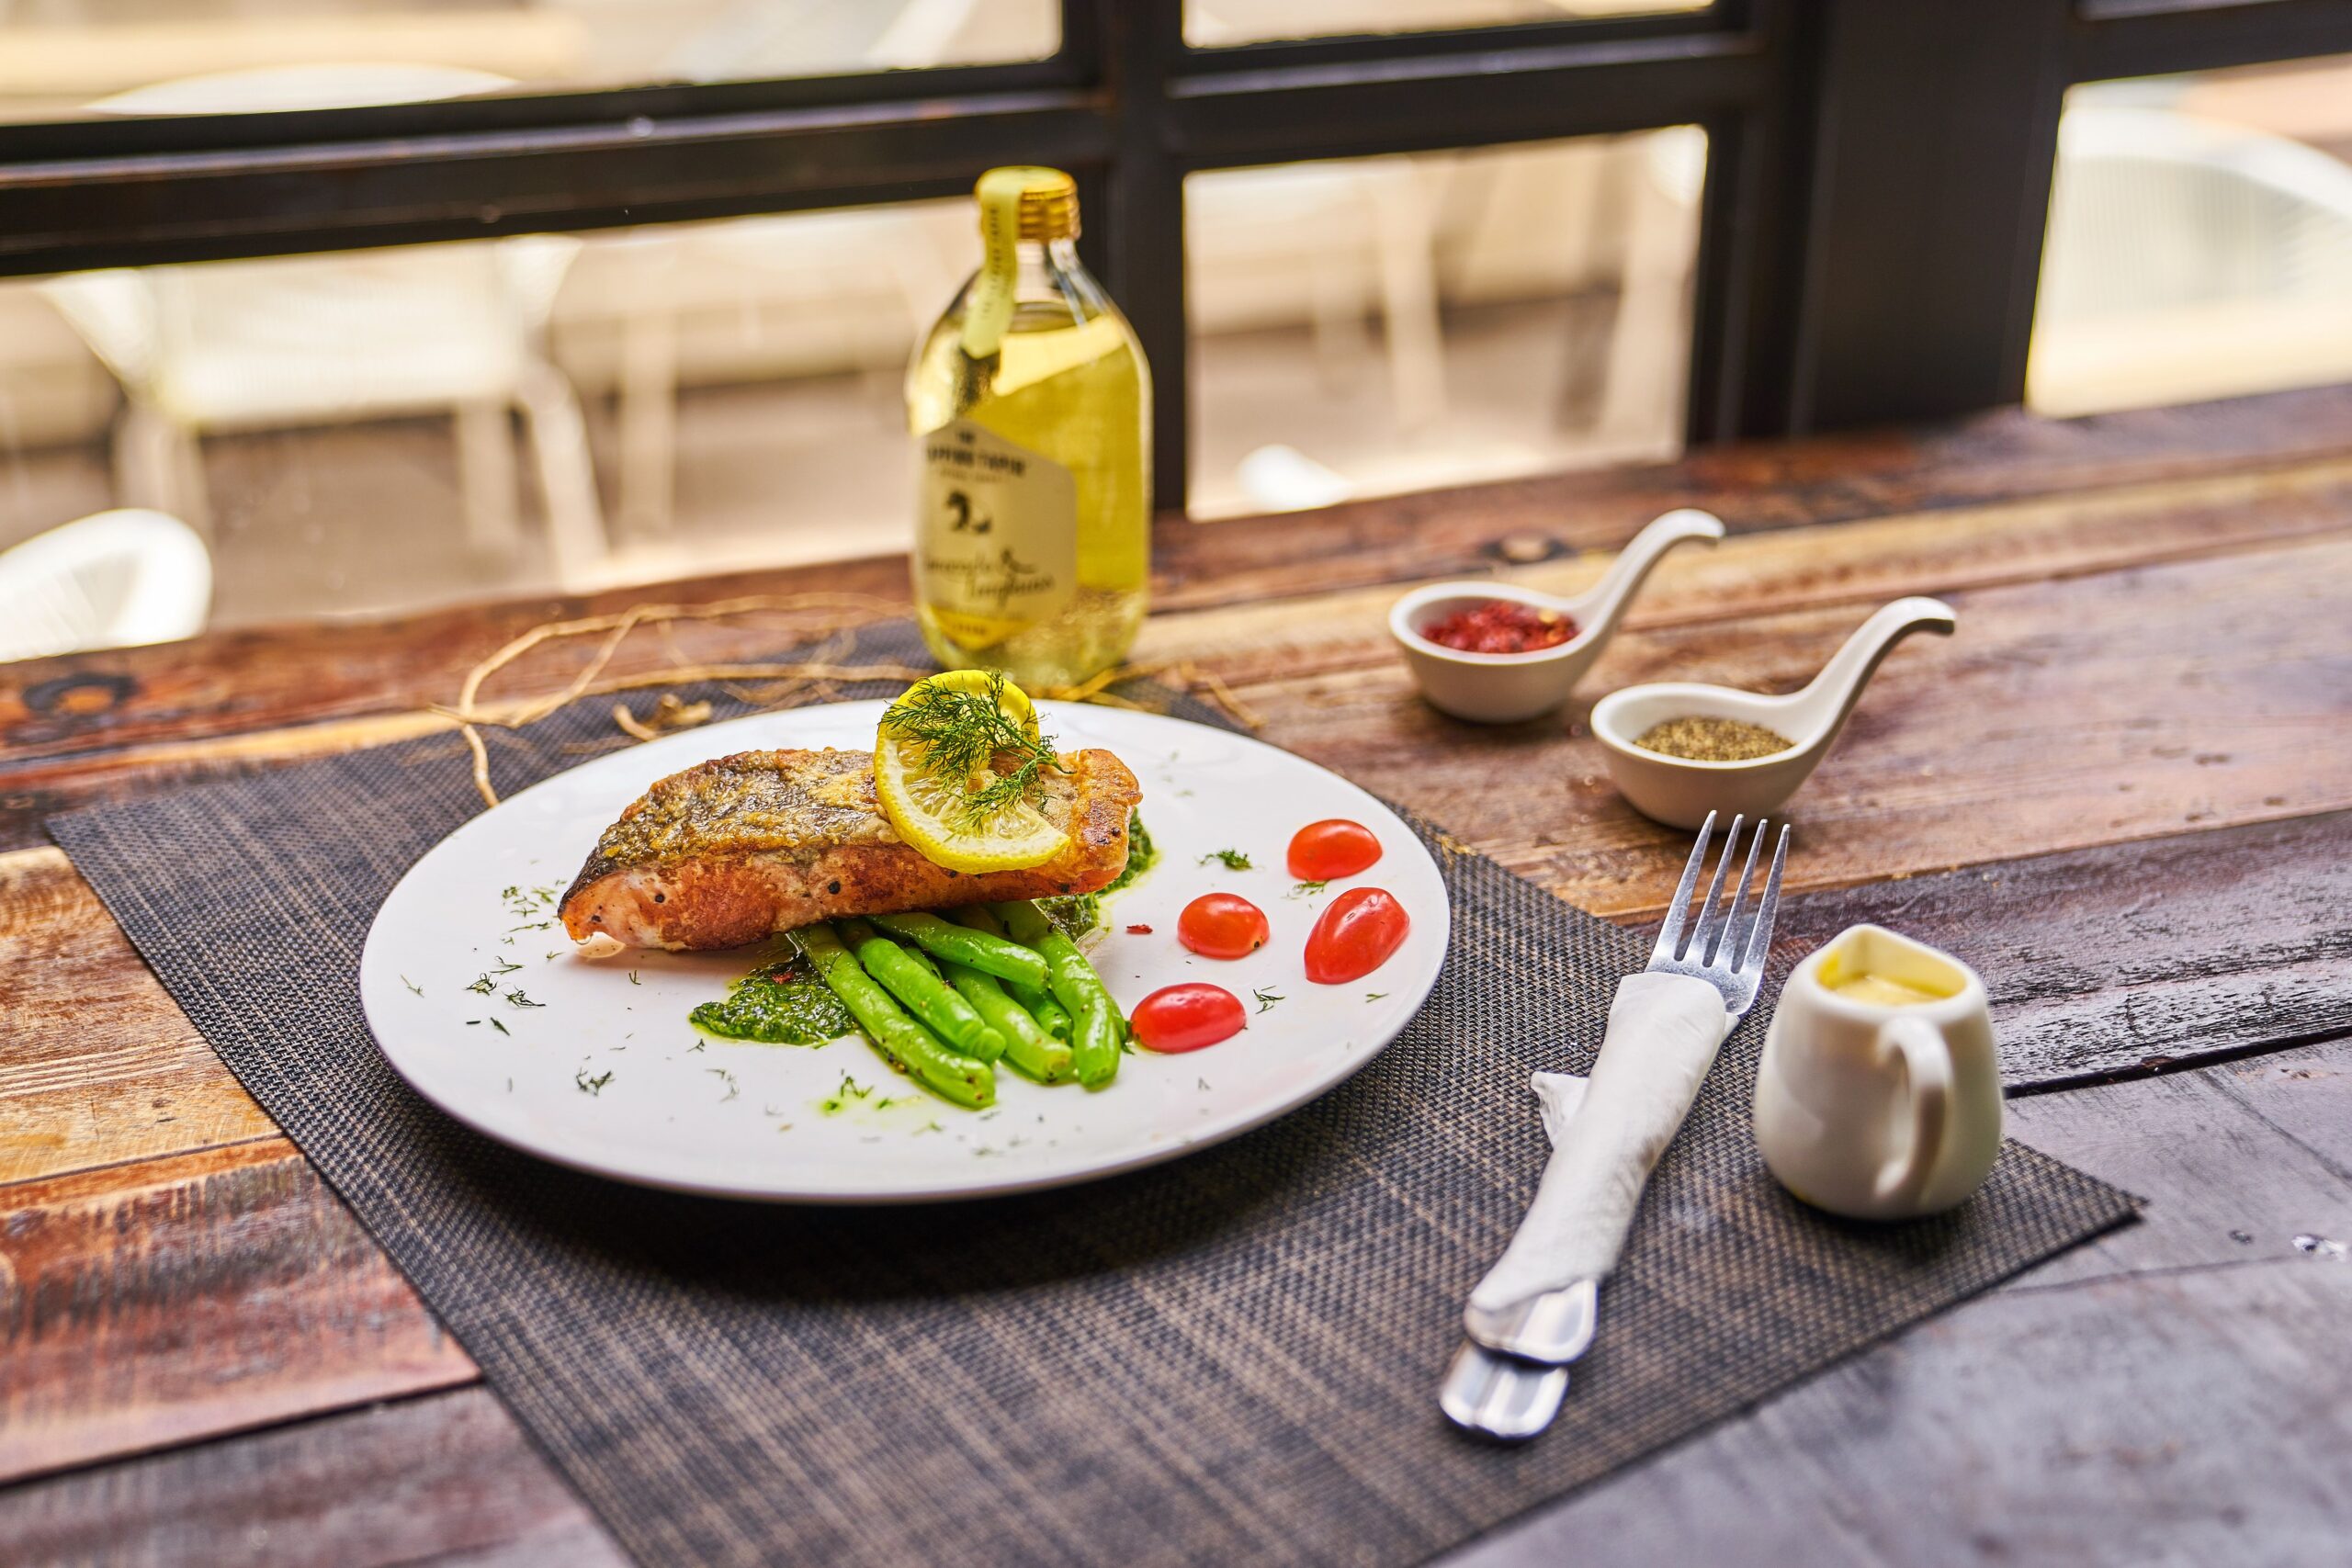
Elegantly plated salmon fillet topped with a lemon wheel over green beans and tomatoes on a rustic wooden table
A restaurant-caliber salmon dinner served with crisp greens and lemon herb dressing.

Storage & Reheating Guidelines

  • Refrigeration: Cool leftover salmon completely. Store in an airtight container for up to 3 days.
  • Reheating Method: Warm in an oven or toaster oven at 300°F (150°C) for 6 to 8 minutes. Avoid high-heat microwaves to keep fish tender.

Frequently Asked Questions

Can I use frozen salmon fillets?
Yes. Defrost thoroughly in the refrigerator overnight, then pat completely dry with paper towels before seasoning to prevent water pooling.

Can I use skinless salmon?
Yes. Skinless fillets roast in the exact same timeframe; simply ensure your sheet pan is lined with parchment paper to prevent sticking.

20-Minute Garlic Butter Chicken Bites (Crispy & Tender Skillet Recipe)

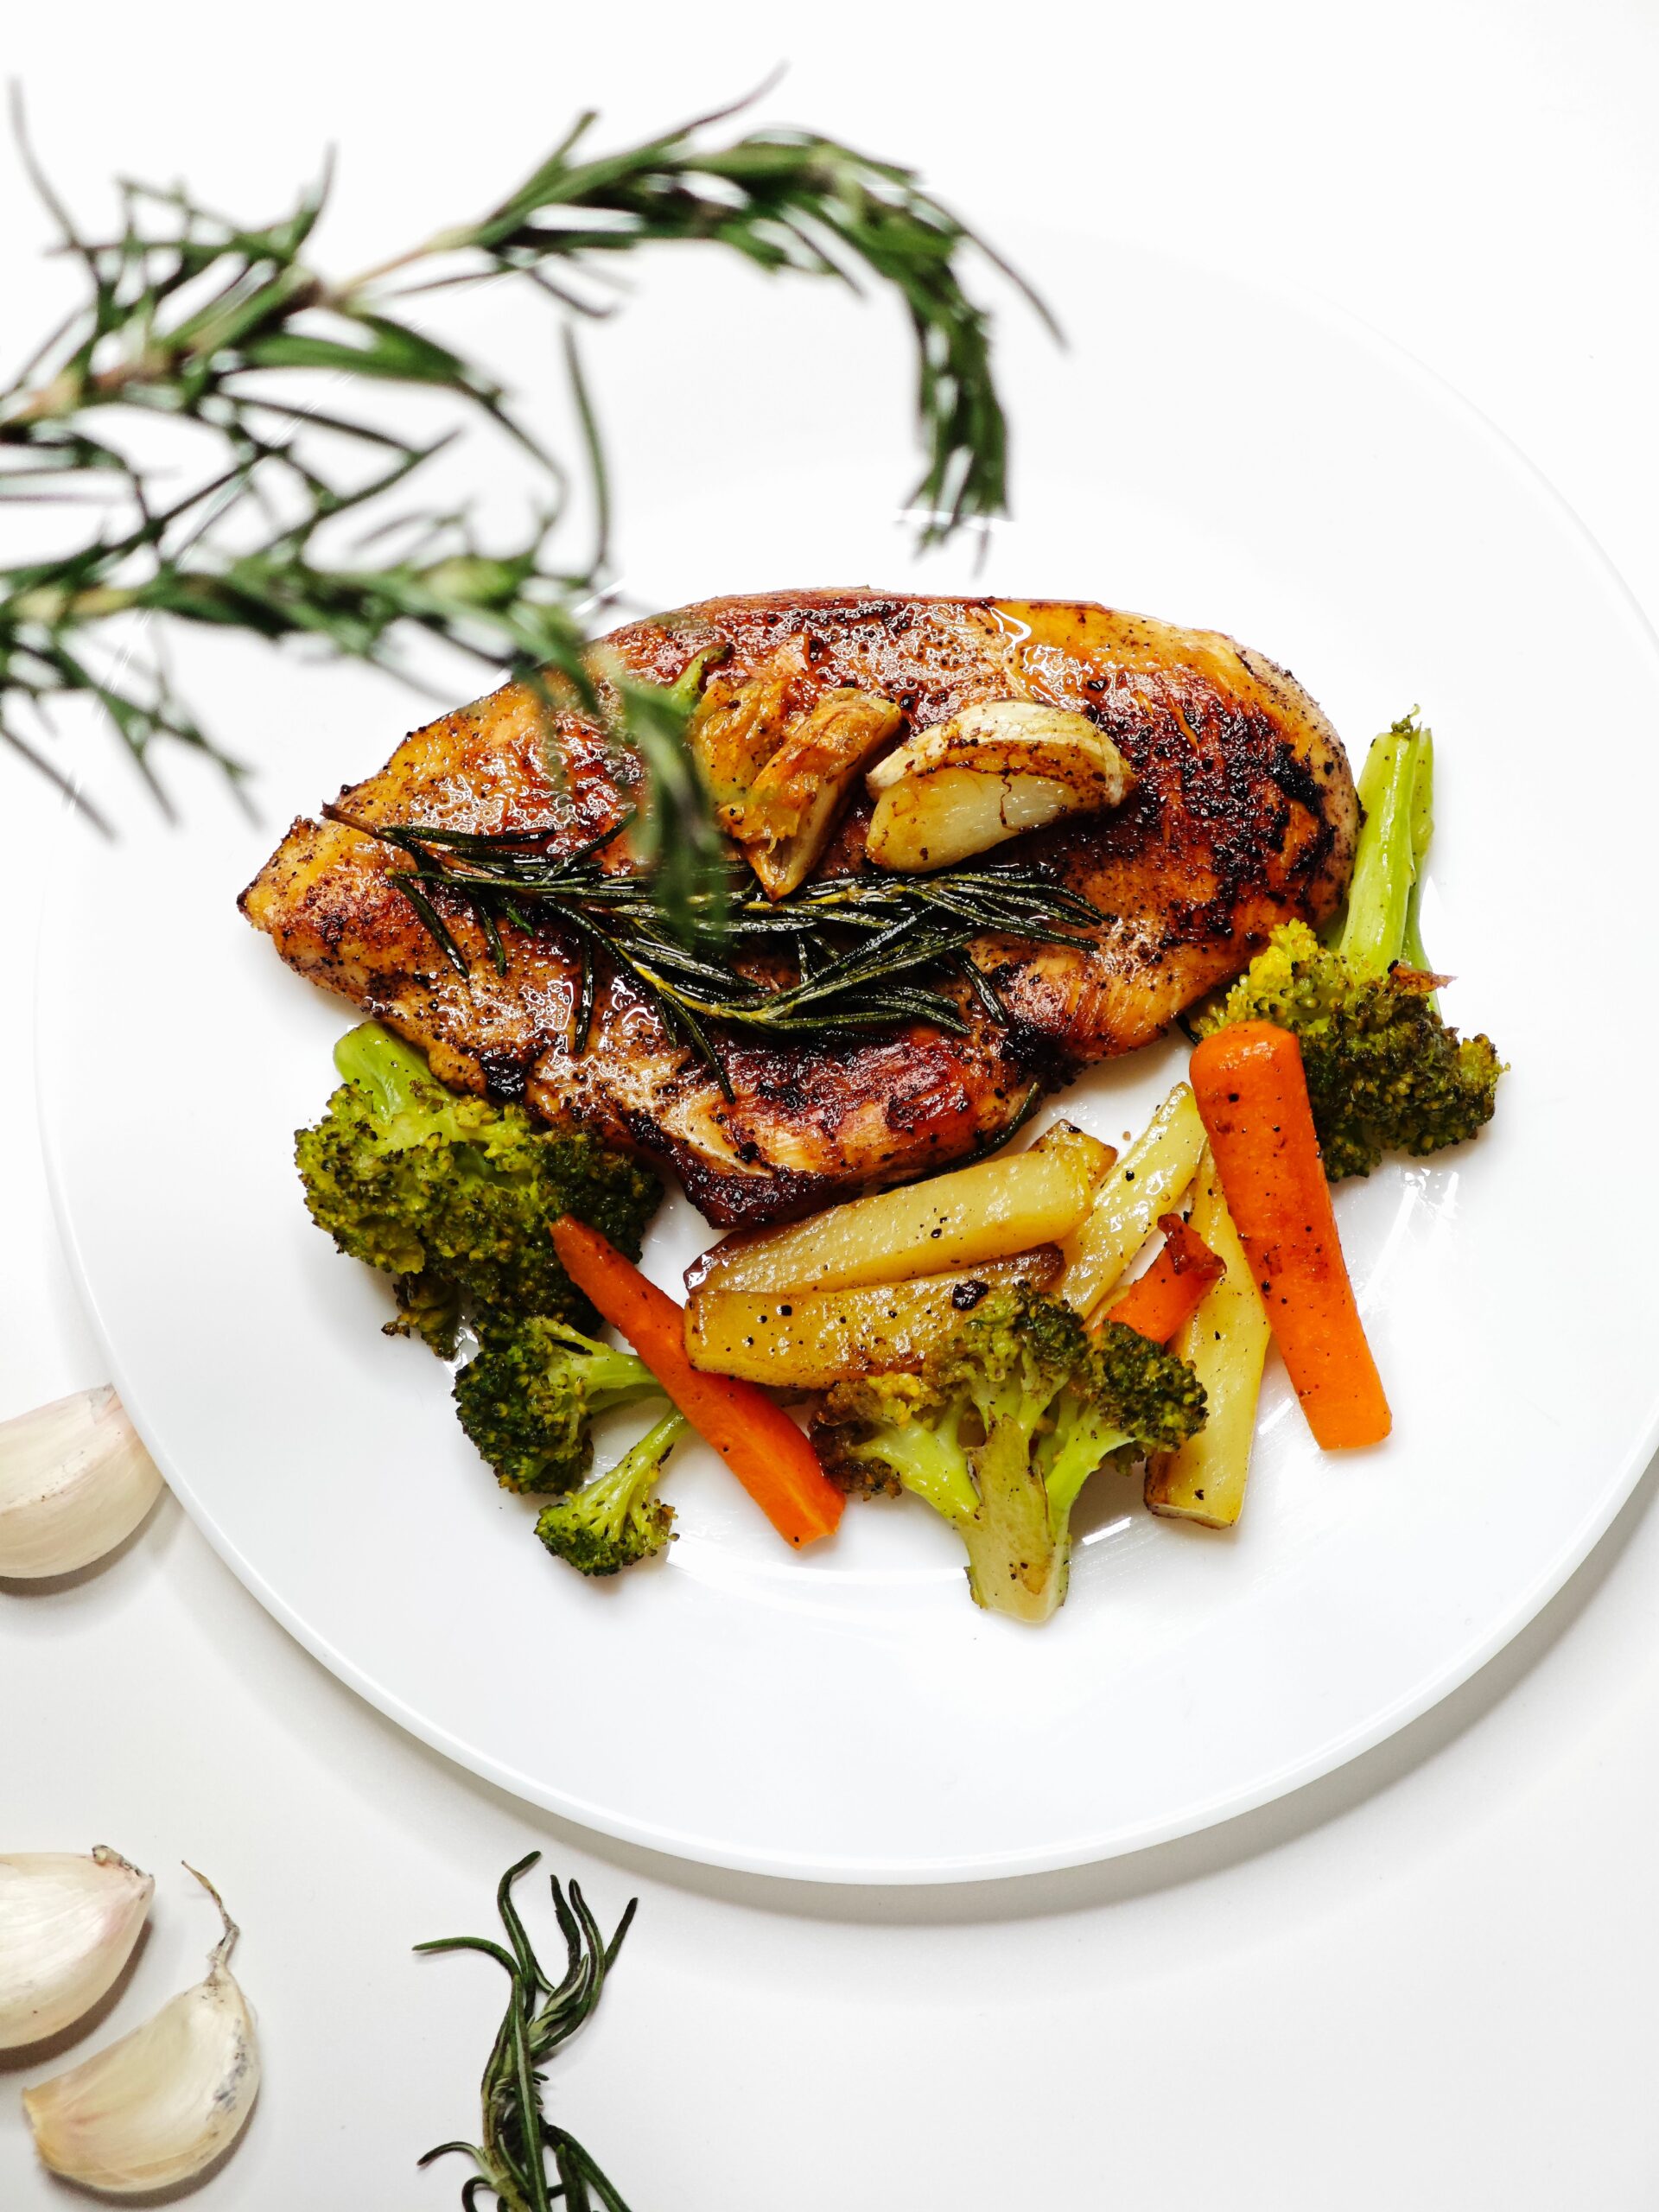
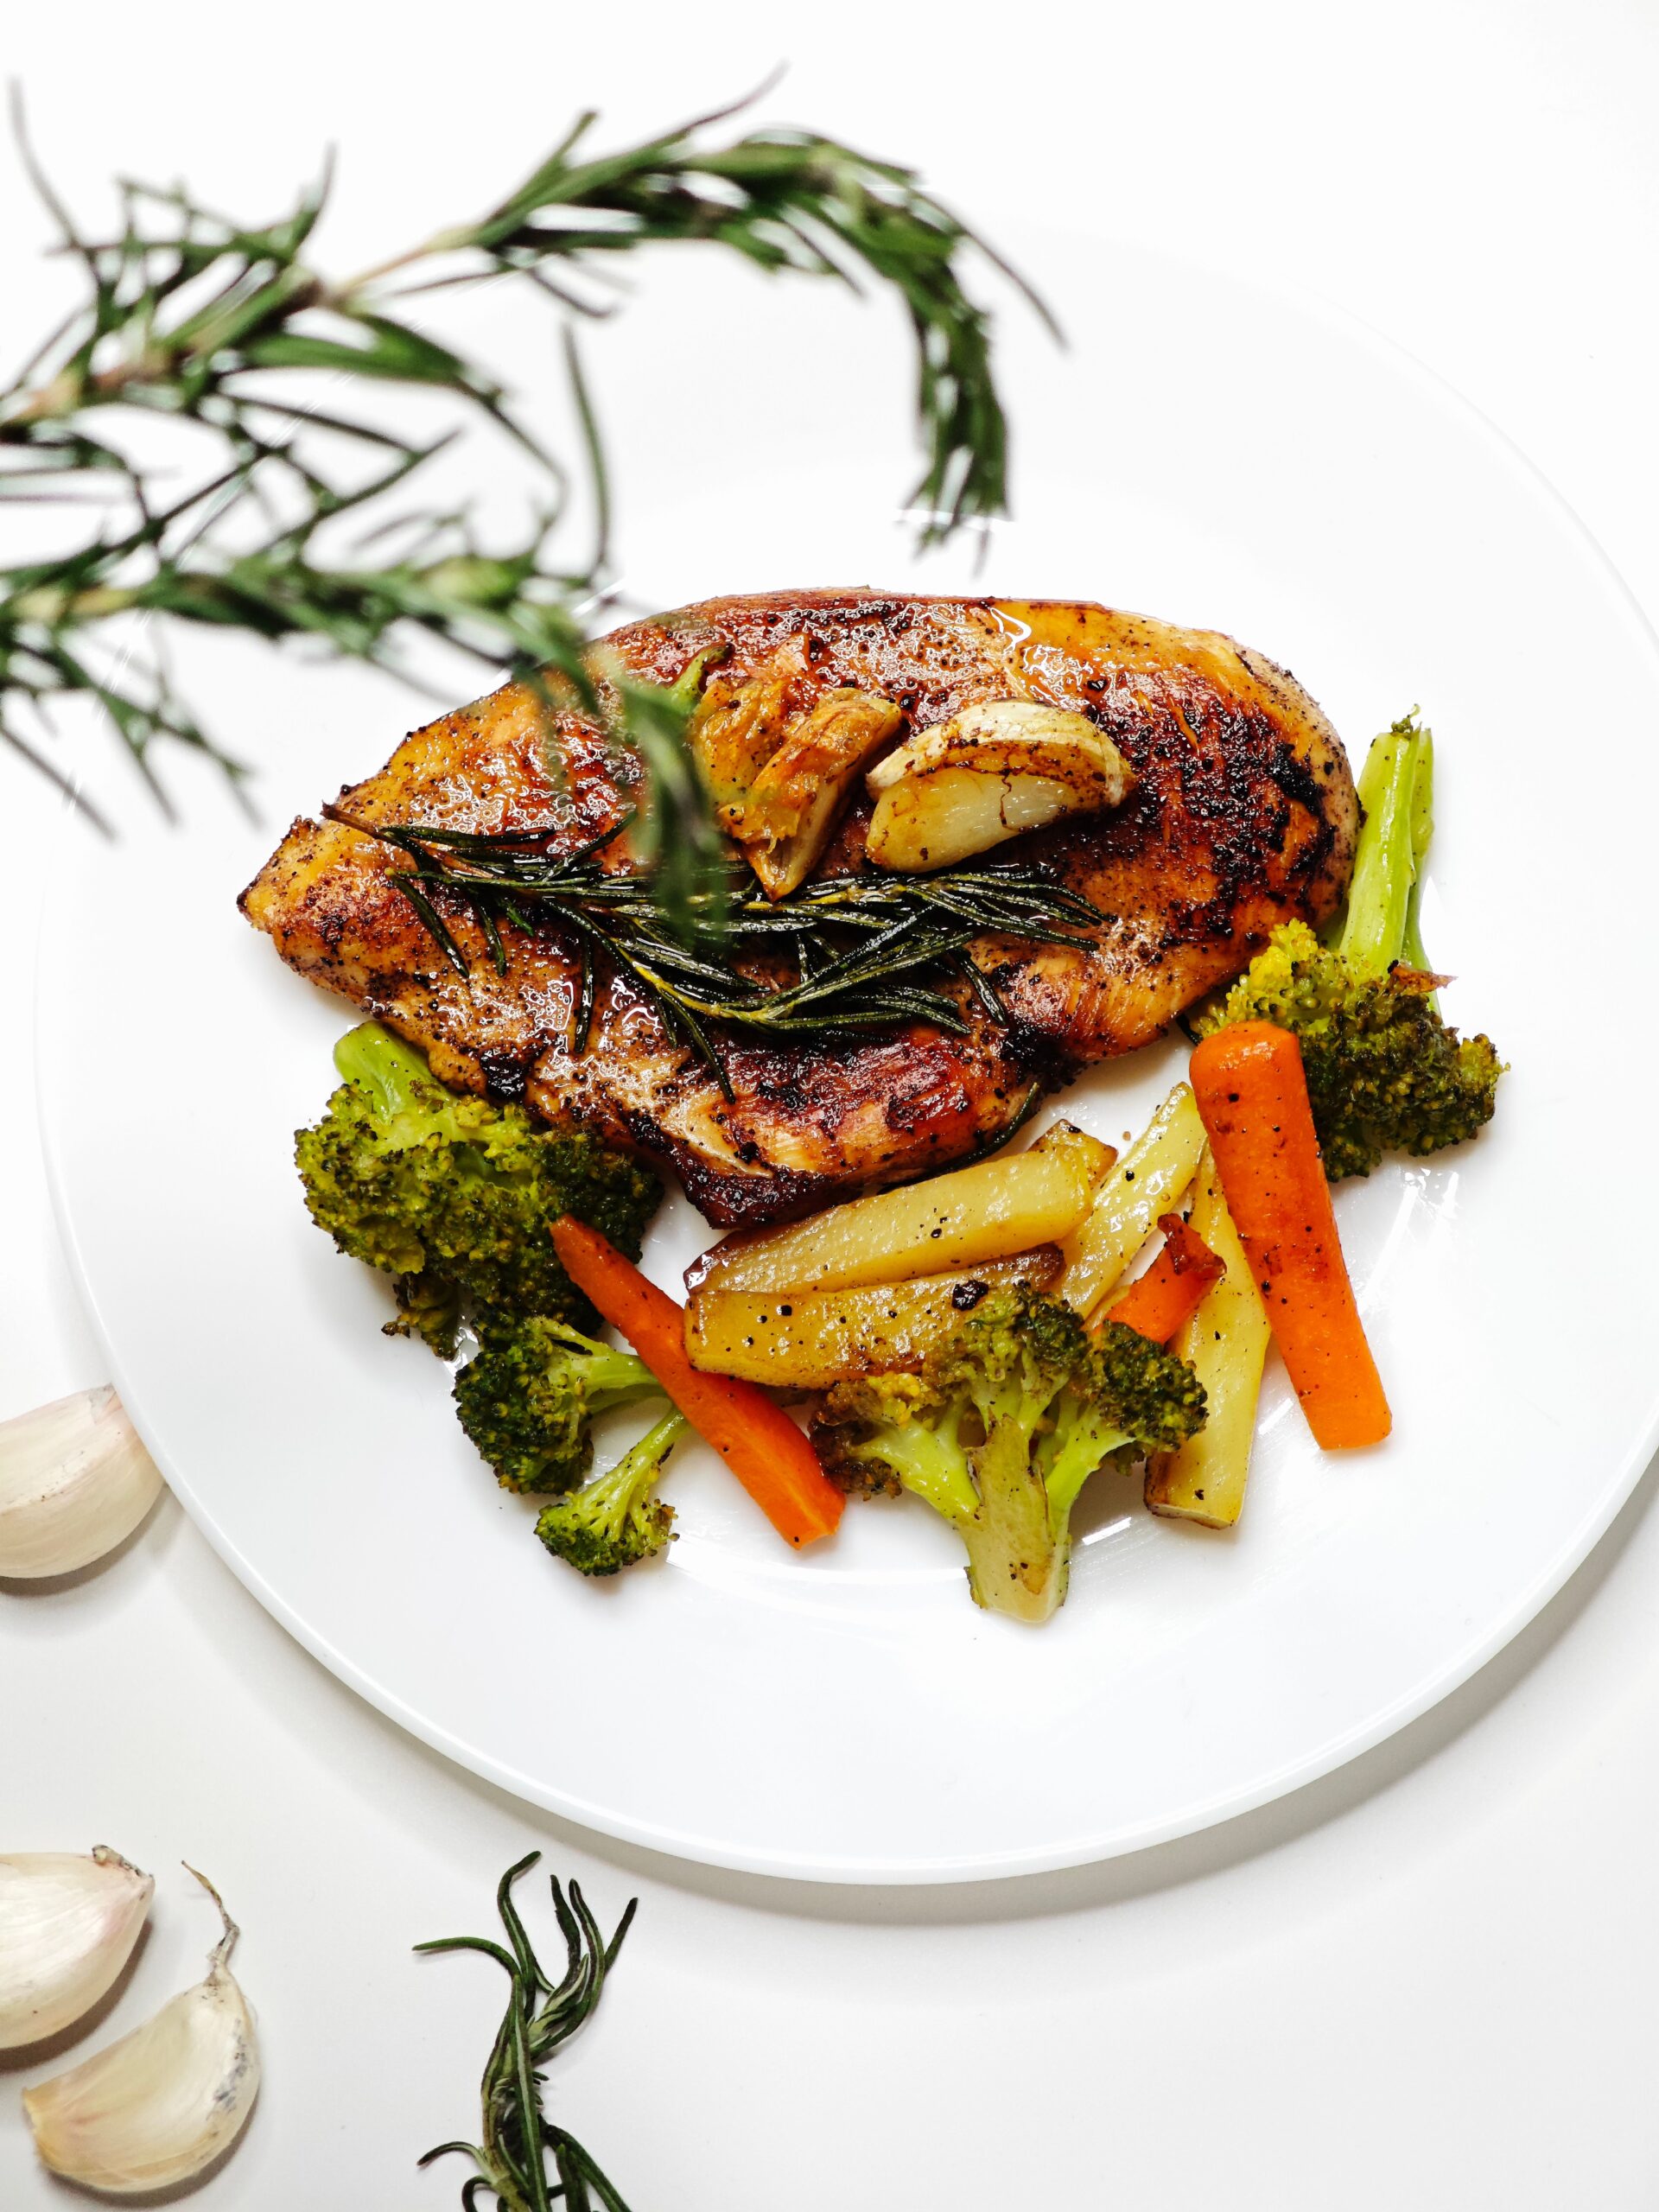
Golden pan-seared garlic butter chicken bites plated with rosemary and vegetables

When hectic weeknights leave you craving a comforting, restaurant-quality meal without an hour spent at the stove, these 20-Minute Garlic Butter Chicken Bites are an absolute game-changer. Featuring tender poultry cubes crisped to golden-brown perfection and drenched in a glistening garlic-herb pan reduction, this one-pan dinner brings intense flavor to your table with almost zero fuss.

Golden brown garlic butter chicken bites plated with roasted vegetables and rosemary
Juicy, caramelized garlic butter chicken bites served warm with fresh herbs.

Why This Skillet Recipe Outperforms Plain Chicken Breasts

Cooking whole chicken breasts in a hot skillet is notoriously tricky; the thin edges dry out while the thick center struggles to reach safety temperatures. By cutting the meat into uniform, bite-sized cubes, you unlock distinct culinary advantages:

  • Maximum Caramelization: More surface area means exponentially more golden crusting through the Maillard reaction.
  • Lightning Fast Cook Time: Small pieces flash-cook in just 5 to 6 minutes, preserving the essential juices inside the meat fibers.
  • Superior Sauce Cling: The silky, emulsified garlic butter glaze clings tightly to every contour of the chicken pieces instead of pooling on the plate.

“The secret to juicy chicken bites lies not in heavy marinades, but in rigorous surface drying and rapid high-heat searing.”


Essential Ingredients & Smart Substitutions

  • Chicken Cut: 1.5 lbs (around 700g) boneless, skinless chicken breasts or skinless thighs. Thighs offer slightly higher moisture, while breasts yield a lean, pristine bite.
  • Cooking Oil: 1 tablespoon avocado oil or refined olive oil. Starting with high-heat oil prevents butter milk solids from burning during the initial hard sear.
  • Butter: 3 tablespoons unsalted quality butter, partitioned. Unsalted gives you total control over sodium balance.
  • Fresh Garlic: 5 large cloves, finely minced or pressed. Real garlic delivers fragrant allicin; avoid preserved jarred minced garlic which carries an acidic aftertaste.
  • Dry Spice Blend: 1 teaspoon sweet smoked paprika, 1/2 teaspoon garlic powder, 1/2 teaspoon onion powder, 3/4 teaspoon kosher salt, 1/4 teaspoon ground black pepper, and 1/4 teaspoon dried oregano.
  • Fresh Finishes: 2 tablespoons chopped flat-leaf parsley and 1 teaspoon freshly squeezed lemon juice to slice through the rich butter.

Step-by-Step Cooking Walkthrough

  1. Dry and Season Thoroughly: Pat the chicken cubes completely dry using a layer of paper towels. Transfer to a bowl, add dry spices and half a tablespoon of oil, and toss until coated evenly.
  2. Heat the Pan: Place a large, heavy 12-inch skillet over medium-high heat for 2 minutes. Add remaining cooking oil until shimmering.
  3. The High-Heat Sear: Distribute the seasoned cubes across the hot pan in an uncrowded single layer. Let them cook undisturbed for 3 minutes to build a deep crust.
  4. Flip and Finish Cooking: Turn pieces using tongs and cook for an additional 2 to 3 minutes until internal temperature registers 165°F (74°C). Transfer immediately to a side plate.
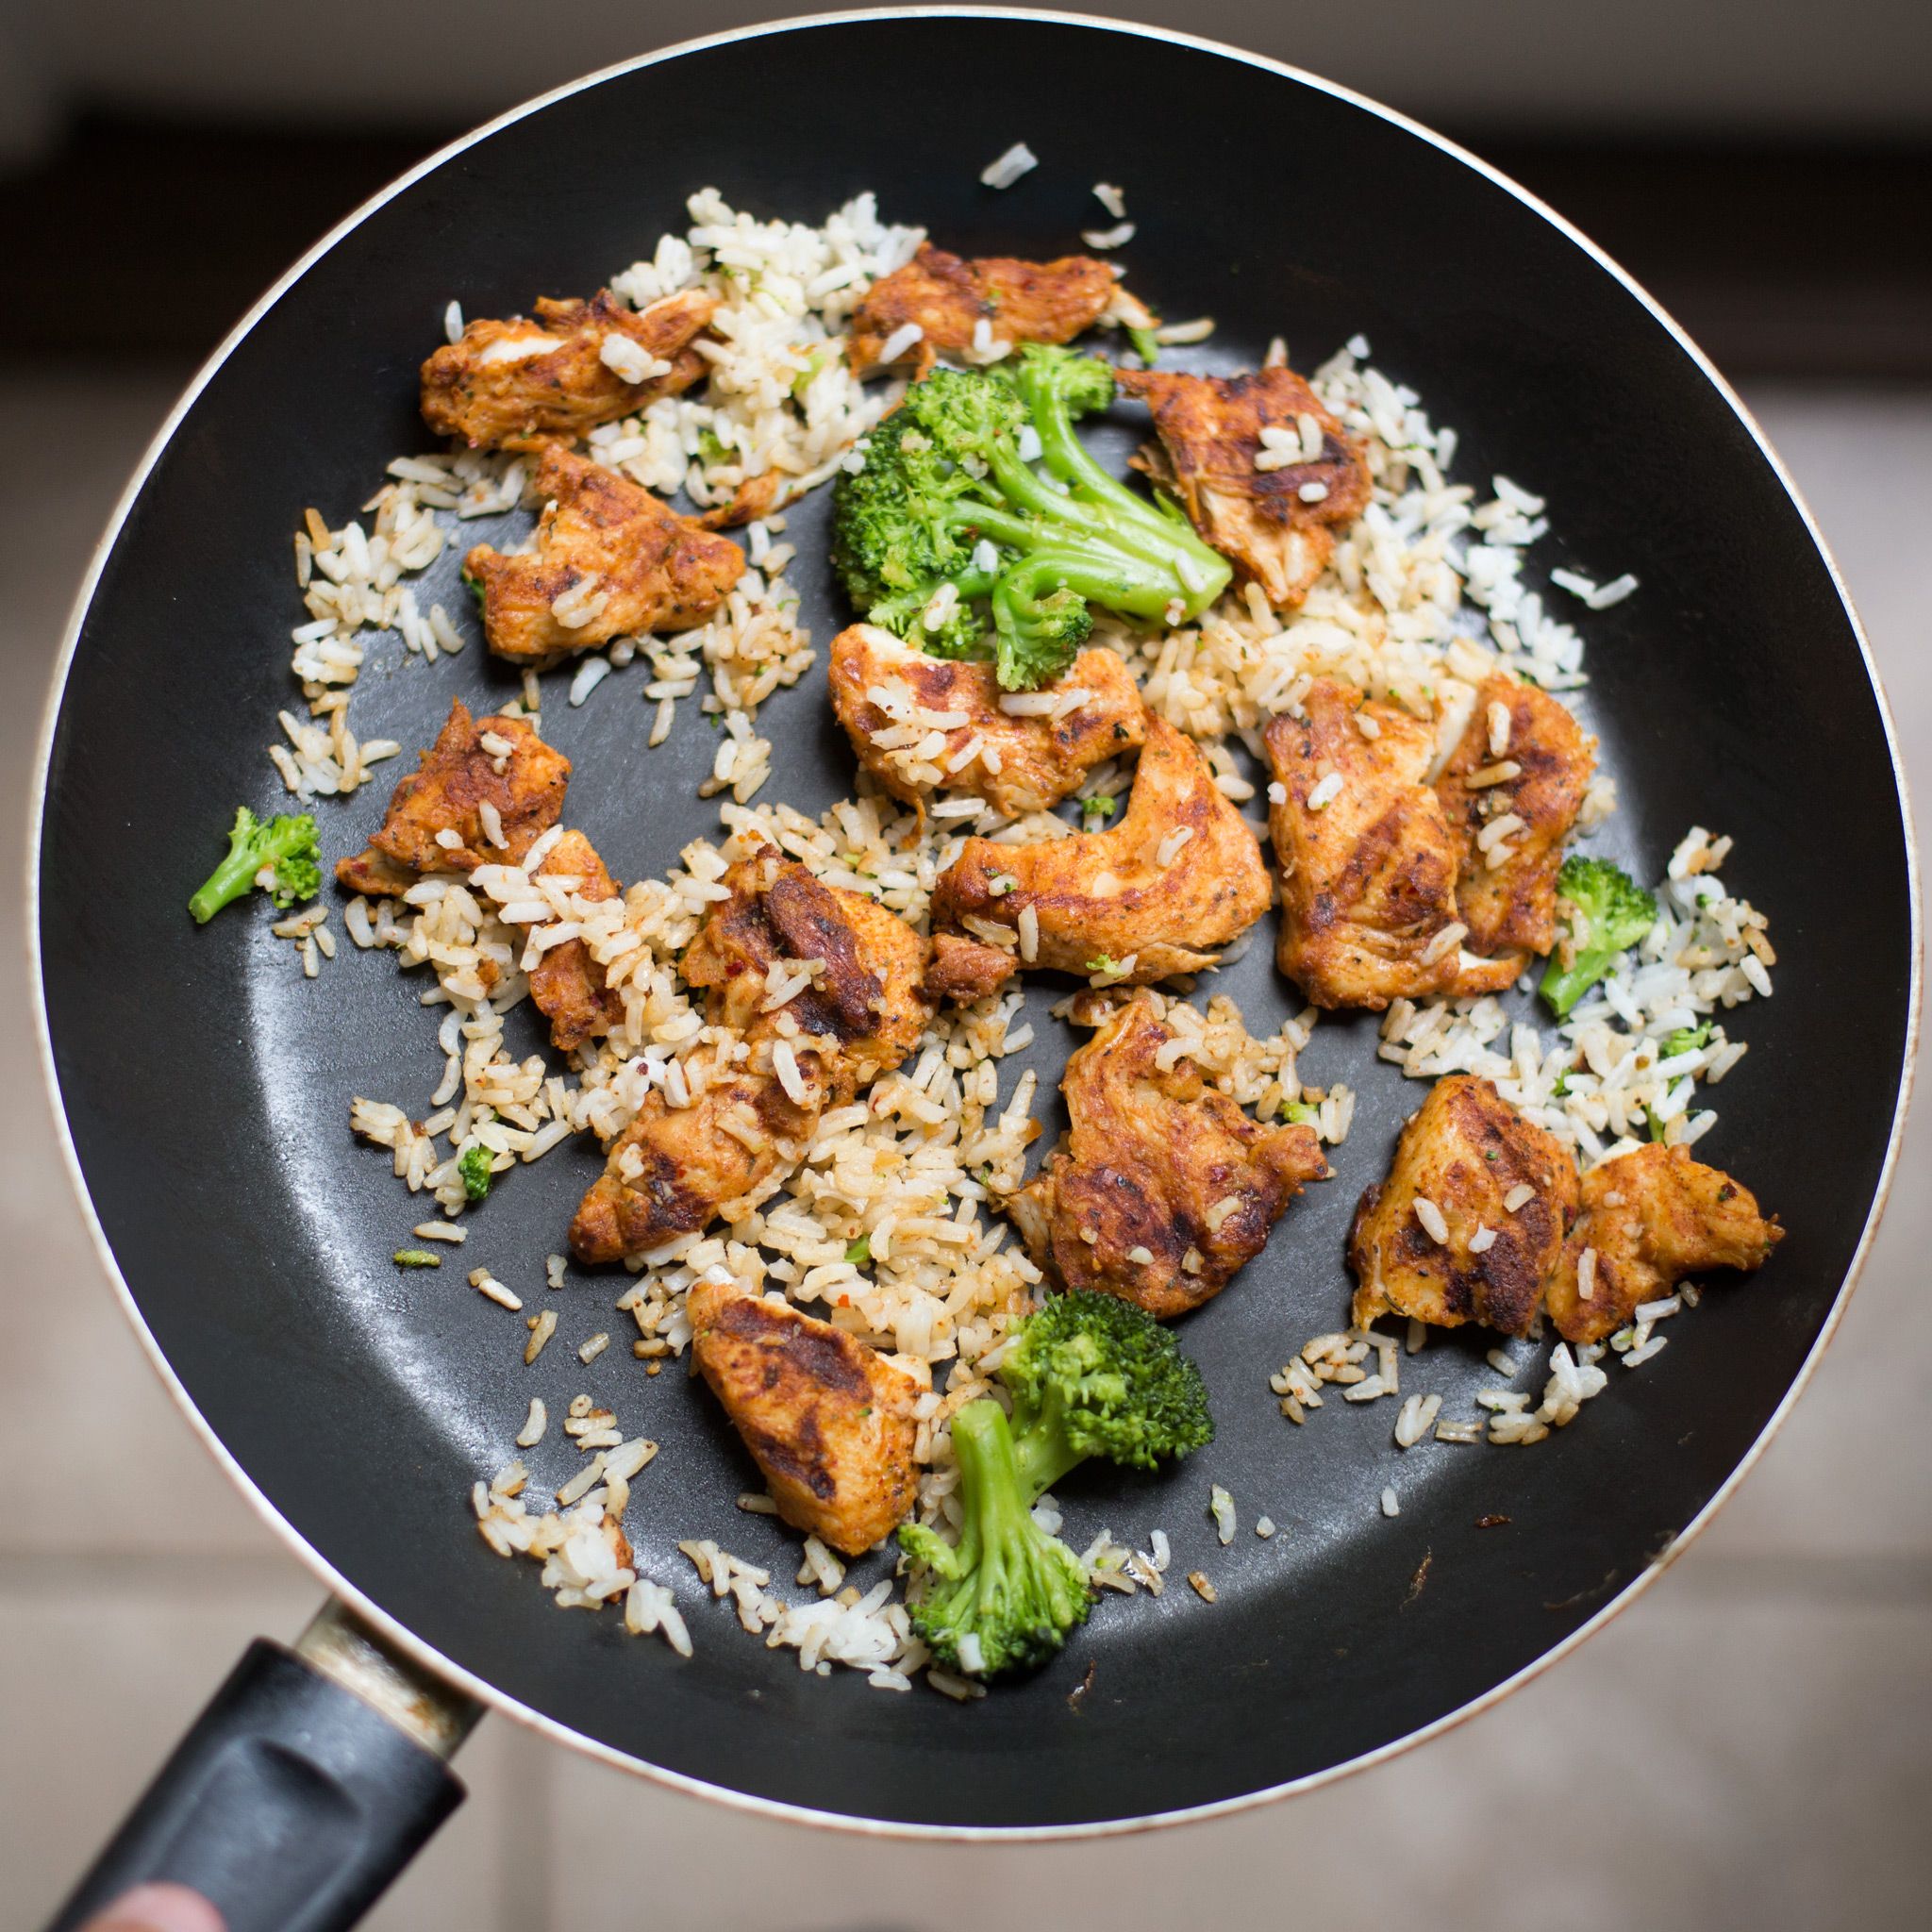
Chicken pieces searing in a dark skillet pan alongside broccoli florets
Searing the chicken undisturbed over high heat locks in juices and builds flavor.
  1. Melt & Bloom: Turn the stovetop heat down to medium-low. Add the unsalted butter to the pan drippings. Once melted, toss in the minced garlic and sauté for only 30 to 45 seconds until fragrant.
  2. Toss & Emulsify: Add lemon juice to deglaze the pan, return the cooked chicken with all resting juices back into the skillet, and toss vigorously for 1 minute until glazed and glistening.
  3. Garnish: Scatter fresh Italian parsley over the top and serve immediately straight from the pan.

Troubleshooting: How to Prevent Common Pitfalls

Problem EncounteredDirect CauseChef Correction
Watery, pale chickenPan overcrowdingCook in two separate batches so surface steam can dissipate freely.
Chewy, dry meatOvercooking on high heatRemove meat the moment it turns opaque; resting carries it to full doneness.
Acrid, bitter sauceBurnt minced garlicAlways lower heat before melting butter and adding garlic; cook for under 45 seconds.

Pairing & Serving Ideas

Because the pan glaze is deeply savory with bright citrus notes, this protein pairs well across diverse carb and vegetable profiles:

  • Low-Carb: Spoon over creamy mashed cauliflower, zucchini noodles, or charred broccolini.
  • Classic Comfort: Serve atop warm jasmine rice, buttered linguine, or roasted baby potatoes.
  • Meal Prep Bowls: Combine with quinoa and steamed green beans for ready-to-heat workday lunches.
Plated tender chicken dinner served alongside side dishes in a pan dish
A complete, restaurant-style dinner ready in just 20 minutes.

Storage & Reheating Instructions

  • Refrigeration: Allow pieces to cool completely. Store in an airtight container for up to 4 days.
  • Freezer Storage: Pack in sealed freezer-safe bags for up to 3 months. Thaw overnight in the fridge before warming.
  • Reheating Method: Warm in a nonstick skillet over medium-low heat with a tiny splash of broth or butter for 2 to 3 minutes. Avoid high-power microwaves to prevent toughness.

Frequently Asked Questions

Can I use salted butter instead?
Yes. Simply reduce the kosher salt in the dry seasoning rub by half to maintain balanced flavor after the butter reduces.

Can I prepare this in an air fryer?
Yes. Season and oil the chicken cubes, air-fry at 390°F (200°C) for 8 to 10 minutes shaking halfway through, then toss in warm melted garlic butter in a bowl before serving.

15-Minute Garlic Butter Shrimp Pasta (Rich, Silky Weeknight Dinner)

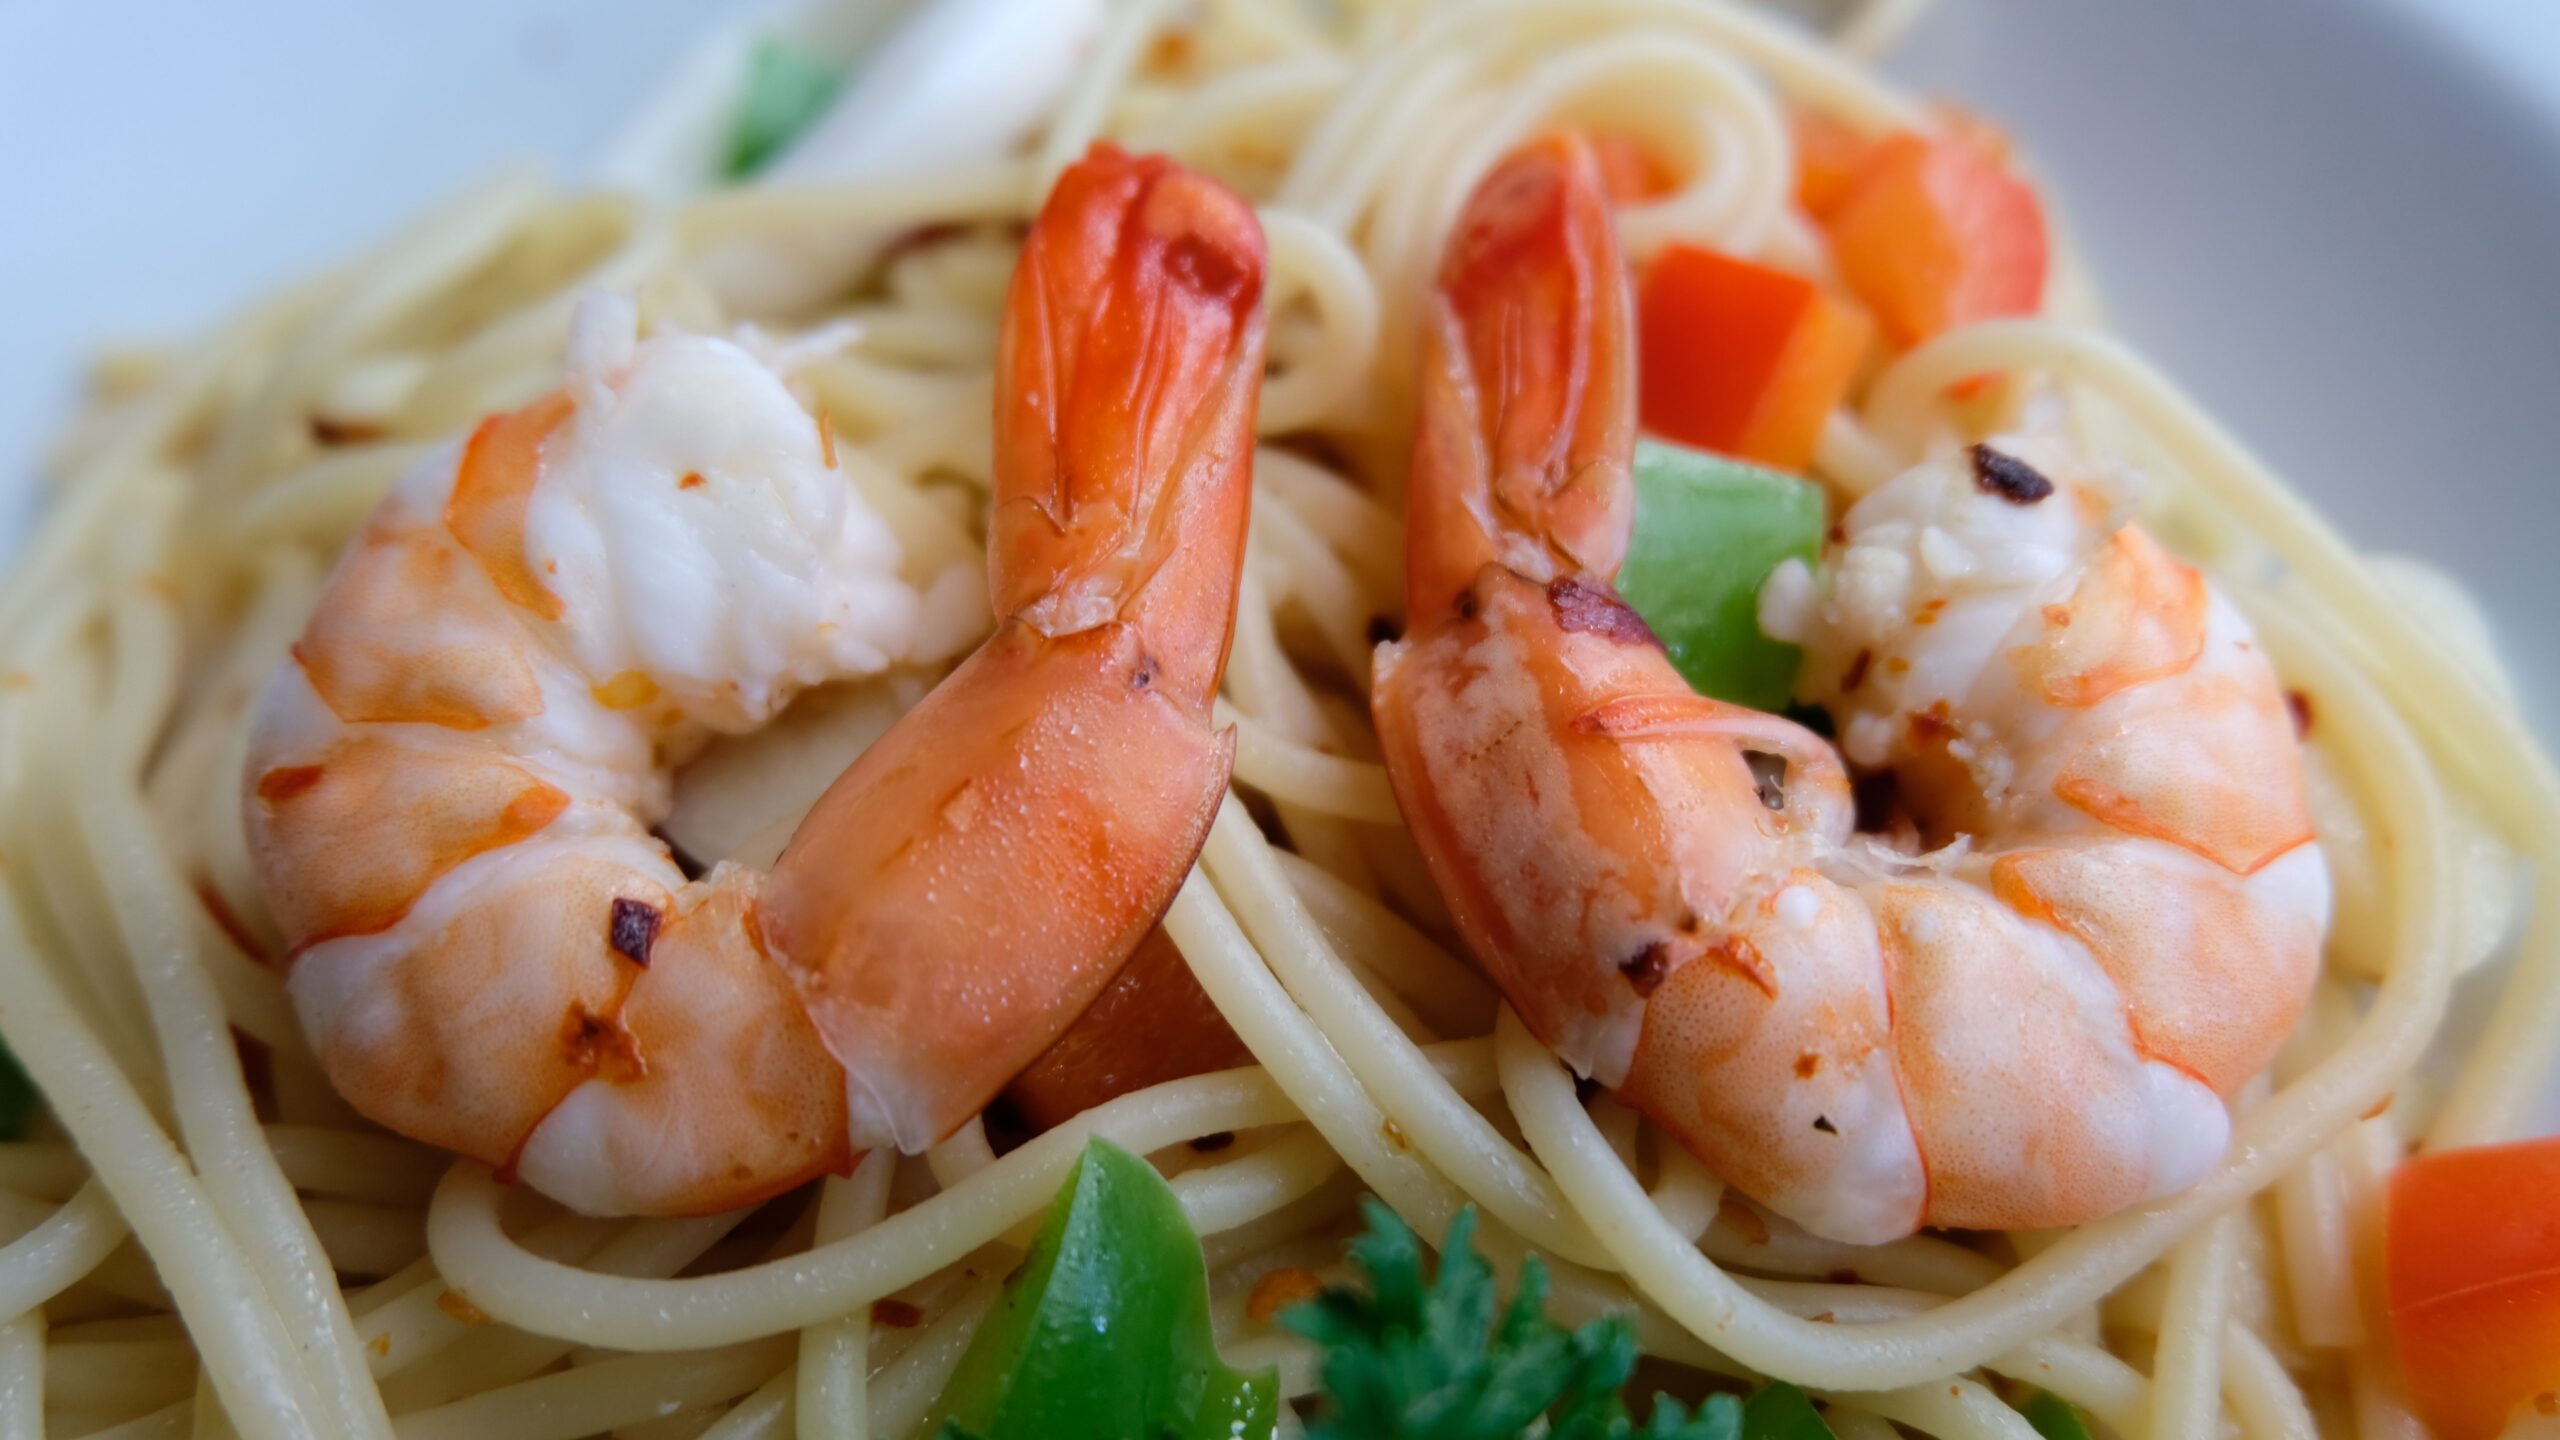
Garlic butter shrimp pasta tossed with fresh herbs and citrus

When you crave an elegant, bistro-caliber Italian meal on an unforgiving weeknight schedule, this 15-Minute Garlic Butter Shrimp Pasta is your definitive answer. Featuring plump, succulent shrimp seared to golden perfection in fragrant butter, sweet garlic, and bright citrus tossed with al dente pasta noodles, this dinner delivers incredible depth of flavor with shockingly little cleanup.

Pan-seared garlic shrimp tossed with tender pasta noodles and fresh herbs
Sweet, succulent shrimp tossed in a silky garlic butter pan sauce over warm pasta noodles.

Why Emulsion Beats Heavy Cream in Quick Seafood Pastas

Many quick restaurant pasta recipes take a shortcut by dumping heavy cream into the pan, which dulls the sweet freshness of quality seafood. Instead, this dish relies on the classic Italian emulsion technique using starchy cooking water and chilled dairy:

  • Velvety Sauce Cling: The hot starch molecules suspended in reserved pasta water bond with the melted butter fat, creating a silky glaze that coats every noodle strand rather than separating into greasy pools.
  • Delicate Texture Protection: Raw shrimp overcook within seconds; quick searing followed by resting keeps them tender and juicy, completely avoiding the rubbery bite of boiled shellfish.
  • Pantry Efficiency: With zero specialty ingredients required, high-grade olive oil, fresh garlic, lemon, and pantry herbs build a rich Mediterranean profile in under a quarter of an hour.

“Never discard all of your pasta water. That cloudy, salted liquid is pure culinary gold that transforms simple pan drippings into a restaurant-worthy emulsion.”


Ingredients & Flavor Profile

  • Raw Shrimp: 1 lb (450g) large raw shrimp (peeled and deveined). Tails can remain intact for presentation or removed for effortless eating.
  • Pasta of Choice: 8 oz (225g) spaghetti, linguine, or fettuccine cooked strictly al dente.
  • Fats & Oils: 3 tablespoons unsalted quality butter, split into cold cubes, paired with 1 tablespoon extra virgin olive oil for the hard sear.
  • Fresh Aromatics: 5 medium cloves garlic, thinly sliced or finely minced. Freshly crushed cloves are vital; pre-jarred garlic imparts an acrid, sour note to butter sauces.
  • Citrus Accent: 1 medium unwaxed lemon, grated for zest and juiced (about 2 tablespoons fresh juice).
  • Seasoning Foundation: 1/2 teaspoon crushed red pepper flakes for subtle background heat, 3/4 teaspoon kosher salt, and 1/4 teaspoon freshly ground black pepper.
  • Finishing Herbs & Cheese: 1/3 cup freshly grated Parmigiano-Reggiano and 2 tablespoons finely chopped fresh flat-leaf parsley or torn sweet basil.

Step-by-Step Cooking Walkthrough

  1. Boil the Pasta: Bring a generous pot of heavily salted water to a rolling boil. Drop the pasta and boil until just firm to the tooth (al dente). Dip a heatproof cup to reserve 1/2 cup of starchy water before draining.
  2. Dry & Season Seafood: Lay the cleaned shrimp across a double layer of paper towels and blot thoroughly until dry. Toss lightly in a mixing bowl with kosher salt, black pepper, and crushed red pepper flakes.
  3. Flash-Sear the Shrimp: Set a large heavy skillet over medium-high heat. Add the olive oil and 1 tablespoon of butter. When shimmering, lay the shrimp down in a single uncrowded layer. Sear undisturbed for 90 seconds until pink on the bottom, flip, and cook for 60 seconds on the reverse side. Immediately transfer to a plate.
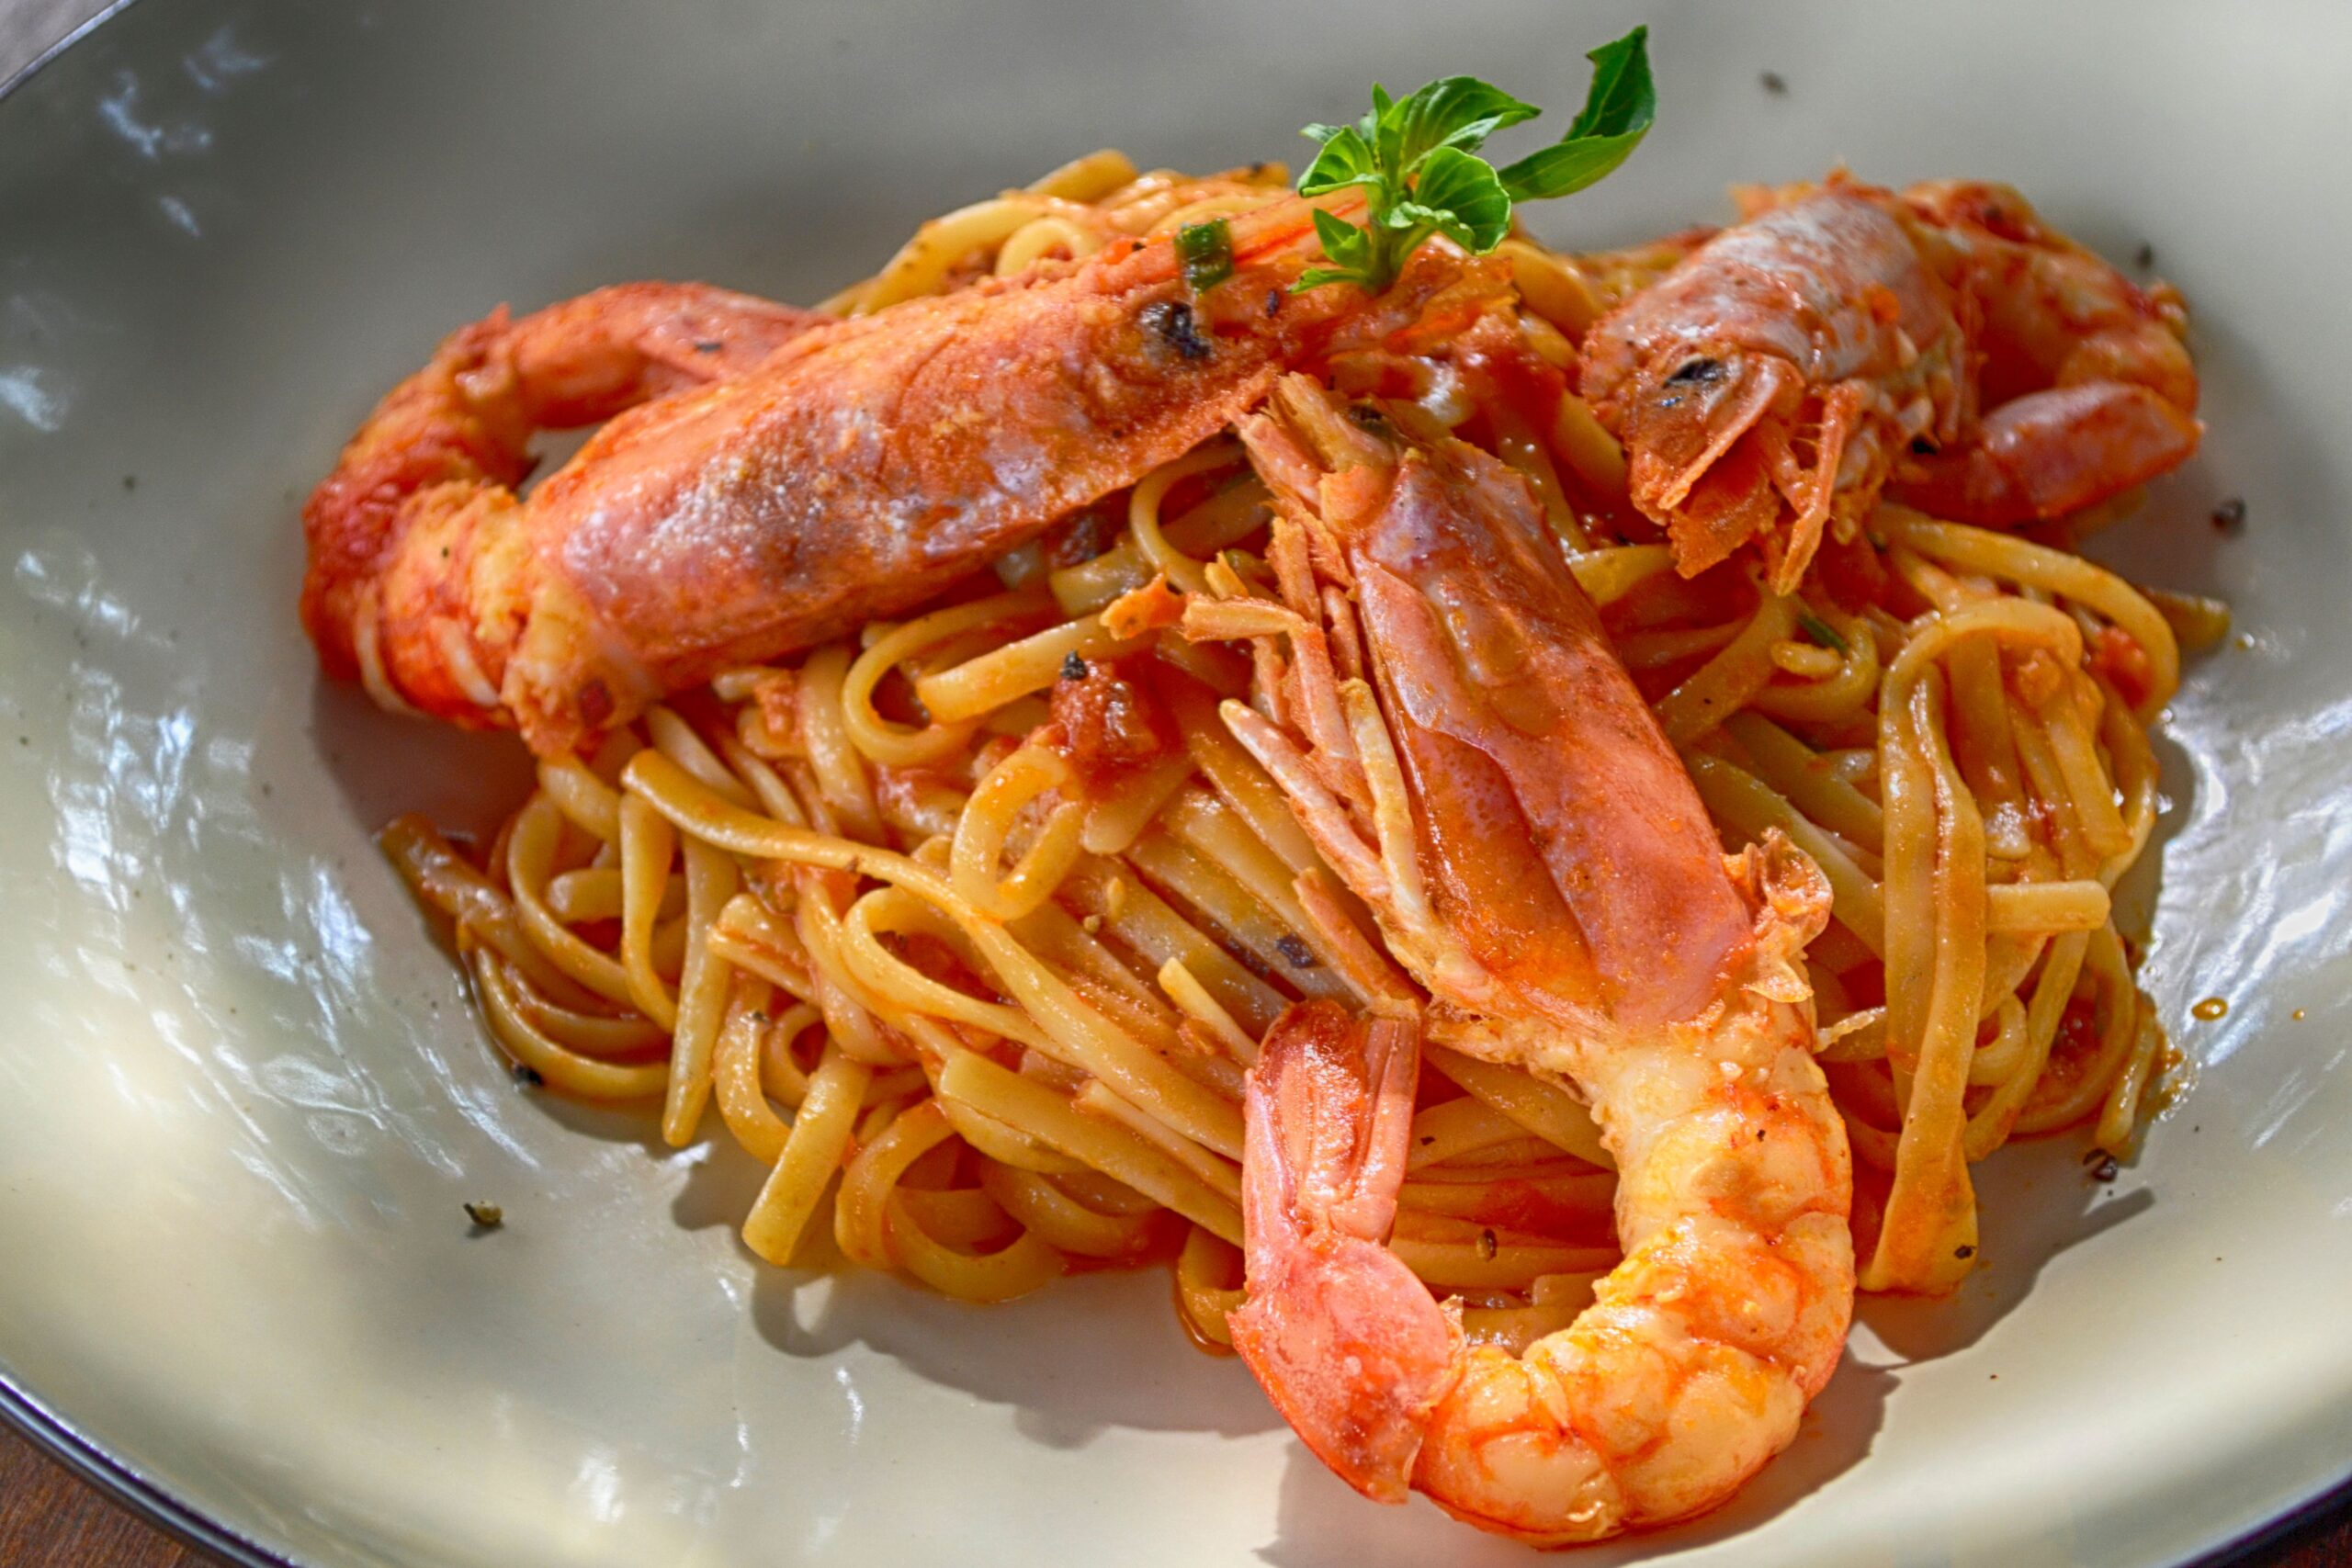
Rich red-tinged garlic shrimp pasta simmering with pan juices in a deep skillet dish
Simmering the shrimp drippings with garlic, lemon, and pasta water creates an intense savory base.
  1. Build the Garlic Glaze: Lower the pan heat to medium-low. Add the remaining 2 tablespoons of cold butter cubes to the pan juices. Stir in the minced garlic and sauté gently for 30 to 45 seconds until aromatic without taking on dark color.
  2. Emulsify: Pour in the lemon juice and 1/4 cup of the reserved hot pasta water. Whisk continuously for 1 minute until the bubbling liquid tightens into a glossy, fragrant pan sauce.
  3. Toss and Finish: Tip the cooked al dente pasta and rested shrimp (along with any collected plate juices) into the skillet. Toss vigorously over low heat for 60 seconds until every strand is coated. Pull from heat, fold through the grated parmesan cheese and fresh parsley, and serve immediately.

Troubleshooting: Preventing Common Seafood Pasta Errors

Cooking Mistake Primary Culprit Easy Chef Fix
Tough, rubbery shrimp Cooking beyond 2 minutes per side Pull shrimp off heat the instant they curl into a loose ‘C’ shape; an ‘O’ shape indicates overcooked protein.
Dry, separated noodles Skipping the starchy pasta water Always reserve pasta water; its starch content is the sole binder that forms the silky pan emulsion.
Acrid or bitter sauce Scorched garlic in high heat Lower pan temperature before melting butter and adding garlic; never let garlic brown past a faint gold.

Serving Inspirations & Pairings

Because the garlic butter sauce is luxurious with bright citrus high notes, complement your bowl with clean, contrasting sides:

  • Peppery Greens: Serve alongside an arugula and shaved fennel salad dressed in extra virgin olive oil and lemon juice.
  • Crusty Dipping Bread: Warm slices of artisan sourdough or toasted garlic focaccia to mop up the residual emulsified sauce in the bowl.
  • Extra Greens Toss-In: Fold baby spinach or steamed broccolini directly into the warm pasta during the final minute of tossing.
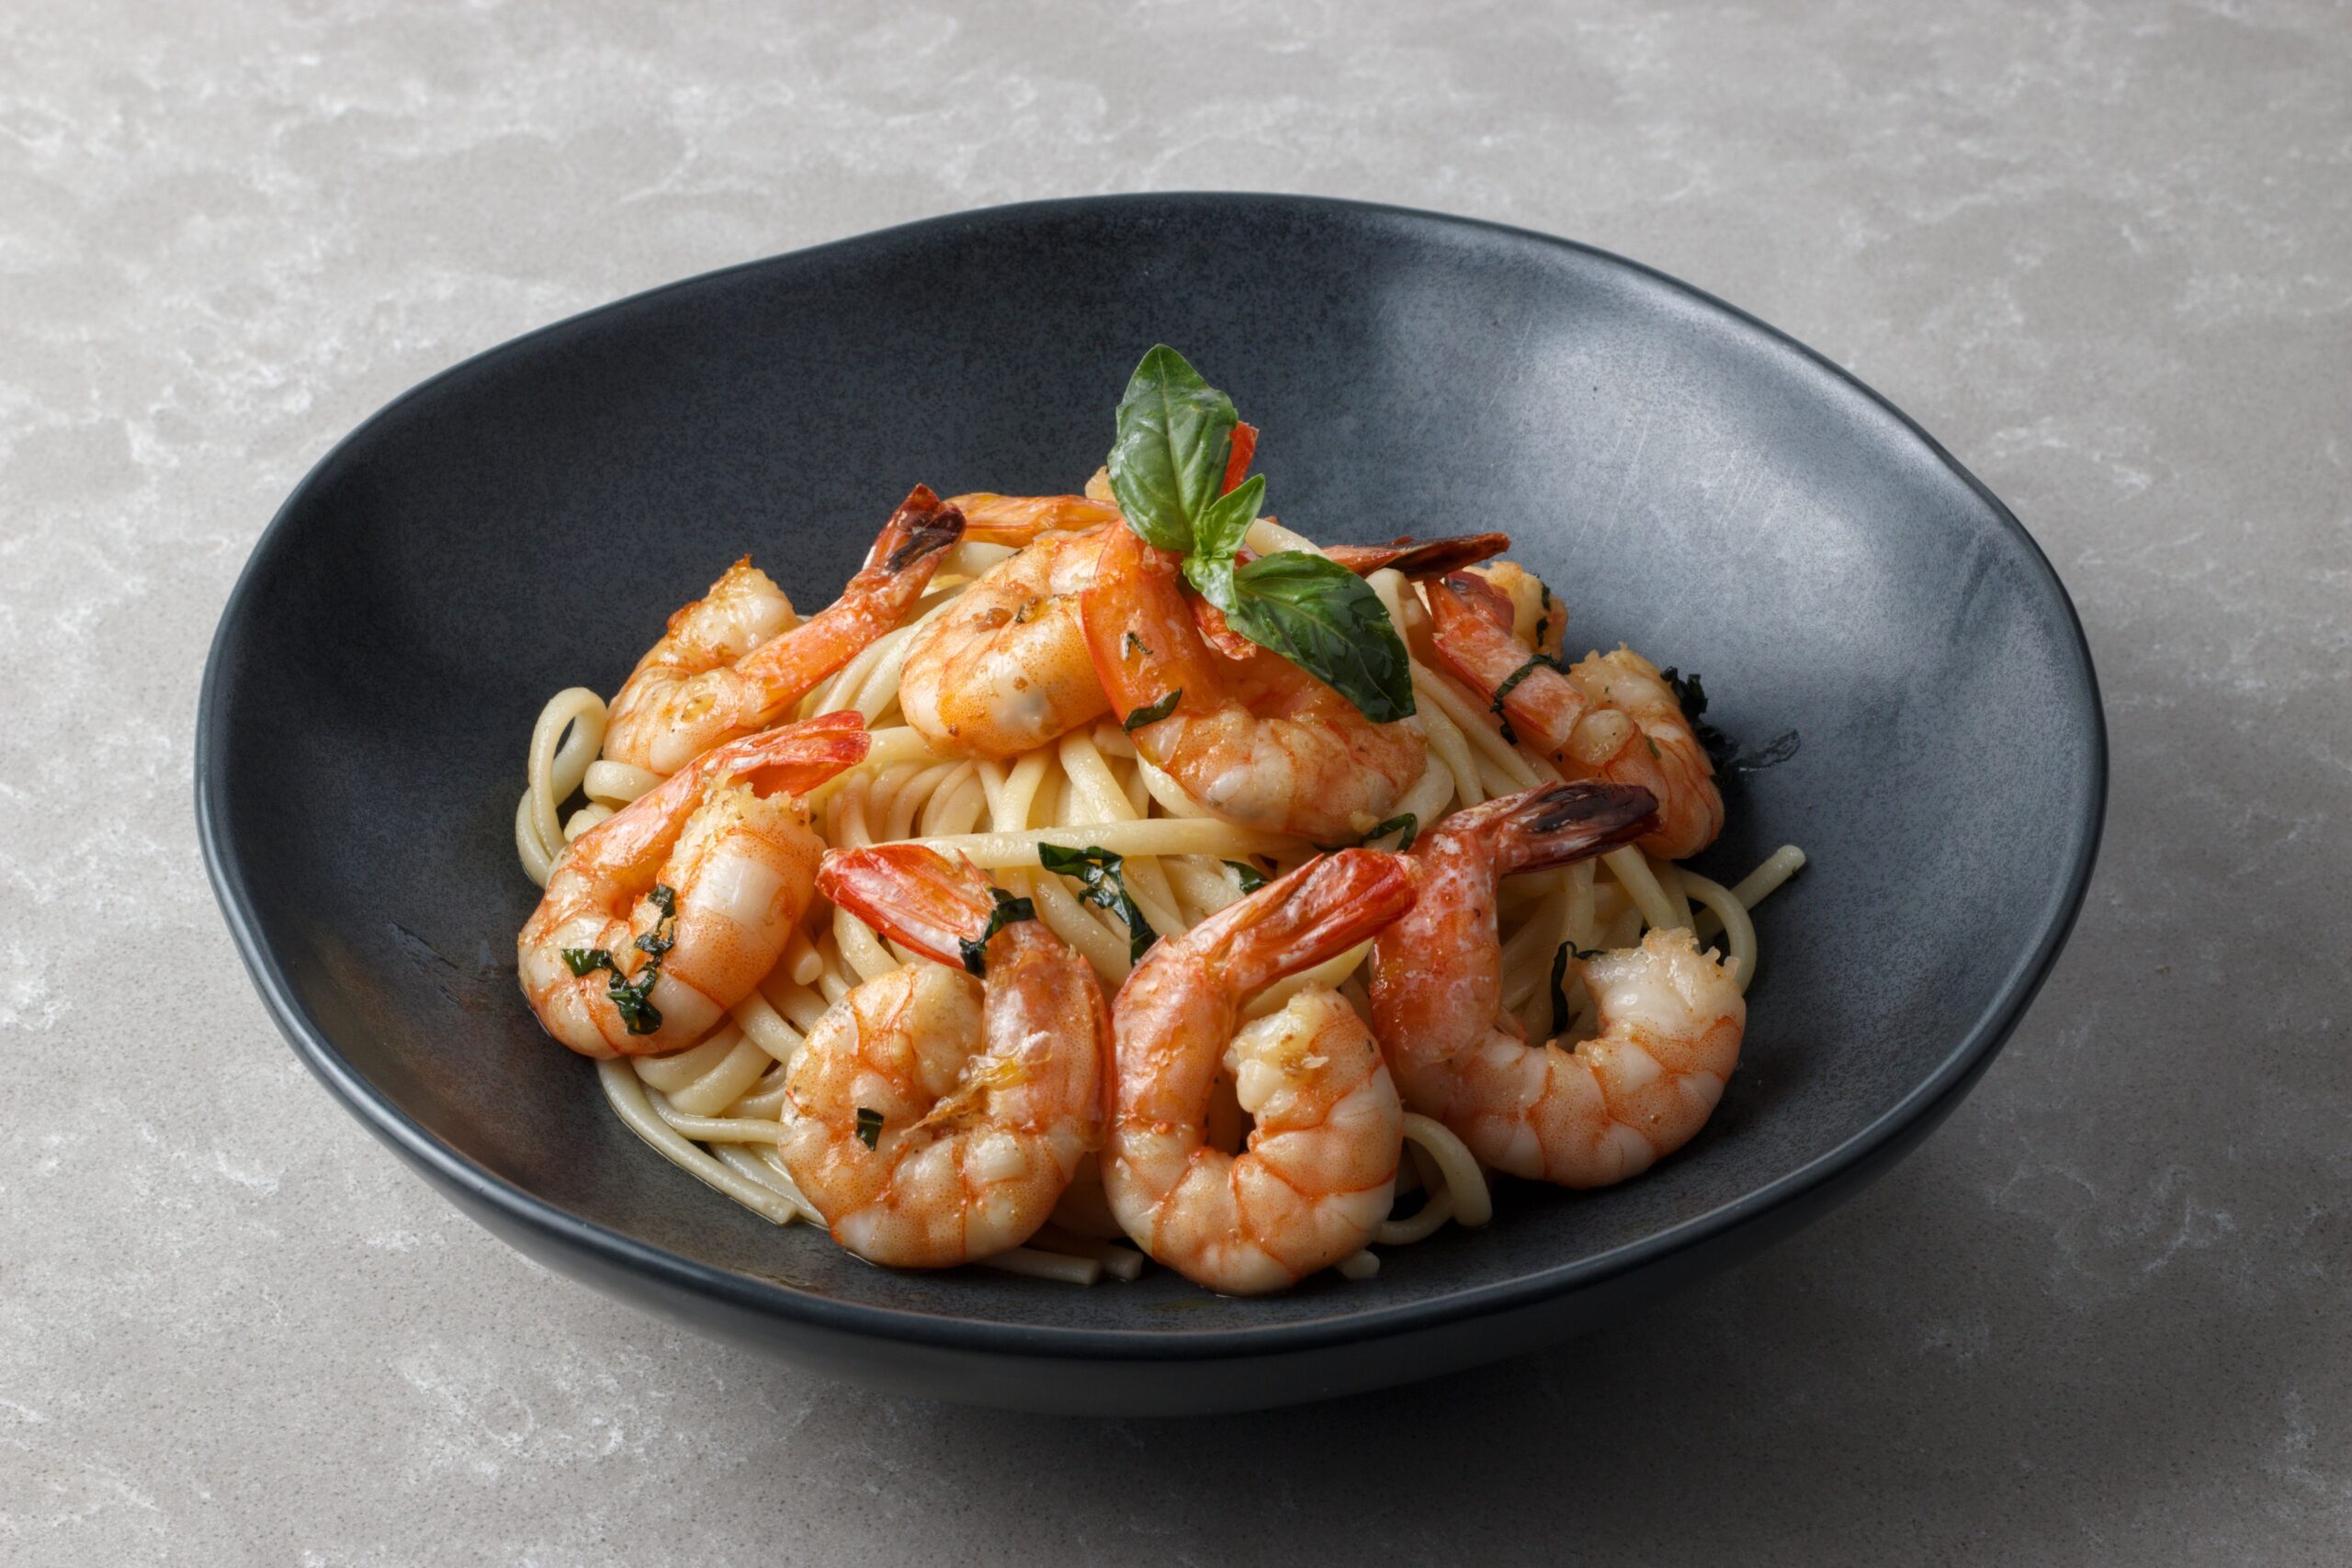
Plated garlic butter shrimp pasta in a modern dark bowl garnished with fresh basil leaves
Plated to perfection: succulent shrimp nestled over glossy, seasoned pasta noodles.

Storage & Reheating Guidelines

  • Refrigeration: Allow leftover shrimp pasta to cool to room temperature. Store in an airtight glass container in the refrigerator for up to 2 days.
  • Gentle Stovetop Reheating: Avoid aggressive microwave heating, which makes seafood chewy. Instead, warm gently in a nonstick skillet over medium-low heat with 1 tablespoon of water or broth for 2 minutes, tossing frequently.

Frequently Asked Questions

Can I use frozen peeled shrimp?
Yes. Submerge frozen shrimp in a bowl of cold tap water for 8 to 10 minutes to thaw completely. Dry thoroughly with clean towels before cooking to ensure proper pan caramelization.

Can I substitute other pasta varieties?
Long strands like linguine, fettuccine, or bucatini work best for catching the garlic butter emulsion, though short shapes like penne rigate or campanelle hold the sauce nicely as well.

Juicy Air Fryer Pork Chops (Crispy Edge Weeknight Technique)

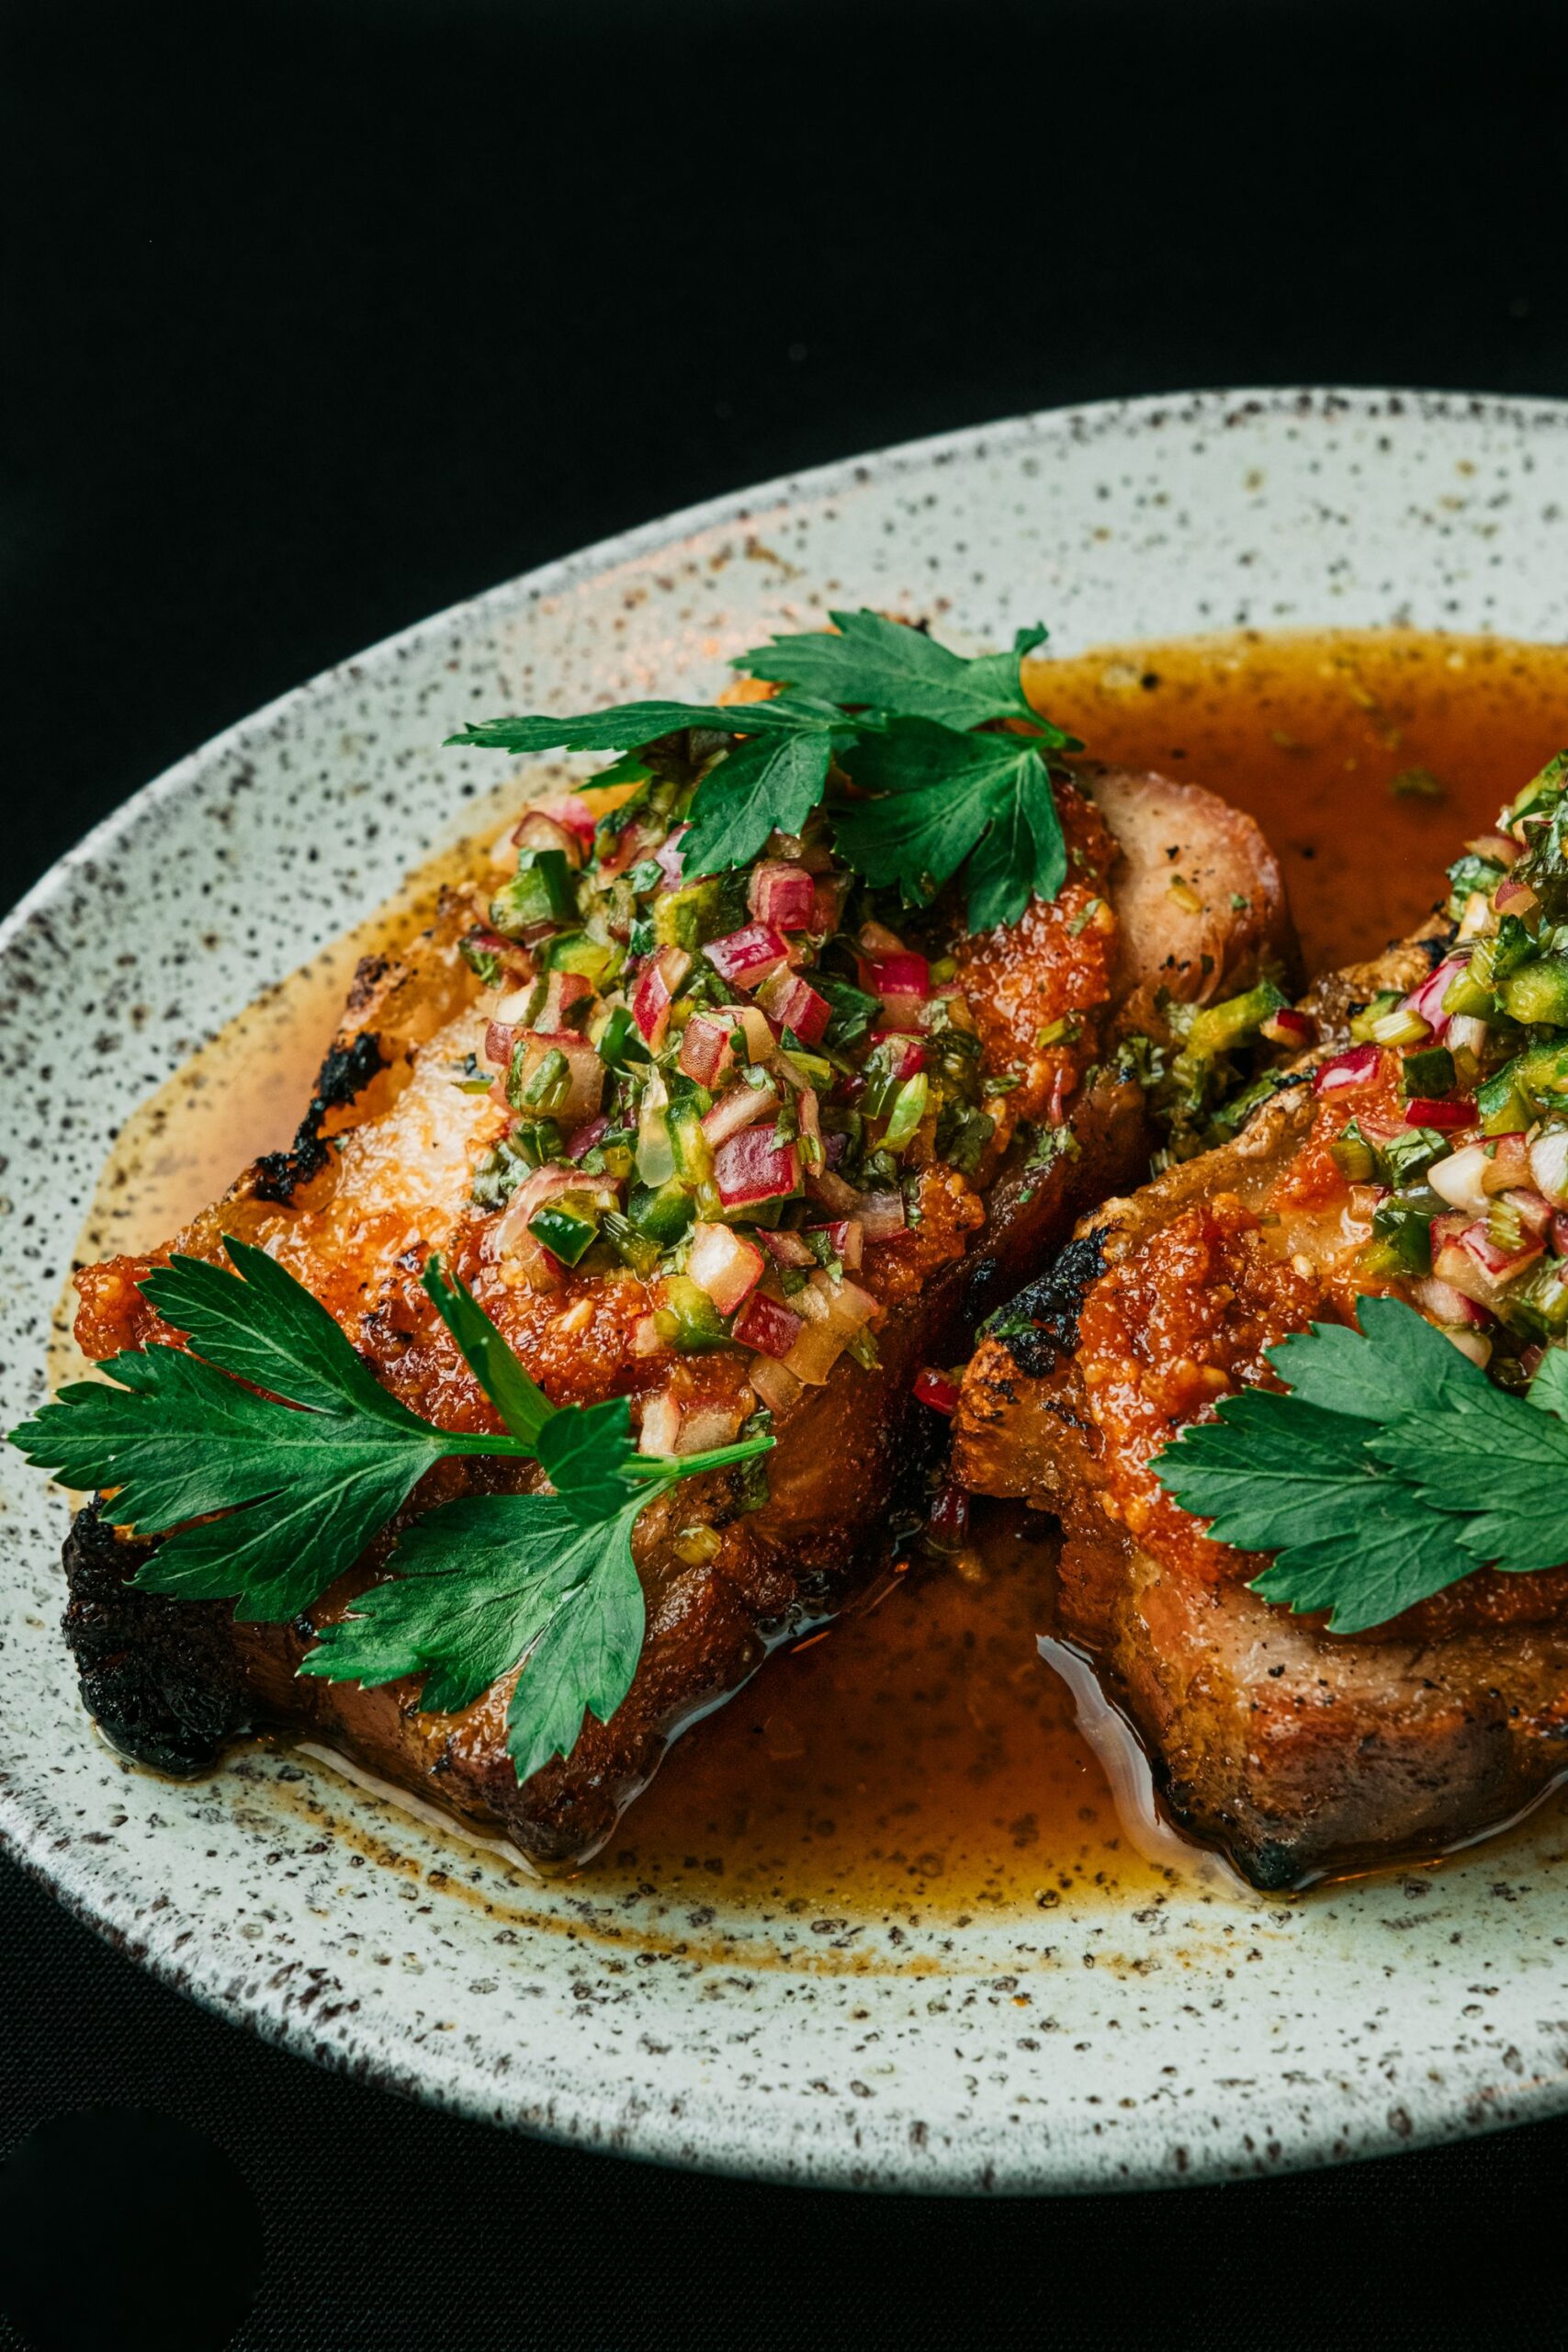
Juicy golden air fryer pork chops topped with zesty herb relish and pan juices

Few weeknight proteins suffer from mishandling quite like pork chops. Traditional skillet searing often leaves the edges tough and the interior bone-dry. This Juicy Air Fryer Pork Chops method harnesses high-velocity convective airflow to solve that exact dilemma: crisping the seasoned outer crust in under ten minutes while locking every drop of savory moisture deep inside the center cut.

Juicy golden air fryer pork chops topped with zesty herb relish and pan juices
Seared to perfection with a caramelized spice crust and topped with a fresh chimichurri-style relish.

Thermal Dynamics: Why Convection Protects Lean Pork

Modern commercial pork is bred exceptionally lean, meaning it lacks the heavy intra-muscular marbling found in ribeye steaks. Rapid cooking via air fryer succeeds because of specific thermal advantages:

  • Instant Surface Dehydration: Intense dry circulating heat instantly wicks surface moisture away, allowing the paprika and brown sugar rub to caramelize into a crisp bark before internal moisture can escape.
  • 360-Degree Heat Distribution: Suspending the chops on an aerated grate eliminates cold spots, ensuring uniform thermal carryover from edge to bone.
  • Zero Fat Drowning: Unlike deep frying or pan pooling, excess rendering fat drips downward through the basket, preventing a greasy aftertaste while preserving pure savoriness.

“The secret to succulent pork is the thermal carryover rest: pull your chops at 140°F (60°C) and let resting pan juices redistribute the core temperature to a tender 145°F.”


Ingredient Selection & The Dry Rub Formula

  • Pork Chops: 4 bone-in or boneless center-cut pork chops, roughly 1 inch (2.5 cm) thick. Avoid paper-thin cuts, which overcook before caramelizing.
  • Oil Binder: 1.5 tablespoons extra virgin olive oil or avocado oil to conduct heat and adhere the spices.
  • The Balanced Caramelization Rub:
    • 1 tablespoon smoked Spanish paprika
    • 1 teaspoon dark brown sugar (promotes Maillard browning)
    • 1 teaspoon garlic powder
    • 1 teaspoon onion powder
    • 1 teaspoon dried Mexican oregano or thyme
    • 1.5 teaspoons coarse kosher salt
    • 1/2 teaspoon freshly cracked black pepper
    • 1/4 teaspoon cayenne pepper (optional subtle warmth)
  • Finishing Elements: Chopped fresh flat-leaf parsley, finely diced shallots, and fresh lemon wedges to cut through the savory meat.

Step-by-Step Cooking Walkthrough

  1. Room Temperature Rest: Remove pork chops from the refrigerator 15 minutes before cooking. Pat them entirely dry on both sides using clean paper towels. A dry exterior is mandatory for achieving crisp edges.
  2. Preheat the Air Fryer: Set your basket-style or toaster oven air fryer to 400°F (200°C) and run it empty for 3 minutes to build ambient cavity heat.
  3. Season Generously: Whisk the dry rub spices together in a ramekin. Rub each chop lightly with olive oil, then press the spice blend firmly into every side and edge of the meat.
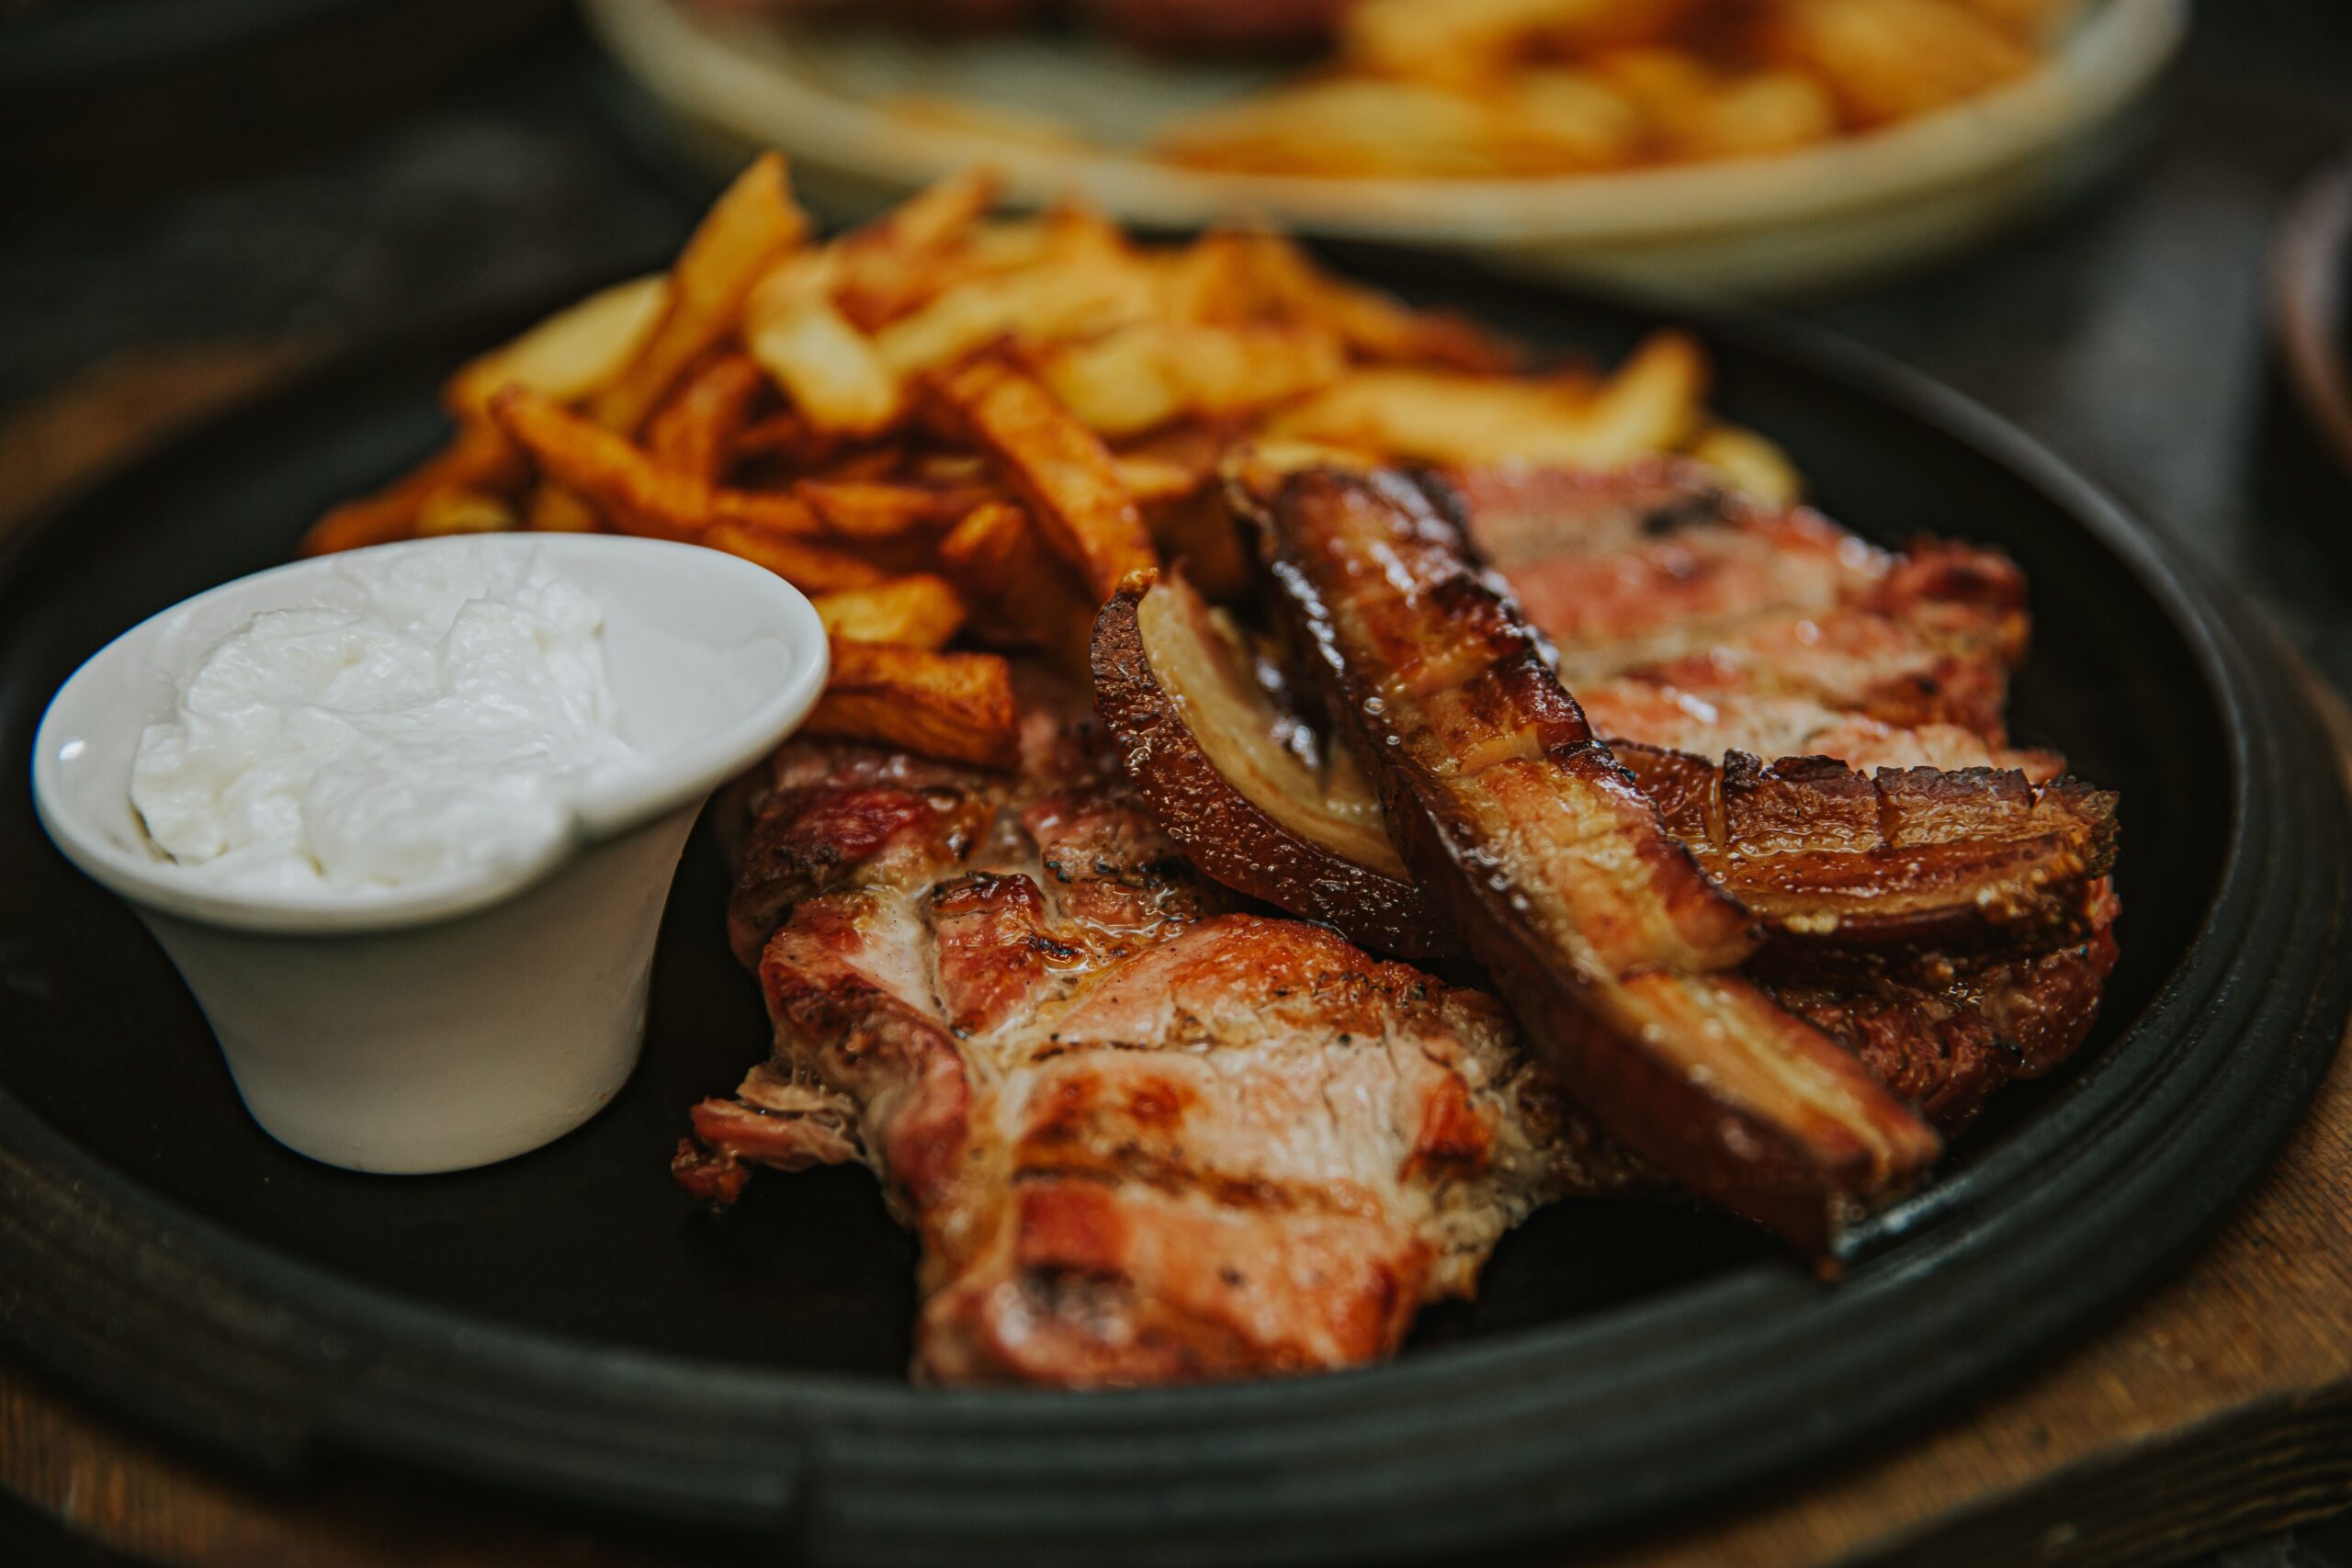
Char-grilled pork chops served with crisp fries and garlic dipping sauce
Sizzling pork chops served alongside golden crispy sides and cool dipping sauce.
  1. Load the Basket: Place the seasoned pork chops into the hot air fryer basket in a single uncrowded layer. Leave at least a 1/2-inch gap between chops to allow convection currents to pass freely.
  2. Convection Roast: Cook at 400°F (200°C) for 9 to 11 minutes total, flipping each chop carefully with silicone tongs at the 5-minute mark to ensure symmetrical browning.
  3. Verify Temperature: Insert an instant-read digital thermometer into the thickest part without touching bone. When it registers 140°F (60°C), remove the chops immediately onto a warm wooden board or platter.
  4. Mandatory 5-Minute Rest: Tent loosely with aluminum foil and rest for 5 minutes. The internal juices will redistribute, bringing the internal temperature to a food-safe, juicy 145°F (63°C).

Troubleshooting Common Pork Chop Mistakes

Cooking Error Root Mechanism Simple Solution
Leathery, dry texture Cooking past 145°F or skipping the rest Rely on a digital meat probe; pull at 140°F and rest for 5 minutes under foil.
Pale, soggy spice coating Excess surface moisture before seasoning Blot aggressively with paper towels before brushing with oil and applying rub.
Uneven cooking between chops Overlapping or crowding the basket Cook in two batches if your basket is under 6 quarts to maintain uninterrupted airflow.

Serving Inspirations & Pairings

Because pork has a natural savory richness, it benefits from pairings that offer crisp acidity or comforting earthiness:

  • Tangy Garden Slaws: A quick slaw of shredded cabbage, crisp apples, and apple cider vinegar cuts through rich pork fats cleanly.
  • Steakhouse-Style Potatoes: Serve with crispy hand-cut roasted potato wedges, sweet potato fries, or creamy garlic mashed potatoes.
  • Charred Green Vegetables: Air-fried green beans, blistered asparagus spears, or roasted Brussels sprouts tossed with balsamic glaze.
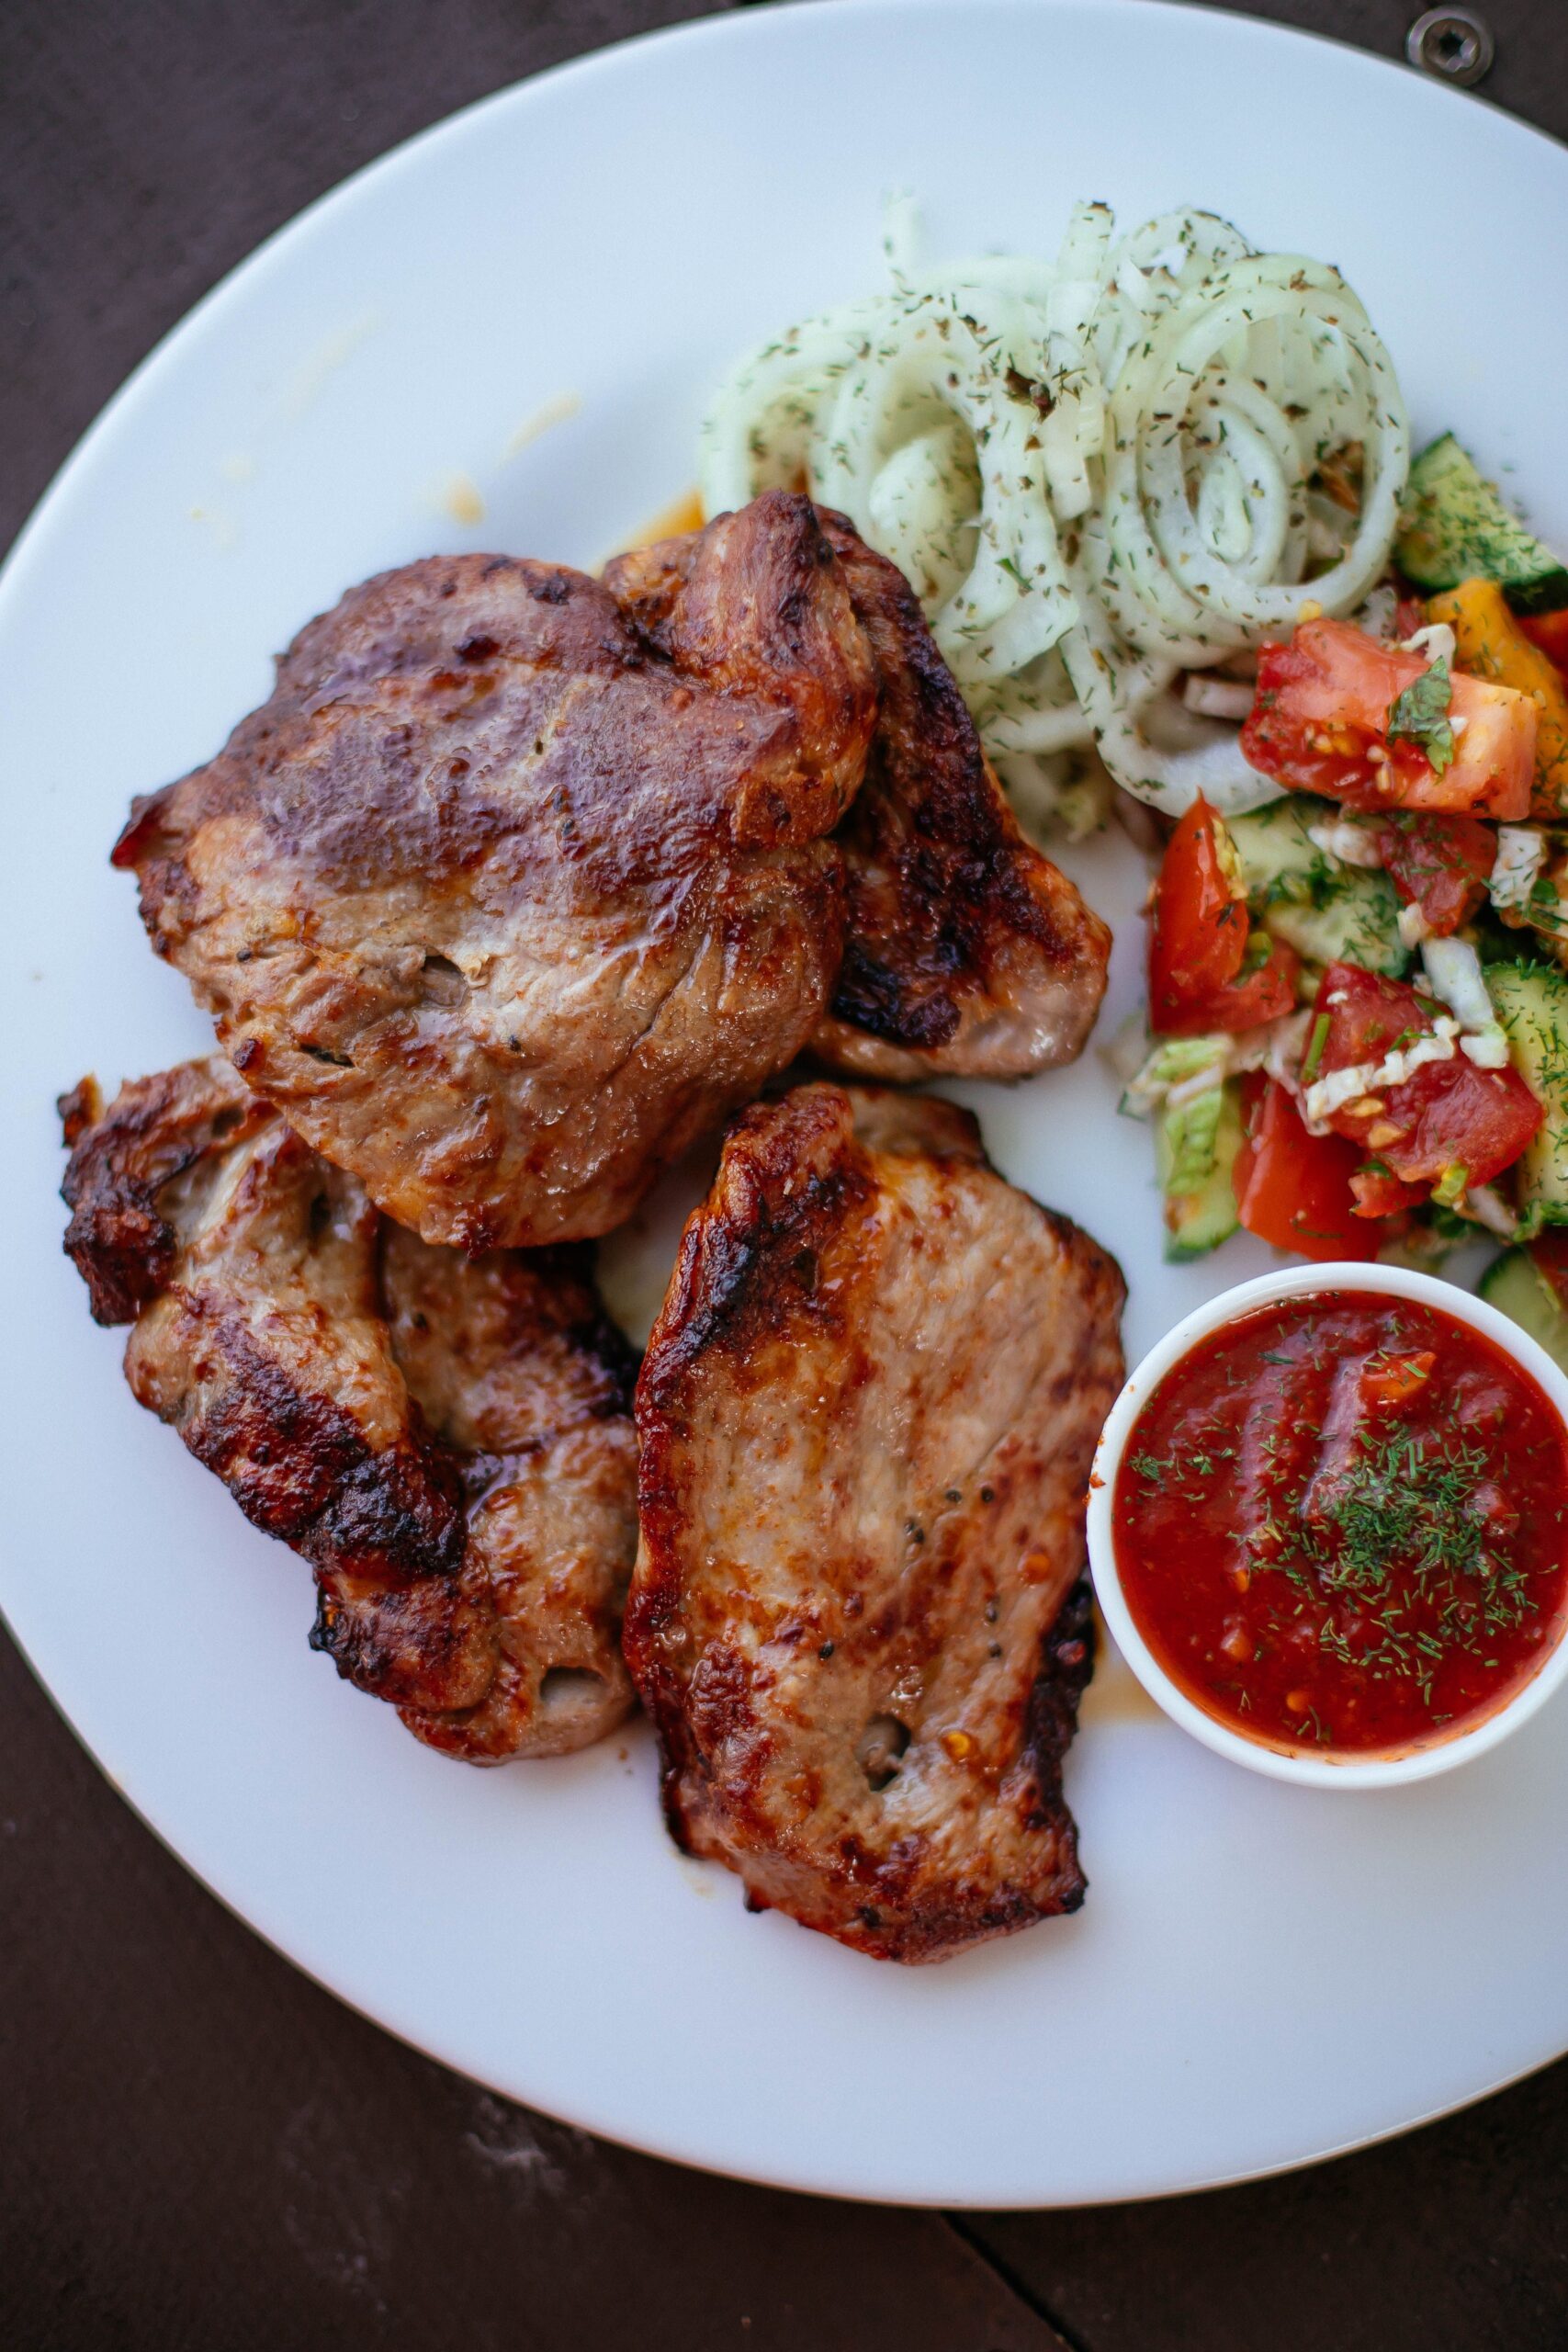
A complete plate with seared pork chops sliced onion salad and spicy tomato dip
Plated with crisp marinated sweet onions, Mediterranean tomato relish, and fresh salad.

Storage & Reheating Guidelines

  • Refrigeration: Allow leftover pork chops to cool completely to room temperature. Store in an airtight container for up to 3 days.
  • Air Fryer Reheating: Reheat in the air fryer at 350°F (175°C) for 3 to 4 minutes. This crisps the crust again without drying out the interior meat, unlike the microwave.
  • Repurposed Meals: Thinly slice cold leftovers to layer over crisp lunch salads or warm grain bowls with Dijon mustard dressing.

Frequently Asked Questions

Should I use bone-in or boneless pork chops?
Bone-in chops offer slightly superior moisture retention around the bone and look impressive, but boneless chops cook 1 to 2 minutes faster. Both yield fantastic results with this rub.

Do I need to spray the air fryer basket?
A light spritz of high-smoke avocado or canola oil prevents any sticking, but avoid aerosol non-stick sprays containing propellants that damage non-stick basket coatings.

Rustic Tomato Basil Penne (Authentic Italian Weeknight Skillet)

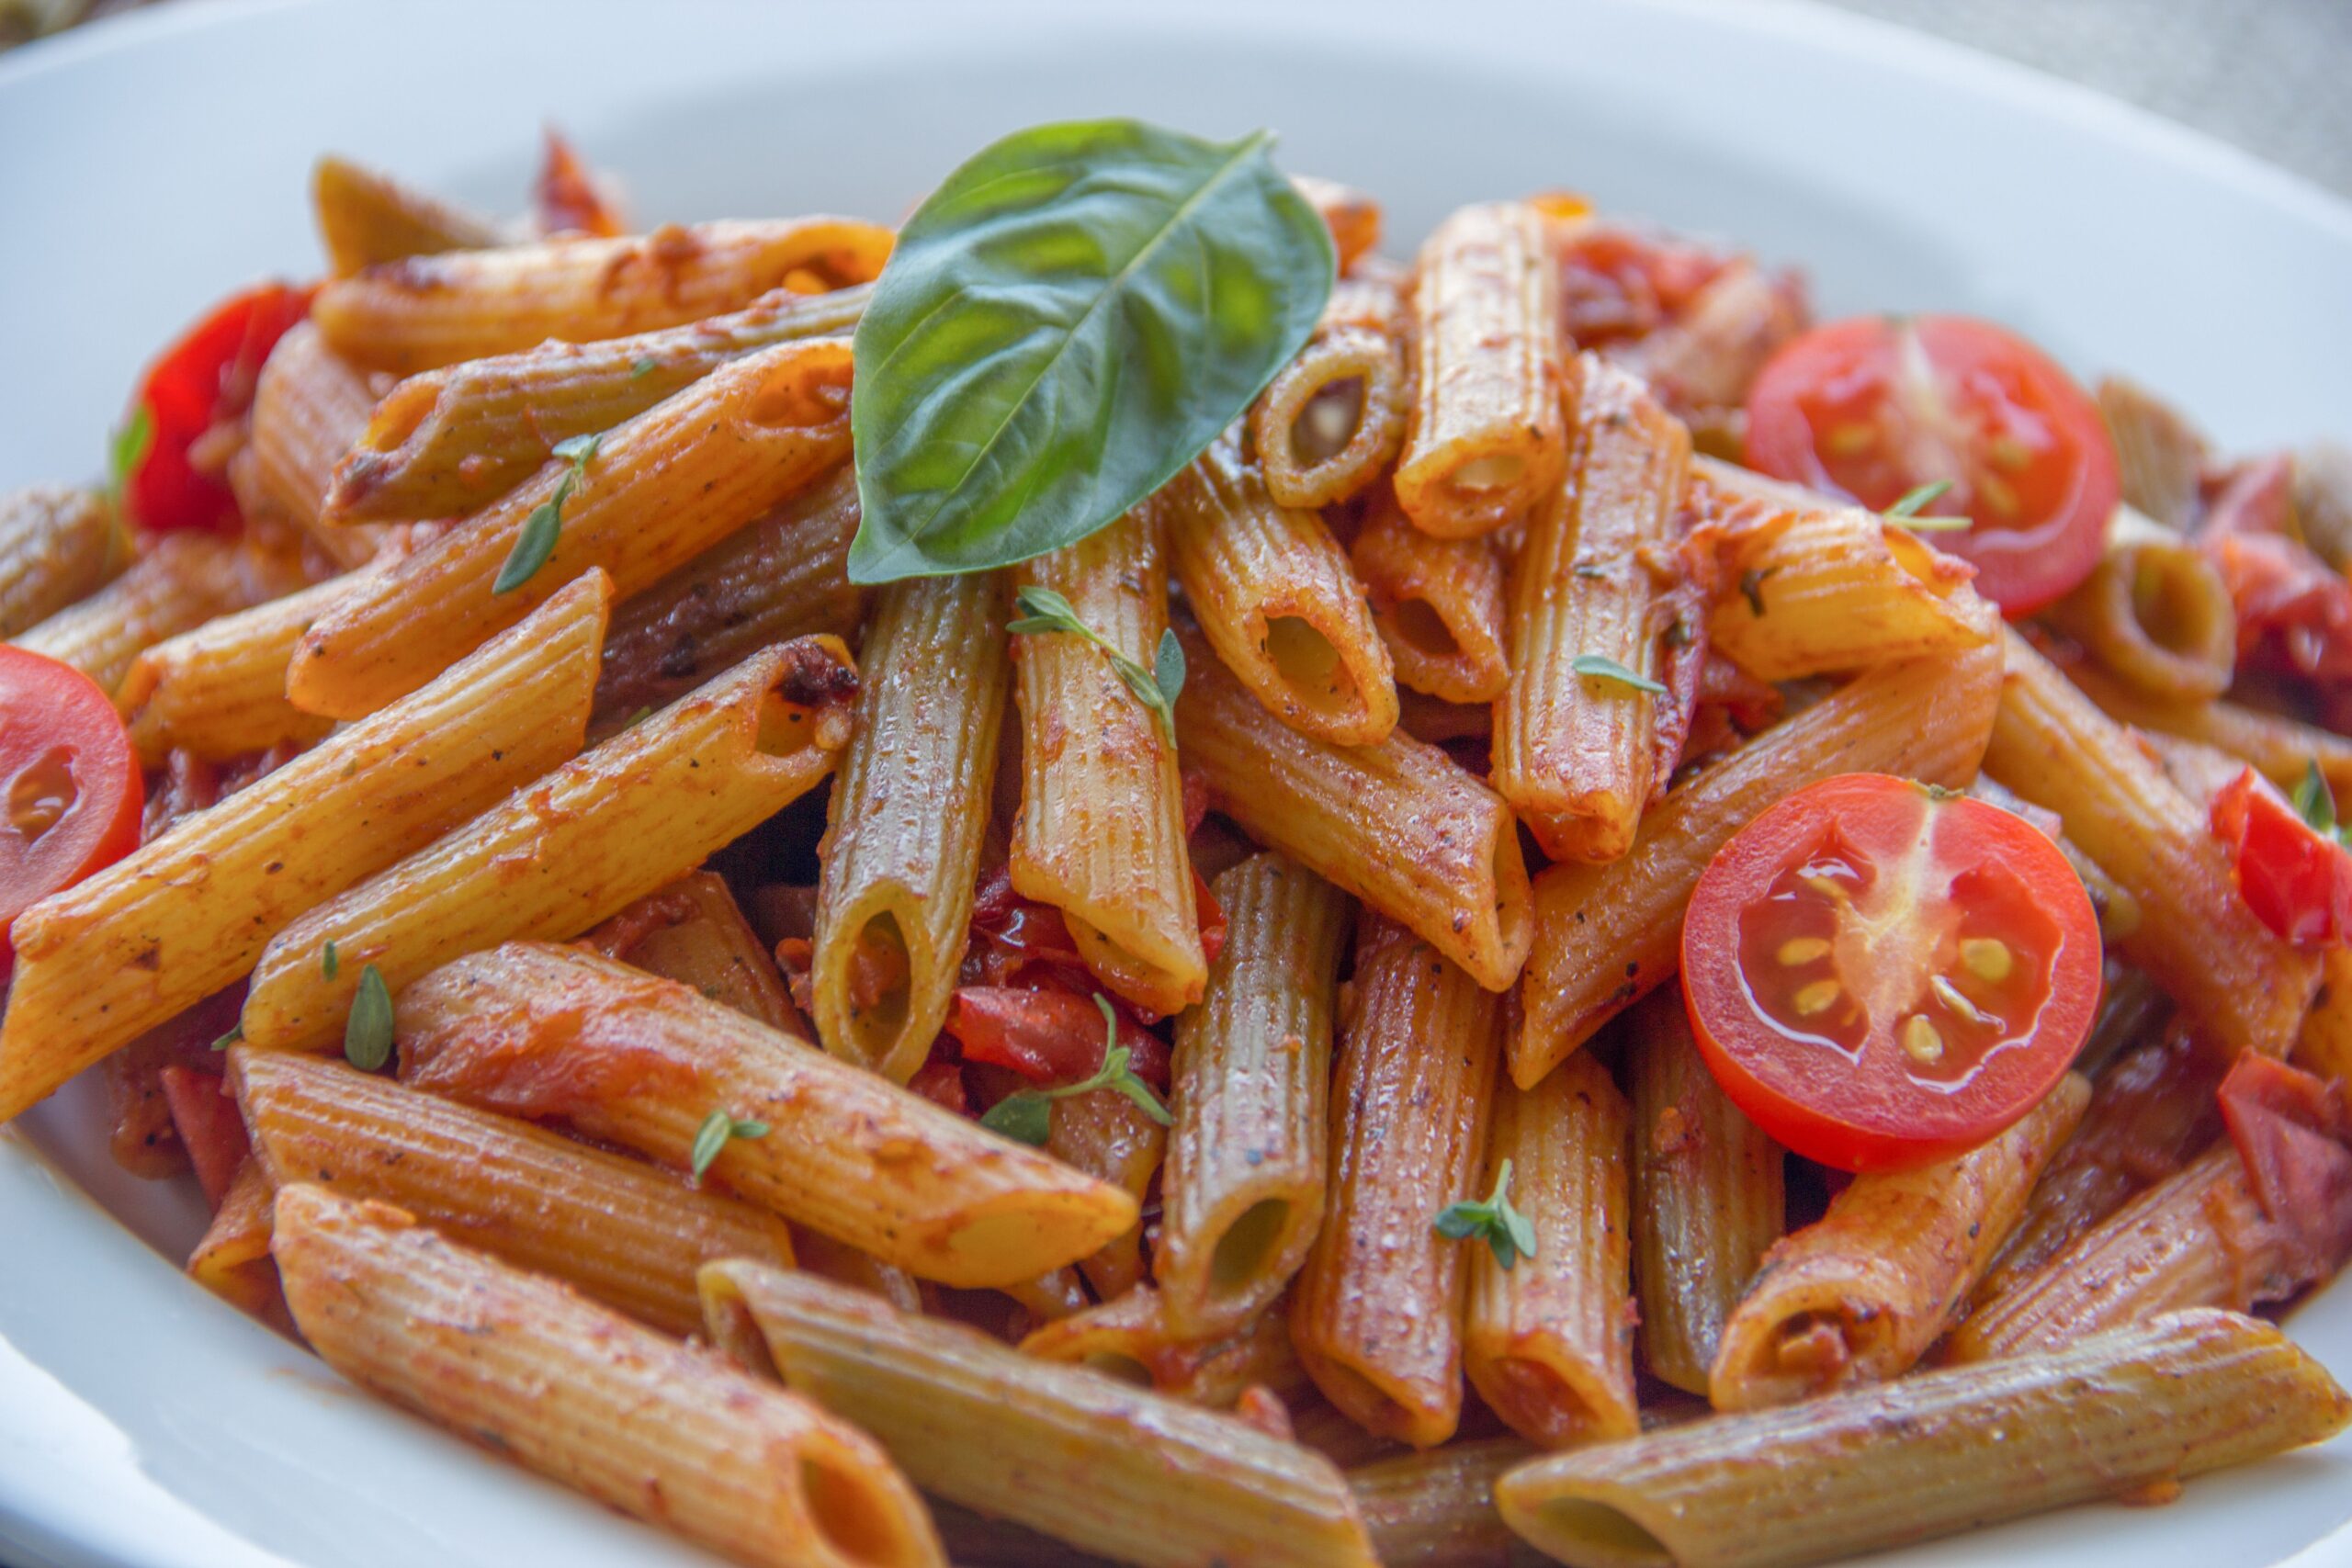
Al dente penne pasta coated in rich crushed cherry tomato sauce garnished with fresh basil leaves and halved tomatoes

True Italian weeknight cooking does not rely on jarred shortcuts or hours of low-heat simmering. This Rustic Tomato Basil Penne celebrates the brilliance of minimal, high-impact pantry ingredients: ripe blistered cherry tomatoes, fragrant thinly sliced garlic, cold-pressed olive oil, and sweet garden basil. Ready from cutting board to table in the exact time it takes to boil pasta, it proves that culinary elegance is born from thermal control and ingredient balance.

Al dente penne pasta coated in rich crushed cherry tomato sauce garnished with fresh basil leaves and halved tomatoes
Freshly tossed penne rigate coated in glossy burst tomato reduction with aromatic basil.

The Science of Bursting: Why High Heat Sweetens Cherry Tomatoes

Unlike large beefsteak or Roma varieties that contain excessive moisture requiring lengthy evaporation, small cherry or grape tomatoes feature thick, sugar-dense skins. When hit with shimmering olive oil in a wide skillet, three crucial physical transformations happen:

  • Thermal Skin Rupture: Trapped internal moisture rapidly turns to steam, causing the taut skins to blister, char slightly, and gently split open.
  • Fructose Caramelization: As the clear tomato nectar contacts the hot pan bottom, its natural sugars caramelize within minutes, naturally taming raw citric acid without adding granulated sugar.
  • Starch Emulsification: When emulsified with hot, salted cooking water directly in the ridges of penne rigate, the reduced tomato pulp clings stubbornly to every noodle.

“Tearing fresh basil by hand directly into the pan right before serving prevents the delicate volatile oils from oxidizing and turning black under high heat.”


Handpicked Ingredients & Ratios

  • Pasta Choice: 12 oz (340g) dry penne rigate (the ridged exterior is vital for capturing rustic chunky sauce).
  • Fresh Tomatoes: 2 pints (about 4 cups) sweet cherry or grape tomatoes, rinsed and patted dry. Leave two-thirds whole and halve the rest to jumpstart juices.
  • Extra Virgin Olive Oil: 1/4 cup robust, fruity extra virgin olive oil (divided between searing and finishing).
  • Fresh Garlic: 5 cloves, sliced paper-thin rather than minced, to infuse oil evenly without scorching.
  • Aromatics: 1 packed cup fresh sweet basil leaves, plus extra microgreens or thyme sprigs for final garnish.
  • Heat & Seasoning: 1/2 teaspoon crushed red pepper flakes, 1 teaspoon coarse kosher salt, and cracked whole peppercorns.
  • Aged Dairy: 1/2 cup freshly microplaned Parmigiano-Reggiano or sharp Pecorino Romano cheese.

Step-by-Step Skillet Masterclass

  1. Boil the Pasta Water: Set a wide stockpot filled with 4 quarts of water over high heat. Bring to a rapid rolling boil, then dissolve 2 tablespoons of kosher salt. Drop the penne and set a timer for 2 minutes less than package directions for true al dente.
  2. Blister the Tomatoes: Heat 3 tablespoons of extra virgin olive oil in a deep 12-inch stainless steel or enameled cast-iron skillet over medium-high heat. Add the whole cherry tomatoes. Let them sit undisturbed for 2 minutes to blister the skins, then swirl the pan periodically for 3 to 4 minutes until they begin to burst and release juices.
  3. Infuse Garlic & Pepper: Turn skillet heat down to medium. Push tomatoes slightly to the perimeter and add the sliced garlic and red pepper flakes into the center pool of oil. Sauté gently for 60 seconds until garlic turns translucent and golden-edged—never dark brown.
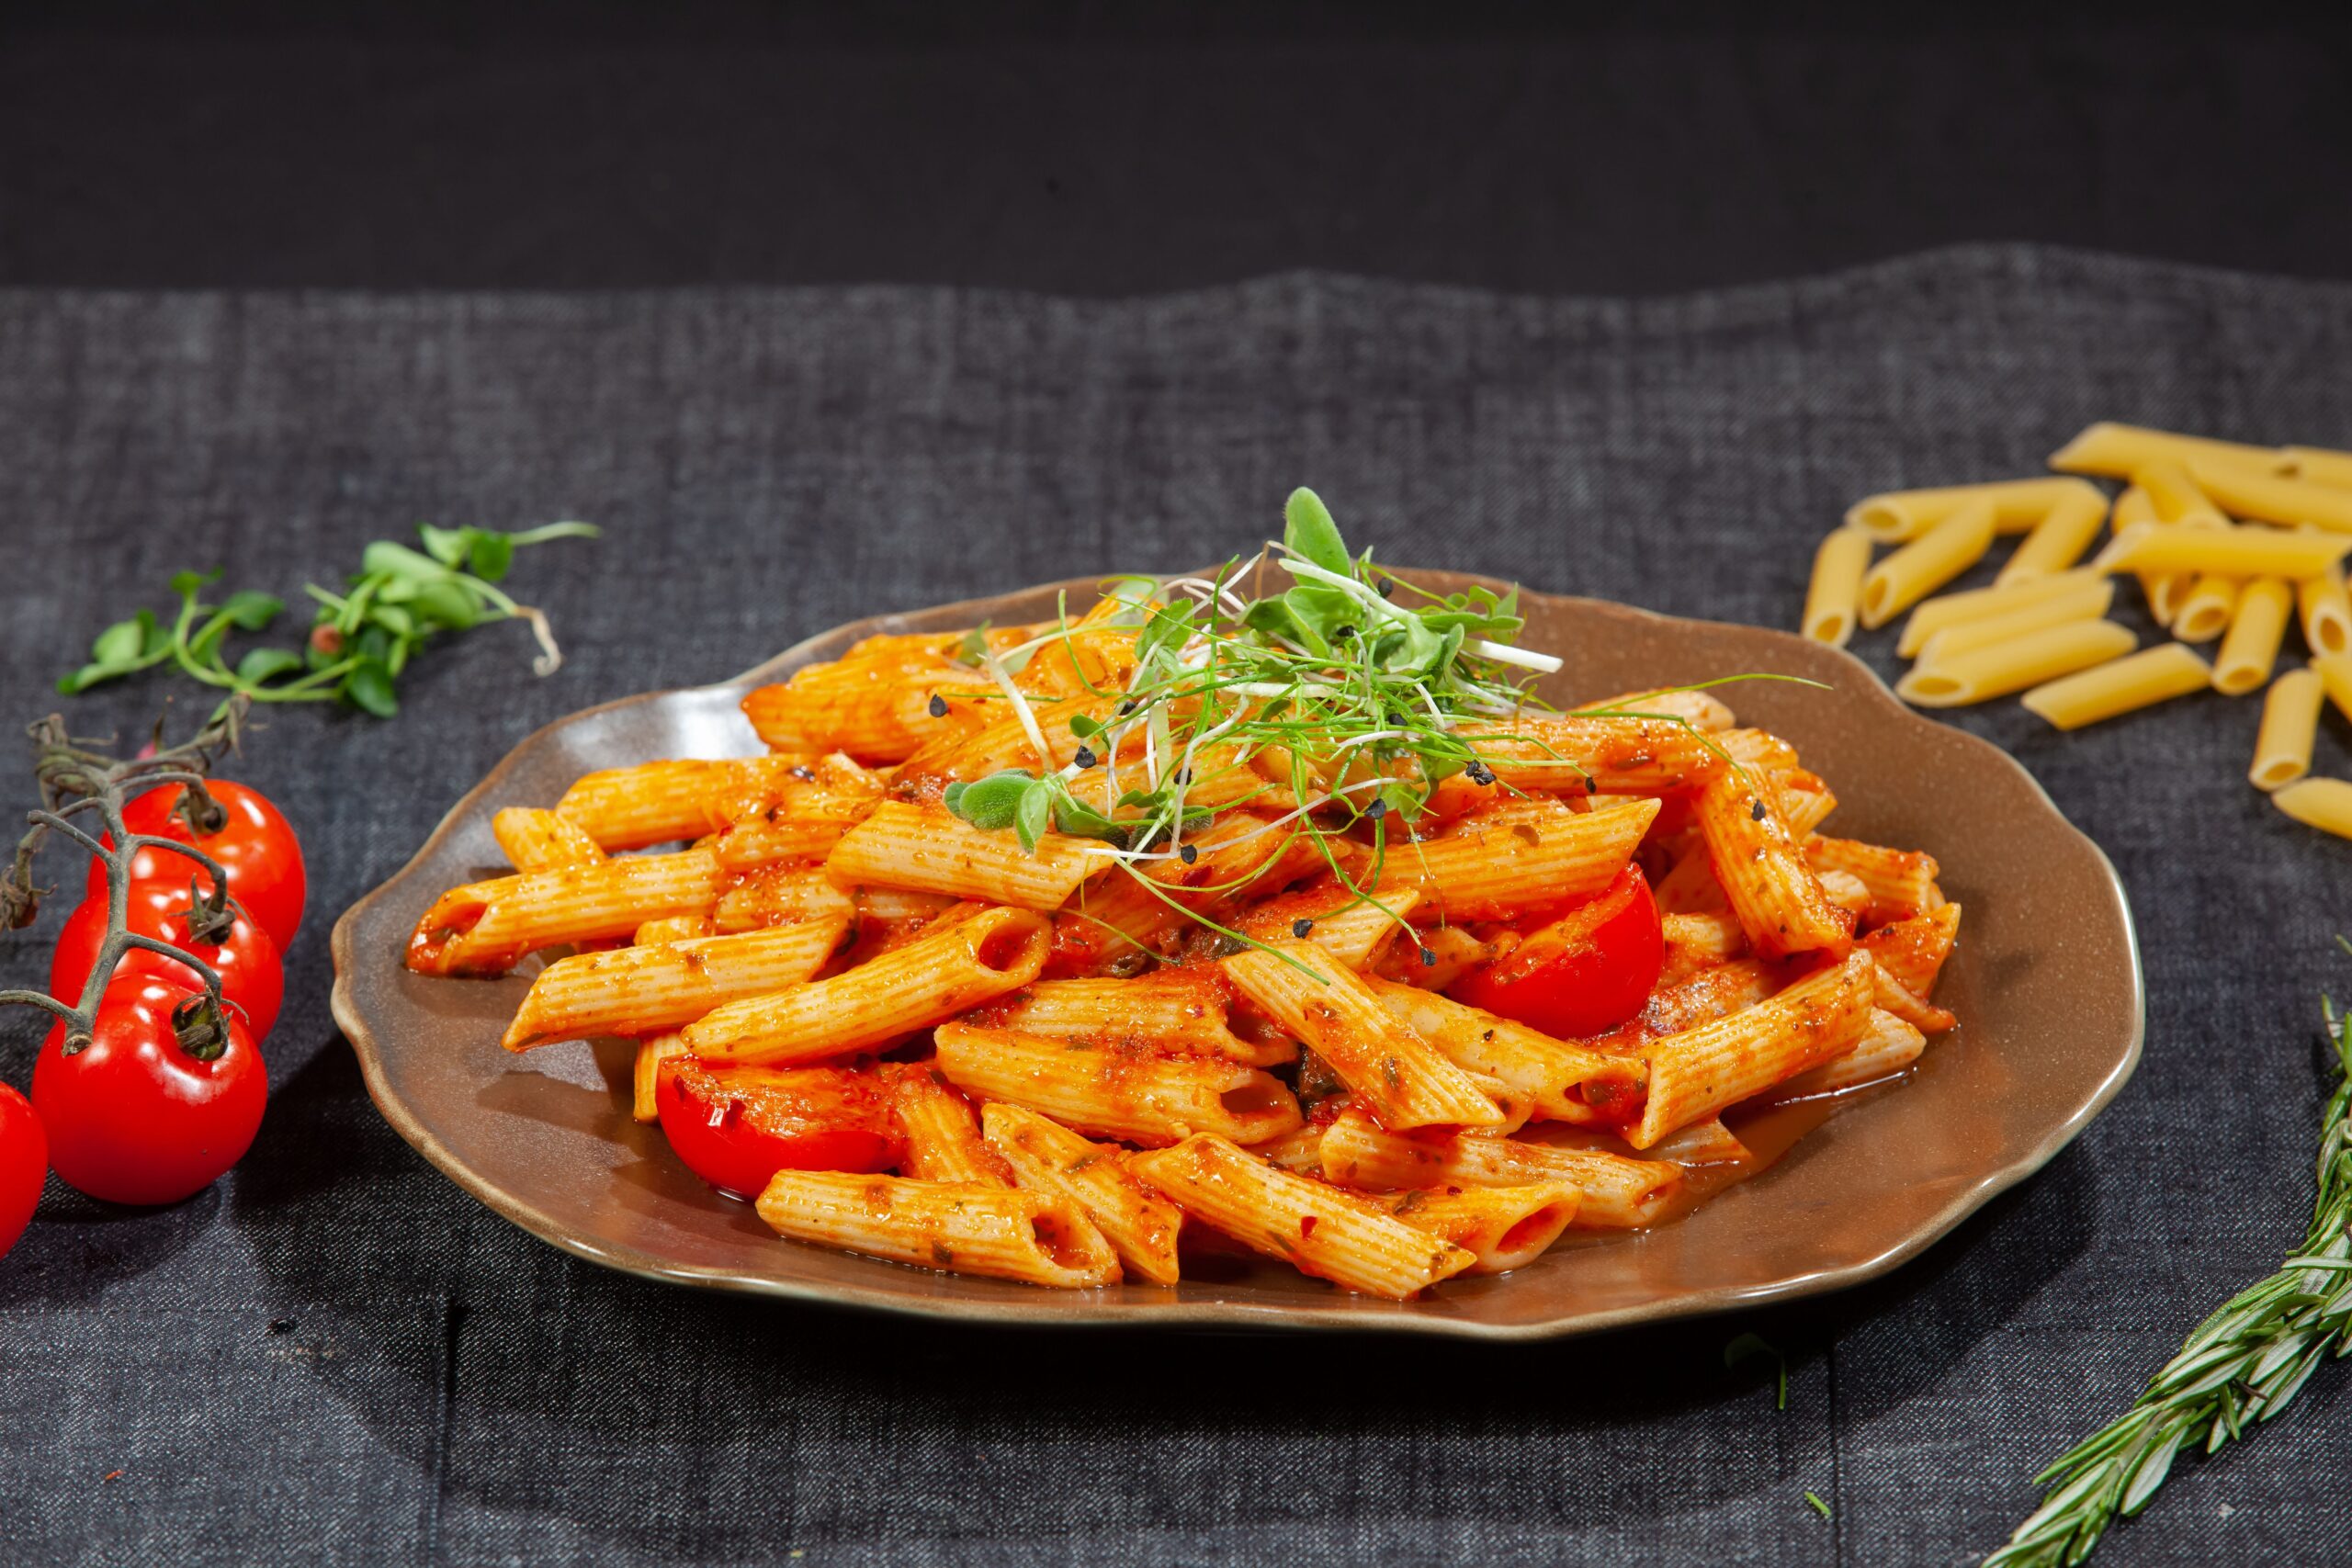
Rich tomato basil penne pasta served in a rustic earthen platter garnished with fresh greens
Simmering the burst cherry tomato reduction until thick, aromatic, and deeply coated.
  1. Crush into a Pan Glaze: Use the back of a wooden spoon or potato masher to press down gently on remaining whole tomatoes, releasing their warm savory juices into the garlic oil. Season with salt and pepper, letting the mixture simmer for 3 minutes to concentrate.
  2. The Emulsion Toss: Scoop 1/3 cup of hot cloudy pasta water straight from the boiling pot into the tomato skillet. Transfer the drained penne directly into the bubbling sauce. Toss vigorously over medium heat for 90 seconds so the starch binds the oil and juices directly to the pasta ridges.
  3. Finish Off-Heat: Remove the skillet from heat. Tear fresh basil leaves by hand into the pasta. Drizzle with the remaining tablespoon of raw olive oil and fold through half of the grated Parmigiano-Reggiano until creamy and glossy.

Critical Pitfalls & How to Prevent Them

Culinary Problem Underlying Cause Pro Fix
Watery pool at bottom of bowl Draining pasta completely dry without emulsifying Simmer the pasta directly inside the skillet with a splash of starchy water for 90 seconds.
Harsh, bitter garlic flavor Burning minced garlic over high heat Slice garlic thin and add it after tomatoes have lowered the pan temperature.
Soggy, mushy pasta Boiling noodles fully in the water pot Under-boil by 2 minutes; the penne finishes cooking inside the hot tomato sauce.

Pairing & Table Presentation

Because this pasta offers bright, natural acidity paired with fruity olive oil, it fits seamlessly alongside simple rustic sides:

  • Charred Crusty Bread: Sourdough or ciabatta rubbed with raw garlic and toasted on a dry grill pan to capture leftover sauce.
  • Creamy Burrata or Mozzarella: Tear a fresh ball of buffalo mozzarella or burrata directly over the warm pasta for rich dairy contrast.
  • Bitter Green Salad: Crisp radicchio or wild peppery arugula tossed with shaved parmesan and freshly squeezed lemon juice.
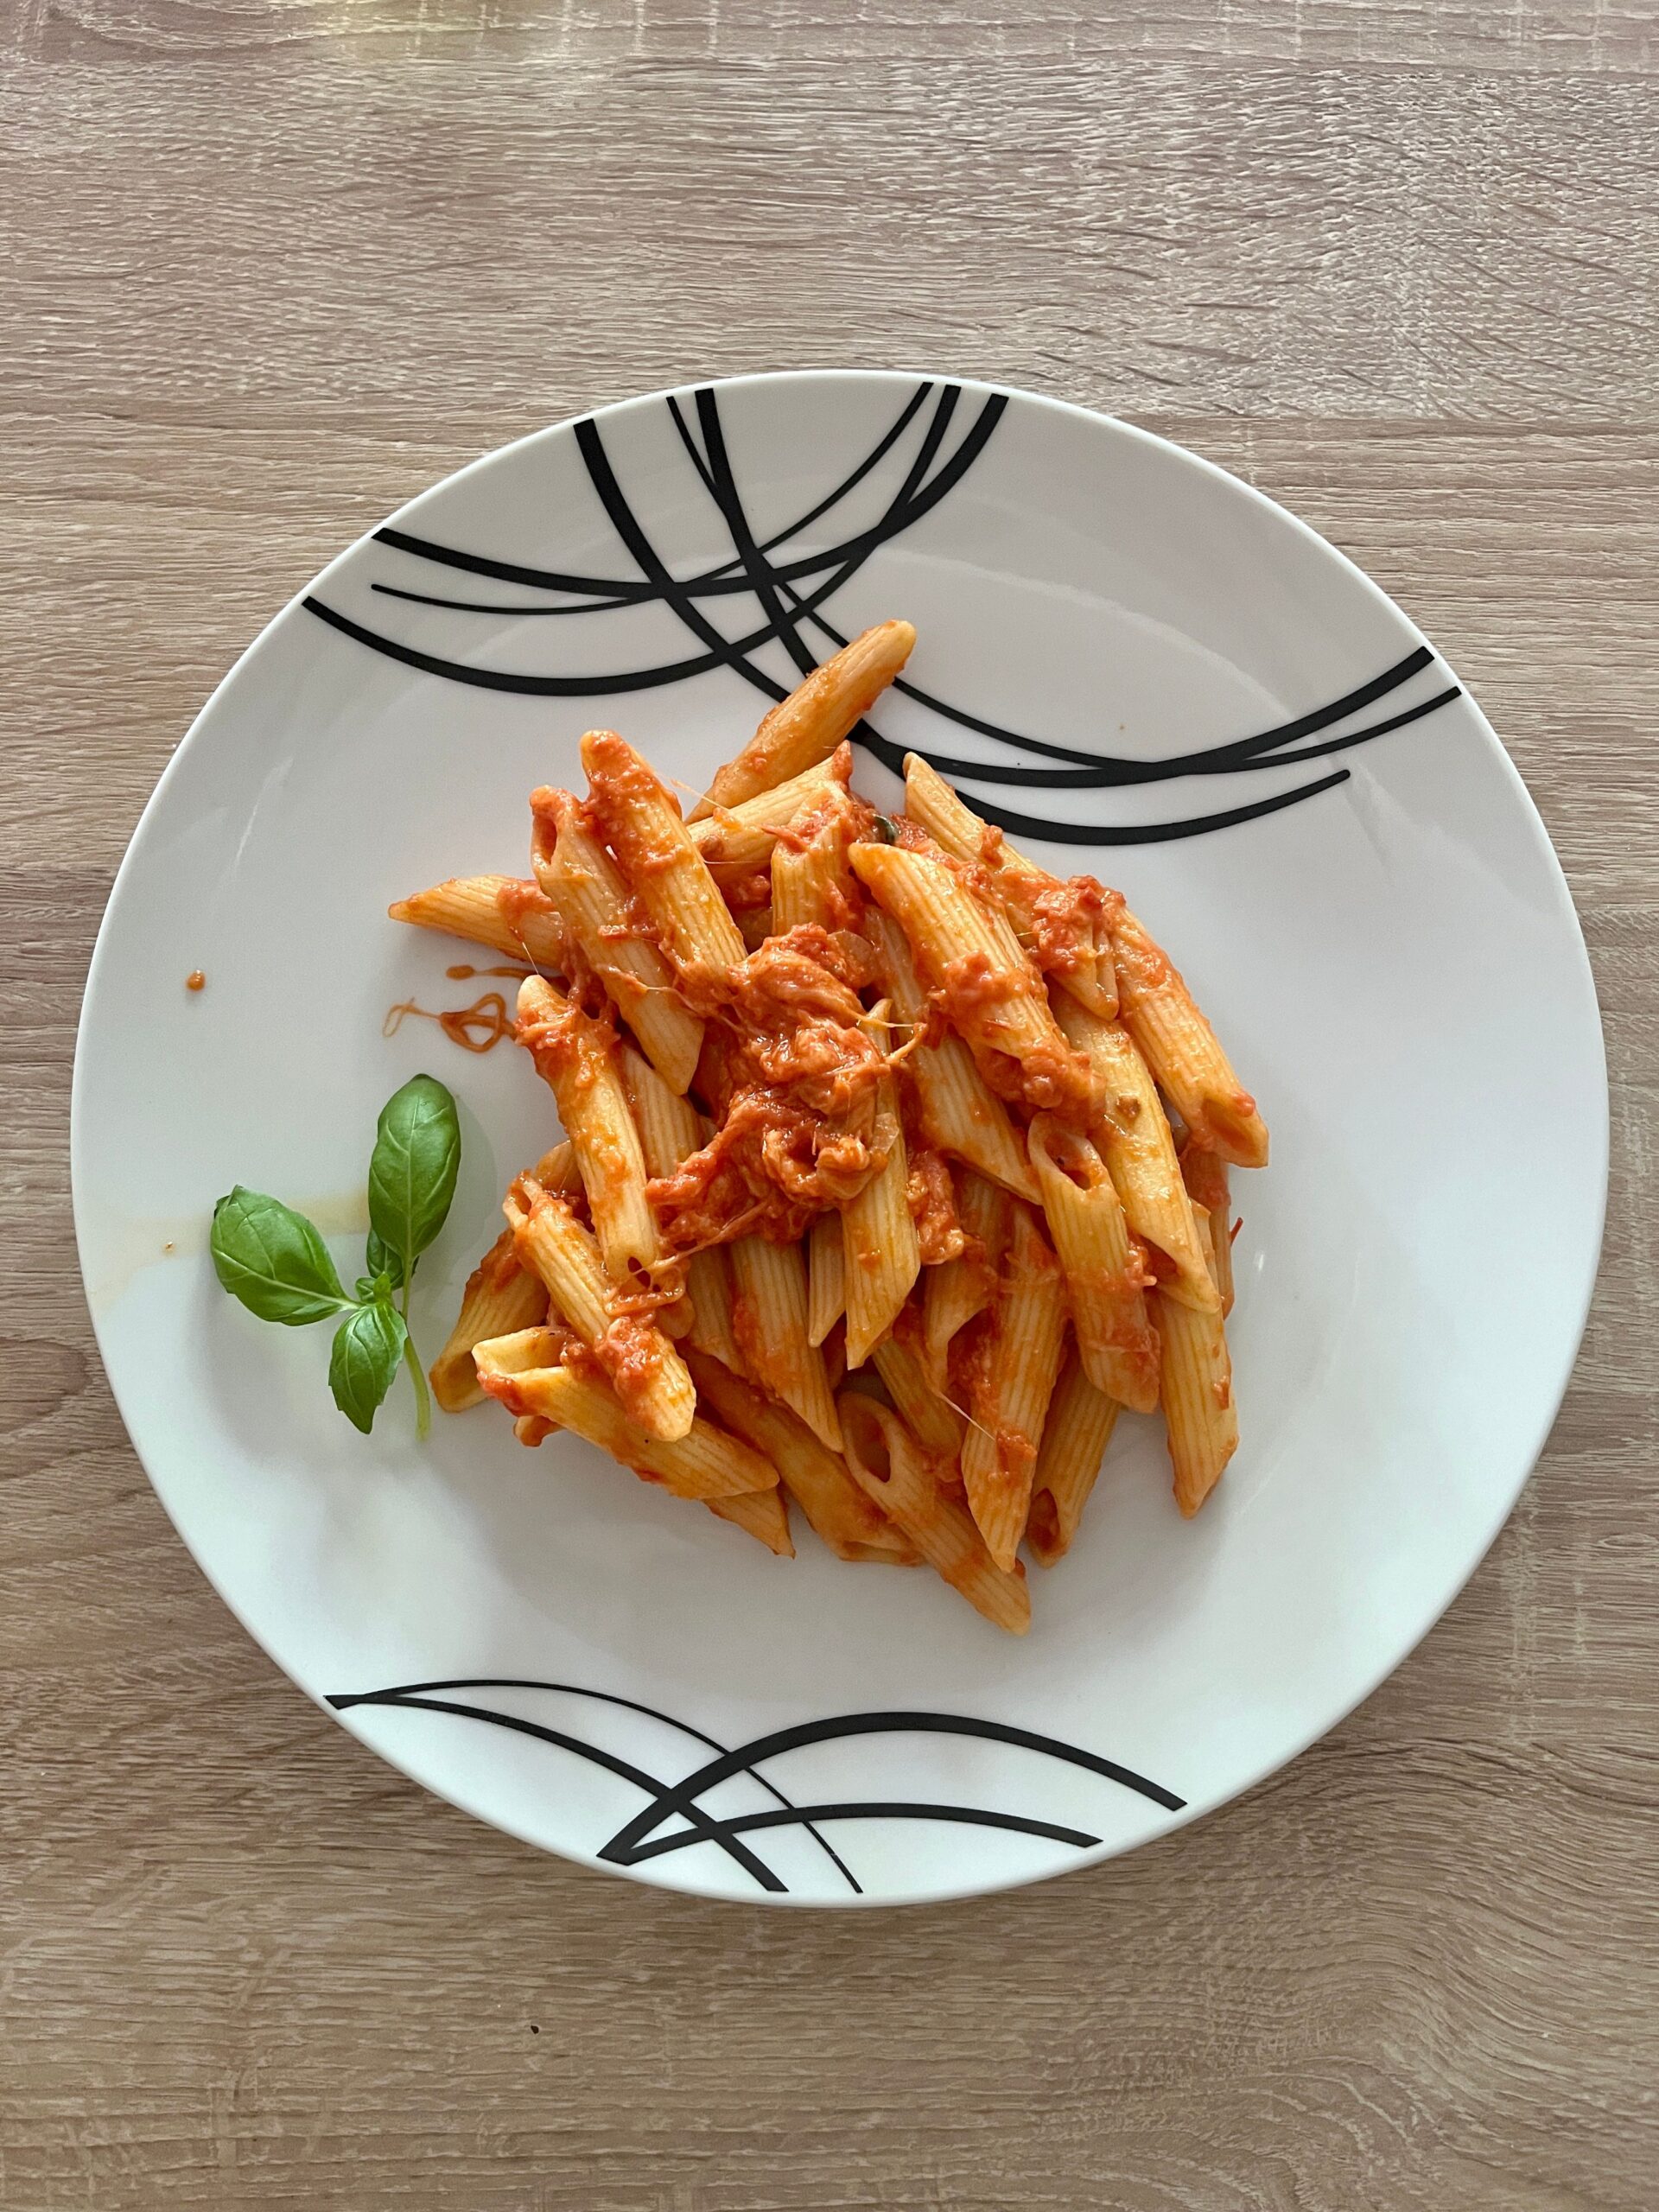
A clean white ceramic plate with tomato basil penne pasta crowned with fresh whole basil leaves
Plated to perfection: tender penne enveloped in sweet blistered tomato reduction.

Storage & Reheating Guidelines

  • Refrigeration: Cool leftover pasta completely before sealing in an airtight glass container. Keeps chilled for up to 4 days.
  • Skillet Rejuvenation: Reheat in a non-stick skillet over low heat with a tablespoon of water or olive oil, tossing for 2 minutes to revive the glossy sauce.
  • Do Not Freeze: Fresh tomato sauces with al dente pasta do not freeze well, as pasta noodles break down and turn soft upon thawing.

Frequently Asked Questions

Can I use canned whole peeled tomatoes instead?
Yes. Use high-grade canned San Marzano whole tomatoes, crushed by hand. Simmer them with the garlic oil for 10 minutes to reduce excess moisture before tossing with the pasta.

Should I rinse the pasta after boiling?
Never rinse cooked pasta. Rinsing strips away natural surface starches that allow the tomato sauce and olive oil to adhere properly to the noodles.

Quick Beef and Broccoli Stir-Fry (Better-Than-Takeout Recipe)

Savory beef strips and tender broccoli stir-fry simmering with red peppers in garlic sauce

When you need a lightning-fast, high-protein meal that easily beats your favorite Asian takeout, this Quick Beef and Broccoli Stir-Fry delivers every single time. Featuring thinly sliced, melt-in-your-mouth beef seared over blistering heat and crisp-tender broccoli coated in a glossy, savory garlic-soy reduction, this dinner brings restaurant quality to your weeknight rotation with minimal prep.

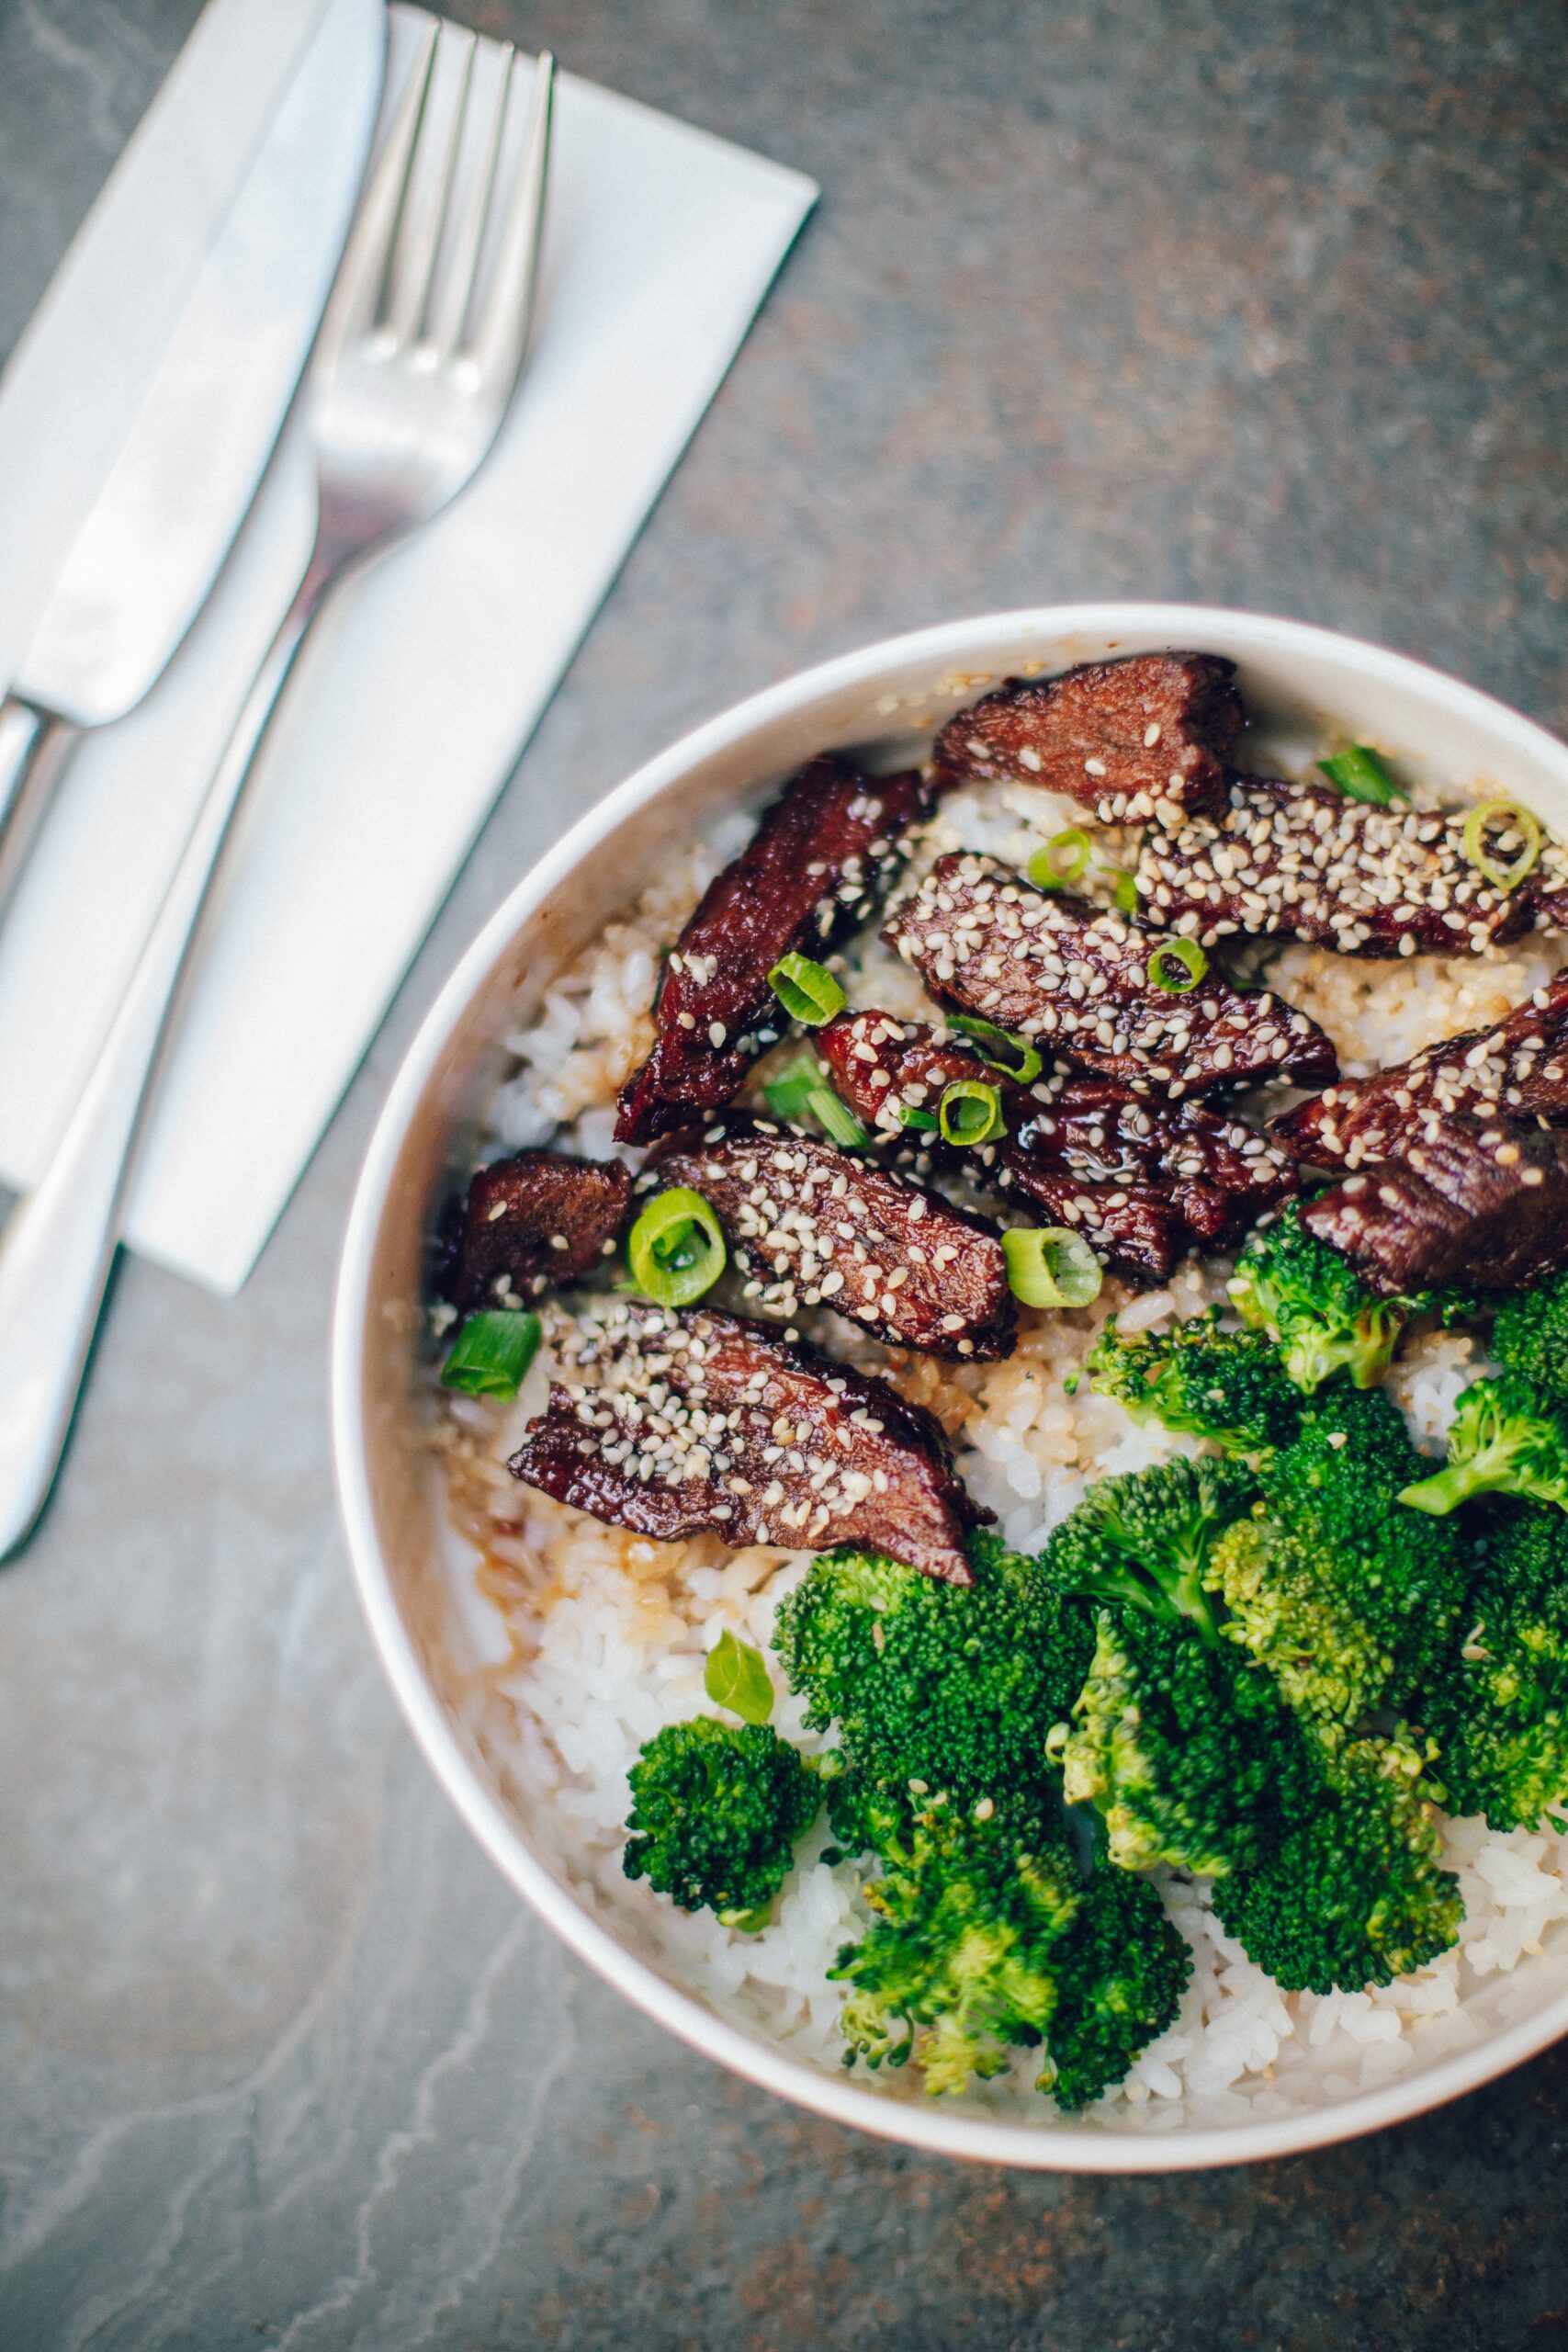
Savory tender beef and broccoli stir fry served over white rice with toasted sesame seeds
Tender beef slices and crisp broccoli florets served over fluffy white rice with toasted sesame seeds.

The Secret to Tender, Restaurant-Style Beef

Recreating that velvety takeout texture at home does not require specialized kitchen gear. It relies on three straightforward culinary techniques:

  • Slicing Across the Grain: Cutting perpendicular to the natural muscle grain shortens the meat fibers, ensuring a tender, easy-to-chew bite.
  • The Cornstarch Seal (Velveting): Lightly tossing beef strips in cornstarch and soy sauce locks moisture inside during rapid searing, shielding protein strands from toughening.
  • Intense Flash Searing: A piping hot skillet ensures the beef browns quickly without steaming in excess moisture.

“Always allow your pan to reach smoking heat before adding your beef strips. Quick searing builds caramelization while leaving the center tender and juicy.”


Ingredients & Sauce Components

  • The Protein: 1 lb (450g) flank steak, sirloin, or flat iron steak, sliced thinly into 1/4-inch strips across the grain.
  • Fresh Greens: 1 large head of broccoli (about 4 cups of bite-sized florets) or tender broccolini stalks.
  • Aromatics: 4 cloves fresh garlic (finely minced) and 1 tablespoon fresh ginger (peeled and grated).
  • High-Smoke Oil: 2 tablespoons peanut oil, avocado oil, or vegetable oil.
  • The Savory Stir-Fry Glaze:
    • 1/3 cup low-sodium soy sauce or tamari
    • 1/4 cup beef broth or cold water
    • 2 tablespoons brown sugar or pure honey
    • 1 tablespoon toasted sesame oil
    • 1 tablespoon oyster sauce (or hoisin sauce)
    • 1 tablespoon cornstarch (dissolved for silkiness)
  • Finishing Garnishes: 1 tablespoon toasted white sesame seeds and 2 thinly sliced scallions (green onions).

Step-by-Step Cooking Walkthrough

  1. Prep and Marinate: Slice the beef into thin strips. Toss in a small bowl with 1 tablespoon of soy sauce and 1 teaspoon of cornstarch. Let sit at room temperature for 10 minutes.
  2. Whisk the Sauce: In a measuring cup, whisk together remaining soy sauce, beef broth, brown sugar, sesame oil, oyster sauce, and remaining cornstarch until completely smooth.
  3. Steam the Broccoli: Add 2 tablespoons of water to a hot skillet over medium-high heat. Add broccoli florets, cover with a tight lid, and steam for 90 seconds until bright green. Transfer to a side plate immediately.
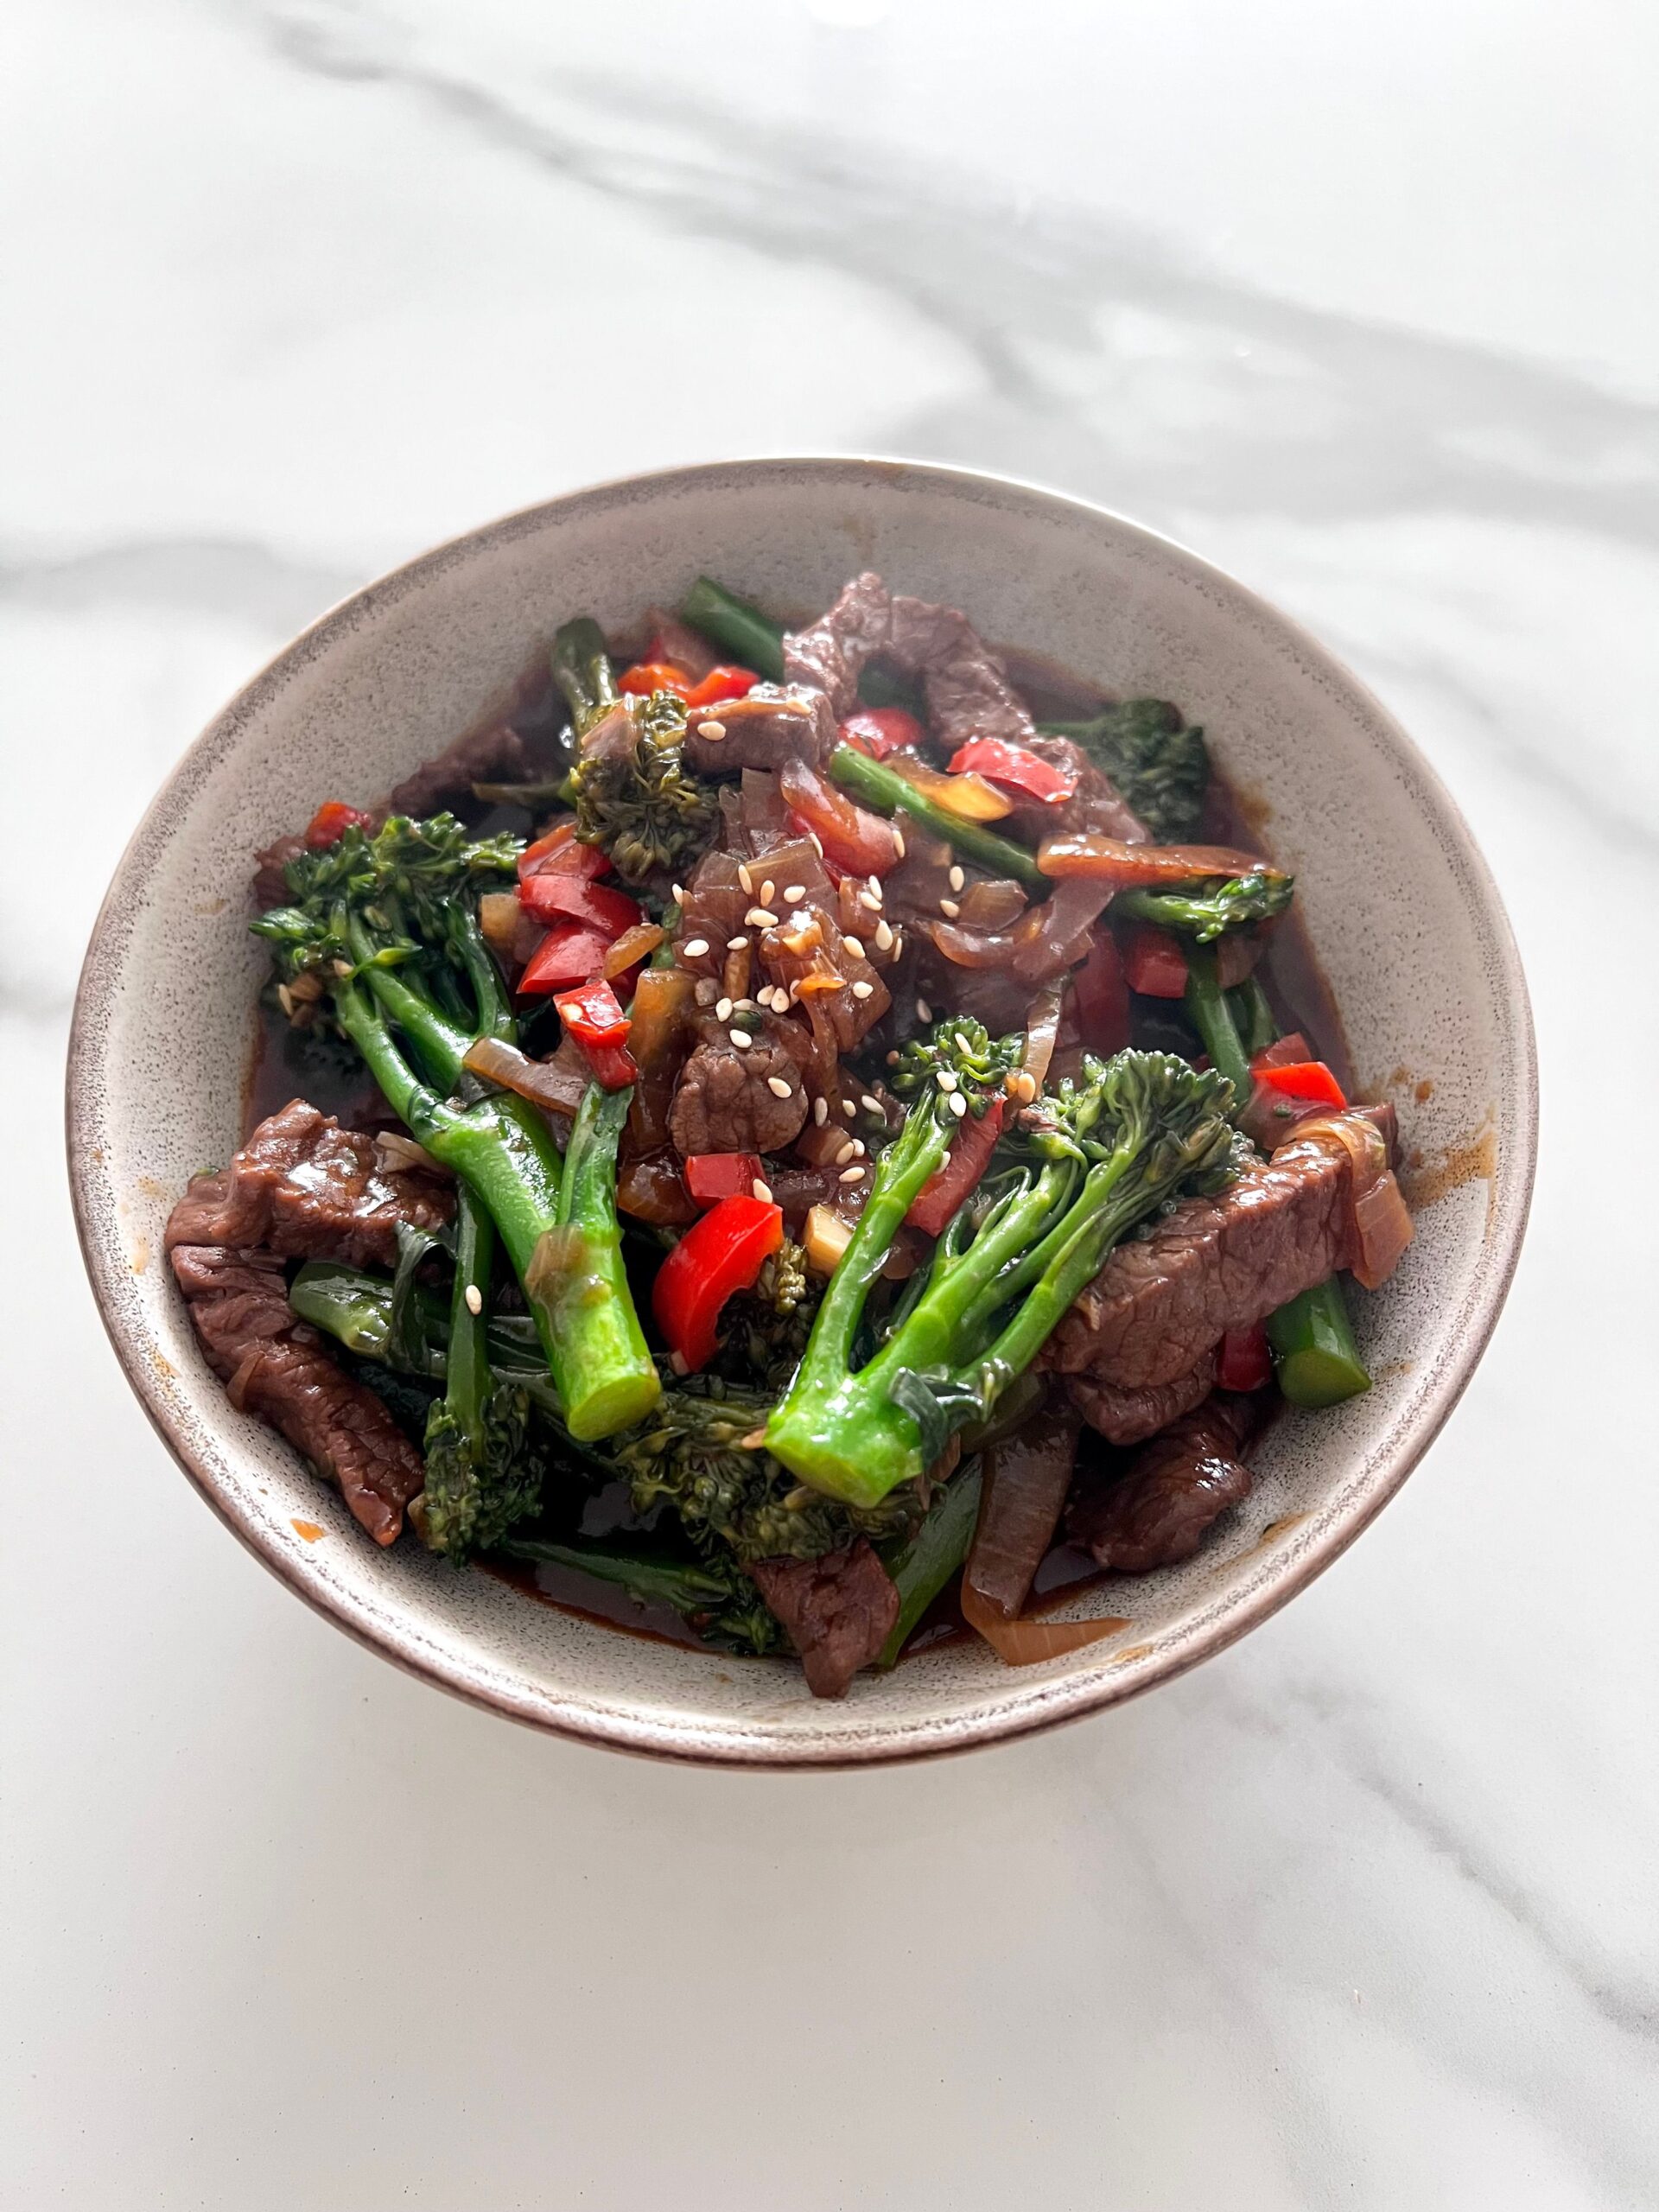
Rich sauced beef and tender broccolini plated in a ceramic bowl
Glossy garlic soy glaze coating tender steak strips and crisp vegetables.
  1. Flash-Sear the Beef: Wipe the skillet dry and set to high heat. Add 1.5 tablespoons of oil. When shimmering, lay the beef strips in an even layer. Sear undisturbed for 90 seconds, then toss for 60 seconds until browned. Remove beef to the plate.
  2. Simmer the Glaze: Add the remaining oil to the pan. Add minced garlic and grated ginger, sautéing for 30 seconds until fragrant. Pour in the prepared sauce mixture and bring to a rapid simmer for 60 seconds until thickened and glossy.
  3. Combine and Finish: Return the seared beef, broccoli, and any resting pan juices into the bubbling sauce. Toss vigorously over medium heat for 1 minute until every piece is coated. Remove from heat, sprinkle with sesame seeds and green onions, and serve hot.

Troubleshooting Common Stir-Fry Mistakes

Cooking Mistake Primary Cause Easy Fix
Tough, chewy steak Slicing along the grain or overcooking Slice perpendicular to muscle fibers and cook beef quickly over high heat until just browned.
Watery sauce Unheated cornstarch mixture Allow the sauce to reach a full rolling bubble in the skillet for at least 60 seconds to activate thickening.
Soggy broccoli florets Over-boiling prior to searing Steam for no longer than 90 seconds so the broccoli retains its crisp texture inside the sauce.

Serving Inspirations & Pairings

Because of its rich, savory glaze, this dish pairs naturally with simple, neutral sides:

  • Steamed White or Brown Rice: Fluffy jasmine or basmati rice captures every drop of garlic soy sauce.
  • Stir-Fried Noodles: Toss hot ramen noodles, udon, or thin rice vermicelli directly into the pan during the final minute of tossing.
  • Low-Carb Options: Pair with warm cauliflower rice or crisp butter lettuce leaves for beef lettuce wraps.
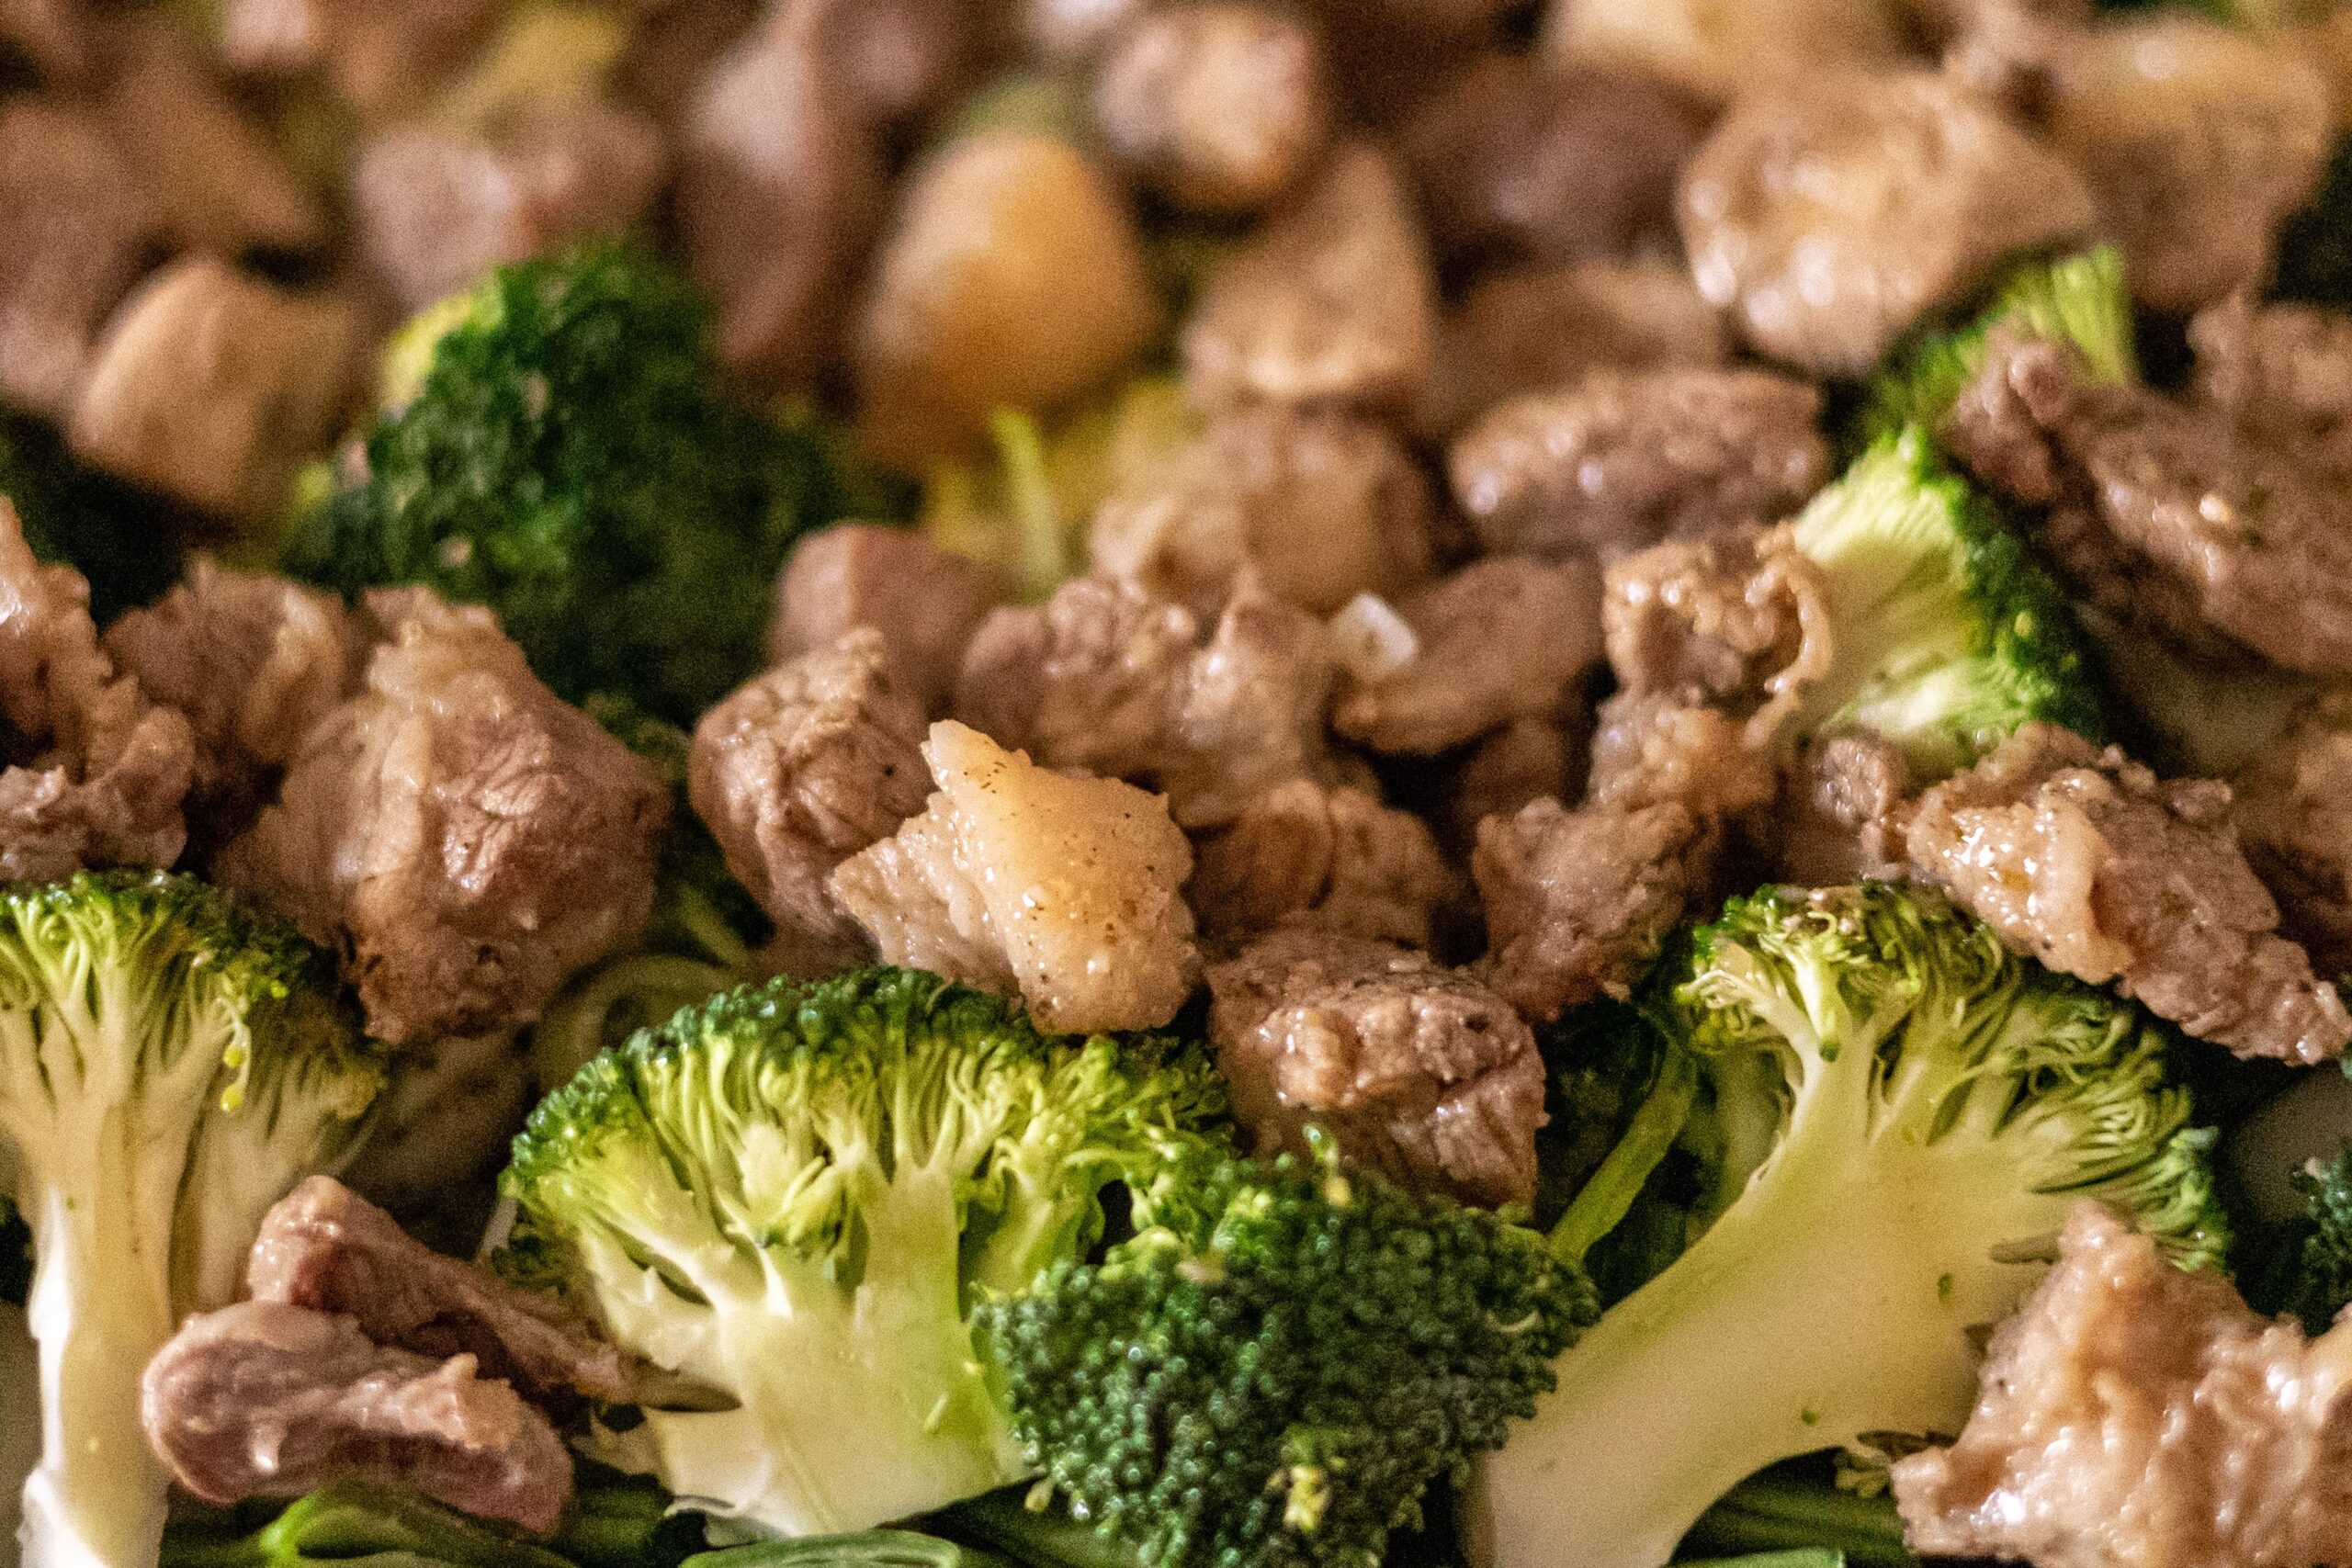
Close up of tender beef pieces searing with fresh broccoli florets
Evenly seared steak pieces and crisp broccoli florets cooked to tender perfection.

Storage & Meal Prep Guidelines

  • Refrigeration: Allow leftover beef and broccoli to cool completely. Store in an airtight container for up to 4 days.
  • Meal Prep Containers: Portion alongside cooked rice in meal-prep containers for nutritious weekday lunches.
  • Reheating Method: Reheat in a hot skillet with 1 tablespoon of water for 2 minutes to restore sauce glossiness, or microwave on medium power for 90 seconds.

Frequently Asked Questions

What is the best cut of beef for stir-fry?
Flank steak, flat iron steak, and top sirloin are ideal cuts because they take marinades well and remain tender during flash cooking.

Can I add other vegetables?
Yes. Sliced bell peppers, mushrooms, snap peas, or baby corn cook well alongside the broccoli florets.