The Secret to Silky French Lemon Meringue Tart with a Crisp Butter Crust

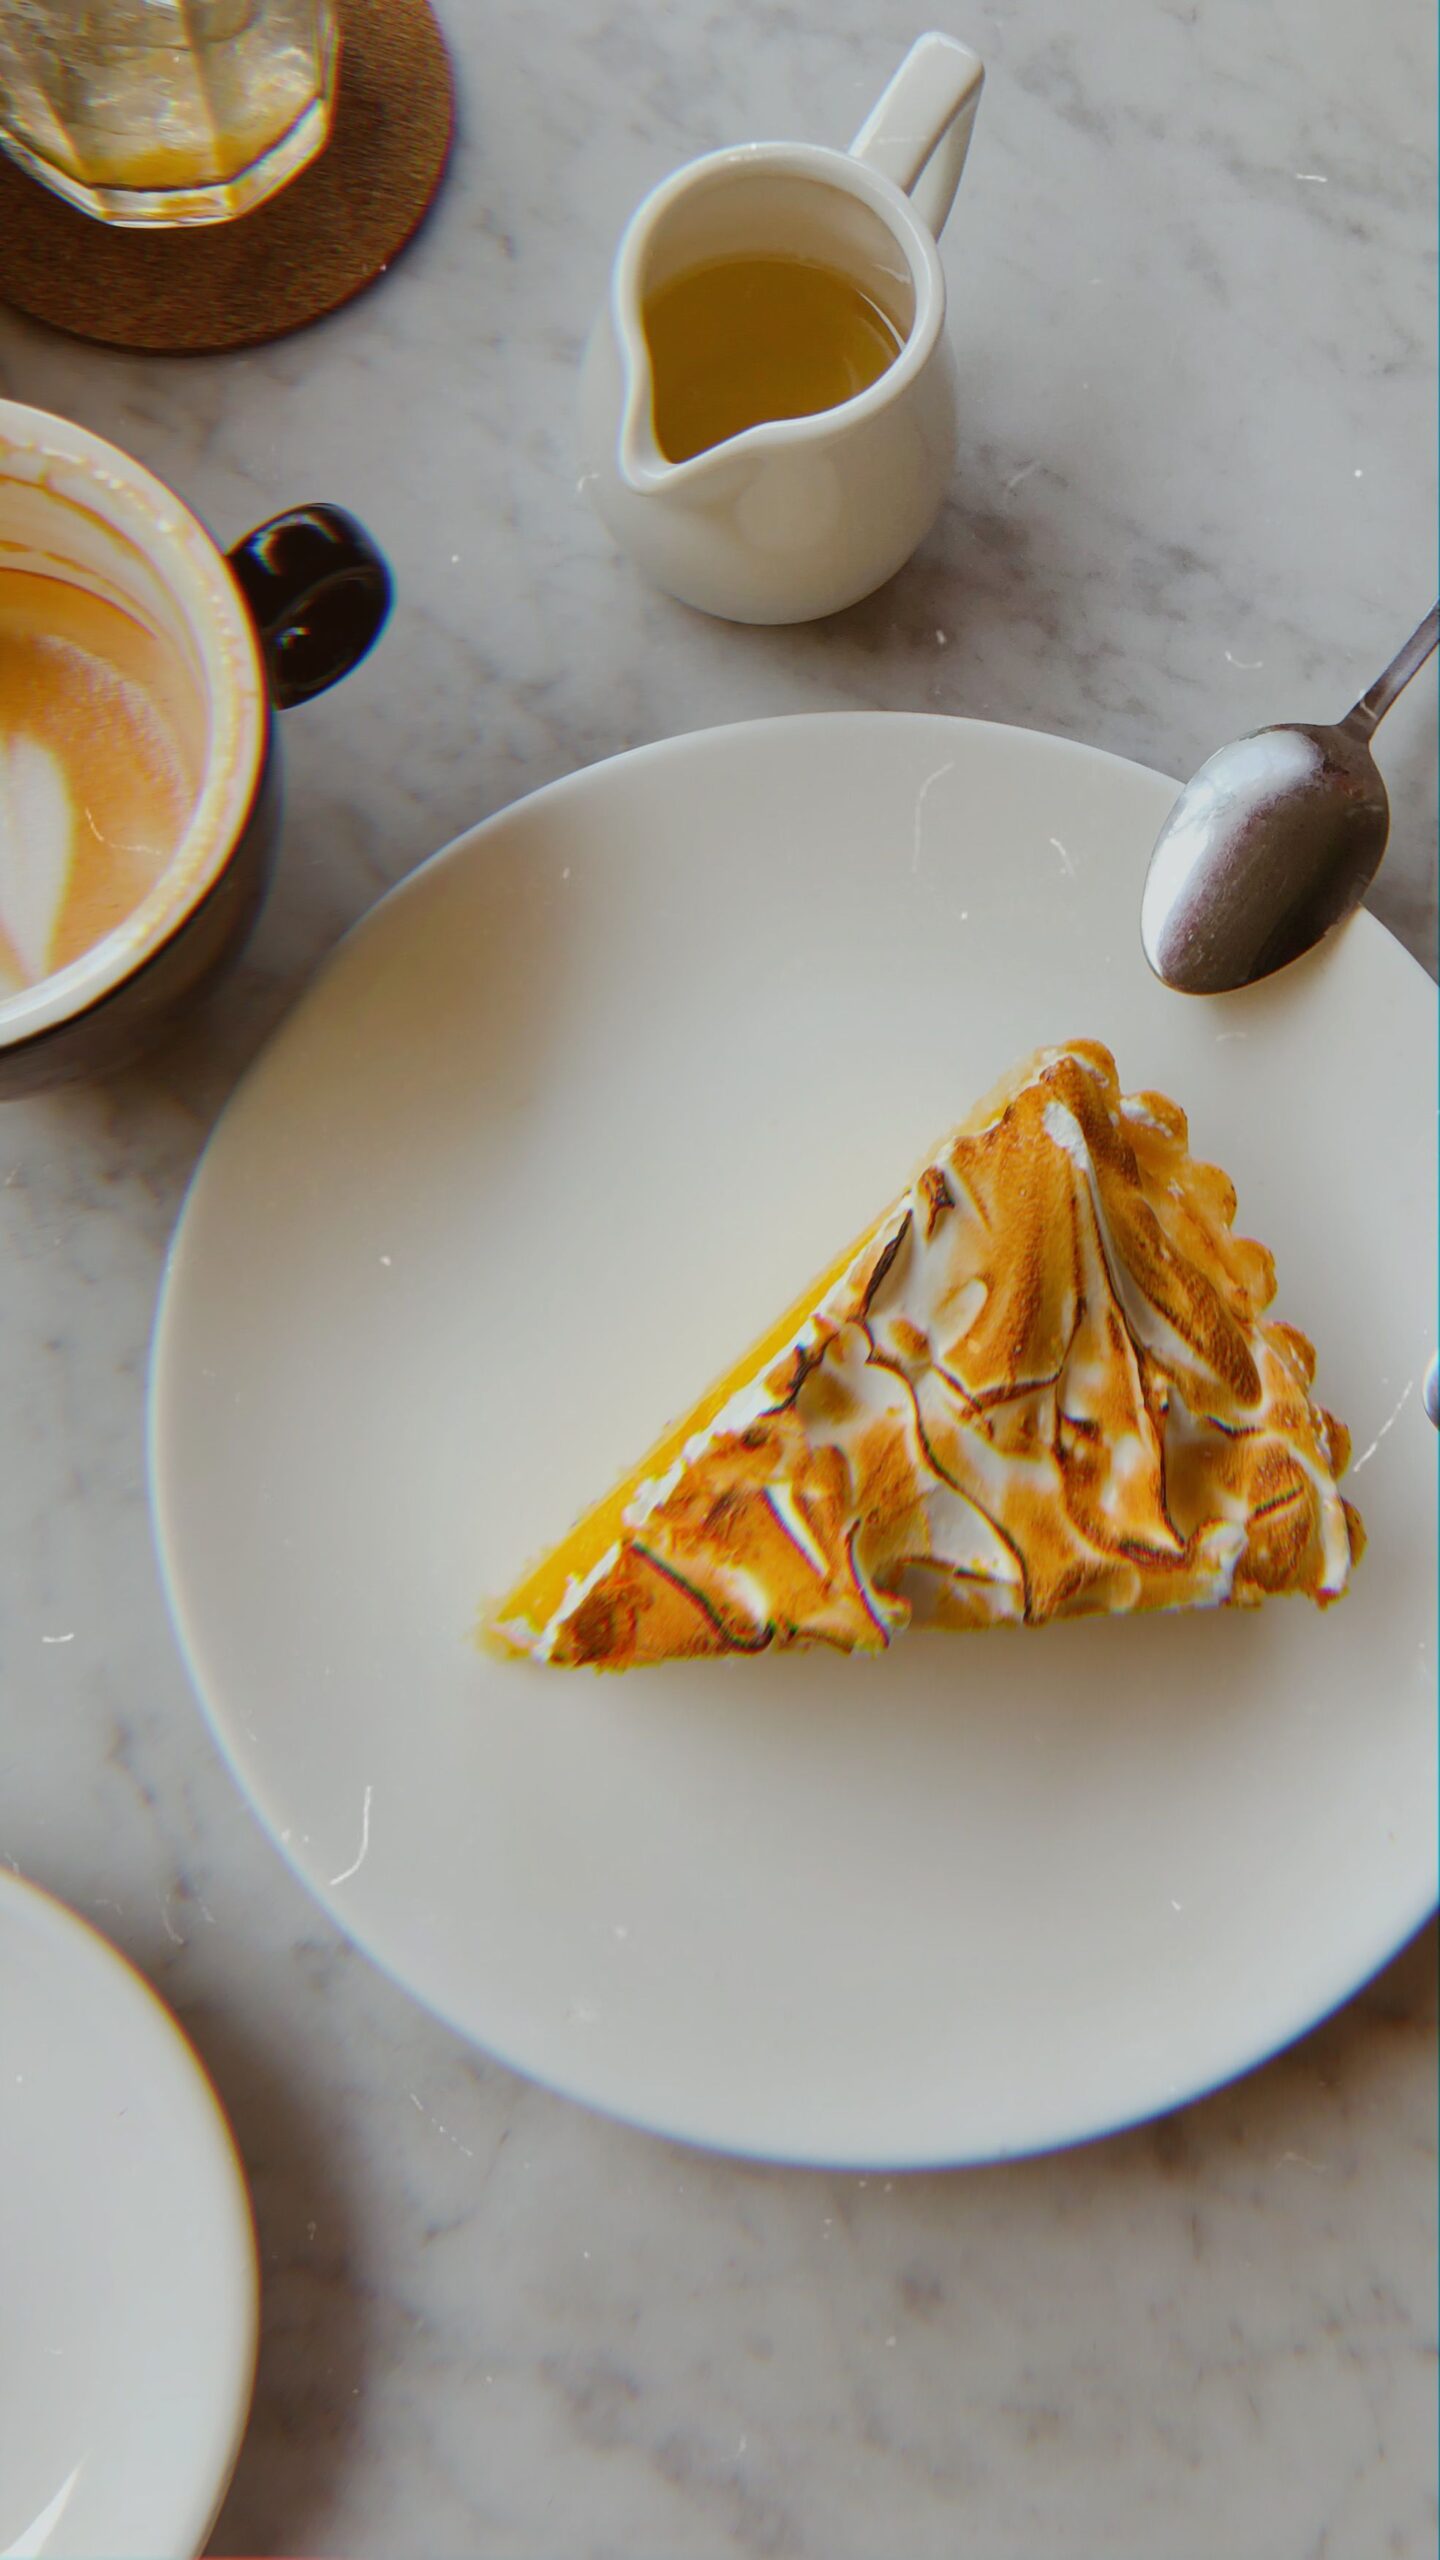
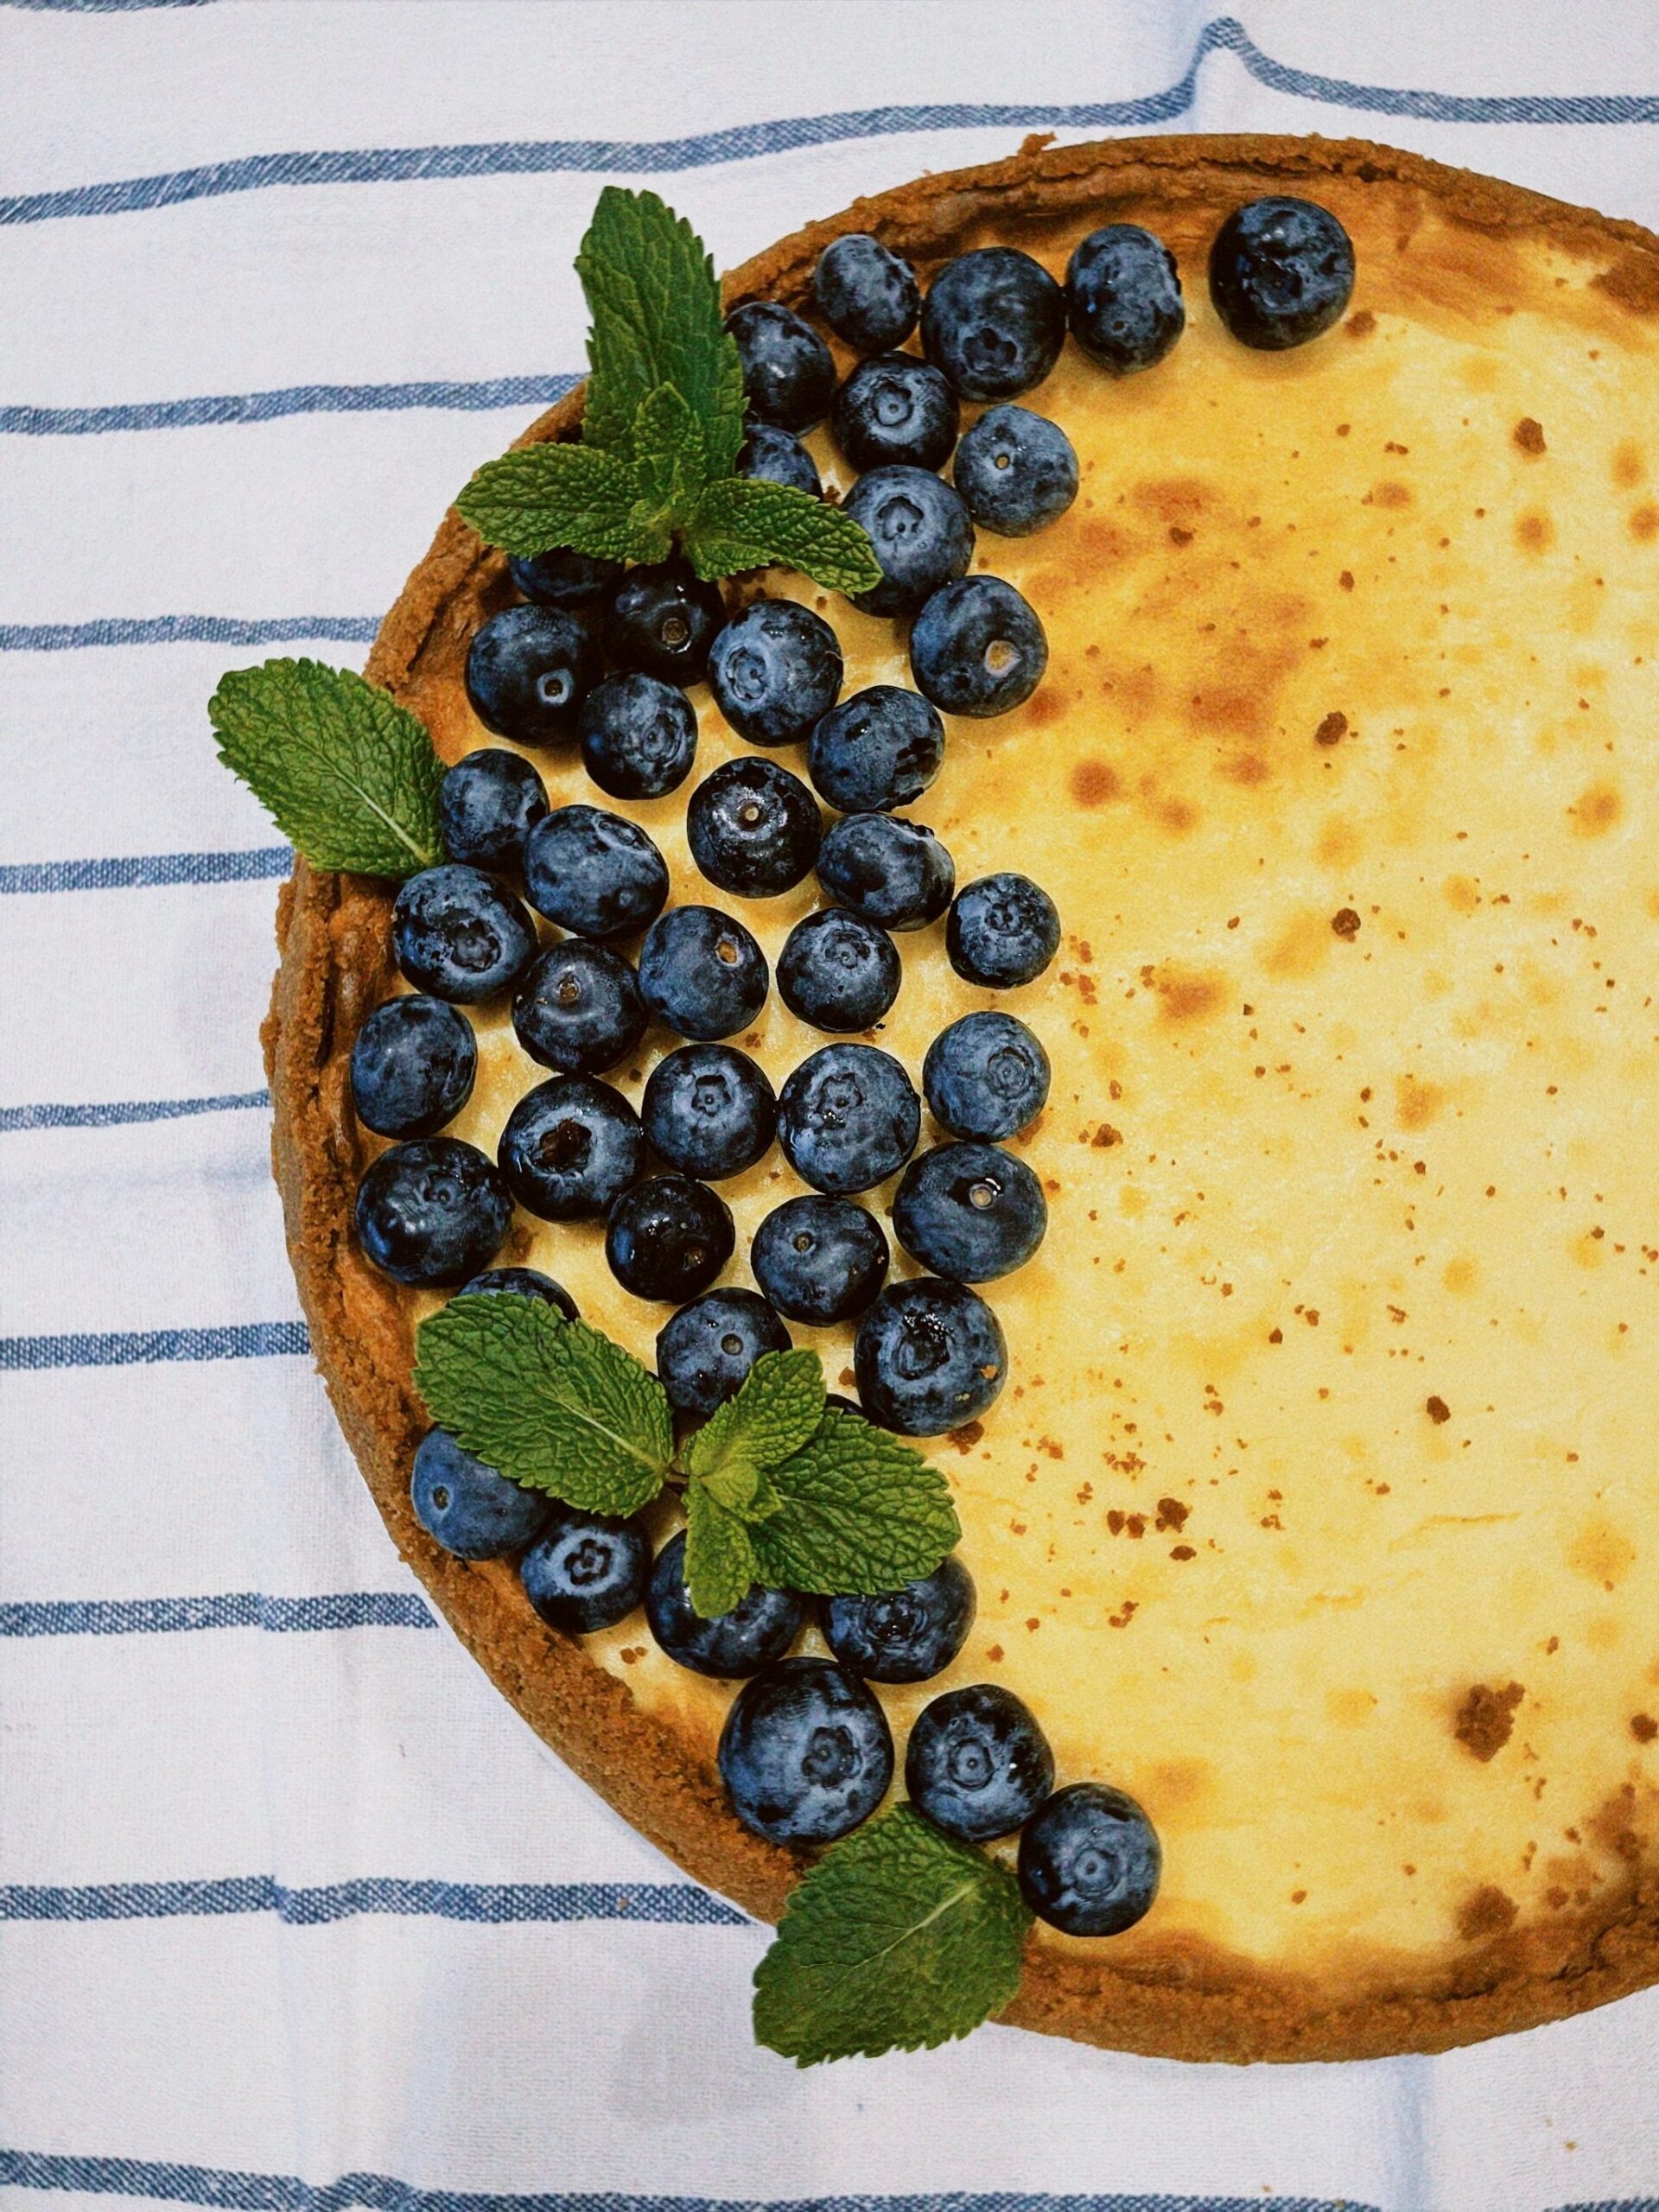
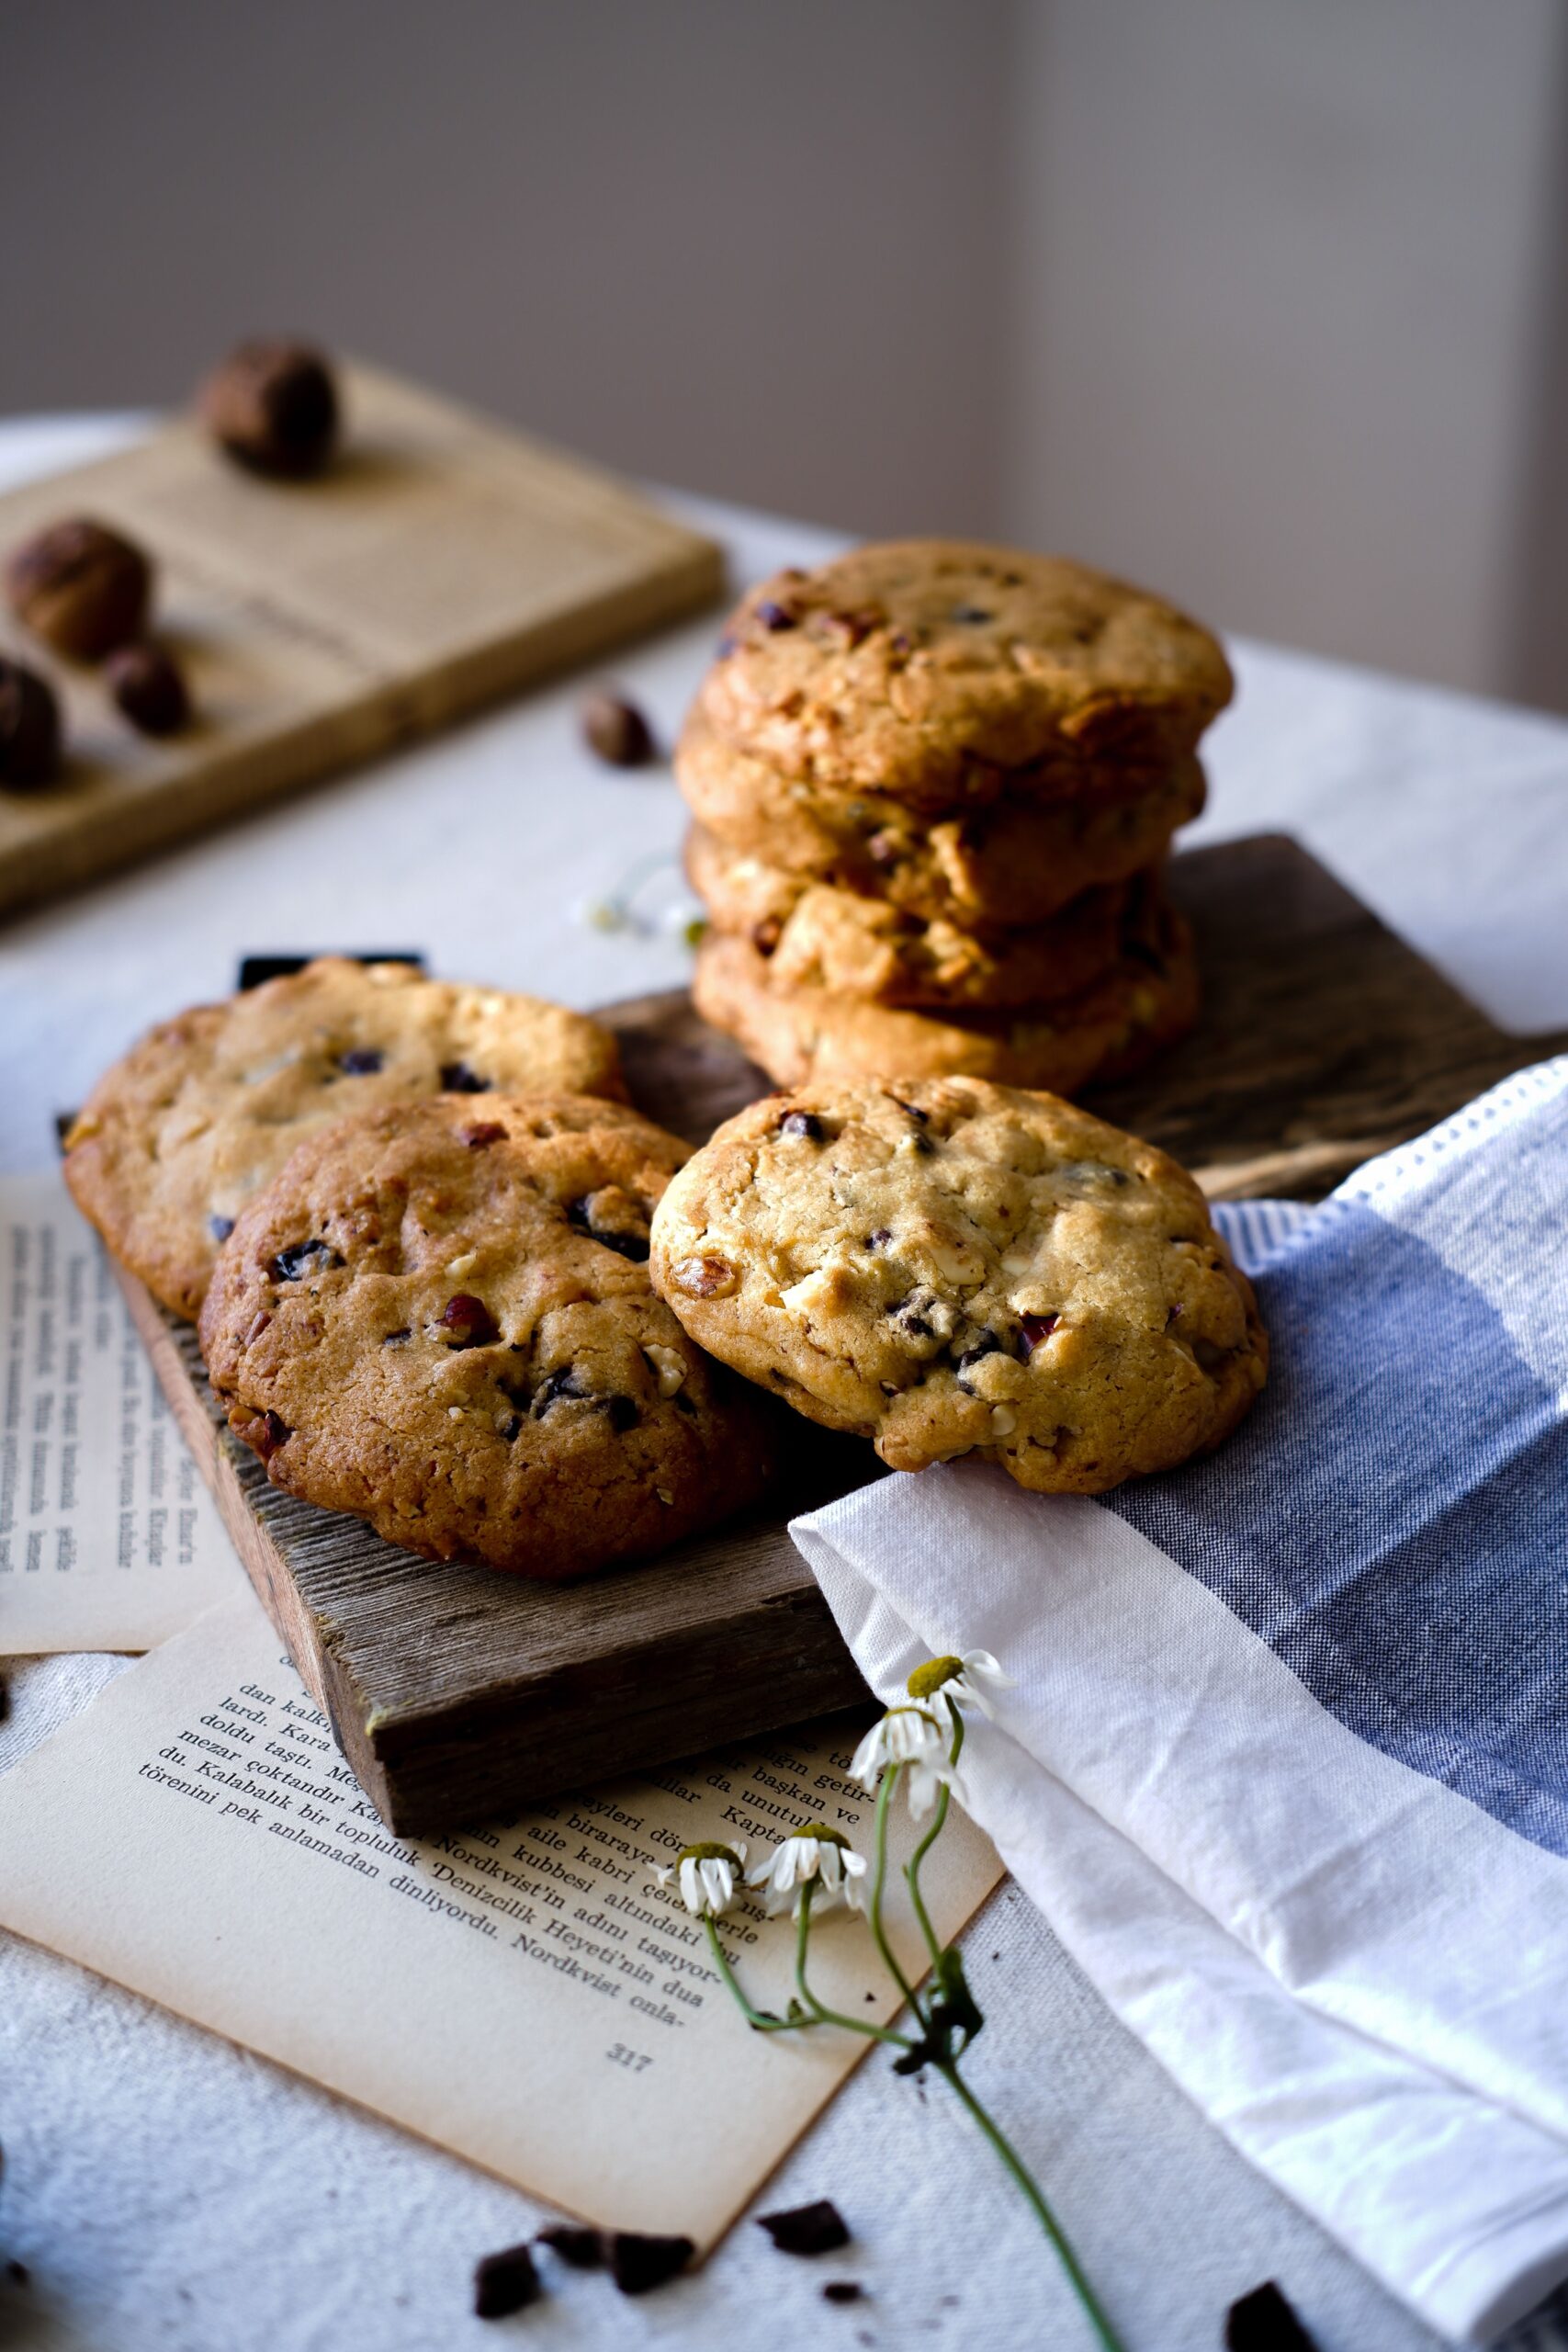
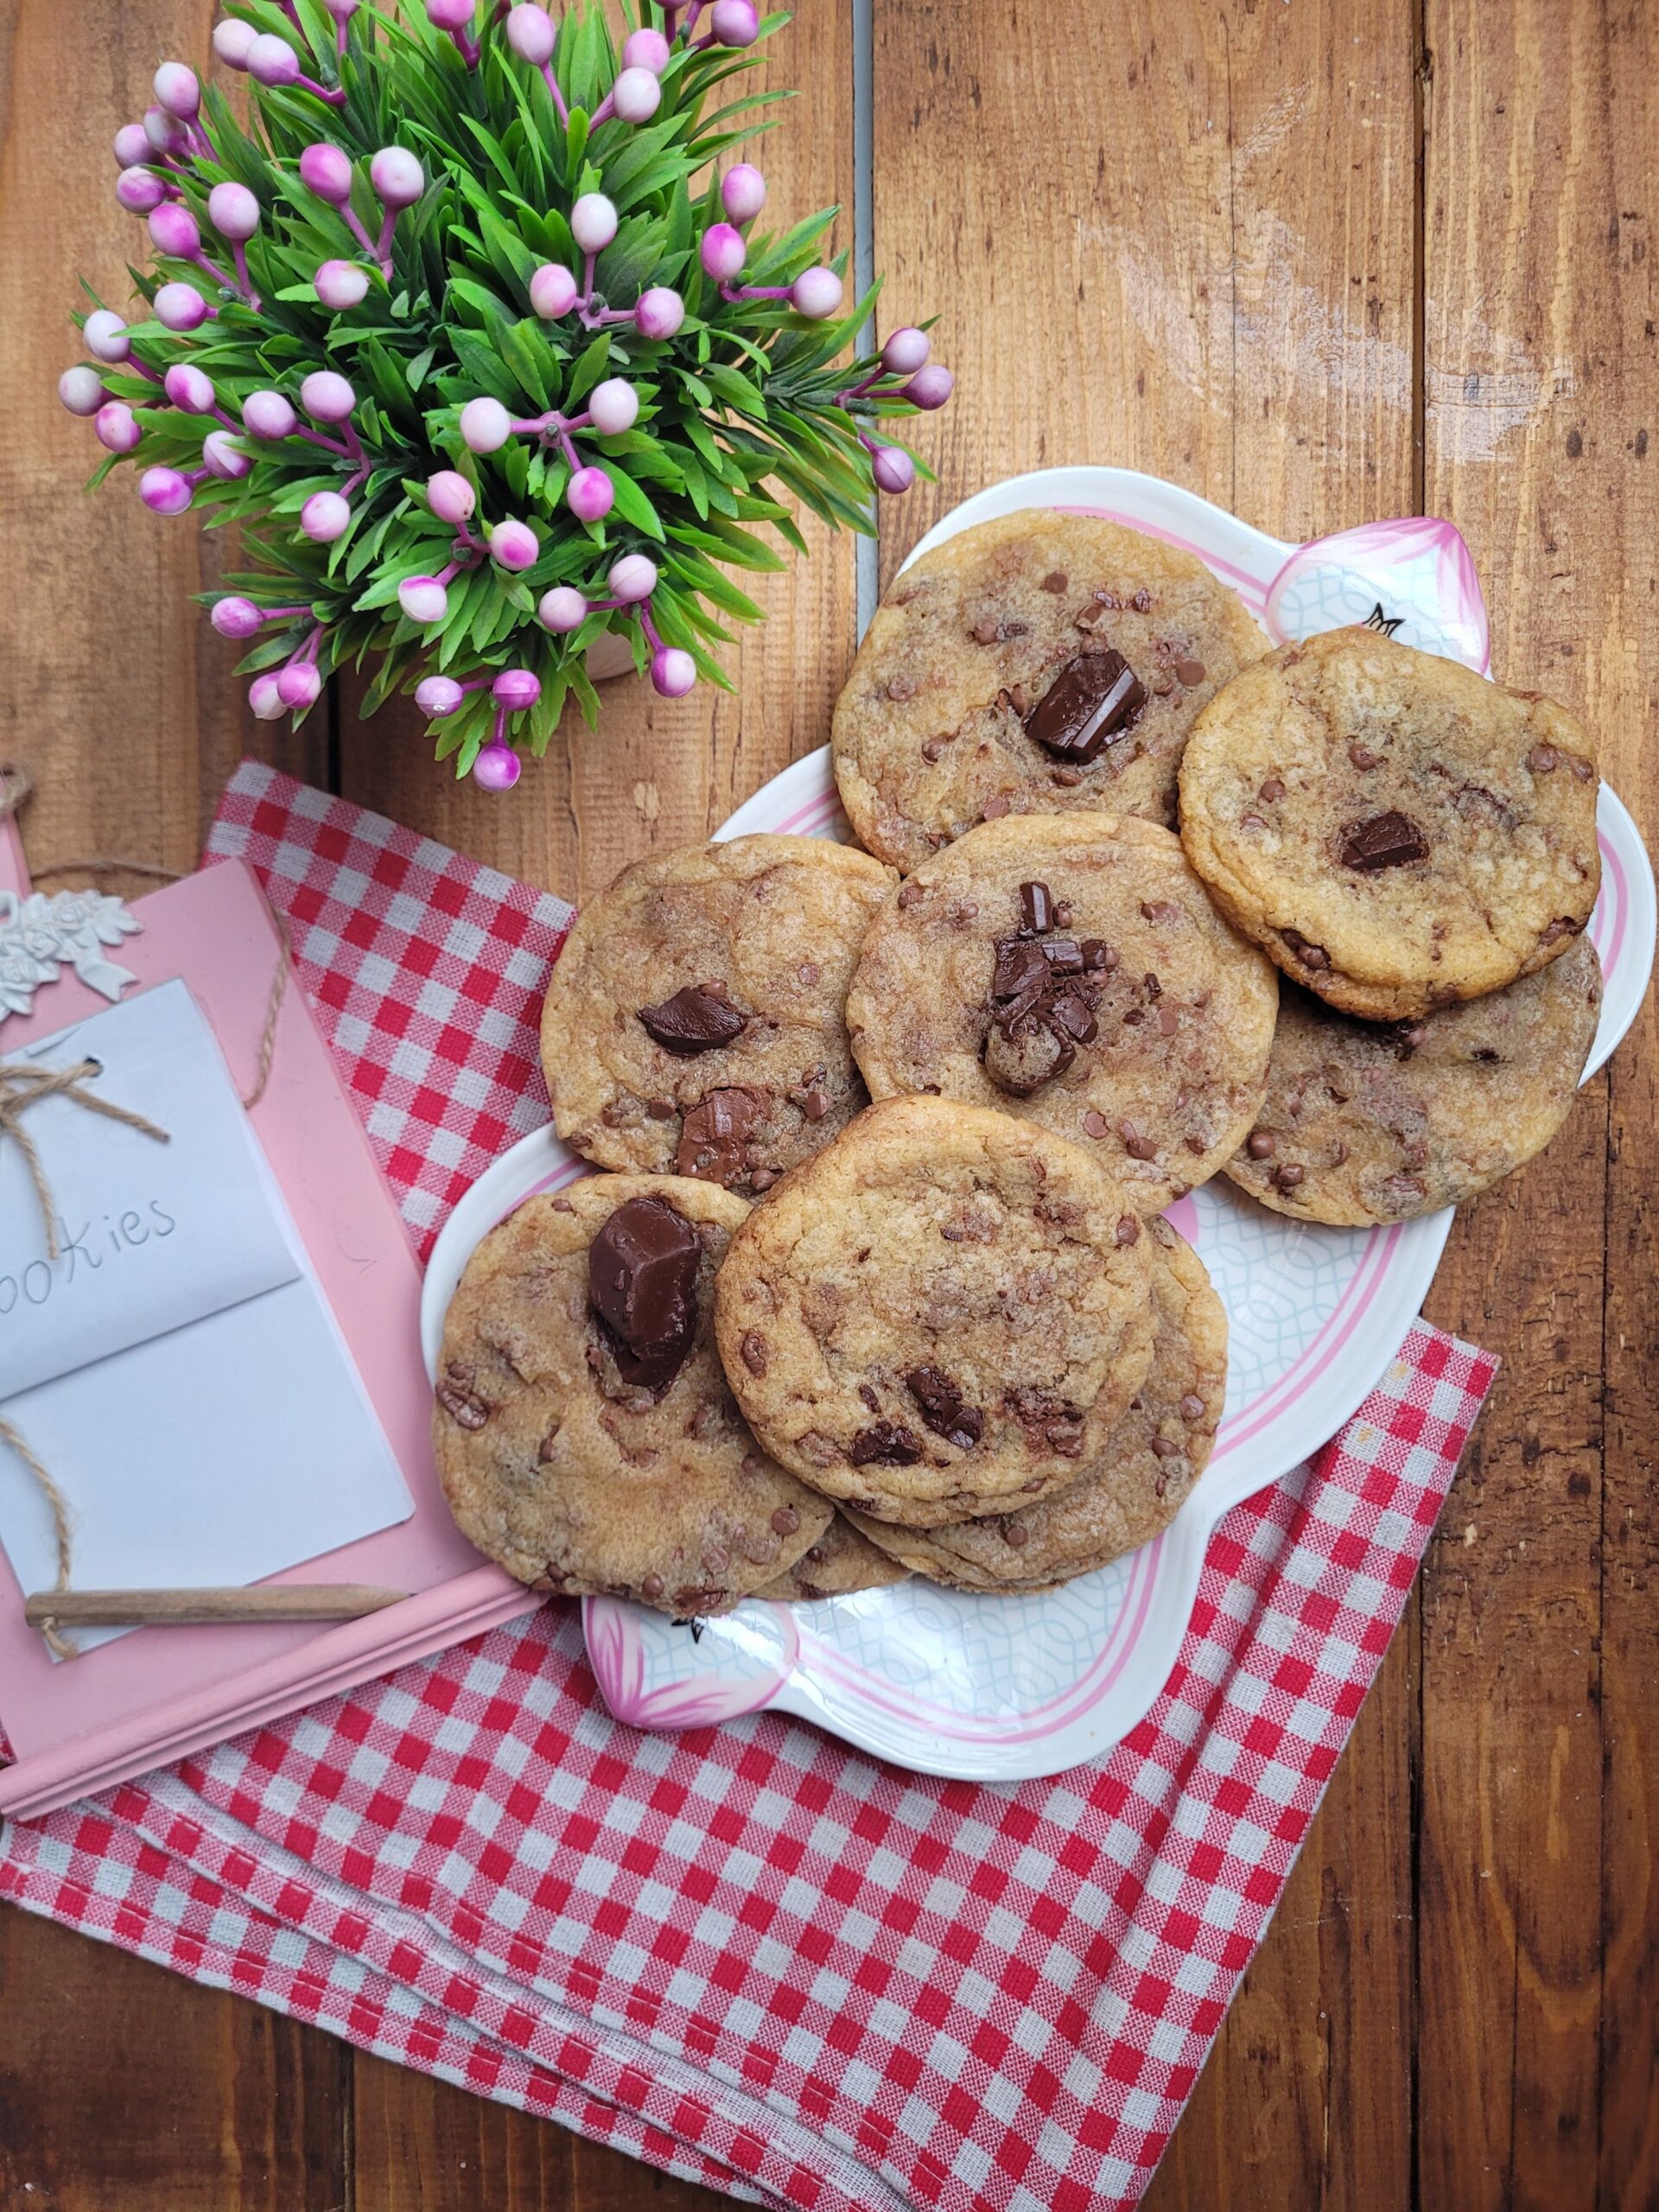
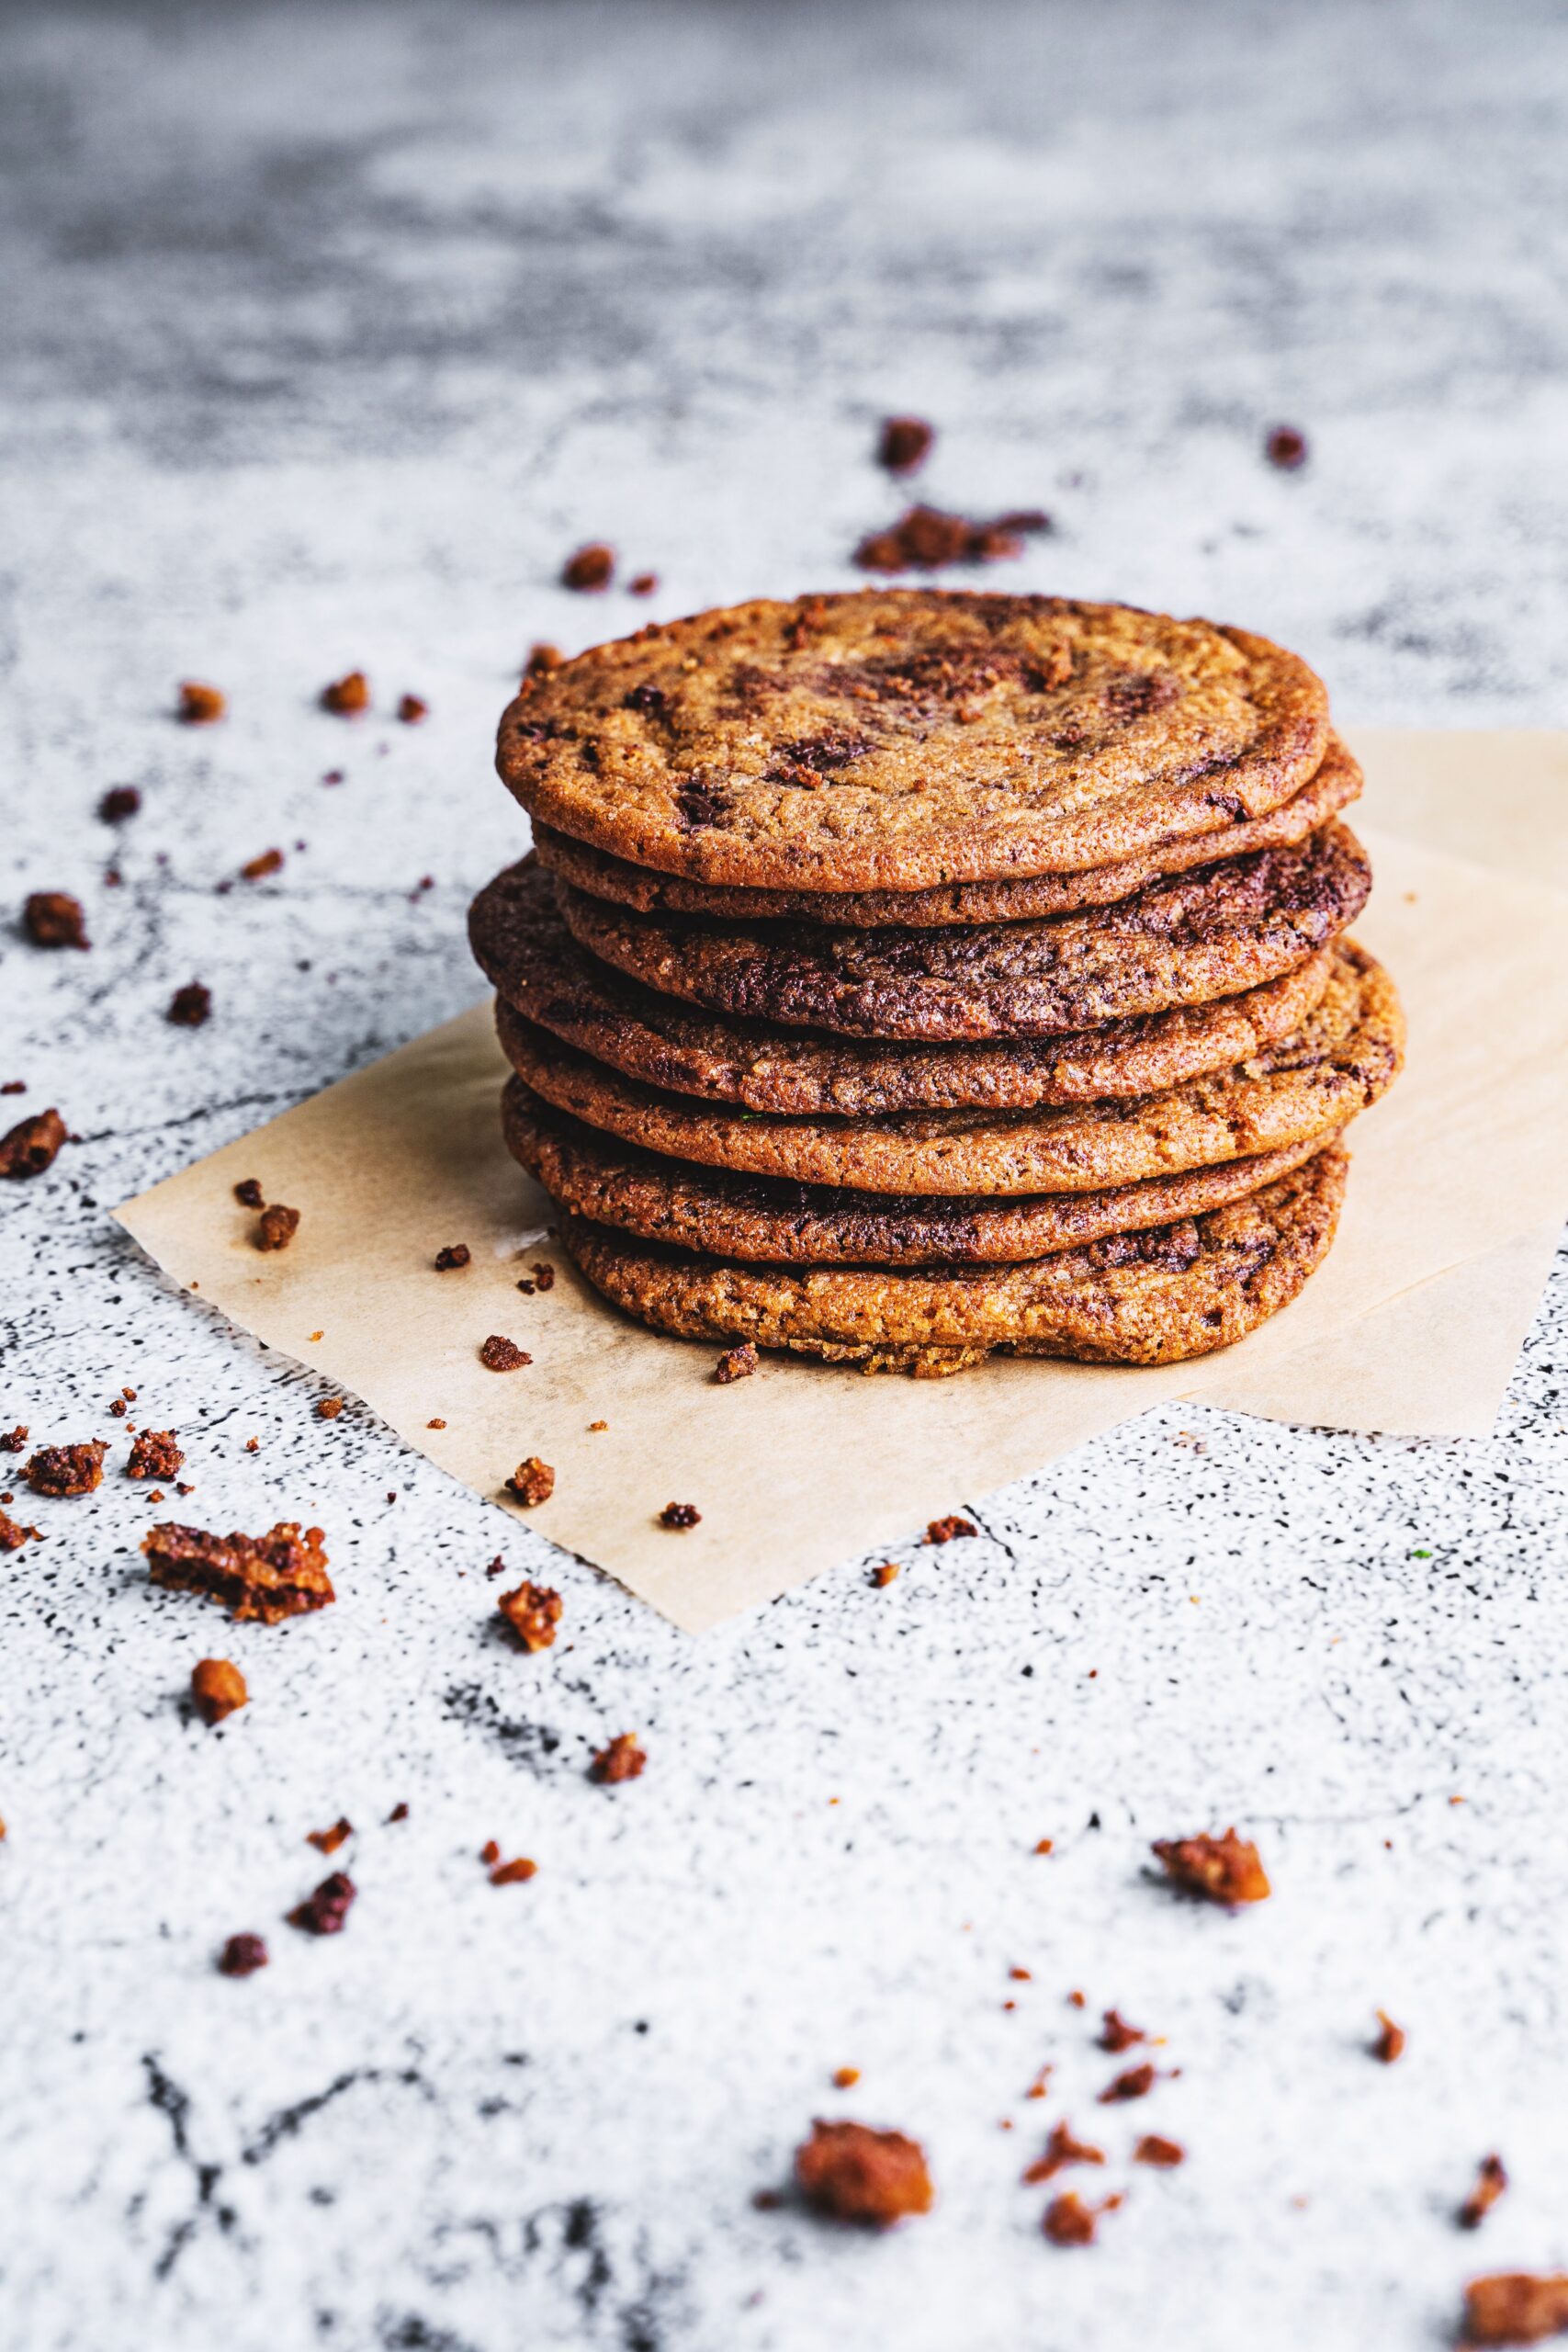
Classic French lemon meringue tart with crisp crust and golden toasted peaks


Few pastries strike the delicate balance between bright, lively citrus acidity and rich sweetness quite like an authentic French Lemon Meringue Tart (Tarte au Citron Meringuée). When you cut into a properly baked slice, your fork should glide through airy toasted peaks, sink into a smooth, glossy curd, and meet the satisfying snap of an all-butter shortcrust.

Mastering this classic in our Daily Fork Vibe kitchen required solving two frequent home-baking hurdles: soggy bottoms and weeping meringue. This tested method eliminates artificial stabilizers and shortcuts, delivering a refined bakery-grade finish straight from your own oven.
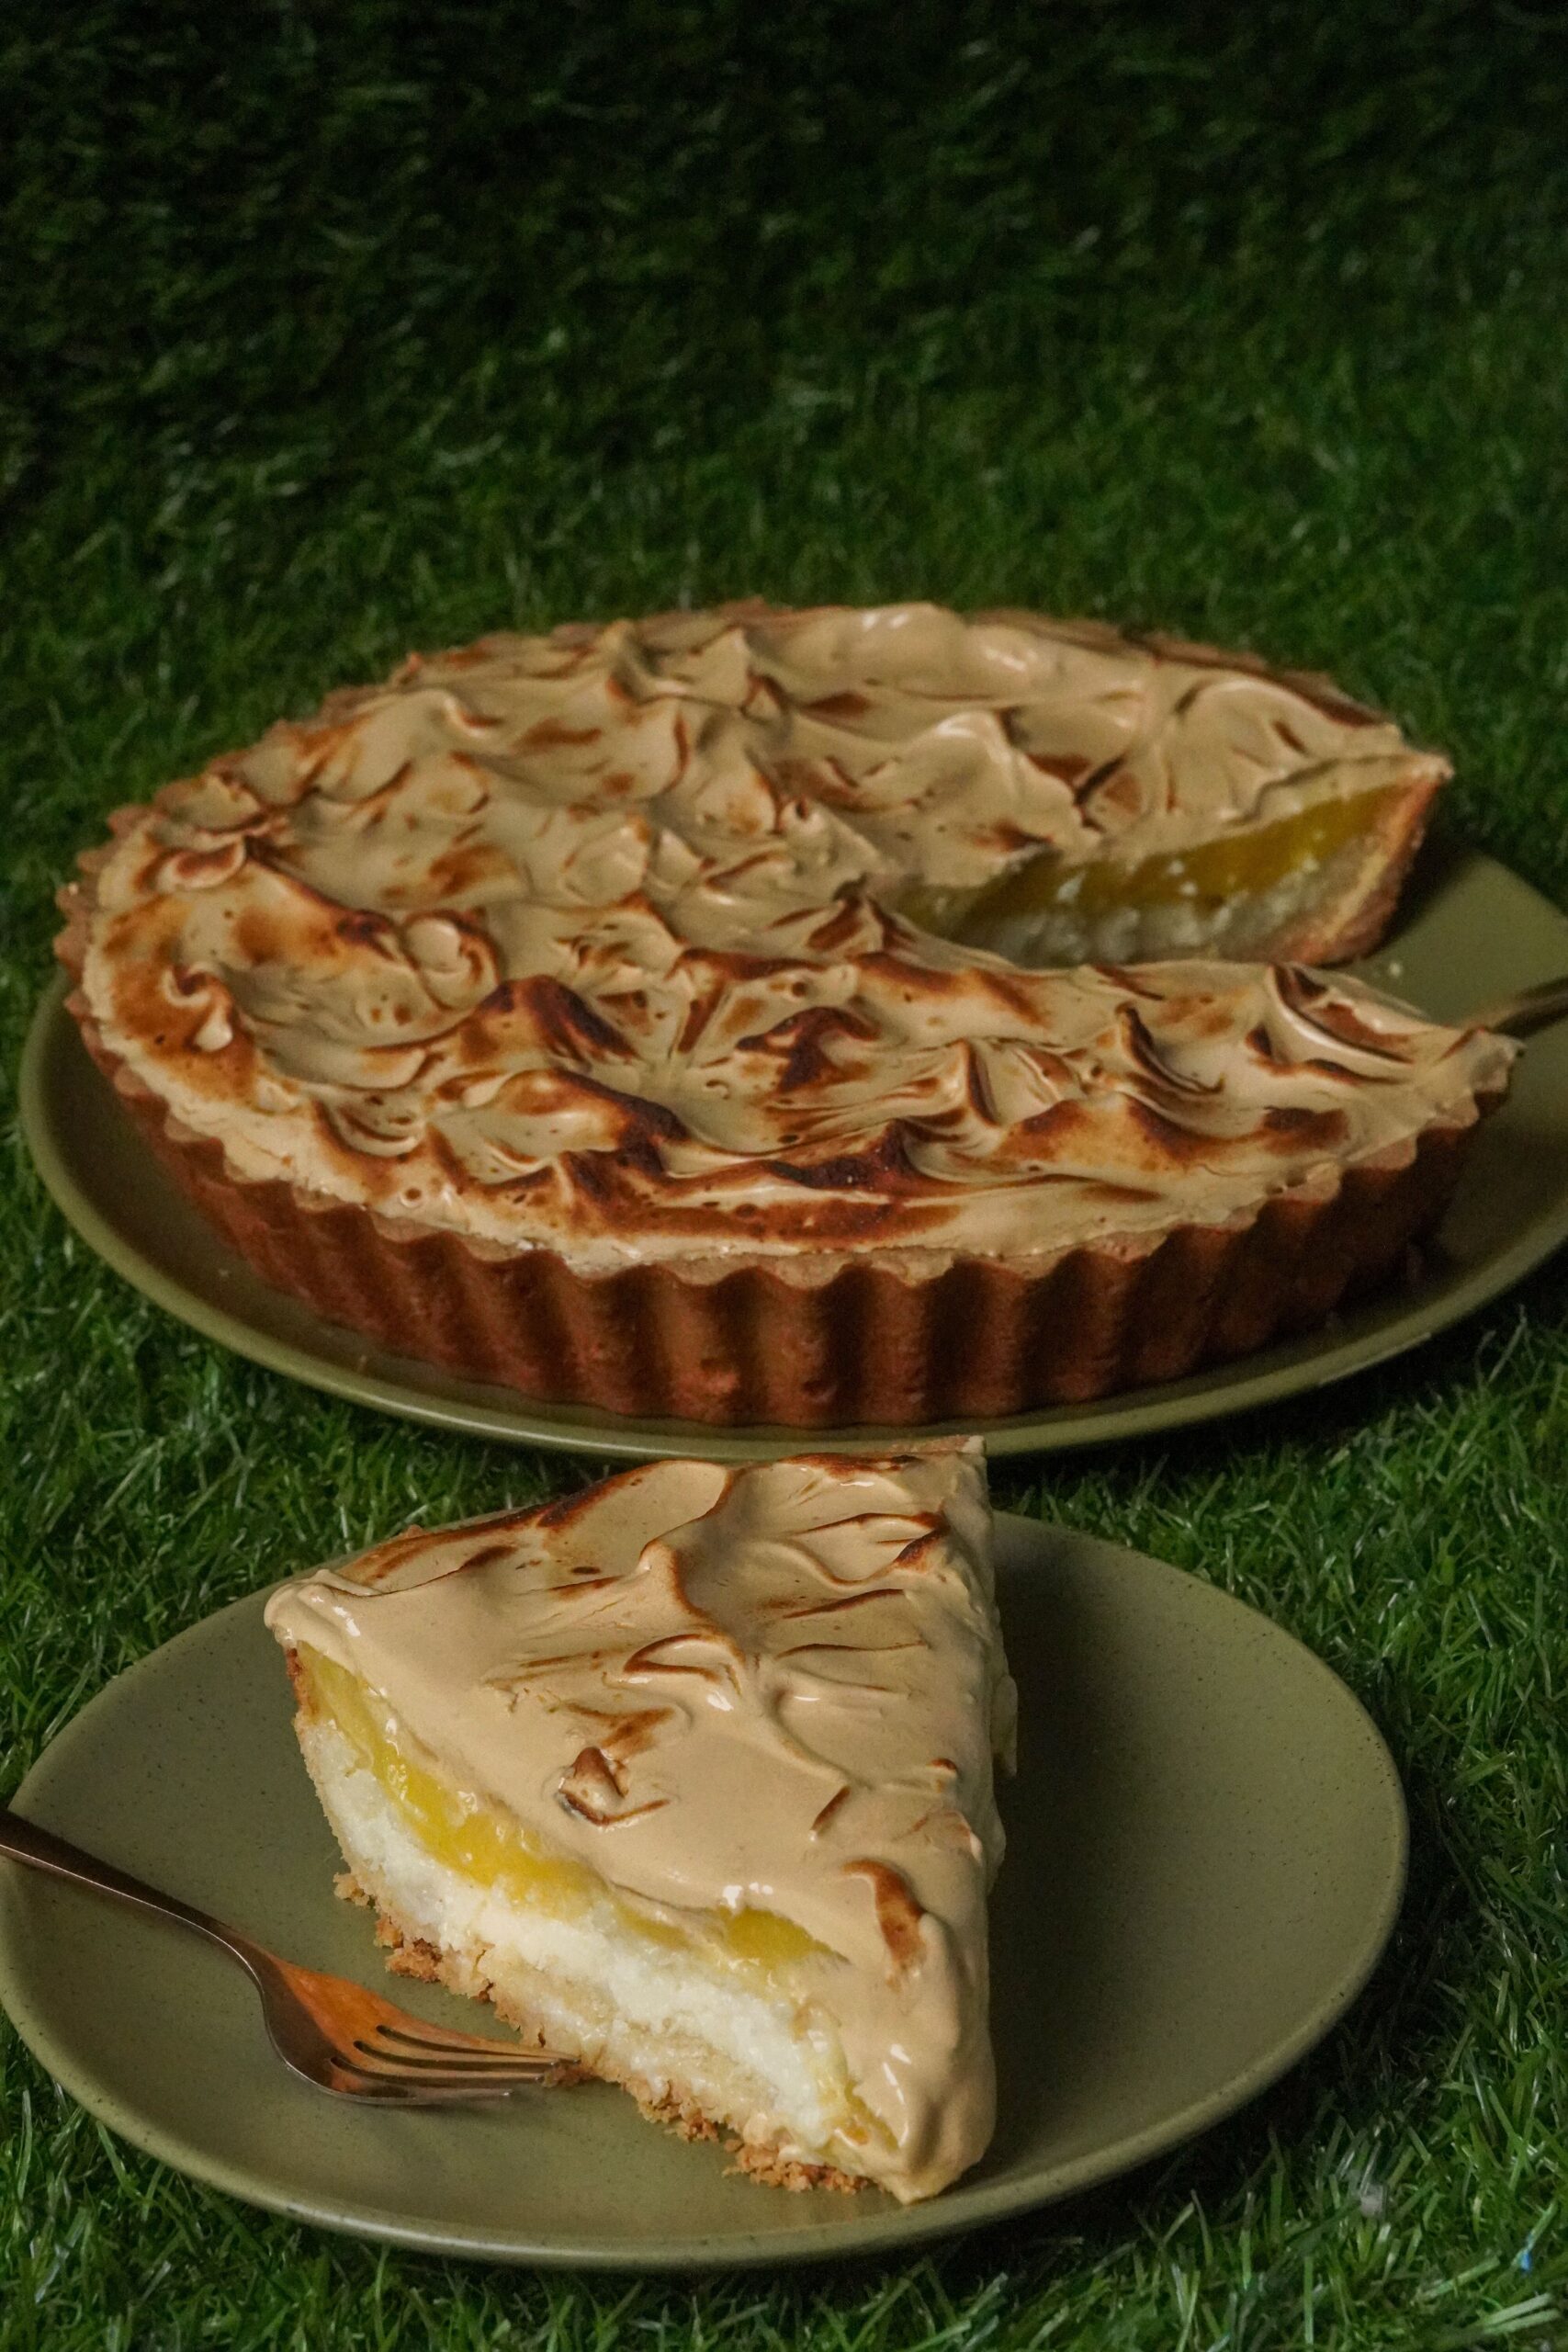
Classic French lemon meringue tart with golden toasted peaks
A classic French lemon meringue tart featuring an even golden crust and lightly torched meringue peaks.

—

Recipe Snapshot & Timing

  • Prep Time: 35 minutes
  • Bake Time: 30 minutes
  • Chilling Time: 2 hours
  • Total Time: 3 hours 5 minutes
  • Yield: 8 generous slices
  • Category: Baking & Desserts

—

Essential Ingredients for Pastry Precision

Pastry is built on ratios. Because this recipe features modest, clean components, the freshness and temperature of your dairy and citrus dictate the final texture.

1. The Crisp Sweet Shortcrust (Pâte Sablée)

  • All-Purpose Flour: 1 1/2 cups (200g), spooned and leveled for exact density.
  • Unsalted Butter: 1/2 cup (115g), strictly cold and cut into small cubes.
  • Powdered Sugar: 1/3 cup (45g), essential for creating an ultra-fine, melt-in-the-mouth crumb.
  • Egg Yolk: 1 large yolk (reserve the white for the meringue topping).
  • Fine Sea Salt: 1/4 teaspoon to temper the sweetness.
  • Ice Water: 1 to 2 tablespoons, only as needed to bring the dough together.

2. The Velvety Lemon Curd Filling

  • Fresh Lemon Juice: 2/3 cup (strained thoroughly to remove all pulp and seeds).
  • Fresh Lemon Zest: 1 tablespoon finely grated (avoid grating into the bitter white pith).
  • Granulated Sugar: 3/4 cup (150g).
  • Whole Eggs & Yolks: 3 large whole eggs plus 2 large egg yolks, brought to room temperature.
  • Unsalted Butter: 1/2 cup (115g), softened to room temperature for seamless emulsification.

3. The Cloud-Light Meringue Crown

  • Egg Whites: 3 large whites, completely free of any yolk remnants.
  • Superfine Caster Sugar: 3/4 cup (150g), dissolves rapidly without leaving grit.
  • Cream of Tartar: 1/4 teaspoon to stabilize the protein bonds and prevent weeping.
  • Pure Vanilla Extract: 1/2 teaspoon.
A slice of fresh baked lemon tart served on a white ceramic plate
Clean, dense lemon curd resting firmly within a thoroughly blind-baked buttery crust.

—

Step-by-Step Preparation Method

Step 1: Shape and Blind-Bake the Pastry Shell

In a food processor or by hand using a pastry blender, pulse the flour, powdered sugar, and cold cubed butter until the mixture resembles coarse cornmeal. Add the egg yolk and pulse in brief bursts. If the dough feels powdery, add a single tablespoon of ice water until it gathers into a pliable mass. Form into a flat disc, seal in plastic wrap, and chill for 45 minutes.

Roll the chilled dough between parchment sheets to a clean 1/8-inch thickness. Line a 9-inch fluted tart pan with a removable bottom, trimming flush along the rim. Dock the base lightly with a fork, cover with baking parchment, weight down with ceramic pie weights or dry beans, and bake at 350°F (175°C) for 18 minutes. Lift out the weights and return the shell to the oven for another 10 minutes until pale golden and crisp. Cool completely on a wire rack.

Step 2: Cook the Emulsified Lemon Curd

Set a heatproof glass bowl over a saucepan of simmering water, ensuring the bowl does not make direct contact with the water surface. Whisk together the strained lemon juice, fine zest, sugar, whole eggs, and egg yolks continuously. Stir constantly with a silicone spatula for 10 to 12 minutes until the mixture thickens into a ribbon-like consistency that coats the spatula back.

Remove the bowl from the heat source and let it settle for 5 minutes. Incorporate the softened butter one cube at a time, whisking vigorously after each addition until fully incorporated and shiny. Pour the warm curd directly into the pre-baked tart crust, smooth the surface, and chill in the refrigerator for at least 2 hours to firm up.

Step 3: Whip and Torch the Meringue

Combine egg whites and cream of tartar in an oil-free metal bowl. Beat on medium speed until soft peaks emerge. While continuing to whip on high speed, rain in the superfine sugar one tablespoon at a time. Beat until glossy, dense peaks form that maintain their structure without sliding.

Spread or pipe the meringue directly over the chilled lemon curd. Use a kitchen culinary torch to lightly caramelize the exterior ridges, or place the tart briefly under a hot oven broiler for 60 to 90 seconds while watching the color continuously.
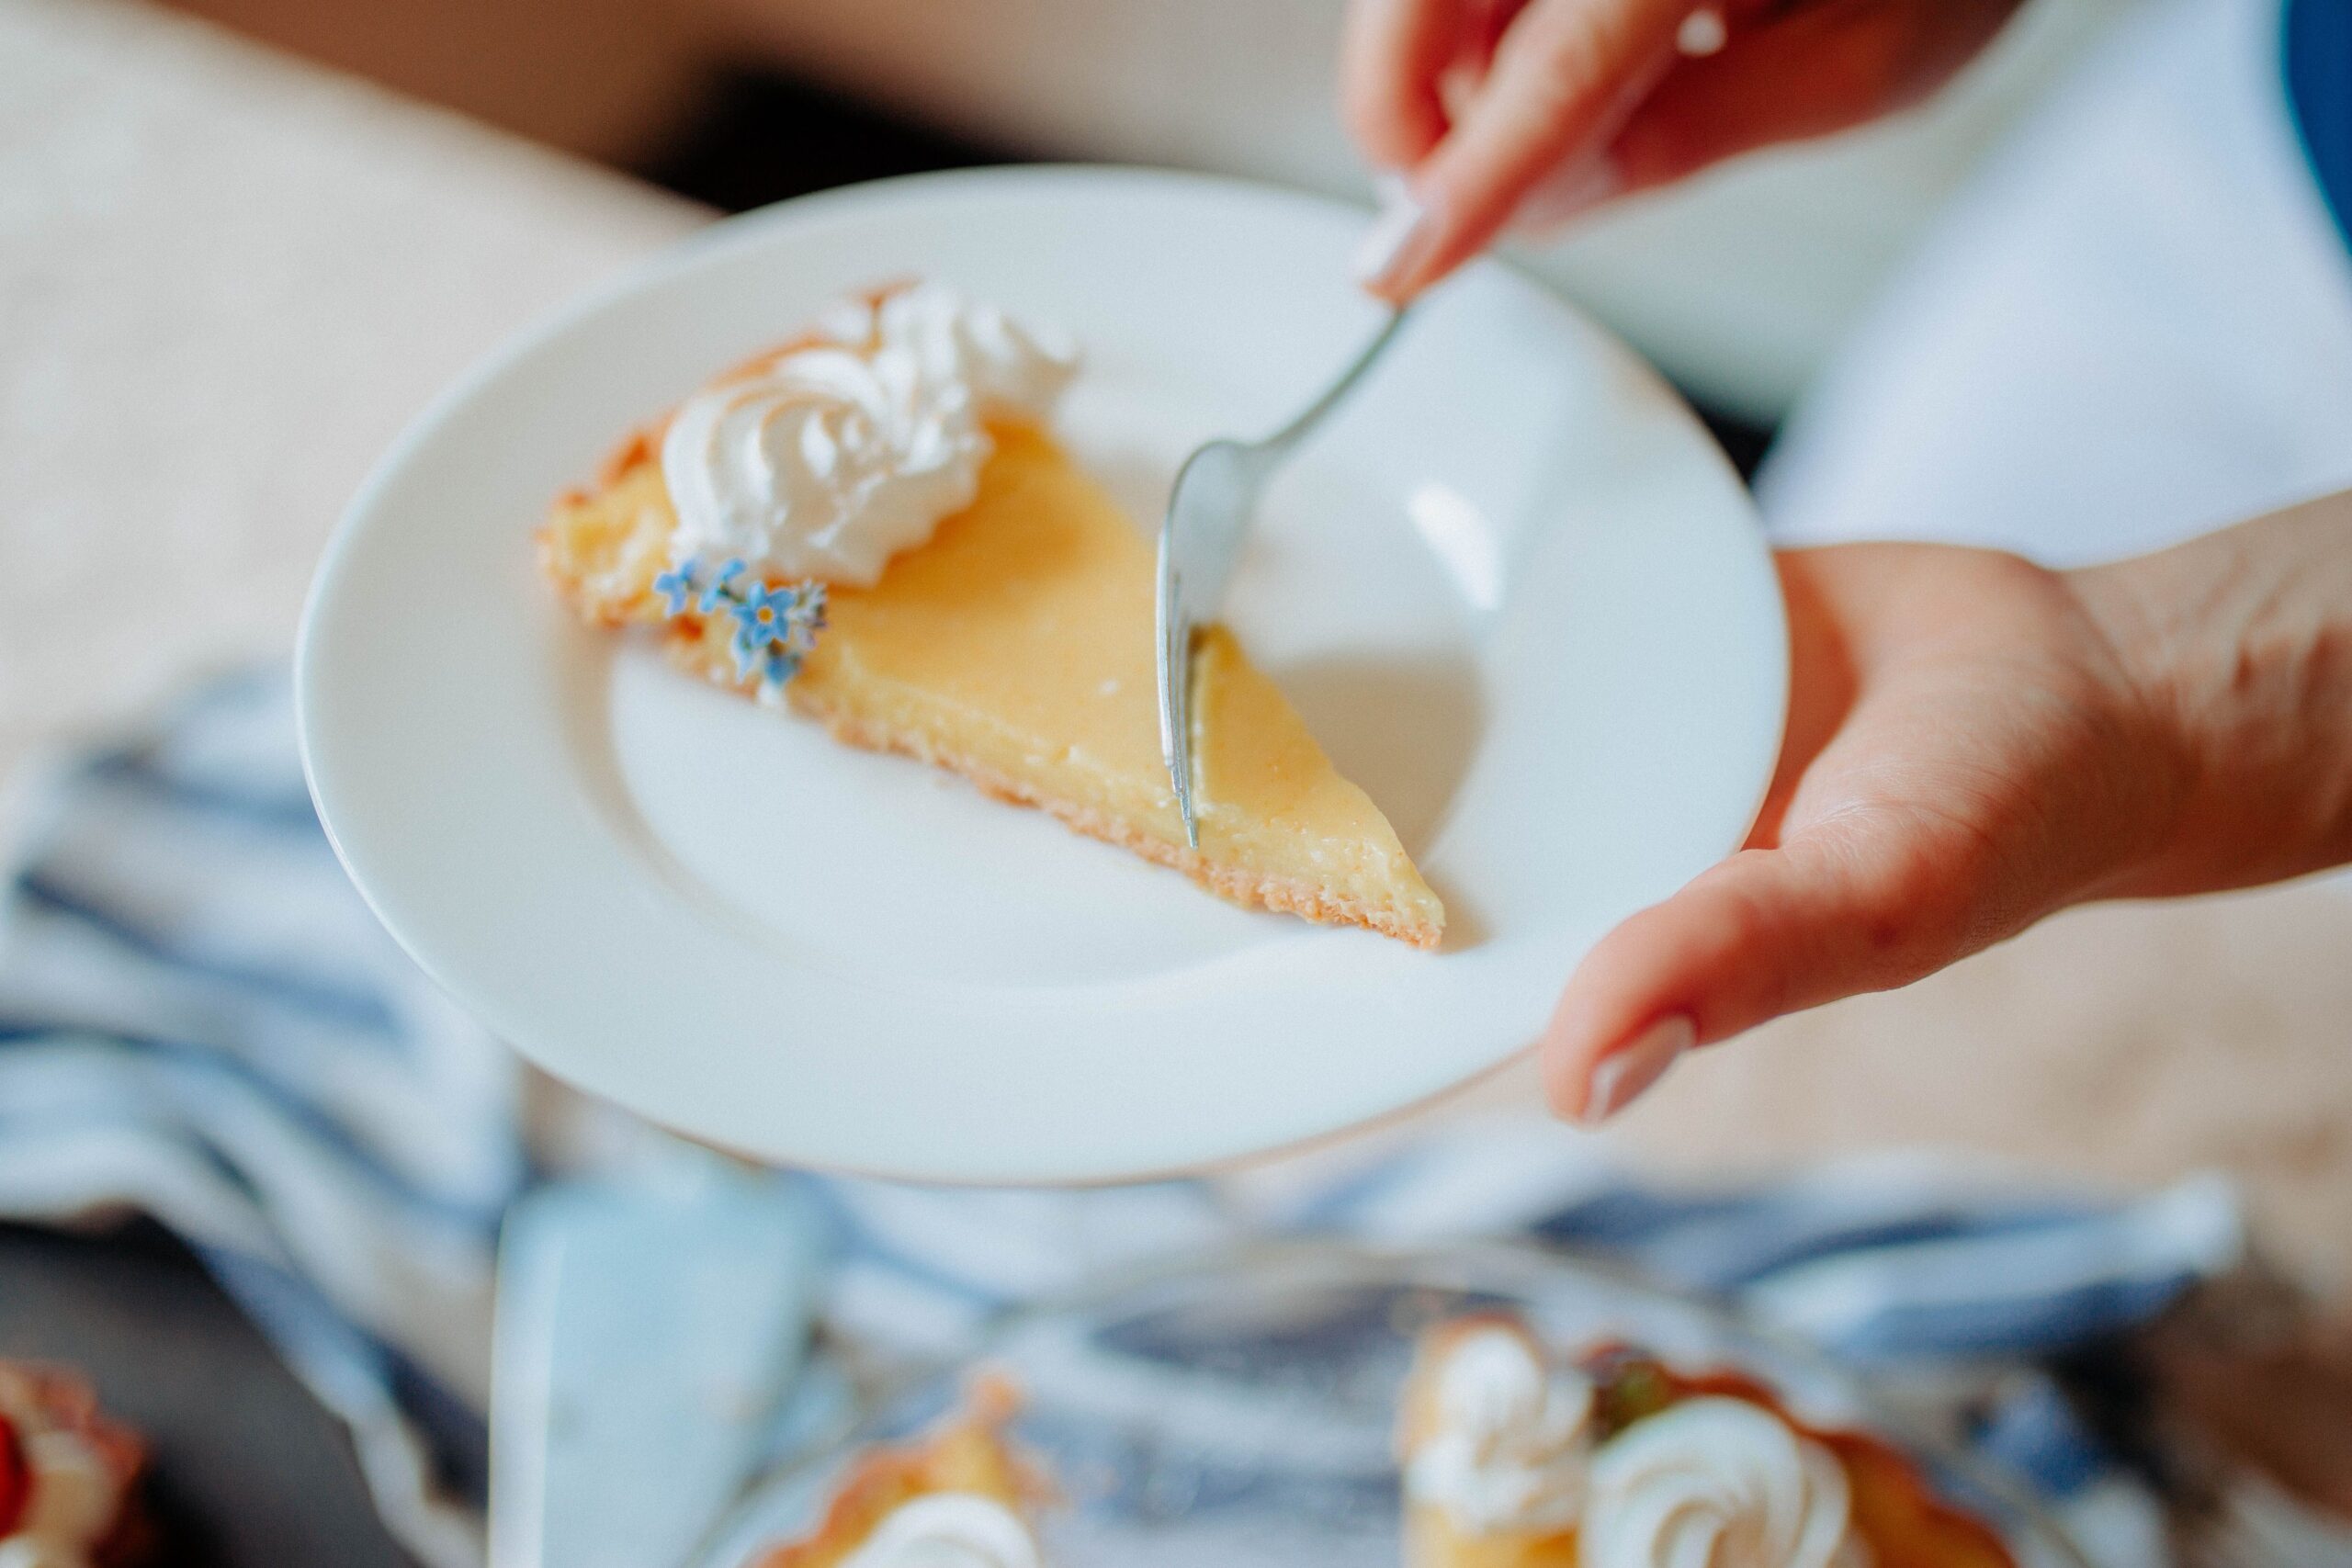
Serving a delicate slice of lemon meringue tart with dessert fork
Chilling allows the curd to set cleanly, ensuring defined slices without collapsing.

—

Our 3 Kitchen Rules for Crisp Crusts & Stable Meringue

1. Control Indirect Bain-Marie Heat

Never cook citrus curd over direct burner flames. Open heat scrambles egg proteins before they bind with the acidic juice, producing gritty flecks. A steady, gentle steam bath preserves velvety emulsification without requiring cornstarch binders.

2. Powdered Sugar Restricts Gluten Stretch

Opting for powdered sugar in a sweet shortcrust limits excess moisture interaction with flour proteins. This minimizes gluten formation, keeping the crust light and preventing it from pulling away or shrinking down the sides of the pan during baking.

3. Seal the Meringue to the Pastry Lip

When applying meringue, always spread it all the way out until it anchors firmly against the baked crust edge. Locking the meringue against the crust rim seals the filling, keeping condensation from pooling and preventing the foam from weeping over time.

—

Storage & Slicing Tips

Serve the tart within 24 hours of assembly for the best contrast between the crisp base and cloud-like topping. Keep leftovers loosely shielded in the refrigerator. For clean, sharp edges, dip your chef’s knife into hot water and dry the blade completely before every slice.
The Secret to Ultra-Fluffy Bakery-Style Cinnamon Rolls with Cream Cheese Icing

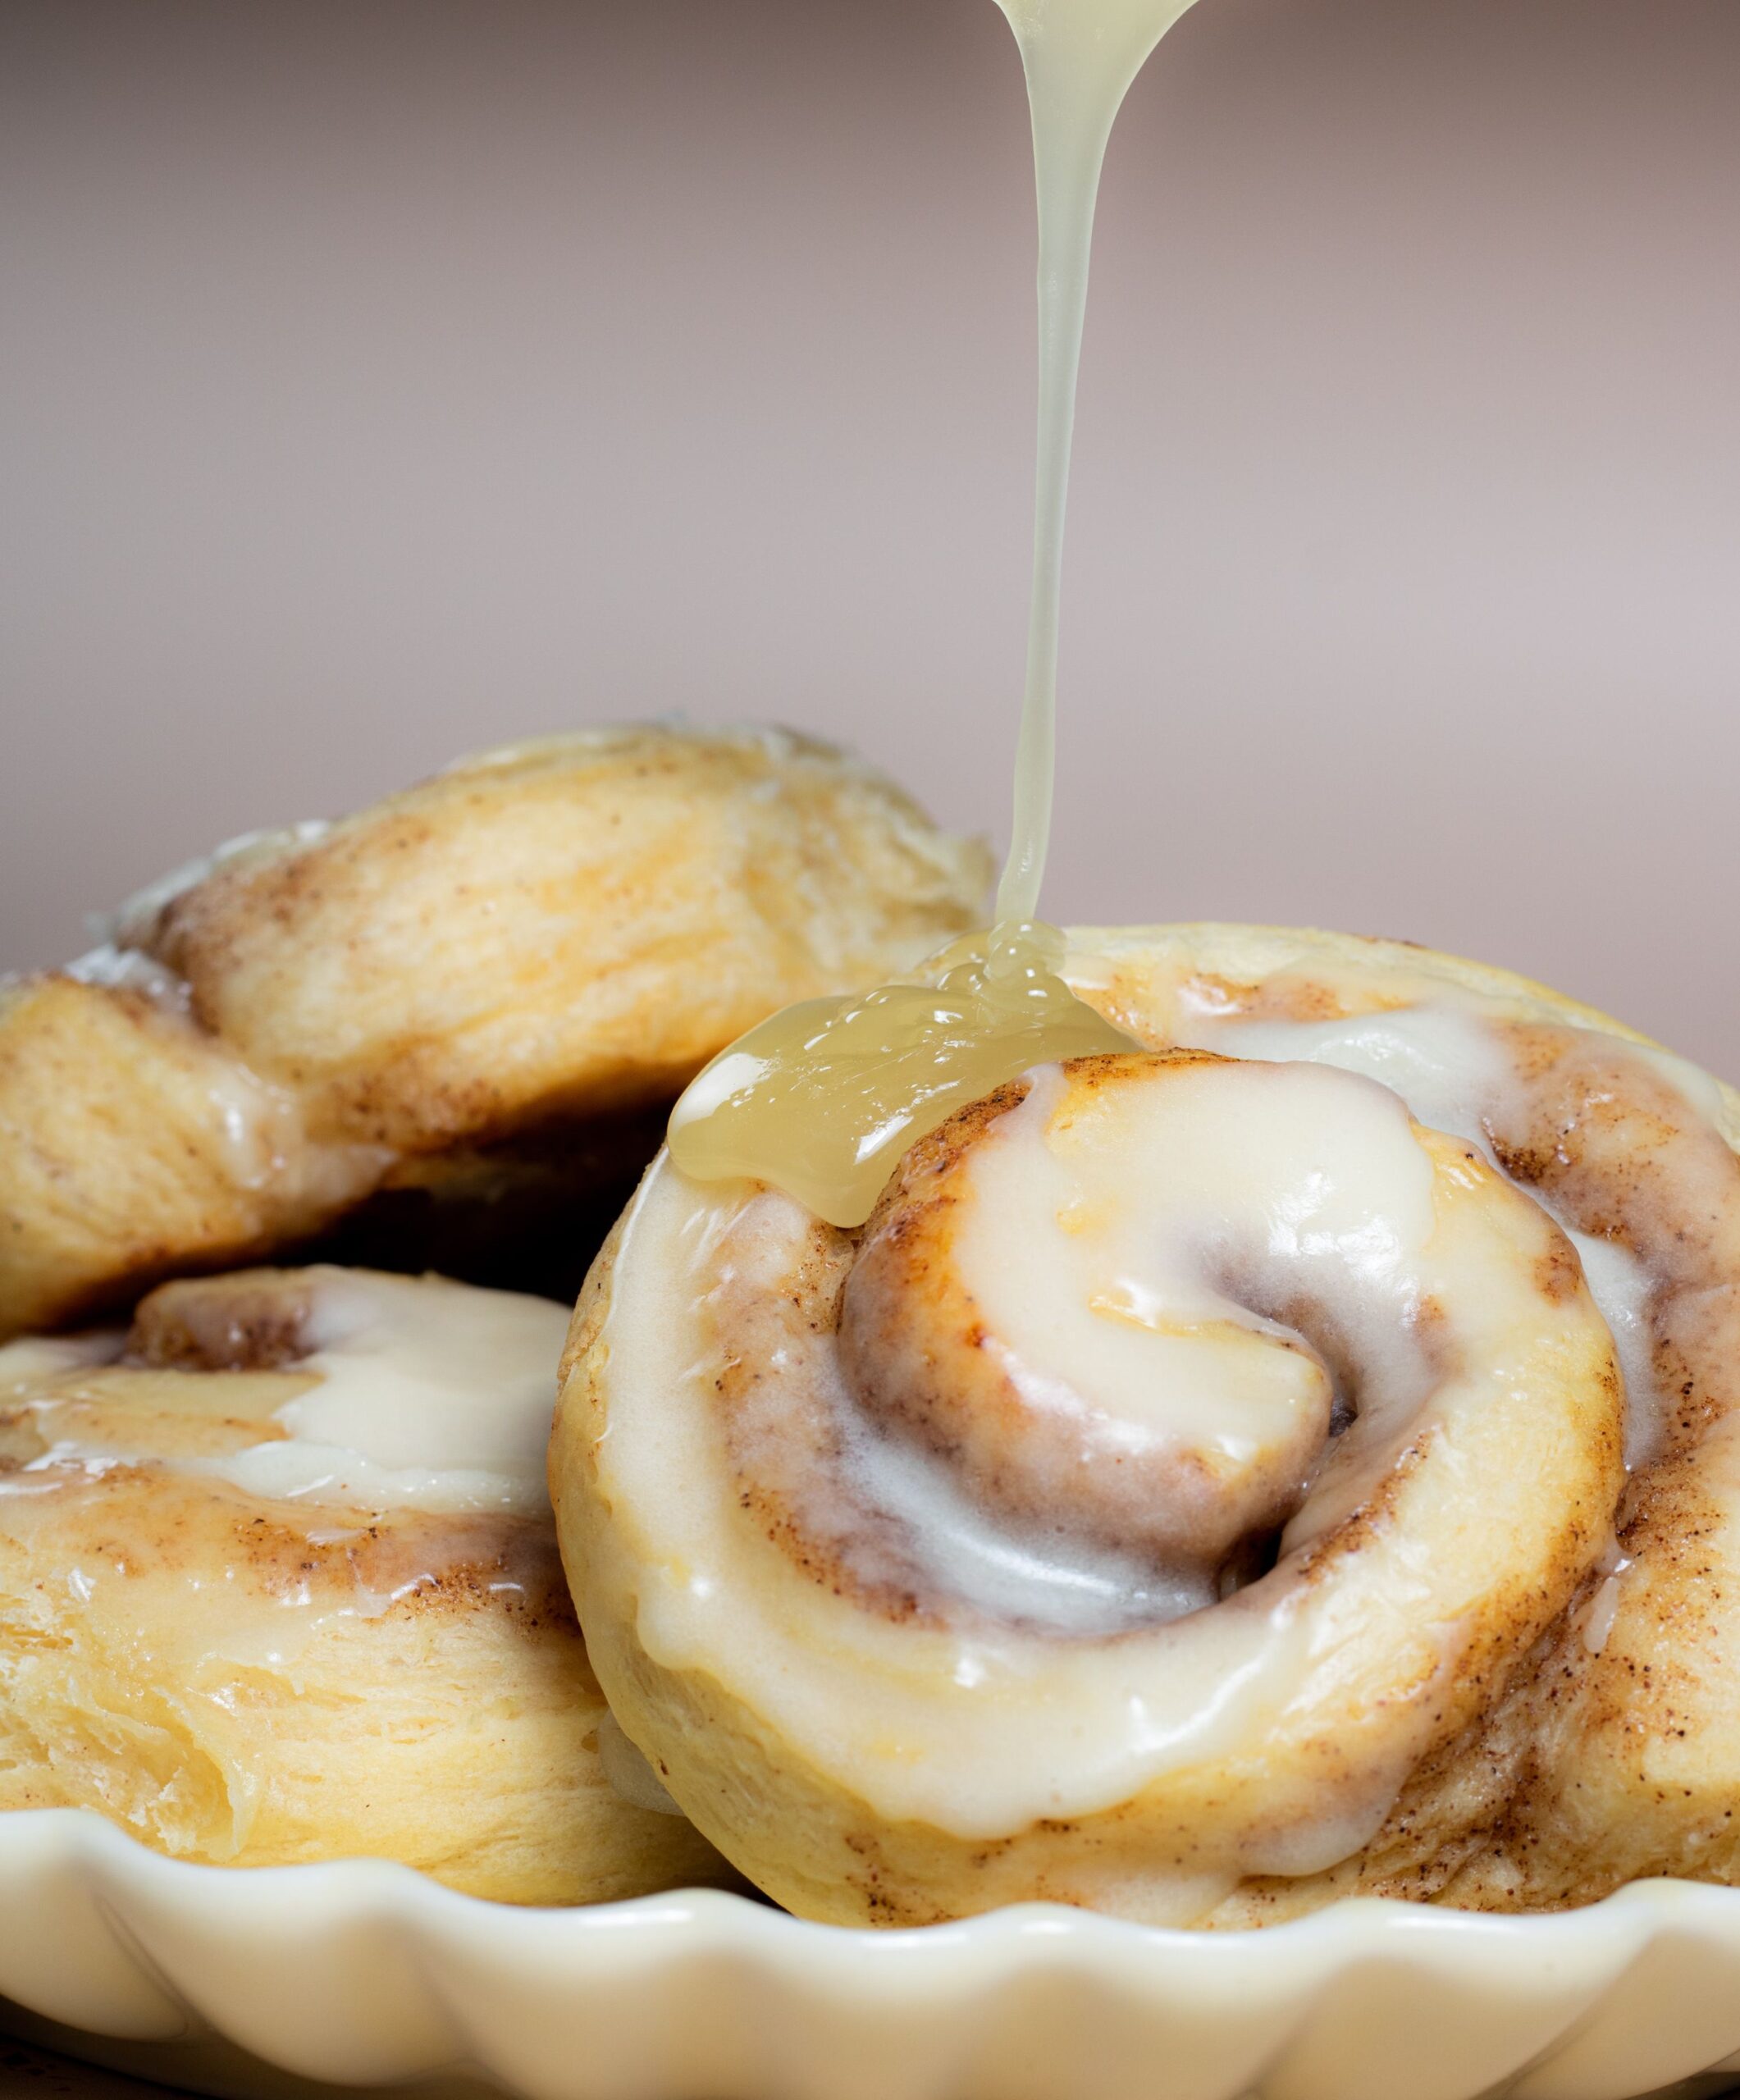
Freshly baked golden cinnamon rolls topped with thick melting cream cheese frosting

The aroma of freshly baked cinnamon rolls wafting through a morning kitchen is one of baking’s greatest rewards. Yet home bakers frequently encounter disappointed results: dry, bread-like spirals, filling that leaks out and hardens into candy on the bottom of the pan, or rolls that turn tough within hours. Crafting pillowy, bakery-style cinnamon rolls requires understanding yeast dough hydration, enriched gluten development, and the secret technique that keeps the centers melt-in-your-mouth soft.

Freshly baked golden cinnamon rolls topped with thick melting cream cheese frosting
Warm, pillowy cinnamon rolls smothered in a rich, tangy cream cheese glaze.

Enriched Dough Science: Balancing Fats and Gluten

Unlike lean breads like baguettes or sourdough that rely solely on flour, water, salt, and yeast, cinnamon roll dough is heavily enriched with dairy fats and eggs. This enrichment changes how the dough develops:

  • Tenderizing Gluten Strands: Butter and egg yolks coat the gluten proteins (gliadin and glutenin), preventing them from forming tough, chewy networks. This ensures a delicate, cake-like pull rather than a crusty bread chew.
  • Warm Liquid Activation: Yeast functions optimally between 105°F and 115°F (40°C–46°C). Liquids hotter than 120°F (49°C) will kill yeast cells, while cold liquids delay fermentation by hours.
  • Bread Flour vs. All-Purpose Flour: Using bread flour provides slightly higher protein content, giving the rolls enough structural elasticity to hold heavy layers of butter, sugar, and cinnamon without collapsing.

The Bakery Secret: The Warm Cream Pour

Commercial bakeries known for exceptionally gooey centers utilize a simple kitchen technique: pouring warm heavy cream over the proofed rolls immediately before they enter the oven.

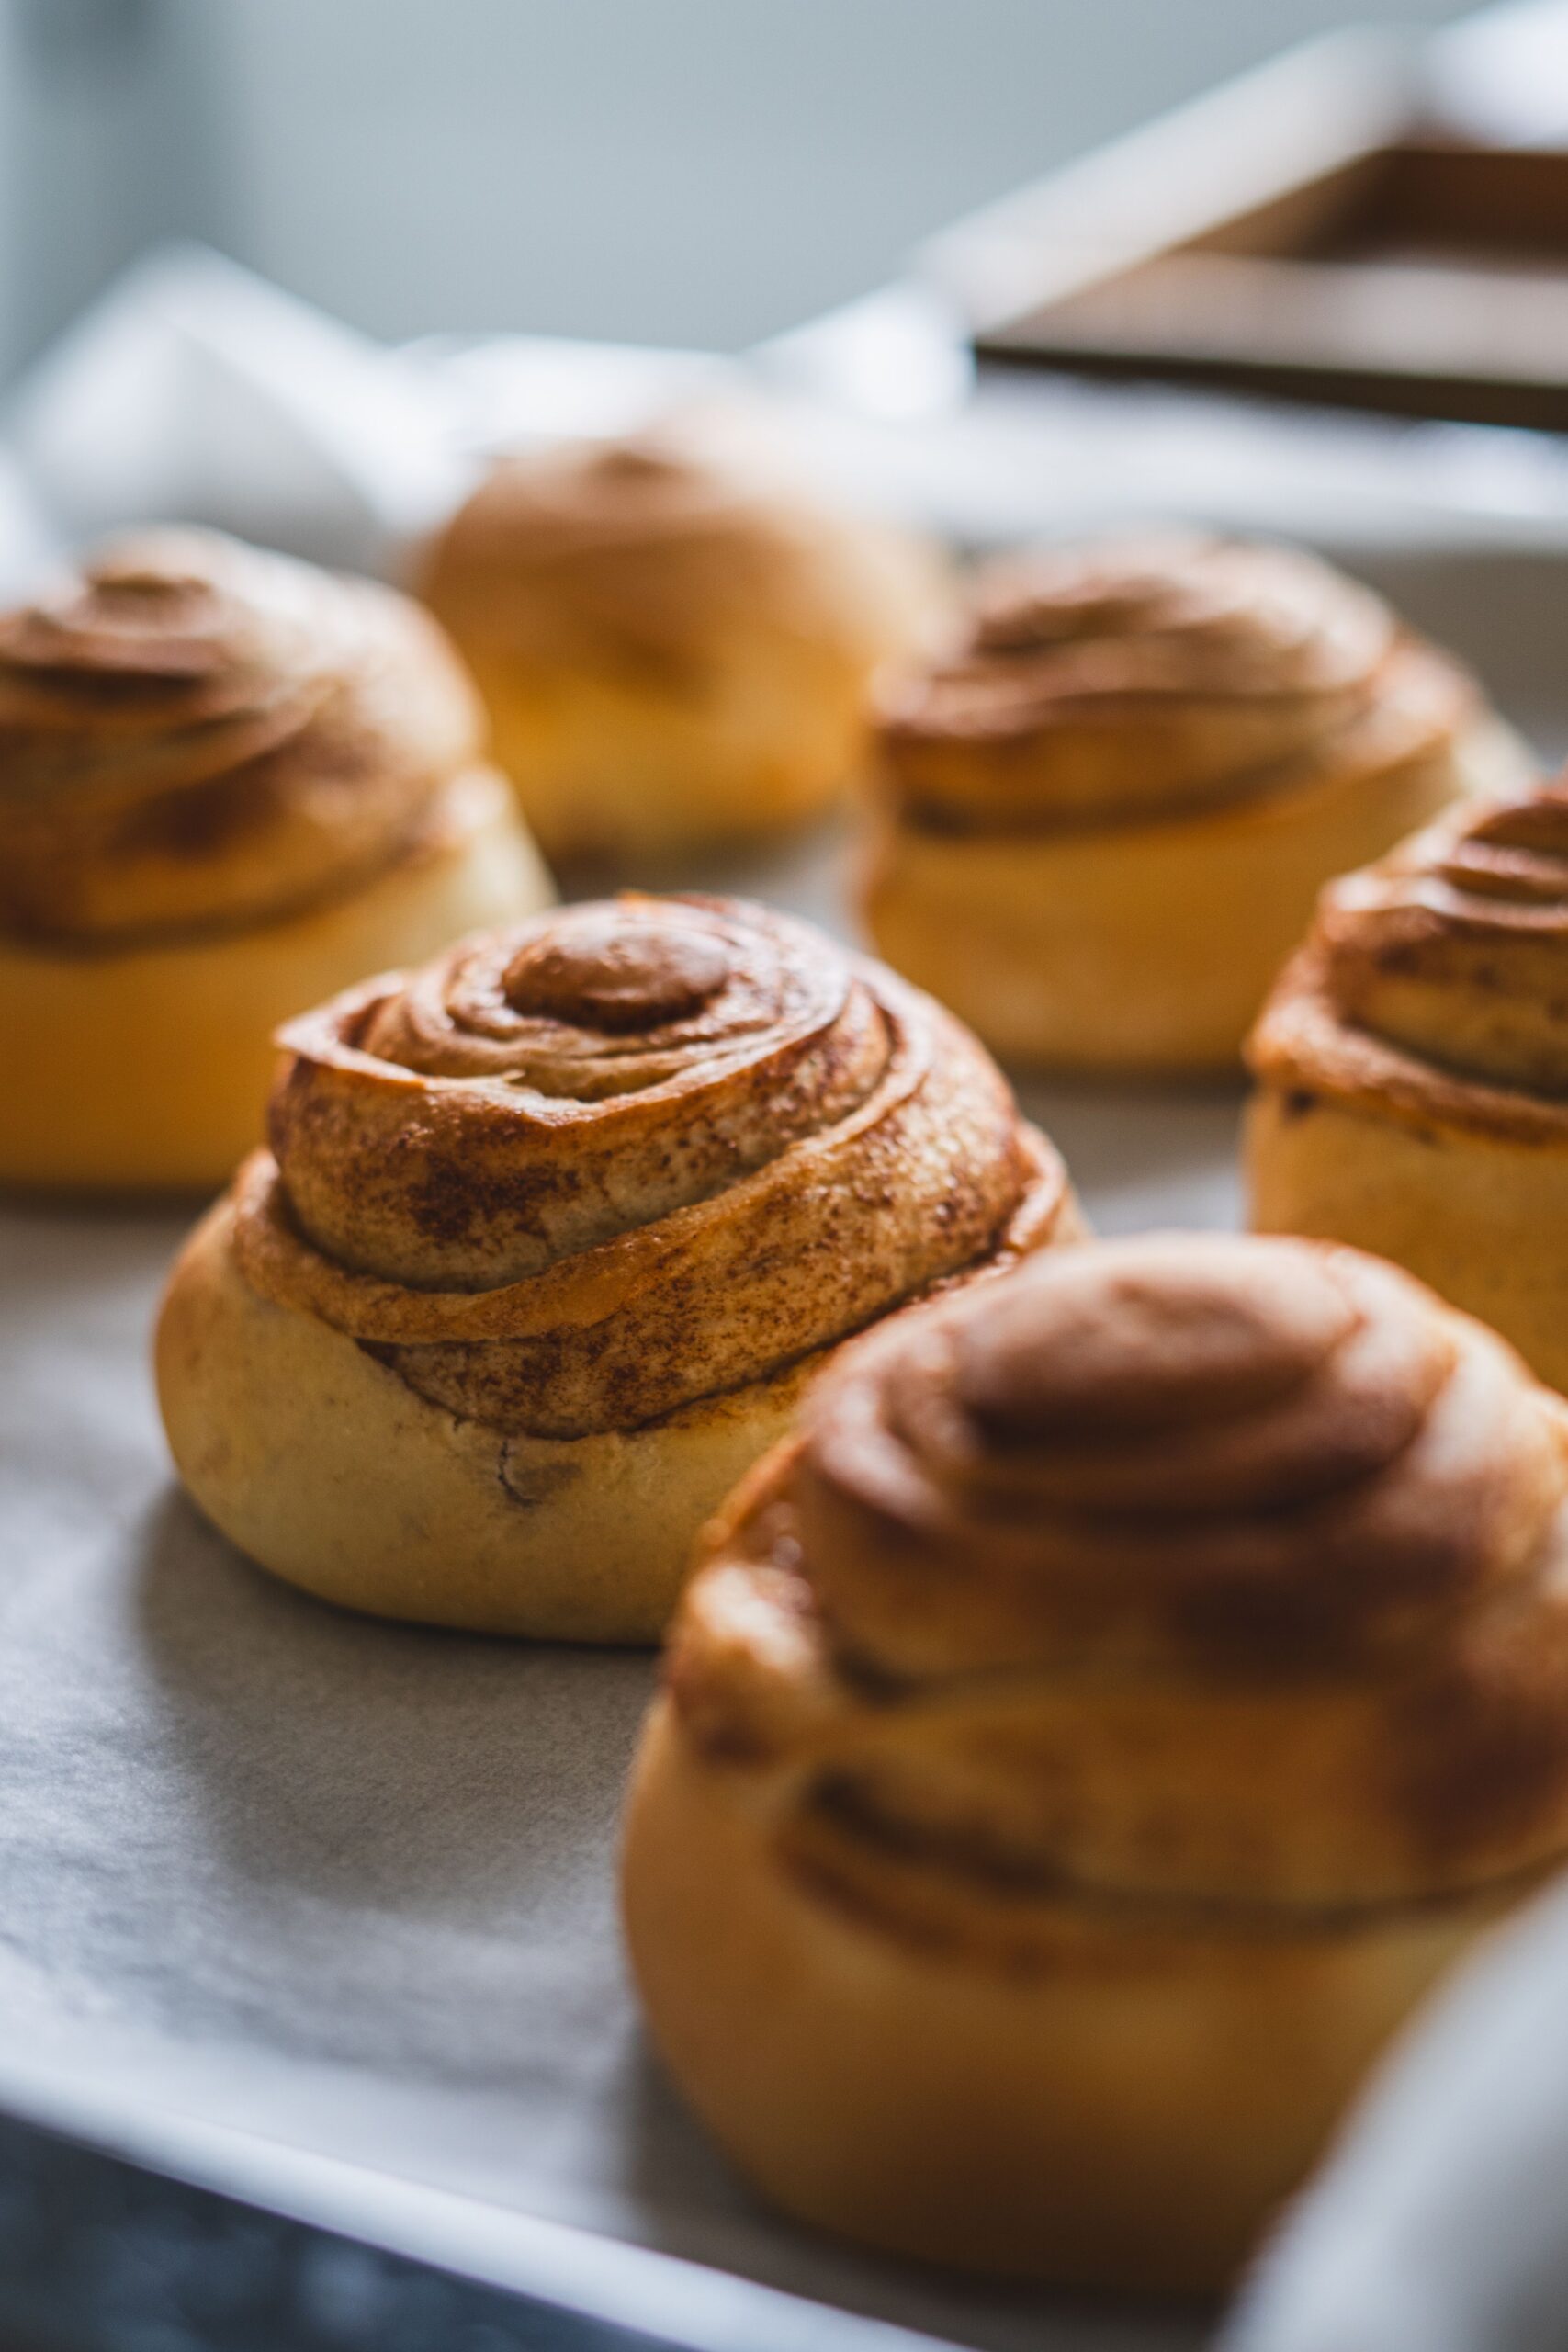
Rolling enriched yeast dough tightly over brown sugar and cinnamon butter filling
Rolling the enriched dough snugly into an even cylinder ensures uniform spiral layers.

As the rolls bake, the warm heavy cream heats up and performs two critical tasks:

  1. Creates Ambient Steam: The evaporating cream produces gentle moisture within the baking dish, keeping outer dough walls soft and supple instead of turning crusty.
  2. Forms a Caramel Bed: Any brown sugar and butter that seeps down dissolves into the cream, transforming into a silky, decadent caramel sauce that keeps the bottom layers tender.

Essential Ingredient Measurements

ComponentKey IngredientsBaking Purpose
The Dough Base4 cups bread flour, 1 packet (7g) instant yeast, 3/4 cup warm milk, 1/3 cup sugar, 2 eggs, 1/3 cup melted butterBuilds an enriched, pillowy crumb structure with gentle lift and golden coloration.
The Spiced Filling1/3 cup softened butter, 1 cup dark brown sugar (packed), 2.5 tbsp ground Korintje cinnamonMelts into a fragrant, gooey spiral ribbon without leaking dry sugar.
The Moisture Secret1/2 cup heavy whipping cream (warmed to lukewarm)Poured over rolls right before baking to ensure soft, melt-in-your-mouth centers.
The Tangy Glaze4 oz cream cheese (softened), 1/4 cup butter, 1.5 cups powdered sugar, 1 tsp vanillaCuts through sweet sugar with refreshing dairy tang and velvety coverage.

Step-by-Step Preparation Protocol

  1. Knead the Dough: Combine warm milk, sugar, and instant yeast in the bowl of a stand mixer. Add eggs, melted butter, salt, and bread flour. Knead with the dough hook on medium-low speed for 7 to 8 minutes until smooth, supple, and slightly tacky. Form into a ball, place in a greased bowl, cover, and let rise for 60 to 90 minutes until doubled in size.
  2. Roll and Fill: Turn dough out onto a lightly floured surface. Roll into a neat 12×18-inch rectangle roughly 1/4-inch thick. Spread softened butter evenly across the surface, leaving a 1/2-inch border at the top edge. Liberally sprinkle the dark brown sugar and ground cinnamon mixture over the butter, patting it down gently with your hands so it adheres.
  3. Roll and Slice with Floss: Starting from the long edge closest to you, roll the dough snugly into an even cylinder. Avoid using a dull kitchen knife to cut the log, as pressing down squashes the layers. Instead, slide unflavored dental floss or clean sewing thread under the log, cross the ends over the top, and pull firmly to slice clean, uncompressed 1.5-inch rolls.
  4. Second Proof: Arrange the slices in a greased 9×13-inch baking dish, leaving a small gap between each. Cover loosely and allow to rise a second time for 30 to 45 minutes until puffed and touching.
  5. Warm Cream Soak and Bake: Preheat oven to 350°F (175°C). Warm 1/2 cup of heavy whipping cream until lukewarm and pour evenly over and between the risen rolls. Bake immediately for 22 to 26 minutes until tops turn lightly golden brown.
  6. Double-Glaze: Beat softened cream cheese, butter, powdered sugar, and vanilla extract until smooth. Spread half of the icing over the rolls while they are warm from the oven so it melts deep into the spirals. Spread the remaining frosting once rolls have cooled slightly for a thick bakery finish.
Warm golden brown cinnamon rolls baked together in a ceramic baking dish
Golden, freshly baked rolls expand together in the baking dish to lock in interior moisture.

Overnight Make-Ahead Instructions

To enjoy fresh cinnamon rolls in the morning without waking up at dawn, utilize cold fermentation:

  • Complete the recipe through slicing and arranging the rolls in the baking dish.
  • Cover tightly with plastic wrap and transfer immediately to the refrigerator for up to 14 hours. Cold temperatures slow yeast activity while developing richer, fermented flavor notes.
  • In the morning, bring the dish to room temperature for 45 to 60 minutes to complete its second rise, pour over the warm cream, and bake as directed.

Frequently Asked Questions

Can I use all-purpose flour instead of bread flour?
Yes. All-purpose flour yields tender rolls, but they will be slightly softer and more delicate. Bread flour provides the ideal structure to support heavy butter and sugar fillings.

How can I keep leftover cinnamon rolls soft?
Store baked and iced rolls in an airtight container at room temperature for up to 3 days. Microwave individual rolls for 15 seconds before eating to restore their soft, freshly baked texture.

Can I freeze baked cinnamon rolls?
Yes. Cool un-iced rolls completely, wrap tightly in plastic wrap and aluminum foil, and freeze for up to 2 months. Thaw at room temperature and warm gently before adding fresh cream cheese icing.

The Secret to Authentic New York Cheesecake with a Silky, Crack-Free Texture

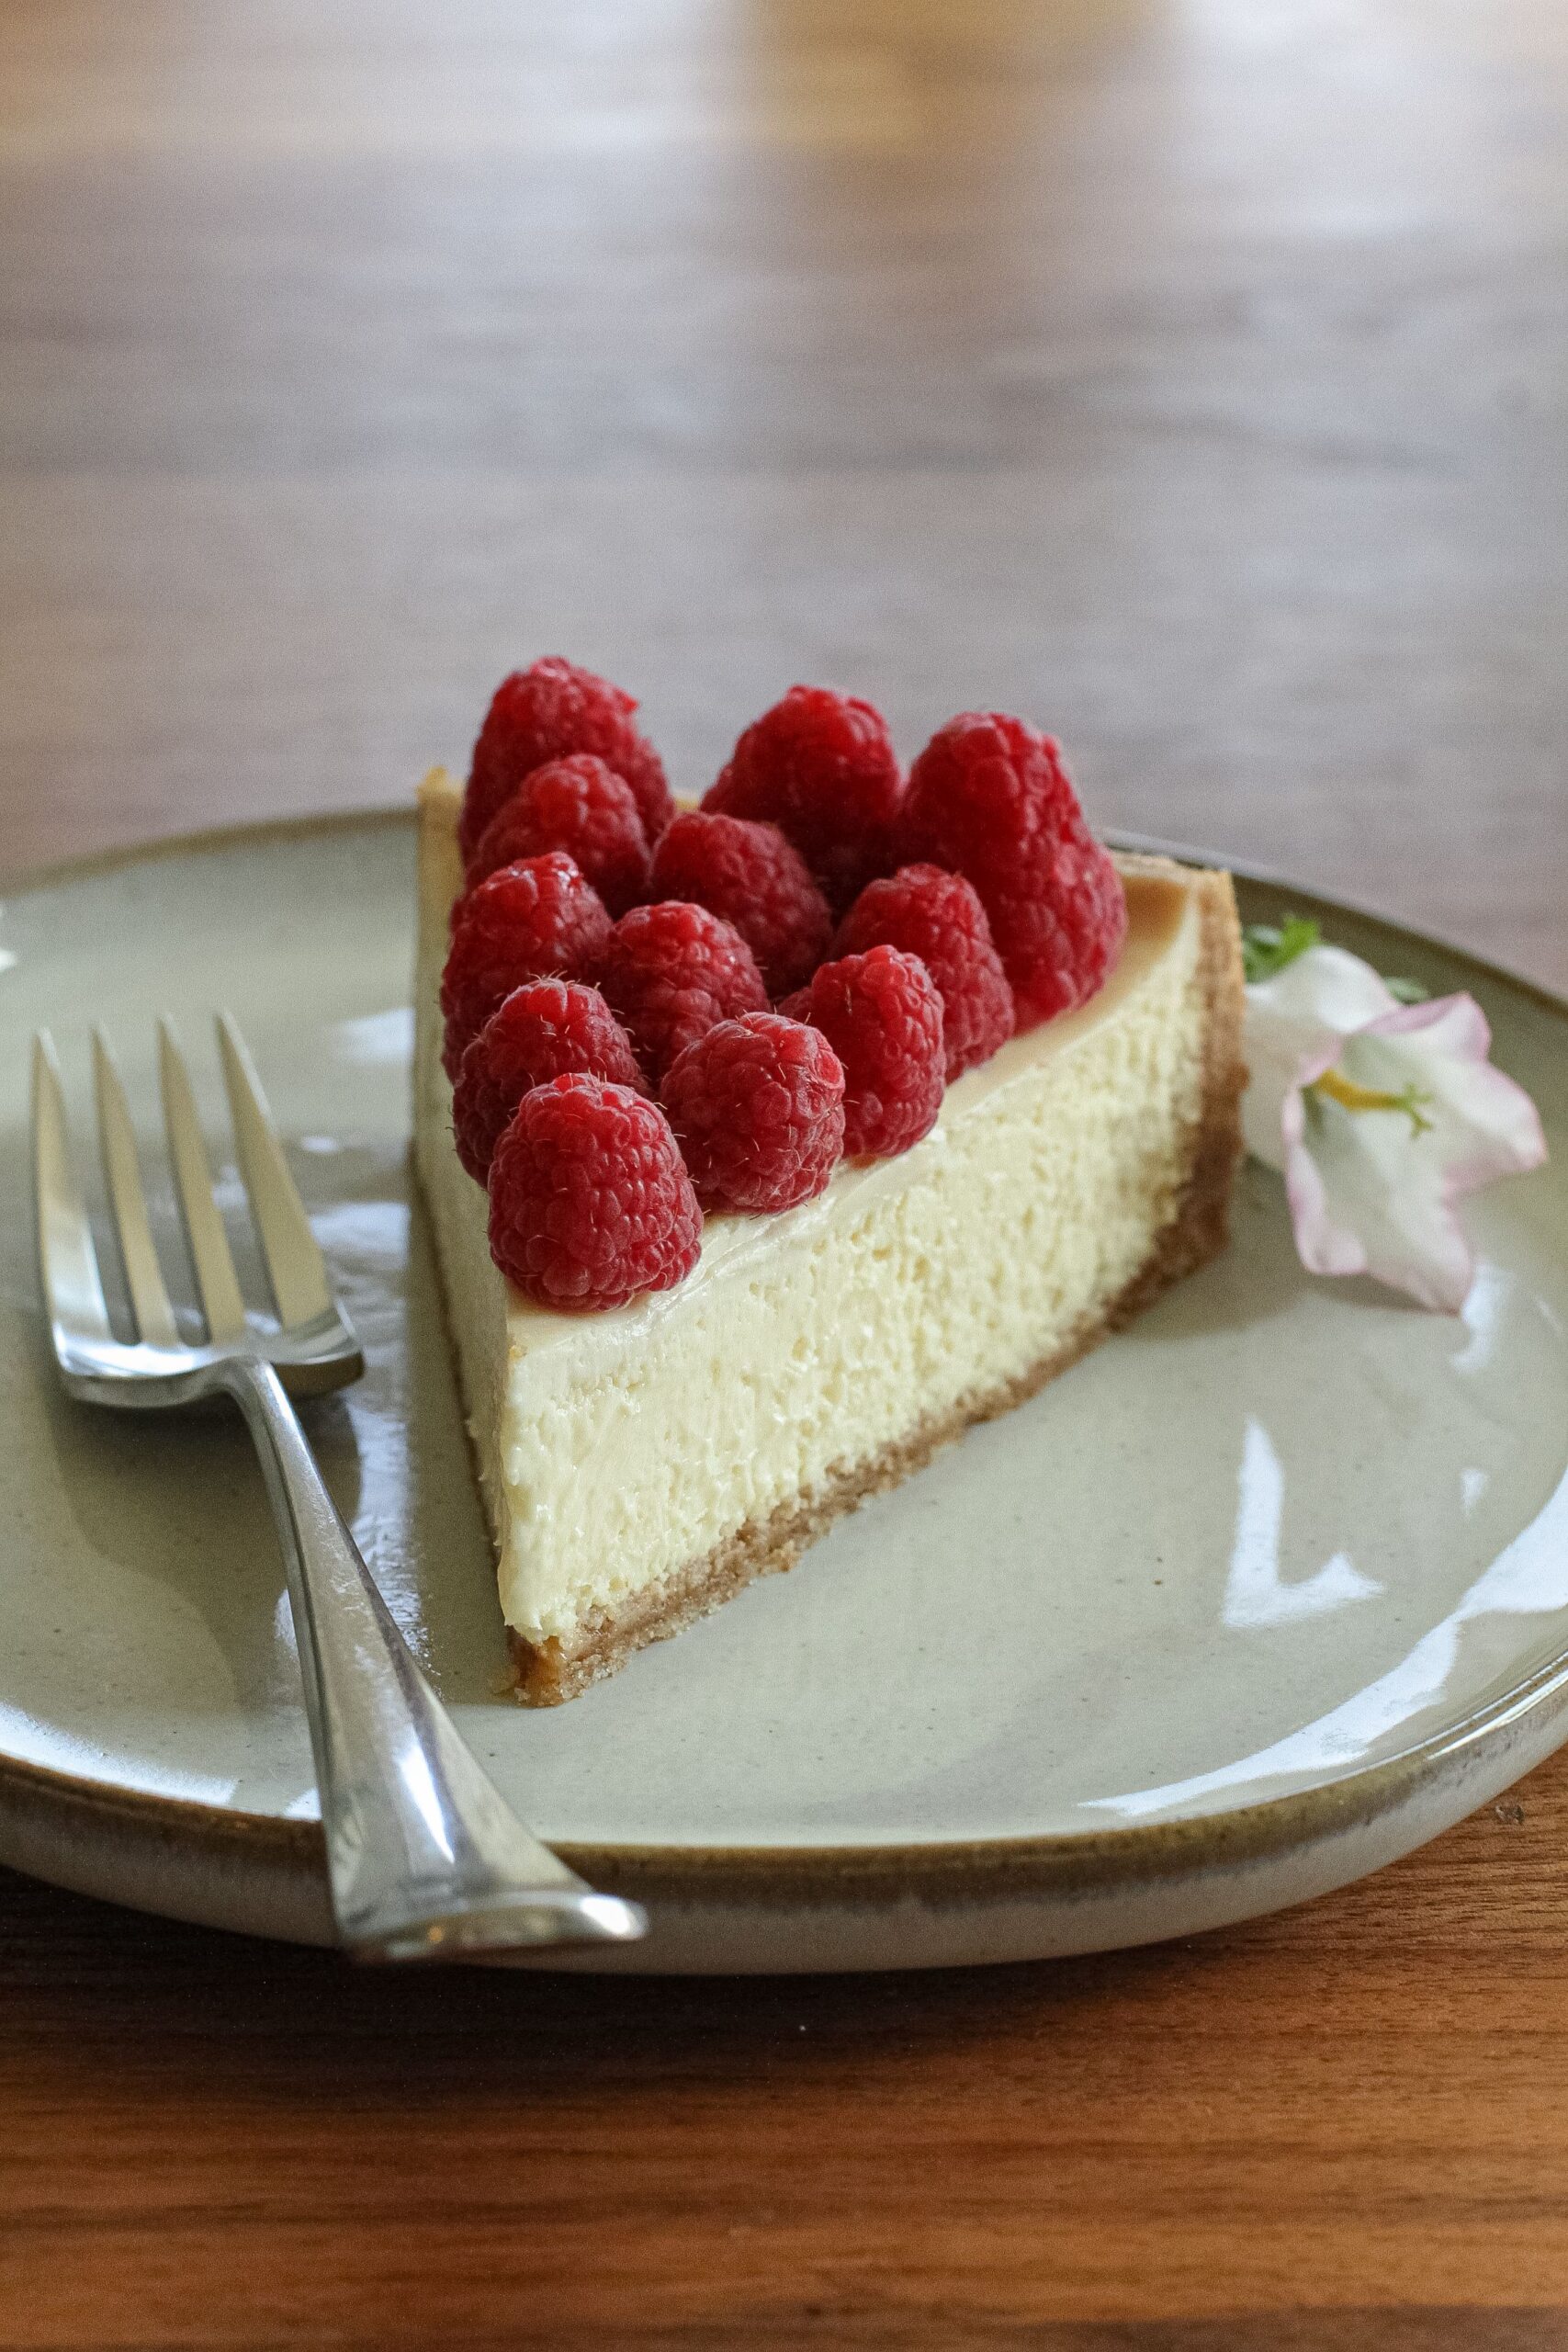
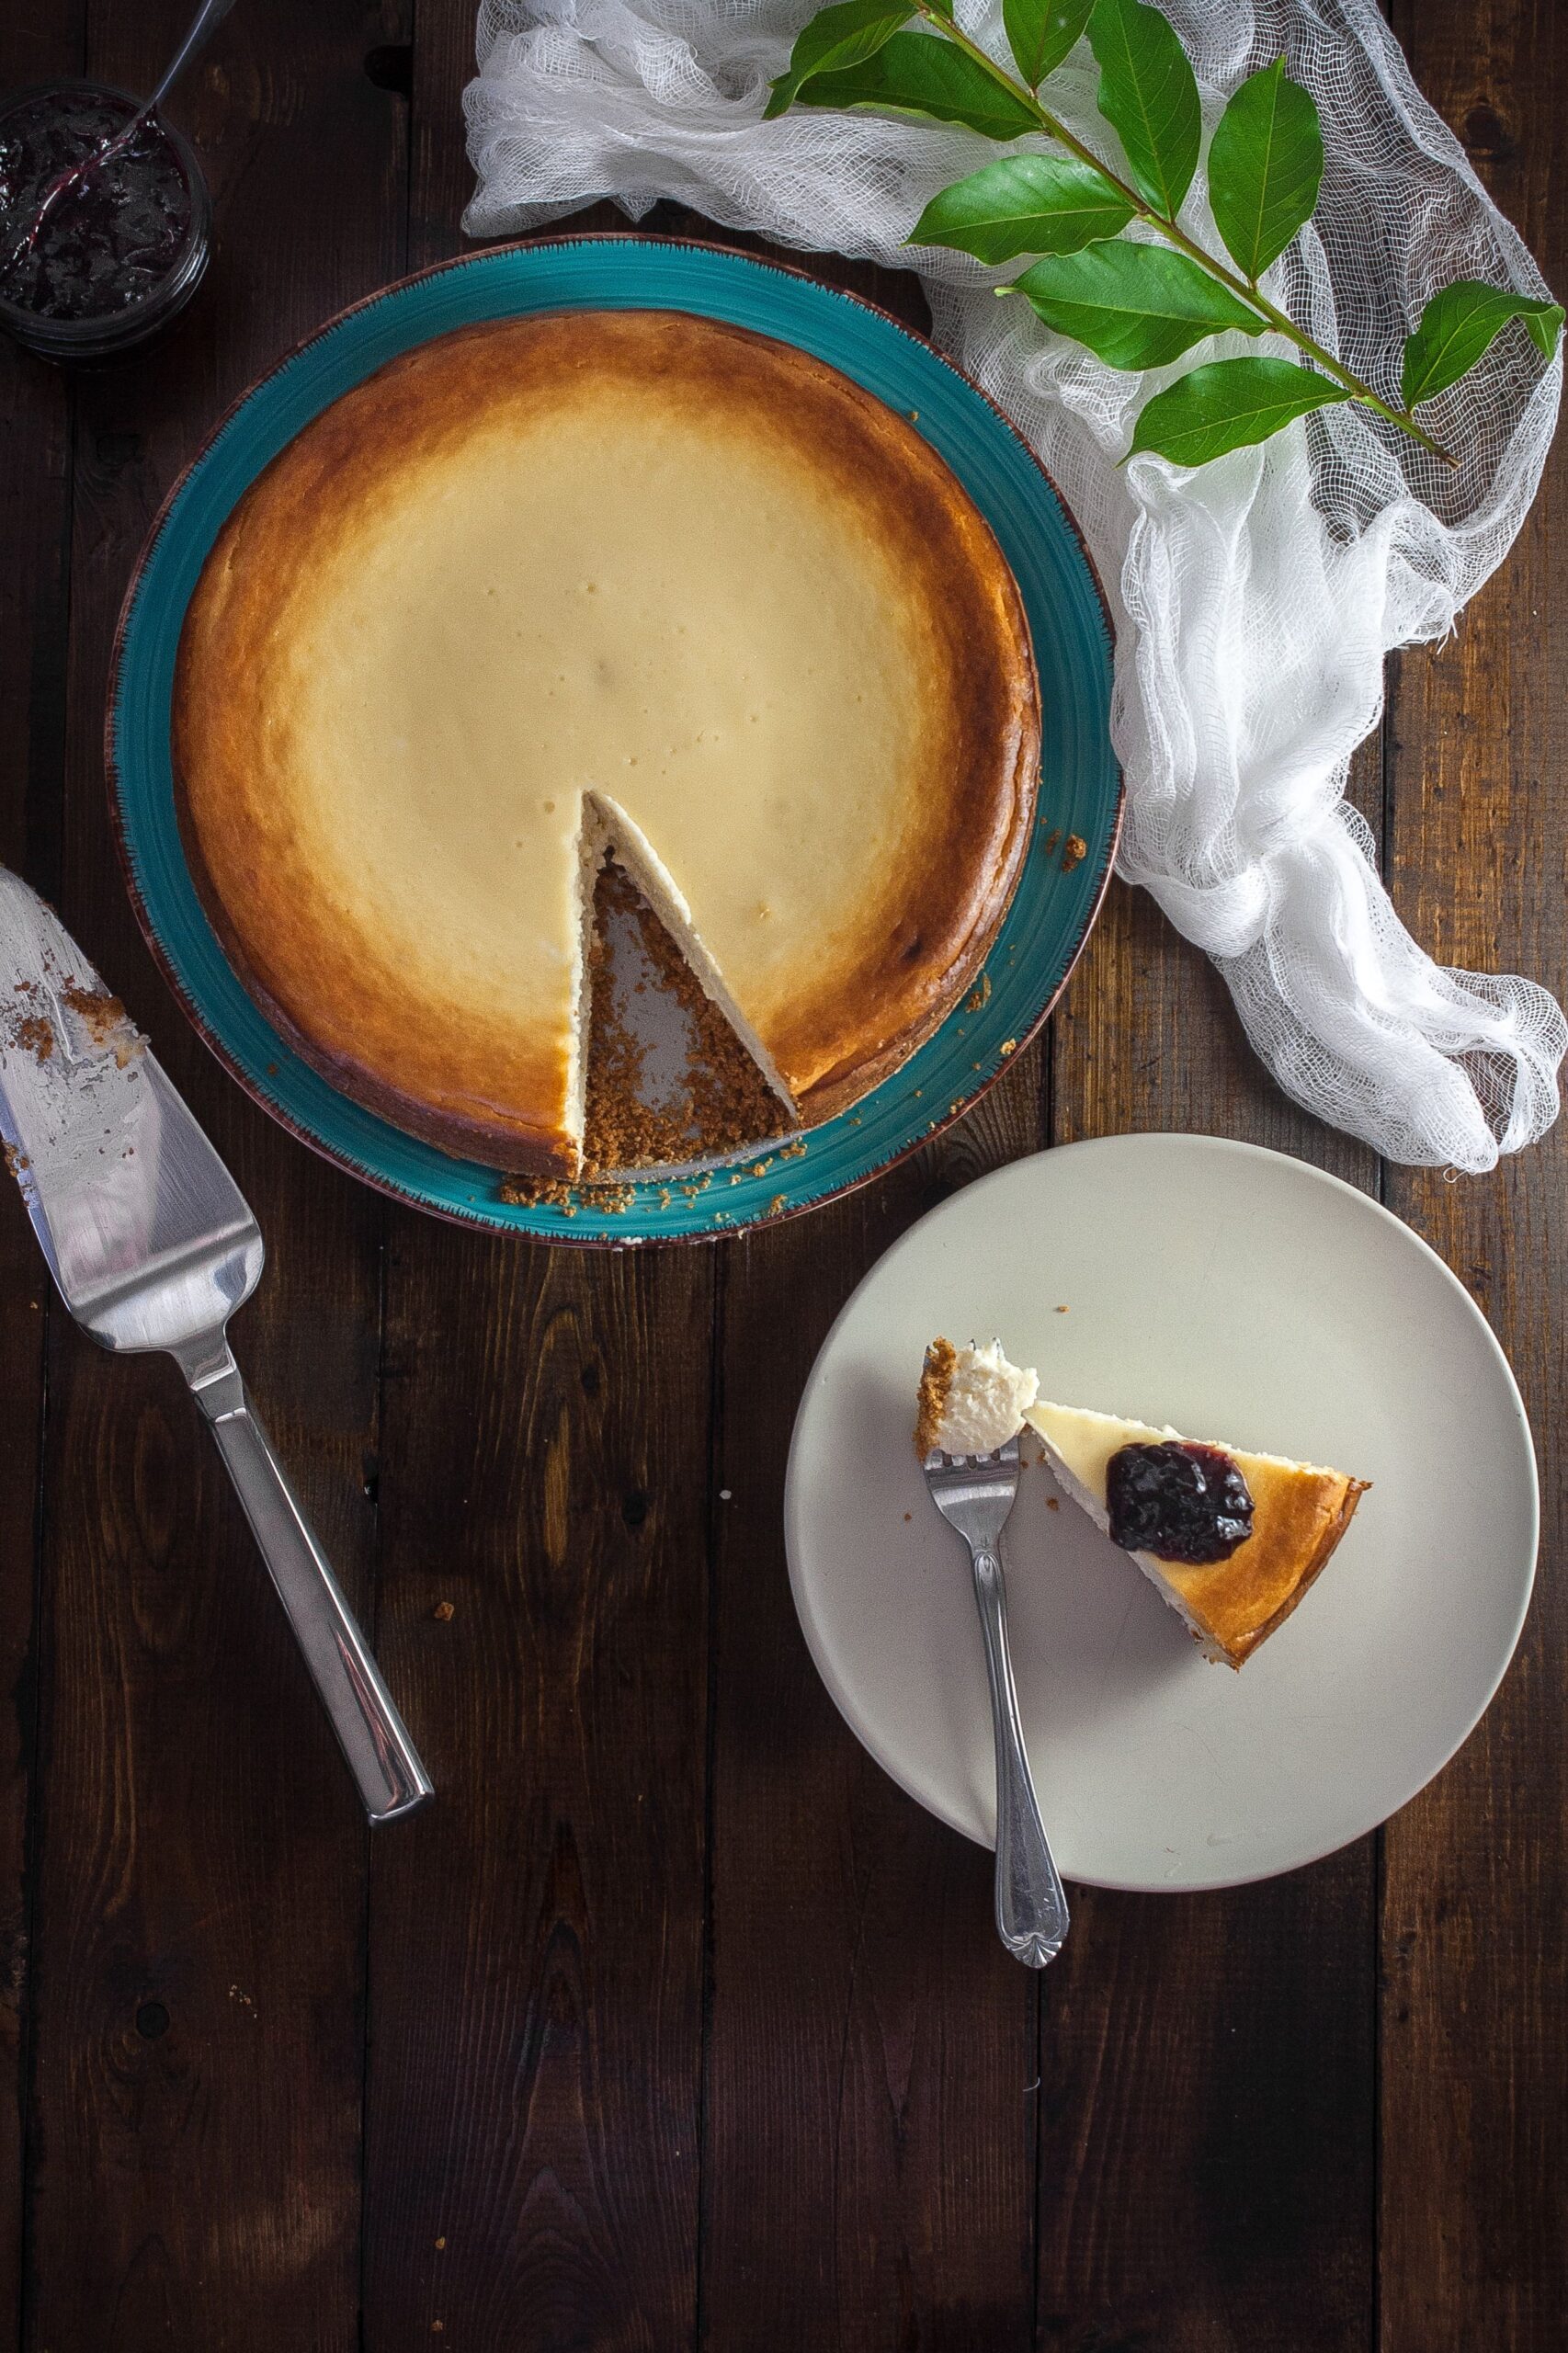
Classic slice of dense and creamy New York cheesecake served on a white dessert plate

Few desserts command admiration in the pastry world quite like an authentic New York–style cheesecake. Towering, rich, and velvety smooth, it strikes the delicate balance between dense dairy decadence and a clean, tangy finish. Yet, many home bakers dread the process, fearing unsightly surface fissures, curdled batter, or a soggy graham cracker crust. Achieving pastry-chef perfection requires understanding low-temperature custard physics, moisture buffering, and disciplined cooling.

Classic slice of dense and creamy New York cheesecake served on a white dessert plate
An authentic New York cheesecake slice featuring a dense, silky interior and golden graham base.

Cheesecake Physics: Why Cracks and Curdling Occur

Despite its name, cheesecake is not a cake—it is an egg-rich baked custard. Its structural integrity depends on how dairy fats and egg proteins coagulate under heat:

  • The Thermal Shock Trap: When egg proteins heat too quickly, they contract violently and squeeze out water (syneresis), creating a rubbery texture and deep center cracks.
  • Trapped Air Pockets: Whipping cheesecake batter on high speed incorporates excessive microscopic air bubbles. In the oven, these bubbles expand, lift the surface, and collapse upon cooling, tearing the delicate top.
  • The Role of the Water Bath (Bain-Marie): Surrounding your springform pan with hot water acts as a thermal buffer. Water cannot exceed 212°F (100°C) at atmospheric pressure, ensuring the edges bake at the exact same gentle rate as the deep center.

Key Ingredients for the Classic New York Profile

Authentic New York cheesecake relies on heavy full-fat dairy balanced with a distinctive acidity:

  • Standard Block Cream Cheese: 32 oz (four 8-oz blocks) full-fat brick cream cheese, brought completely to room temperature. Never use spreadable cream cheese tubs, which contain excess water and stabilizers.
  • Sour Cream or Heavy Cream: 1 cup full-fat sour cream adds the traditional New York tang while softening the dense cheese proteins into silk.
  • Cornstarch Stabilizer: 2 tablespoons of cornstarch or all-purpose flour protect egg proteins from over-coagulating, dramatically reducing crack risks.
  • Fresh Whole Eggs: 4 large whole eggs plus 1 egg yolk (room temperature) to provide rich custardy binding without excess aeration.
  • The Crust: 2 cups finely ground graham cracker crumbs, 1/3 cup melted unsalted butter, and 2 tablespoons granulated sugar packed firmly into the base.
Smooth velvet cheesecake batter poured into a springform pan with a buttery graham crust
Gently smoothing room-temperature batter into the pan prevents air voids during baking.

Step-by-Step Baking Protocol

  1. Blind Bake the Crust: Preheat oven to 325°F (165°C). Combine graham cracker crumbs, melted butter, and sugar. Press firmly into the bottom and slightly up the sides of a 9-inch springform pan using the flat bottom of a glass. Bake for 10 minutes, then cool completely.
  2. Waterproof the Pan: Wrap the exterior bottom and sides of your springform pan with two layers of heavy-duty aluminum foil, or set it inside a slightly larger silicone cake pan to create a 100% leak-proof seal against bath water.
  3. Cream the Cheese Gently: In a stand mixer fitted with the paddle attachment (never the whisk), beat softened cream cheese, granulated sugar, and cornstarch on low speed for 3 minutes until completely smooth, scraping the bowl often.
  4. Blend Wet Dairy & Eggs: Add sour cream, pure vanilla extract, and fresh lemon juice on low speed. Add eggs one at a time, mixing on the lowest setting just until each yolk is absorbed. Tap the bowl firmly on the counter to release trapped air pockets.
  5. Set up the Water Bath: Pour batter over the cooled crust. Place the foil-wrapped pan into a large, deep roasting tray. Transfer to the oven rack, then carefully pour boiling water into the roasting pan until it reaches halfway up the sides of the springform pan.
  6. Bake and Check Doneness: Bake at 325°F for 65 to 75 minutes. Do not poke with a knife. The cheesecake is ready when the edges are set and lightly puffed, but a 2-to-3-inch circle in the very center still wobbles gently like firm gelatin when the pan is nudged.
Fork cutting through a slice of rich cheesecake topped with glossy fresh strawberry compote
Chilled cheesecake firms into clean slices that pair beautifully with fresh berry compote.

The Multi-Stage Cooling Sequence

The cooling phase is where great cheesecakes are won or lost. Sudden drops in ambient temperature cause rapid contraction, tearing cracks through the center:

  • The Oven Door Rest (1 Hour): When baking time finishes, turn off the oven, crack the oven door open 2 inches with a wooden spoon, and leave the cheesecake inside undisturbed for 60 minutes. The temperature drops gradually while the residual steam finishes setting the center.
  • Release the Edges: Remove from the water bath, peel away foil, and run a thin, flexible paring knife around the inside rim of the pan. As the cheesecake cools further, it shrinks inward; releasing it prevents it from clinging to the sides and pulling cracks in the center.
  • The Refrigerator Set (Overnight): Cool completely on the counter for 1 hour, then refrigerate uncovered for at least 8 hours (ideally 24 hours). Cold temperatures solidify dairy fats into that signature creamy New York texture.

Frequently Asked Questions

Can I bake this cheesecake without a water bath?
You can place a roasting pan filled with boiling water on the bottom oven rack directly beneath the cheesecake. While slightly less effective than direct immersion, the steam helps moderate oven heat and prevents severe cracking.

How do I cut perfectly smooth, clean slices?
Dip a long chef’s knife into a tall glass of hot tap water, wipe it clean and dry with a kitchen towel, and make a single downward slice. Wipe and reheat the blade between every single cut.

Can I freeze New York cheesecake?
Yes, it freezes exceptionally well. Chill the cake solid, remove the springform collar, wrap tightly in multiple layers of plastic wrap and heavy foil, and freeze for up to 3 months. Thaw overnight in the refrigerator before serving.

How to Bake Bakery-Style Soft and Chewy Chocolate Chip Cookies (The Science of Texture)

Batch of freshly baked golden brown chocolate chip cookies cooling on a wire rack

Baking the quintessential chocolate chip cookie seems straightforward, yet home kitchens routinely encounter common frustrations: flat cookies that spread into a greasy puddle, or puffy, cake-like mounds lacking that signature chew. Mastering bakery-level chocolate chip cookies relies entirely on baking science—specifically butter temperature, sugar hydration, dough chilling, and controlling gluten development to achieve golden, crisp edges wrapped around a dense, gooey center.

Batch of freshly baked golden brown chocolate chip cookies cooling on a wire rack
Proper dough chilling and balanced sugars create cookies with crisp edges and soft centers.

The Science of Chewiness: Brown vs. White Sugar Dynamics

The texture of your cookie is largely dictated by the ratio of granulated white sugar to brown sugar:

  • Granulated White Sugar (Crispness & Spread): White sugar promotes cookie spread and dries out surface moisture during baking, producing that desirable golden, crisp perimeter ring.
  • Dark Brown Sugar (Chew & Moisture): Brown sugar contains molasses, which is naturally hygroscopic (it actively draws and binds moisture). It keeps the cookie center soft and chewy long after cooling.
  • The Optimal Ratio: A 2:1 ratio favoring dark brown sugar yields the ultimate contrast: rich caramel notes and deep chewiness anchored by delicate exterior crunch.

Why You Must Chill Your Cookie Dough

Skipping the refrigerator chill step is the primary cause of thin, greasy cookies. Resting your portioned dough for at least 12 to 24 hours triggers two vital culinary transformations:

Portioned chocolate chip cookie dough balls arranged on a parchment-lined baking sheet
Chilling dough solidifies fats, preventing excessive spread during the initial oven bake.
  1. Fat Solidification: Cold dairy fats melt much slower in the oven. This gives the outer flour structure time to set before the center flattens, retaining ideal cookie thickness.
  2. Flour Hydration and Enzymatic Breakdown: As the dough rests, flour proteins and starches fully absorb the moisture from whole eggs. Enzymes break complex carbohydrates into simple sugars, deepening the butterscotch flavor profile significantly.

Core Ingredient Specifications

IngredientPrecise MeasureBaking Function
Unsalted Butter (Browned or Softened)1 cup (2 sticks / 225g)Provides rich dairy solids and creates tender gluten boundaries.
Dark Brown Sugar (Packed)1 cup (200g)Supplies molasses moisture for a chewy, rich interior texture.
Granulated White Sugar1/2 cup (100g)Promotes caramelization and crisp cookie borders.
All-Purpose Flour2 1/4 cups (280g), leveledThe structural framework; never scoop directly from the bag.
Large Eggs1 whole egg + 1 yolk (room temp)The extra yolk adds rich lecithin fat without excess egg-white water.
Baking Soda & Cornstarch1 tsp soda + 1 tsp cornstarchSoda enables browning; cornstarch keeps centers velvety soft.
Semisweet Chocolate Chunks / Discs1 1/2 cups (250g), rough choppedChopped chocolate pools into layered pockets far better than chips.
Flaky Sea Salt (Maldon)To garnish after bakingCuts through sweet sugar and amplifies deep cocoa notes.

Step-by-Step Baking Protocol

  1. Cream Butter and Sugars: In a large mixing bowl, beat softened butter, dark brown sugar, and granulated white sugar together on medium speed for 2 to 3 minutes until smooth and thoroughly combined. Do not over-whip into a light, airy fluff, which introduces excess air pockets that collapse in the oven.
  2. Incorporate Eggs and Emulsify: Add the whole egg, extra egg yolk, and pure vanilla extract. Beat on medium-low speed just until the mixture looks glossy, cohesive, and fully emulsified.
  3. Fold the Dry Ingredients: Whisk flour, baking soda, cornstarch, and fine sea salt in a small bowl. Add to the wet mixture and fold gently with a silicone spatula just until faint flour pockets remain. Fold in the chopped chocolate chunks until evenly dispersed.
  4. Portion and Chill: Use a large 2-ounce ice cream scoop to divide dough into tall, rounded balls. Place on a tray, cover with plastic wrap, and refrigerate for a minimum of 4 hours (ideally 24 hours).
  5. Bake with Heat Precision: Preheat oven to 350°F (175°C). Line heavy aluminum baking sheets with parchment paper. Space cold dough balls 2.5 inches apart. Bake for 11 to 13 minutes until the outer edges are set and golden brown, but the centers remain soft and pale.
  6. The “Cookie Scoot” and Salt Finish: Immediately upon removing from the oven, swirl a round cookie cutter or small bowl around each hot cookie to pull them into neat circles. Sprinkle immediately with flaky sea salt while hot.
Hands breaking open a warm chocolate chip cookie showing melted chocolate and a soft center
Breaking open a properly baked cookie reveals gooey pools of melted chocolate and a tender center.

Frequently Asked Questions

Why did my cookies turn out flat and greasy?
The most common causes are using melted butter that was too hot, skipping the refrigerator chilling step, or baking on dark, nonstick trays that conduct excessive bottom heat.

Can I bake these straight from the freezer?
Yes. Freeze scooped dough balls solid on a baking sheet, then transfer to a freezer bag. Bake directly from frozen at 350°F (175°C), adding 1 to 2 extra minutes to total baking time.

How do I keep cookies soft for several days?
Store completely cooled cookies in an airtight container with a small slice of plain sandwich bread. The cookies will absorb moisture from the bread, staying bakery-soft for up to a week.

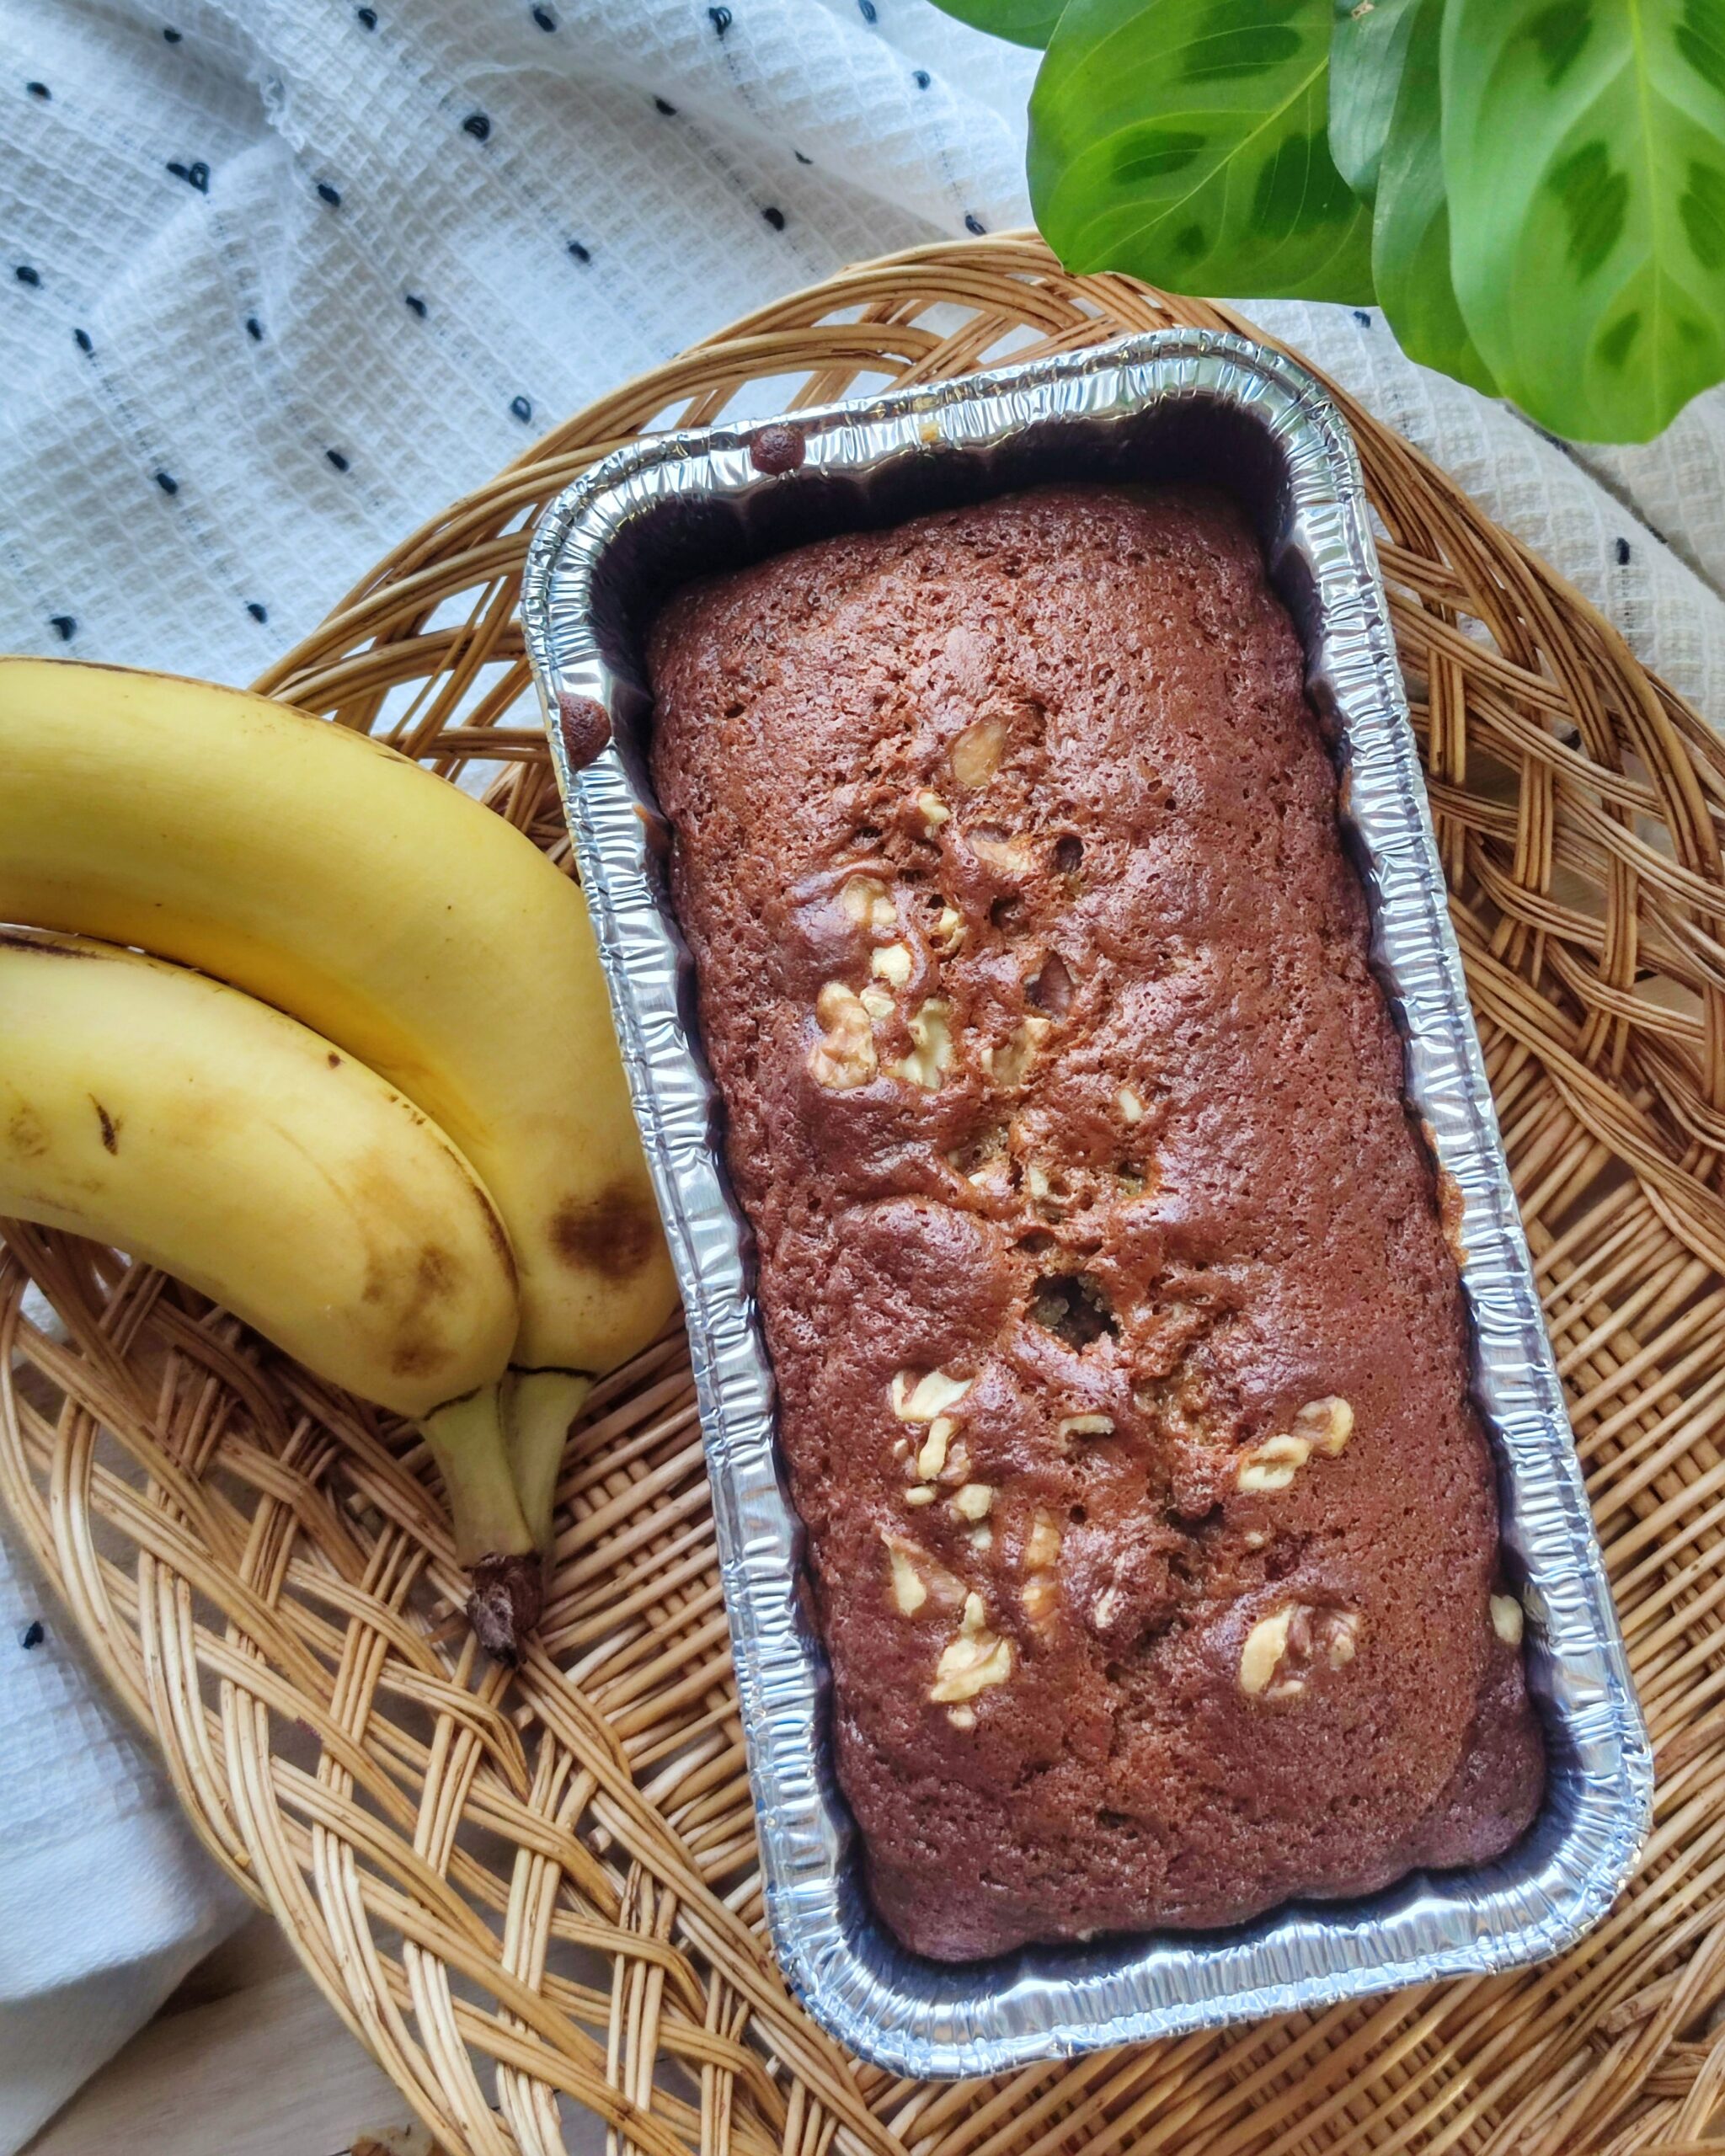
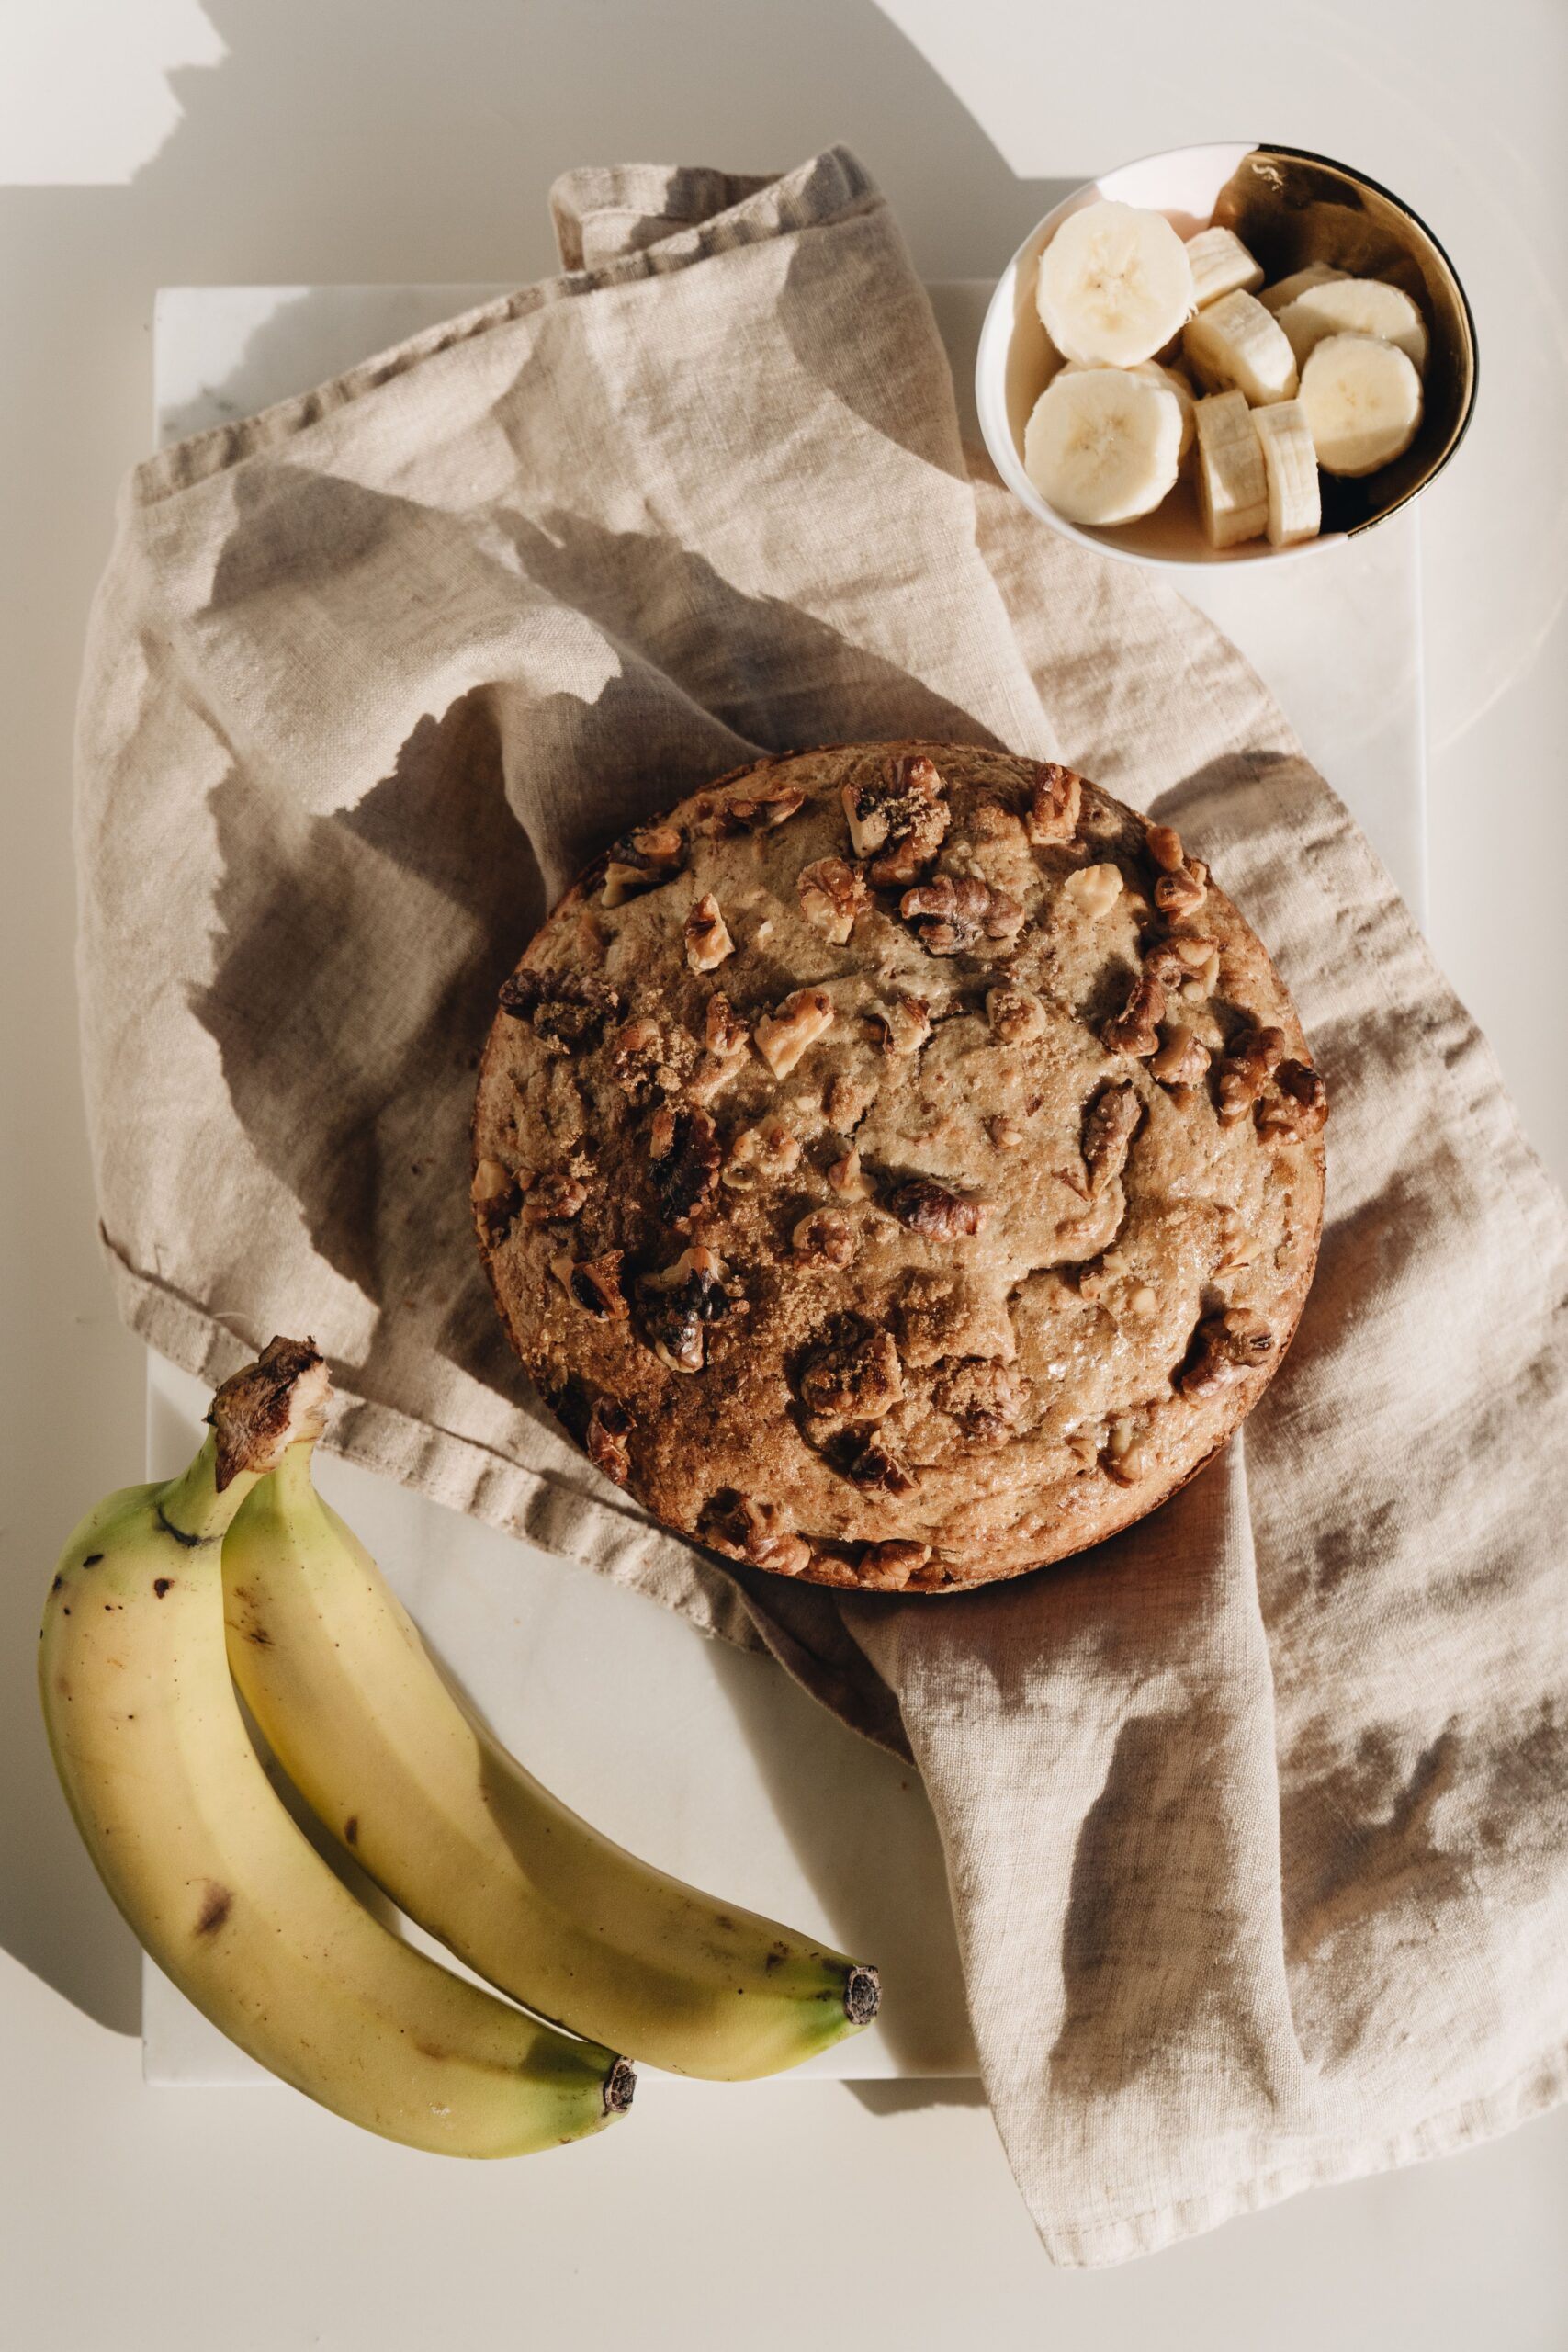
The Secret to Ultra-Moist Classic Banana Bread (Bakery-Style Crumb)

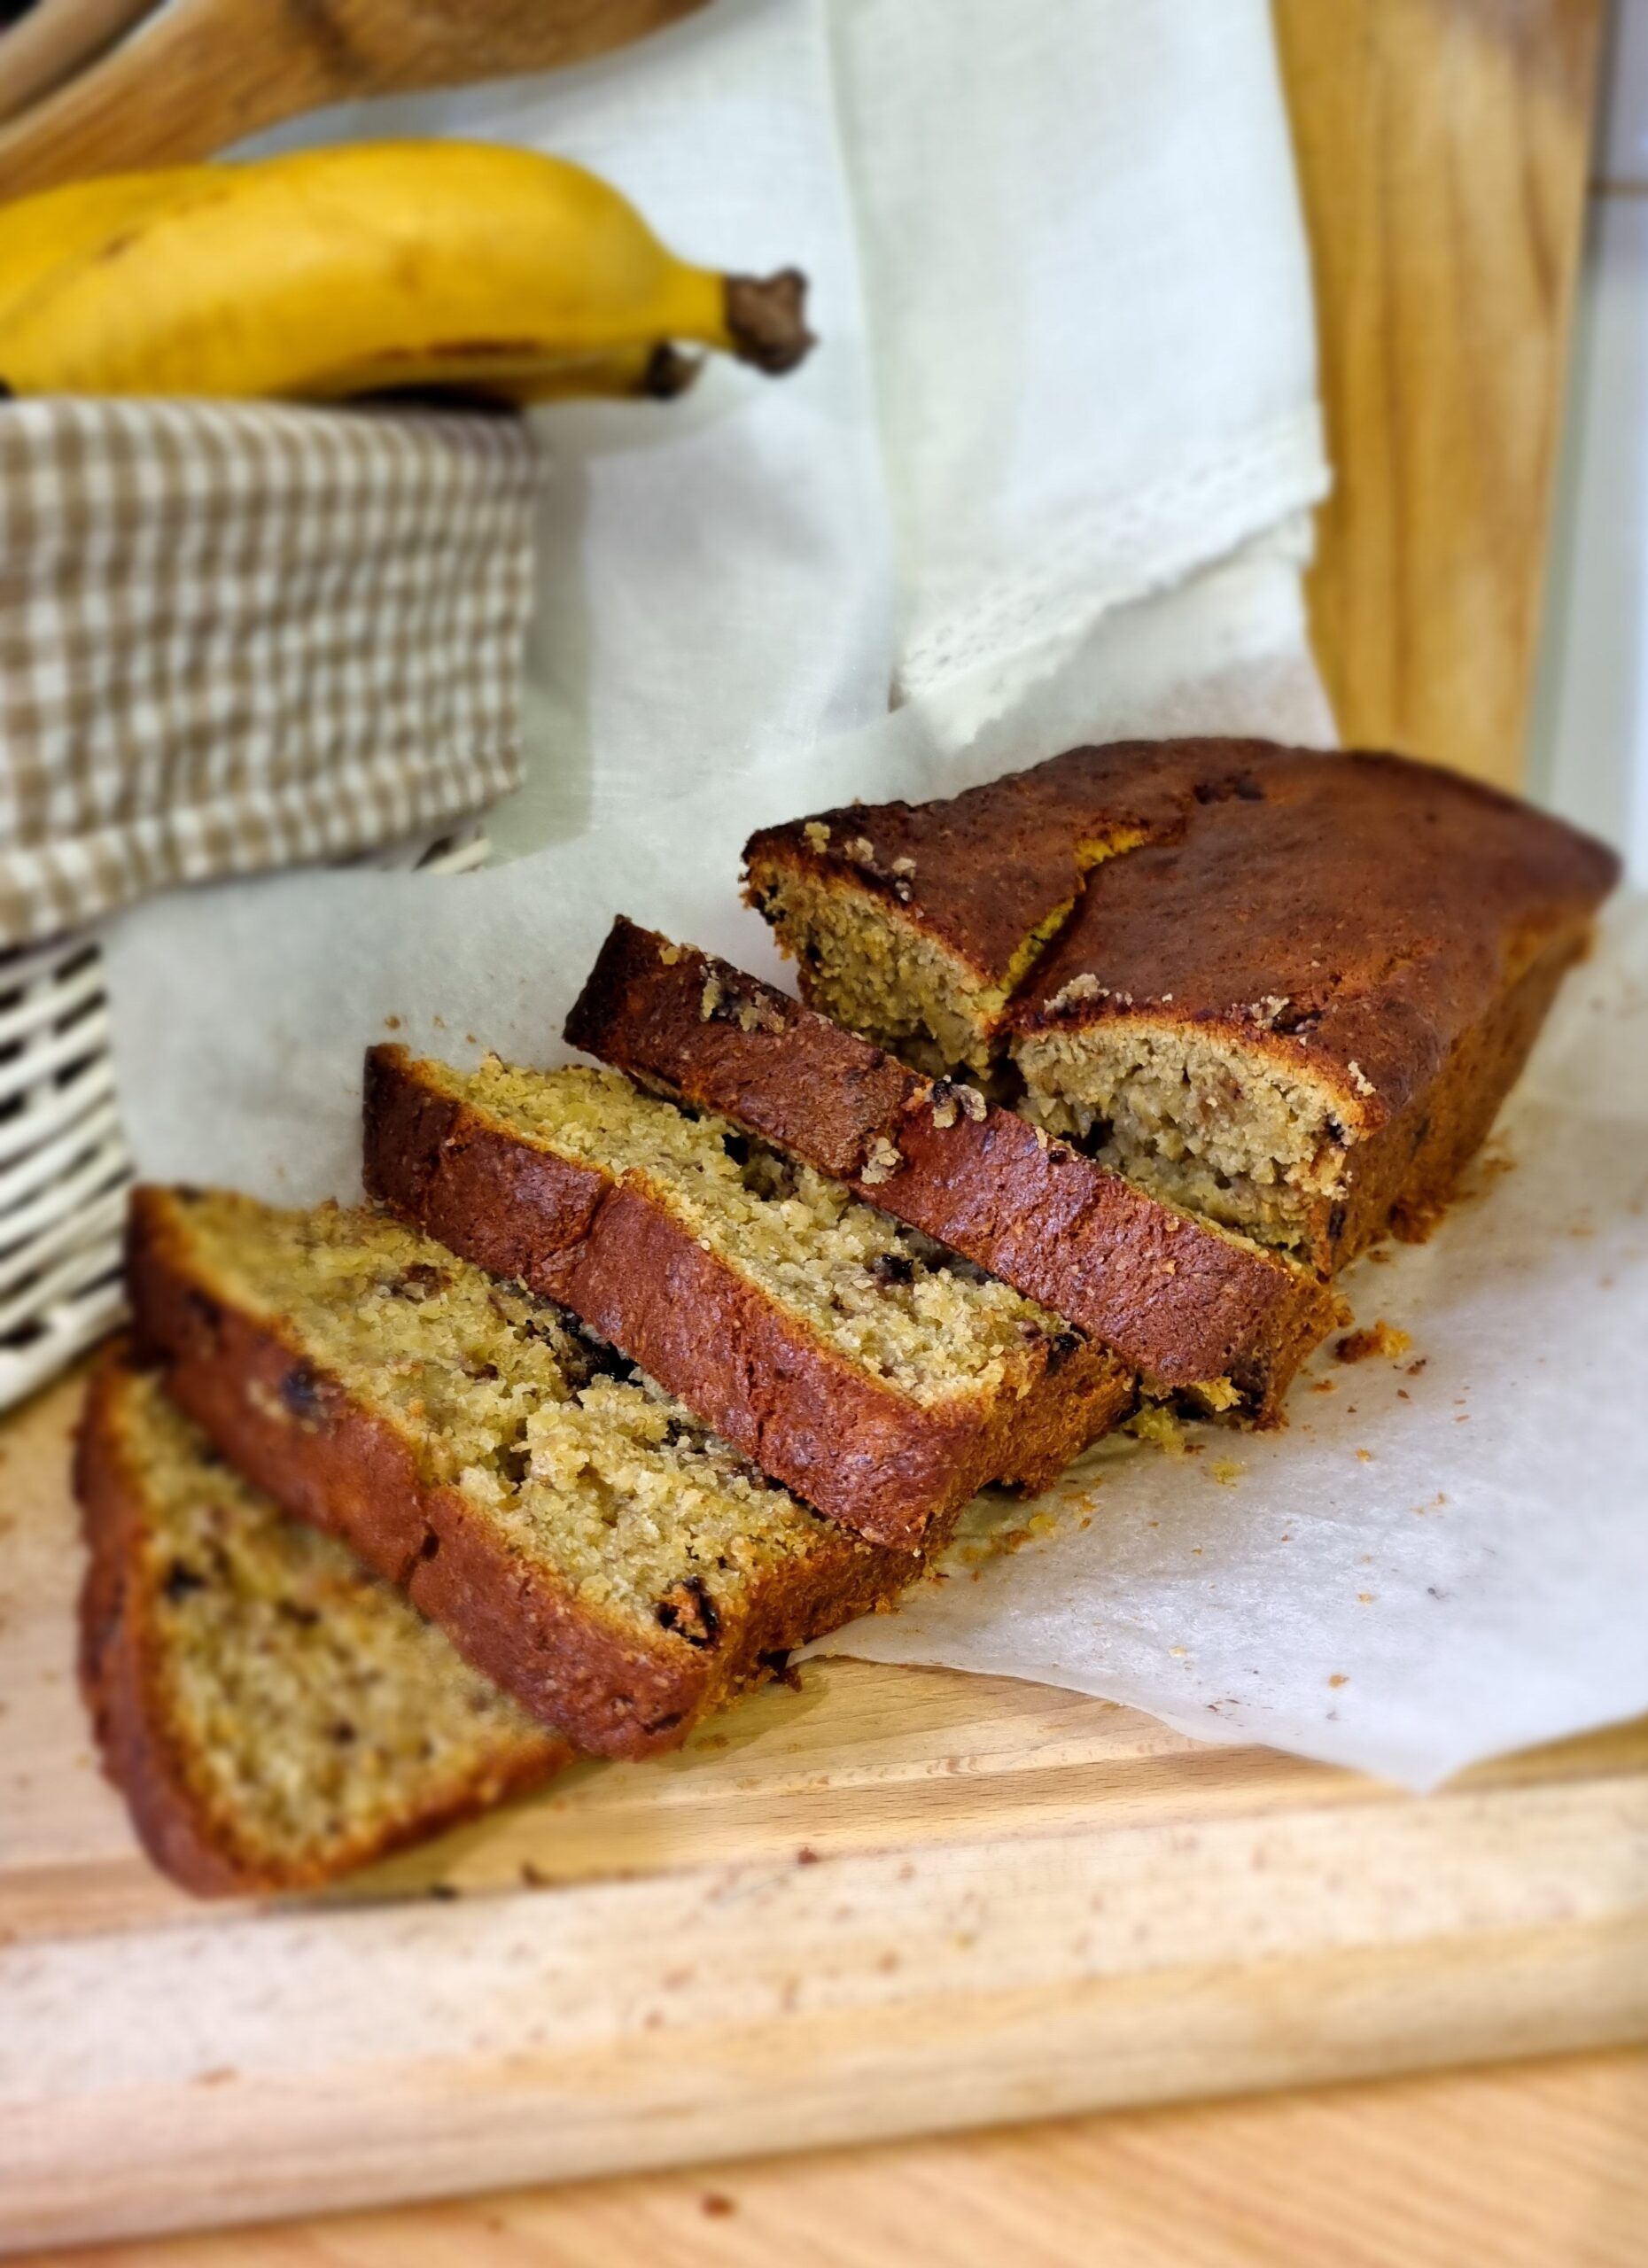
Thick slices of golden moist banana bread resting on a rustic wooden board

Few aromas evoke kitchen comfort quite like a fresh loaf of banana bread rising in the oven. Yet, home bakers often encounter two frustrating extremes: a loaf that turns out unpleasantly dry and crumbly, or one with a dark, overbaked crust surrounding a dense, gummy center. Crafting bakery-quality banana bread relies on food science—specifically fruit ripeness, starch-to-sugar conversion, and moisture-binding emulsions that guarantee a tender, velvety crumb slice after slice.

Thick slices of golden moist banana bread resting on a rustic wooden board
A tender, moist crumb structure achieved through proper fruit ripeness and balanced moisture.

The Science of Banana Ripeness: Enzymatic Breakdown

Yellow bananas with green stems may taste pleasant raw, but they ruin quick breads. Unripe fruit contains high levels of long-chain insoluble starches and low volatile aromatics. As bananas ripen and develop deep brown or black specks, several chemical reactions take place:

  • Starch-to-Sugar Conversion: Amylase enzymes break down rigid starches into simple fructose and glucose, naturally sweetening the batter without requiring cups of refined granulated sugar.
  • Pectin Dissolution: The fruit’s structural pectin softens completely, allowing the bananas to blend seamlessly into the batter as a liquid fat substitute.
  • Moisture Retention (Hygroscopy): Naturally converted fruit sugars are hygroscopic—meaning they pull and hold onto environmental moisture, preventing your loaf from drying out on the counter.

Butter vs. Oil: The Texture Debate

Bakers frequently debate whether to use melted butter or neutral vegetable oil in quick breads. The ideal solution combines the best of both worlds:

  1. Melted Butter for Flavor: Real dairy butter contains water and milk solids that brown during baking, adding depth, toasted caramel notes, and a rich mouthfeel.
  2. Oil for Lasting Tenderness: Liquid oil remains 100% liquid at room temperature, ensuring your bread stays soft and springy even after three days on the counter.
  3. The Golden Ratio: Using equal parts melted unsalted butter and neutral avocado or vegetable oil delivers unmatched flavor alongside lasting tenderness.
Naturally sweet overripe bananas mashed in a glass mixing bowl with a fork
Mashing heavily speckled bananas releases sweet juices that naturally hydrate quick bread batters.

Essential Ingredients and Measurements

IngredientMeasurementFunctional Role in the Crumb
Heavily Speckled Bananas3 large (approx. 1 1/2 cups mashed)Supplies natural sweetness, fruit pectin, and long-lasting moisture.
All-Purpose Flour2 cups (250g), spooned & leveledProvides enough protein structure to lift the heavy fruit batter without toughness.
Unsalted Butter (Melted)1/4 cup (60ml)Imparts rich dairy aromatics and creates a golden outer crust.
Avocado or Neutral Oil1/4 cup (60ml)Keeps the crumb springy and moist for multiple days at room temperature.
Dark Brown Sugar (Packed)3/4 cup (150g)Adds natural molasses notes and deep caramelization during baking.
Large Eggs2 whole (room temperature)Provides emulsifying lecithin and binding structure for a clean slice.
Baking Soda1 teaspoonReacts with the acidic brown sugar and fruit to leaven the dense batter.
Fine Salt & Cinnamon1/2 tsp salt + 1/2 tsp cinnamonBalances sweetness and introduces subtle warm spice notes.

Step-by-Step Baking Protocol

  1. Preheat Oven & Prep Pan: Preheat your oven to 350°F (175°C). Line an 8.5×4.5-inch metal loaf pan with parchment paper, leaving an overhang on the long sides to use as a lifting sling. Lightly grease exposed edges.
  2. Mash the Fruit: In a medium mixing bowl, mash the peeled overripe bananas with a sturdy fork or potato masher. Leave small pea-sized chunks for moisture pockets throughout the baked bread.
  3. Whisk Wet Ingredients: Whisk the melted butter, oil, brown sugar, room-temperature eggs, and pure vanilla extract into the mashed bananas until thoroughly emulsified and glossy.
  4. Gently Fold Dry Ingredients: In a separate bowl, whisk together the flour, baking soda, ground cinnamon, and salt. Pour the dry mixture into the wet bowl. Using a rubber spatula, fold gently just until no dry flour pockets remain. Do not overmix; overworking develops gluten, resulting in a rubbery loaf.
  5. Bake to Deep Amber: Pour batter into the prepared pan and smooth the surface. Bake at 350°F for 55 to 65 minutes. If the top browns too quickly at the 40-minute mark, tent loosely with a sheet of aluminum foil. The loaf is done when a wooden skewer inserted into the center emerges clean or with a few moist crumbs.
Golden brown banana bread loaf cooling in a metal loaf pan fresh from the oven
Allowing the loaf to cool properly lets internal moisture redistribute without crumbling.

The Crucial Cooling Phase

Resist the temptation to slice into a steaming loaf straight from the oven. As banana bread bakes, trapped steam helps set the delicate starches. Slicing too early causes that steam to evaporate instantly, leaving the remaining bread dry and crumbly. Allow the bread to rest in the pan for 15 minutes, then use the parchment sling to lift it onto a wire rack to cool completely for at least 90 minutes before slicing.


Frequently Asked Questions

Can I ripen yellow bananas quickly for this recipe?
Yes. Place unpeeled yellow bananas on a baking sheet and bake at 300°F (150°C) for 15 to 20 minutes until the skins turn completely black. Let them cool, peel, and mash as directed.

Can I add nuts or chocolate chips?
Fold in up to 1/2 cup of toasted chopped walnuts, pecans, or dark chocolate chunks during the final flour folding step.

How should I store homemade banana bread?
Wrap the cooled loaf tightly in plastic wrap or store in an airtight container at room temperature for up to 4 days. You can also freeze individual slices wrapped in parchment and foil for up to 3 months.

The Secret to Ultra-Fudgy Homemade Chocolate Brownies with Shiny Crinkly Tops

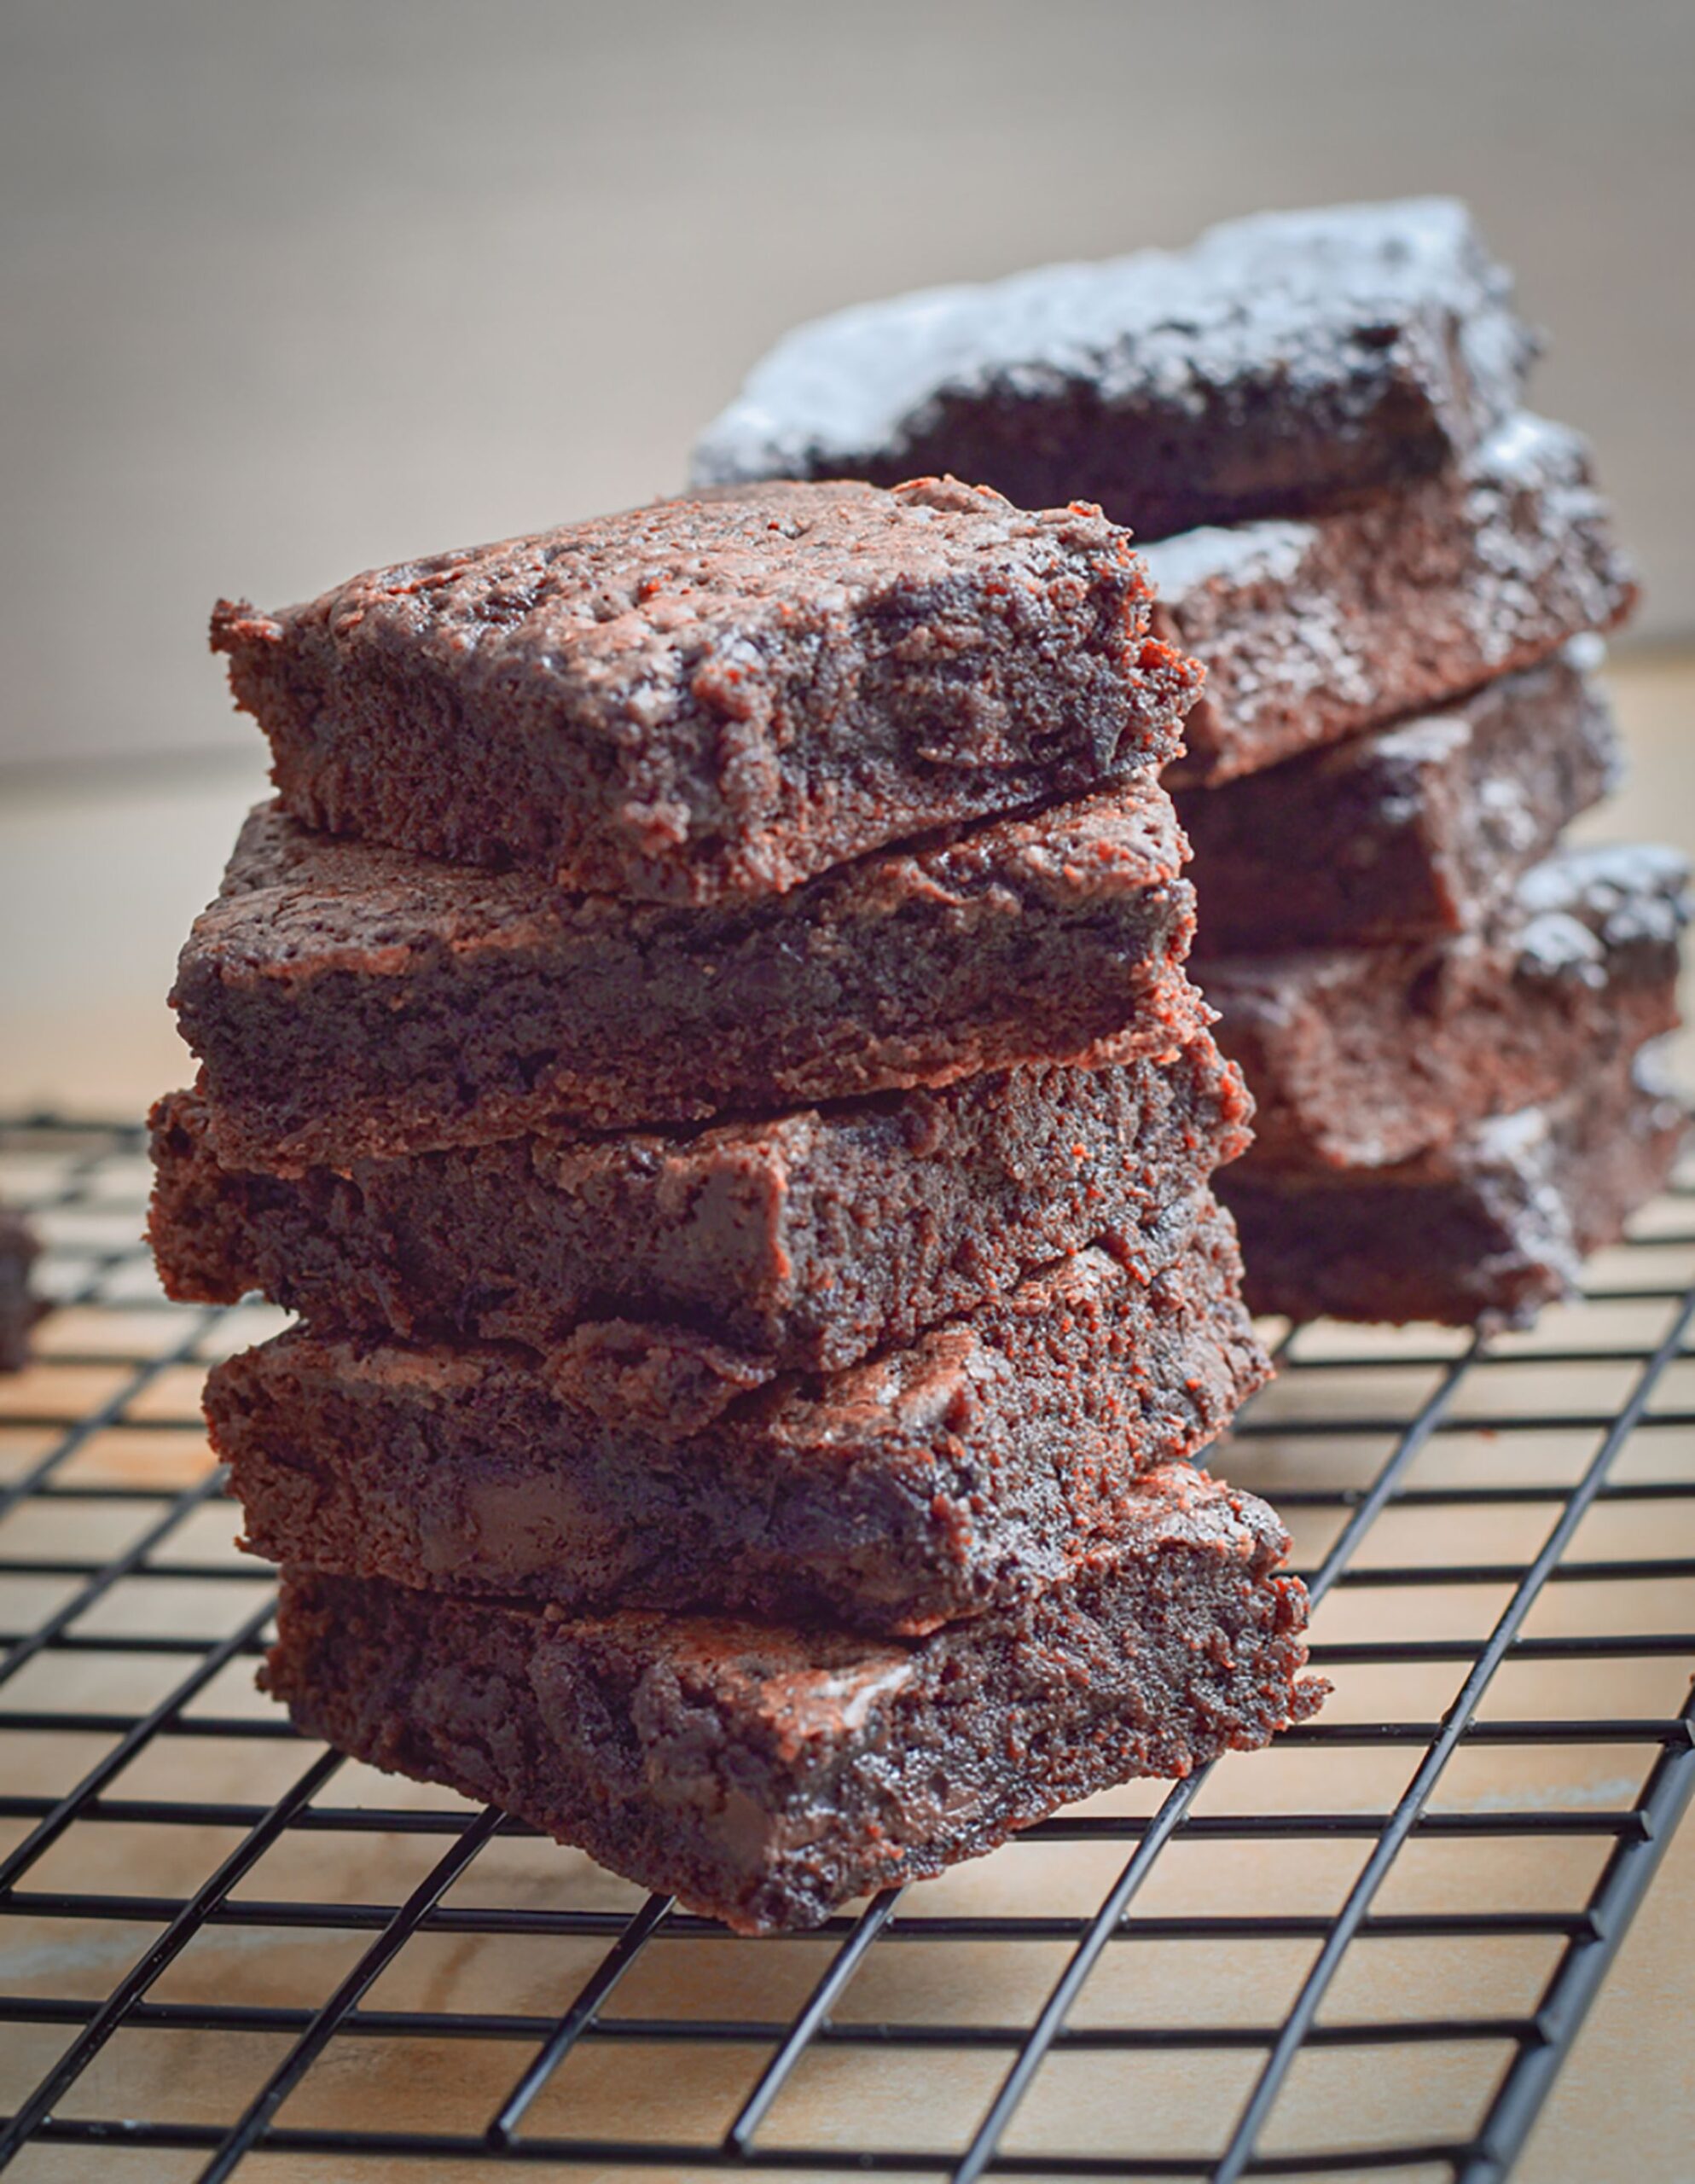
Stack of ultra fudgy dark chocolate brownies cut into squares with crinkly tops

Few baked treats match the sensory appeal of a homemade chocolate brownie that strikes the exact boundary between a chewy confection and a dense, melt-in-your-mouth fudge. Yet, countless home bakers end up with either dry, cake-like squares or underbaked greasy centers. Achieving that coveted bakery-style texture—complete with an ultra-thin, tissue-paper crinkly top—relies on food chemistry rather than complicated culinary tools. By understanding butter emulsion, cocoa fat saturation, and sugar dissolution, you can bake flawless brownies every time.

Stack of ultra fudgy dark chocolate brownies cut into squares with crinkly tops
Dense, fudgy brownie squares featuring signature micro-thin glossy tops.

Fudgy vs. Cakey: The Science of Fat-to-Flour Ratios

The structural difference between a light, airy cake and a fudgy brownie comes down to two primary baking mechanics: chemical leaveners and the fat-to-flour ratio.

  • Eliminating Chemical Leavening: Authentic fudgy brownies should contain zero baking powder or baking soda. Adding chemical leaveners releases carbon dioxide during baking, creating an open crumb structure that converts dense fudge into sponge cake.
  • High Fat-to-Flour Proportions: Cakey brownies rely on high flour volumes and creaming butter with sugar to trap air pockets. Fudgy brownies invert this formula: they maximize pure melted chocolate and butter while reducing all-purpose flour to the bare minimum needed to bind proteins together.
  • Dutch-Processed Cocoa vs. Melted Chocolate: Relying exclusively on dry cocoa powder yields a dry crumb. Combining high-percentage dark chocolate (60% to 70% cacao) with melted butter provides essential cocoa butter lipids that set into a velvety solid at room temperature.

The Chemistry Behind the Glossy Crinkly Crust

That coveted paper-thin, glossy crust is not created by baking temperature; it is a microscopic layer of meringue formed on top of the batter before entering the oven.

Thick glossy chocolate brownie batter being whipped with a stainless steel whisk in a bowl
Vigorously whipping whole eggs with sugar creates the micro-foam necessary for a crinkly top.

To produce this surface every single time, follow two strict steps:

  1. Dissolve the Sugar Completely: Granulated sugar must dissolve into the moisture of the eggs. Whisk room-temperature whole eggs and granulated sugar vigorously for 3 to 5 minutes until the mixture turns pale, thick, and ribbon-like.
  2. Warm Fat Incorporation: Pouring warm (not boiling) melted butter and chocolate into the whipped eggs draws the dissolved sugar to the surface as the batter rests in the baking pan. In the oven, this thin sugar-protein film dries out first, fracturing into the classic crinkled lid.

Core Ingredient Specifications

IngredientExact MeasurementFunctional Role in Baking
Dark Chocolate (65%-70%)8 oz (225g), choppedSupplies rich cocoa solids, deep bitterness, and essential cocoa butter.
Unsalted Butter1 cup (2 sticks / 225g)Provides clean dairy fat to tenderize gluten and emulsify chocolate.
Granulated Cane Sugar1 1/4 cups (250g)Essential for dissolving with eggs to create the glossy top crust.
Brown Sugar (Packed)1/2 cup (100g)Adds natural molasses hygroscopic moisture for a rich, chewy center.
Large Eggs4 whole eggs + 1 yolk (room temp)Provides structure, protein binding, and rich emulsifying lecithin.
All-Purpose Flour3/4 cup (95g), spooned & leveledThe minimal structural anchor; overmeasuring causes cakey texture.
Dutch Cocoa Powder1/3 cup (30g), siftedDelivers an intense, alkalized chocolate backnote without acidity.
Fine Sea Salt & Vanilla1 tsp salt + 1 tbsp pure vanillaCuts through sugar sweetness and amplifies deep chocolate aromatics.

Step-by-Step Baking Protocol

  1. Pan Preparation: Preheat your oven to 350°F (175°C). Line an 8×8-inch or 9×9-inch metal baking pan with parchment paper, leaving an overhang on two sides to act as a sling. Avoid glass baking dishes, as glass conducts heat slowly and creates gummy, uneven edges.
  2. Melt the Fat Phase: In a heatproof bowl set over a pot of barely simmering water (double boiler), melt chopped dark chocolate and unsalted butter together, stirring gently until smooth and glossy. Remove from heat and let cool until lukewarm.
  3. Whip Eggs and Sugars: In a large mixing bowl, combine whole eggs, the extra egg yolk, granulated cane sugar, and brown sugar. Beat with a hand mixer or balloon whisk vigorously for 4 full minutes until pale, frothy, and noticeably thickened. Stir in pure vanilla extract and sea salt.
  4. Emulsify: Slowly stream the lukewarm melted chocolate mixture into the whipped eggs, folding gently with a silicone spatula until thoroughly incorporated into a uniform batter.
  5. Fold the Dry Ingredients: Sift the all-purpose flour and Dutch cocoa powder over the wet batter. Fold gently with your spatula just until dry flour streaks vanish. Do not overmix, as working the batter develops tough gluten strands.
  6. Bake with Precision: Spread the thick batter evenly into your prepared baking pan. Bake at 350°F for 28 to 32 minutes. When tested with a wooden toothpick inserted into the center, it should come out with a few moist crumbs clinging to it—never wet liquid batter, and never completely clean and dry.
Slicing cooled fudgy chocolate brownies on a wooden cutting board with a chef knife
Chilling brownies prior to slicing creates sharp, clean, bakery-quality portions.

The Critical Cooling and Slicing Rule

The most common mistake home bakers make happens after taking the pan out of the oven. Slicing into a warm brownie releases trapped steam immediately, turning the fudgy interior gummy and messy.

  • Cool at Room Temperature: Allow the brownies to cool completely in the metal pan on a wire rack for at least 2 hours. The residual heat finishes setting the center.
  • The Refrigerator Chill: For razor-sharp bakery edges, transfer the cooled pan to the refrigerator for 60 minutes. Cold temperatures solidify the cocoa butter and dairy fat, creating clean cuts.
  • Clean Slicing Technique: Use the parchment sling to lift the entire brownie slab onto a cutting board. Run a large, sharp chef knife under warm water, wipe it clean with a towel, and make a single downward slice. Wipe the blade clean between every cut.

Frequently Asked Questions

Can I use chocolate chips instead of chopped chocolate bars?
Baking chocolate chips contain added emulsifiers and stabilizers (such as soy lecithin) formulated to keep them holding their shape under heat. For melting into batter, real baking chocolate bars melt smoother and yield a superior fudgy crumb.

Why are my brownies greasy on the bottom?
Greasy brownies occur when the fat separates from the sugar-egg emulsion during baking. Ensure your melted butter-chocolate mixture is lukewarm—not hot—before combining it with room-temperature eggs.

How should I store homemade brownies to keep them moist?
Store sliced brownies in an airtight glass or tin container at room temperature for up to 4 days, or refrigerate for up to a week. They can also be frozen for up to 3 months wrapped tightly in wax paper and foil.