The Essential Kitchen Hygiene Guide: Food Safety, Produce Washing, and Cross-Contamination Prevention

Washing fresh green lettuce leaves under running kitchen sink water

A great meal begins long before burners ignite or knives touch the cutting board; it starts with strict kitchen sanitation and disciplined ingredient prep. While food safety regulations are strictly enforced in commercial culinary operations, home kitchens are where foodborne pathogens quietly thrive. Cross-contamination between raw meats and fresh produce, improper produce washing habits, and casual food handling contribute to millions of preventable gastrointestinal illnesses each year. Establishing professional-grade sanitary habits ensures your home-cooked meals remain as safe as they are delicious.
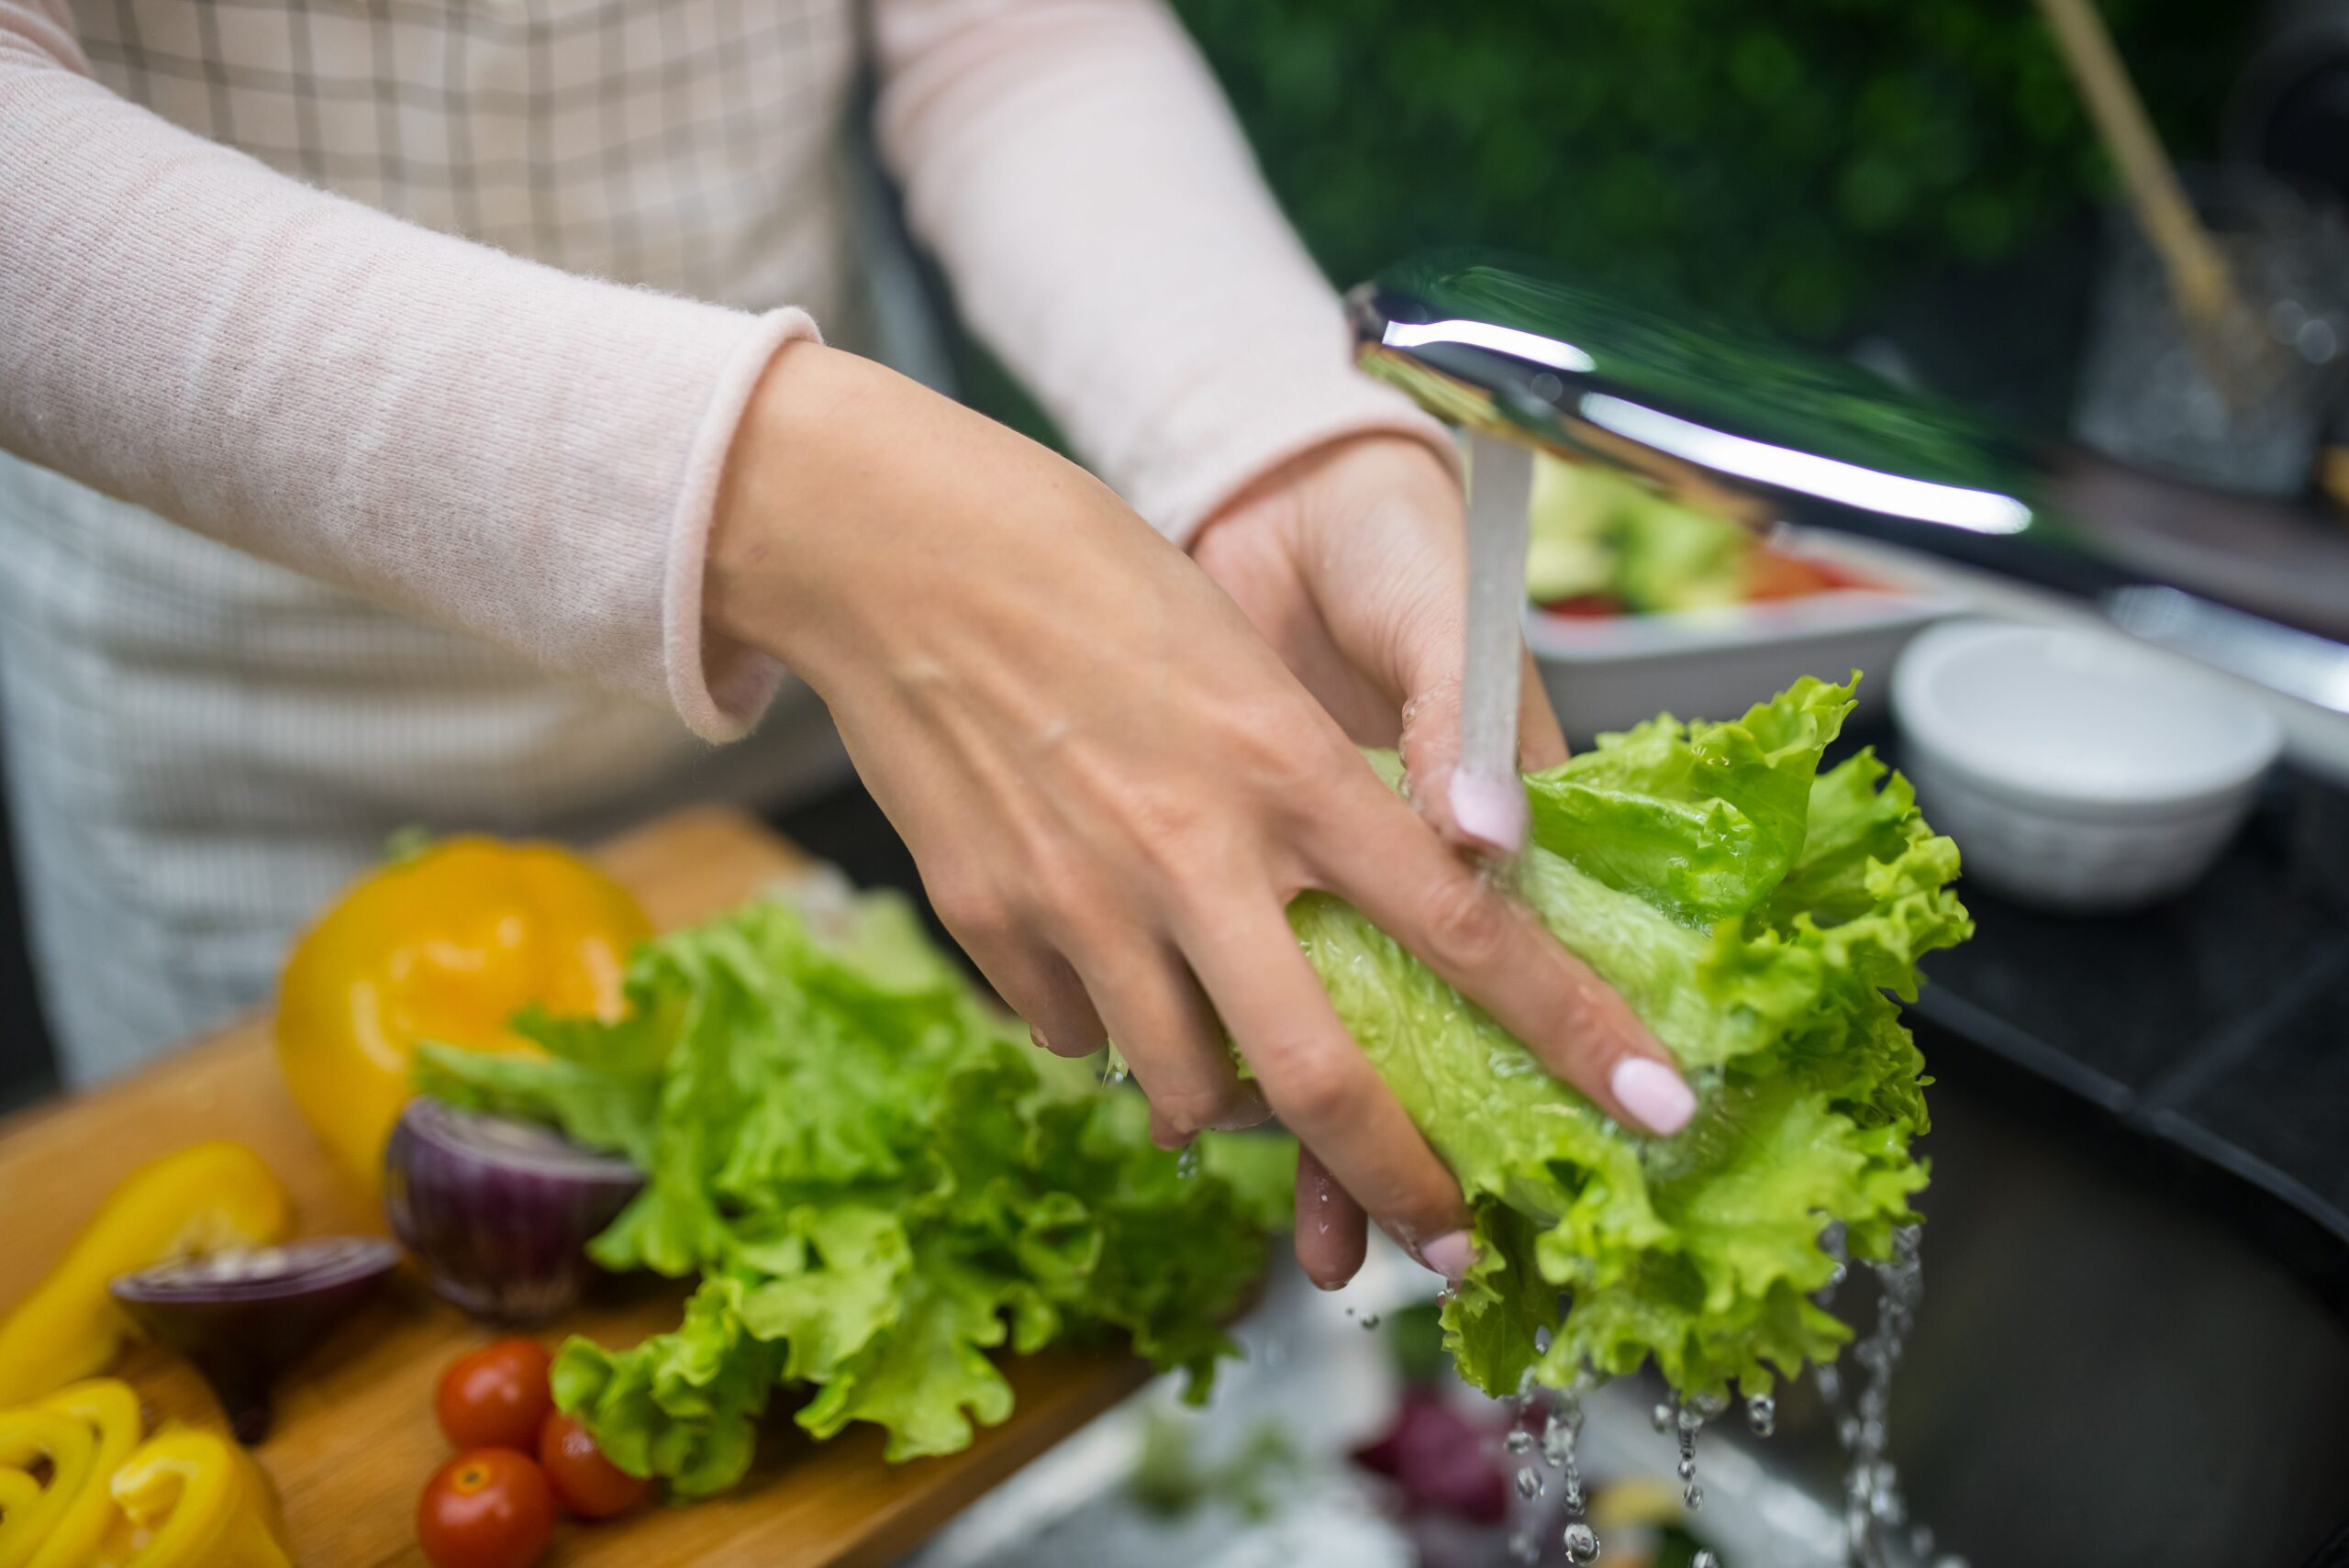
Washing fresh green lettuce leaves under running kitchen sink water
Rinsing produce under clean, cold running water strips loose soil, grit, and surface microbes.

Produce Washing: Separating Science from Common Myths

Many home cooks assume chemical sprays, diluted bleach, or dish soaps are necessary to clean field-harvested fruits and vegetables. Public health agencies and food safety scientists strongly advise against using detergents on edible items, as commercial dish soaps contain synthetic surfactants that porous plant skins easily absorb, leading to nausea and digestive distress.

  • The Friction and Running Water Method: Vigorous mechanical scrubbing under cold, drinkable running tap water removes upwards of 90% to 99% of surface pesticide residues, agricultural dust, and loose bacterial microbes.
  • The Vinegar and Salt Soak (For Delicate Berries): A solution of 1 part distilled white vinegar to 3 parts cool water kills surface mold spores and wild yeast on berries and tender leafy greens without penetrating delicate fruit tissues. Always finish with a quick rinse of plain cold water.
  • Scrubbing Firm Produce: Melons, squashes, cucumbers, and root vegetables should be scrubbed with a clean, dedicated vegetable bristle brush under running water before slicing. If uncut rinds are dirty, knife blades transfer microbes from the skin straight through the interior flesh during slicing.

Preventing Cross-Contamination: The Board and Glove Standard

Cross-contamination occurs when harmful microorganisms (such as Salmonella, Campylobacter, or pathogenic E. coli) are inadvertently transferred from raw proteins to ready-to-eat foods like salads, sandwich breads, or fresh fruit garnishes.

Gloved hands arranging fresh green apples next to oranges and baked goods
Isolating raw produce from potential poultry drippings safeguards ready-to-eat ingredients.
  1. Color-Coded Board Protocol: Reserve one dedicated non-porous plastic or dishwasher-safe board exclusively for raw poultry, beef, and seafood. Use wooden or bamboo boards strictly for raw produce, cheeses, and baked breads.
  2. Hand Washing vs. Glove Discipline: Disposable food-grade gloves provide a clean barrier, but wearing contaminated gloves defeats the purpose. Always change gloves immediately after handling raw animal proteins before touching plates, bread, or refrigerator handles.
  3. Sanitizing Counter Workstations: Clean boards and counters thoroughly with warm, soapy water after prep, followed by a food-contact-safe sanitizer (such as diluted food-grade hydrogen peroxide or alcohol sprays).

Critical Temperature Zones: The “Danger Zone” Rule

Food pathogens multiply exponentially in warm, damp environments. Professional health codes strictly regulate how long prepared food can sit within standard room temperatures:

Temperature ZoneDegrees (°F / °C)Biological Action & Safety Guideline
Safe Cold StorageBelow 40°F / 4°CBacterial reproduction is paused or dramatically slowed; standard refrigeration level.
The “Danger Zone”40°F–140°F / 4°C–60°CBacteria double every 20 minutes; discard perishable foods left here longer than 2 hours.
Safe Hot HoldingAbove 140°F / 60°CPrevents microbial regrowth during buffet-style dining or family gatherings.
Safe Cooking Kill Step165°F / 74°CInstantly inactivates vegetative bacteria in poultry, ground meats, and reheated dishes.
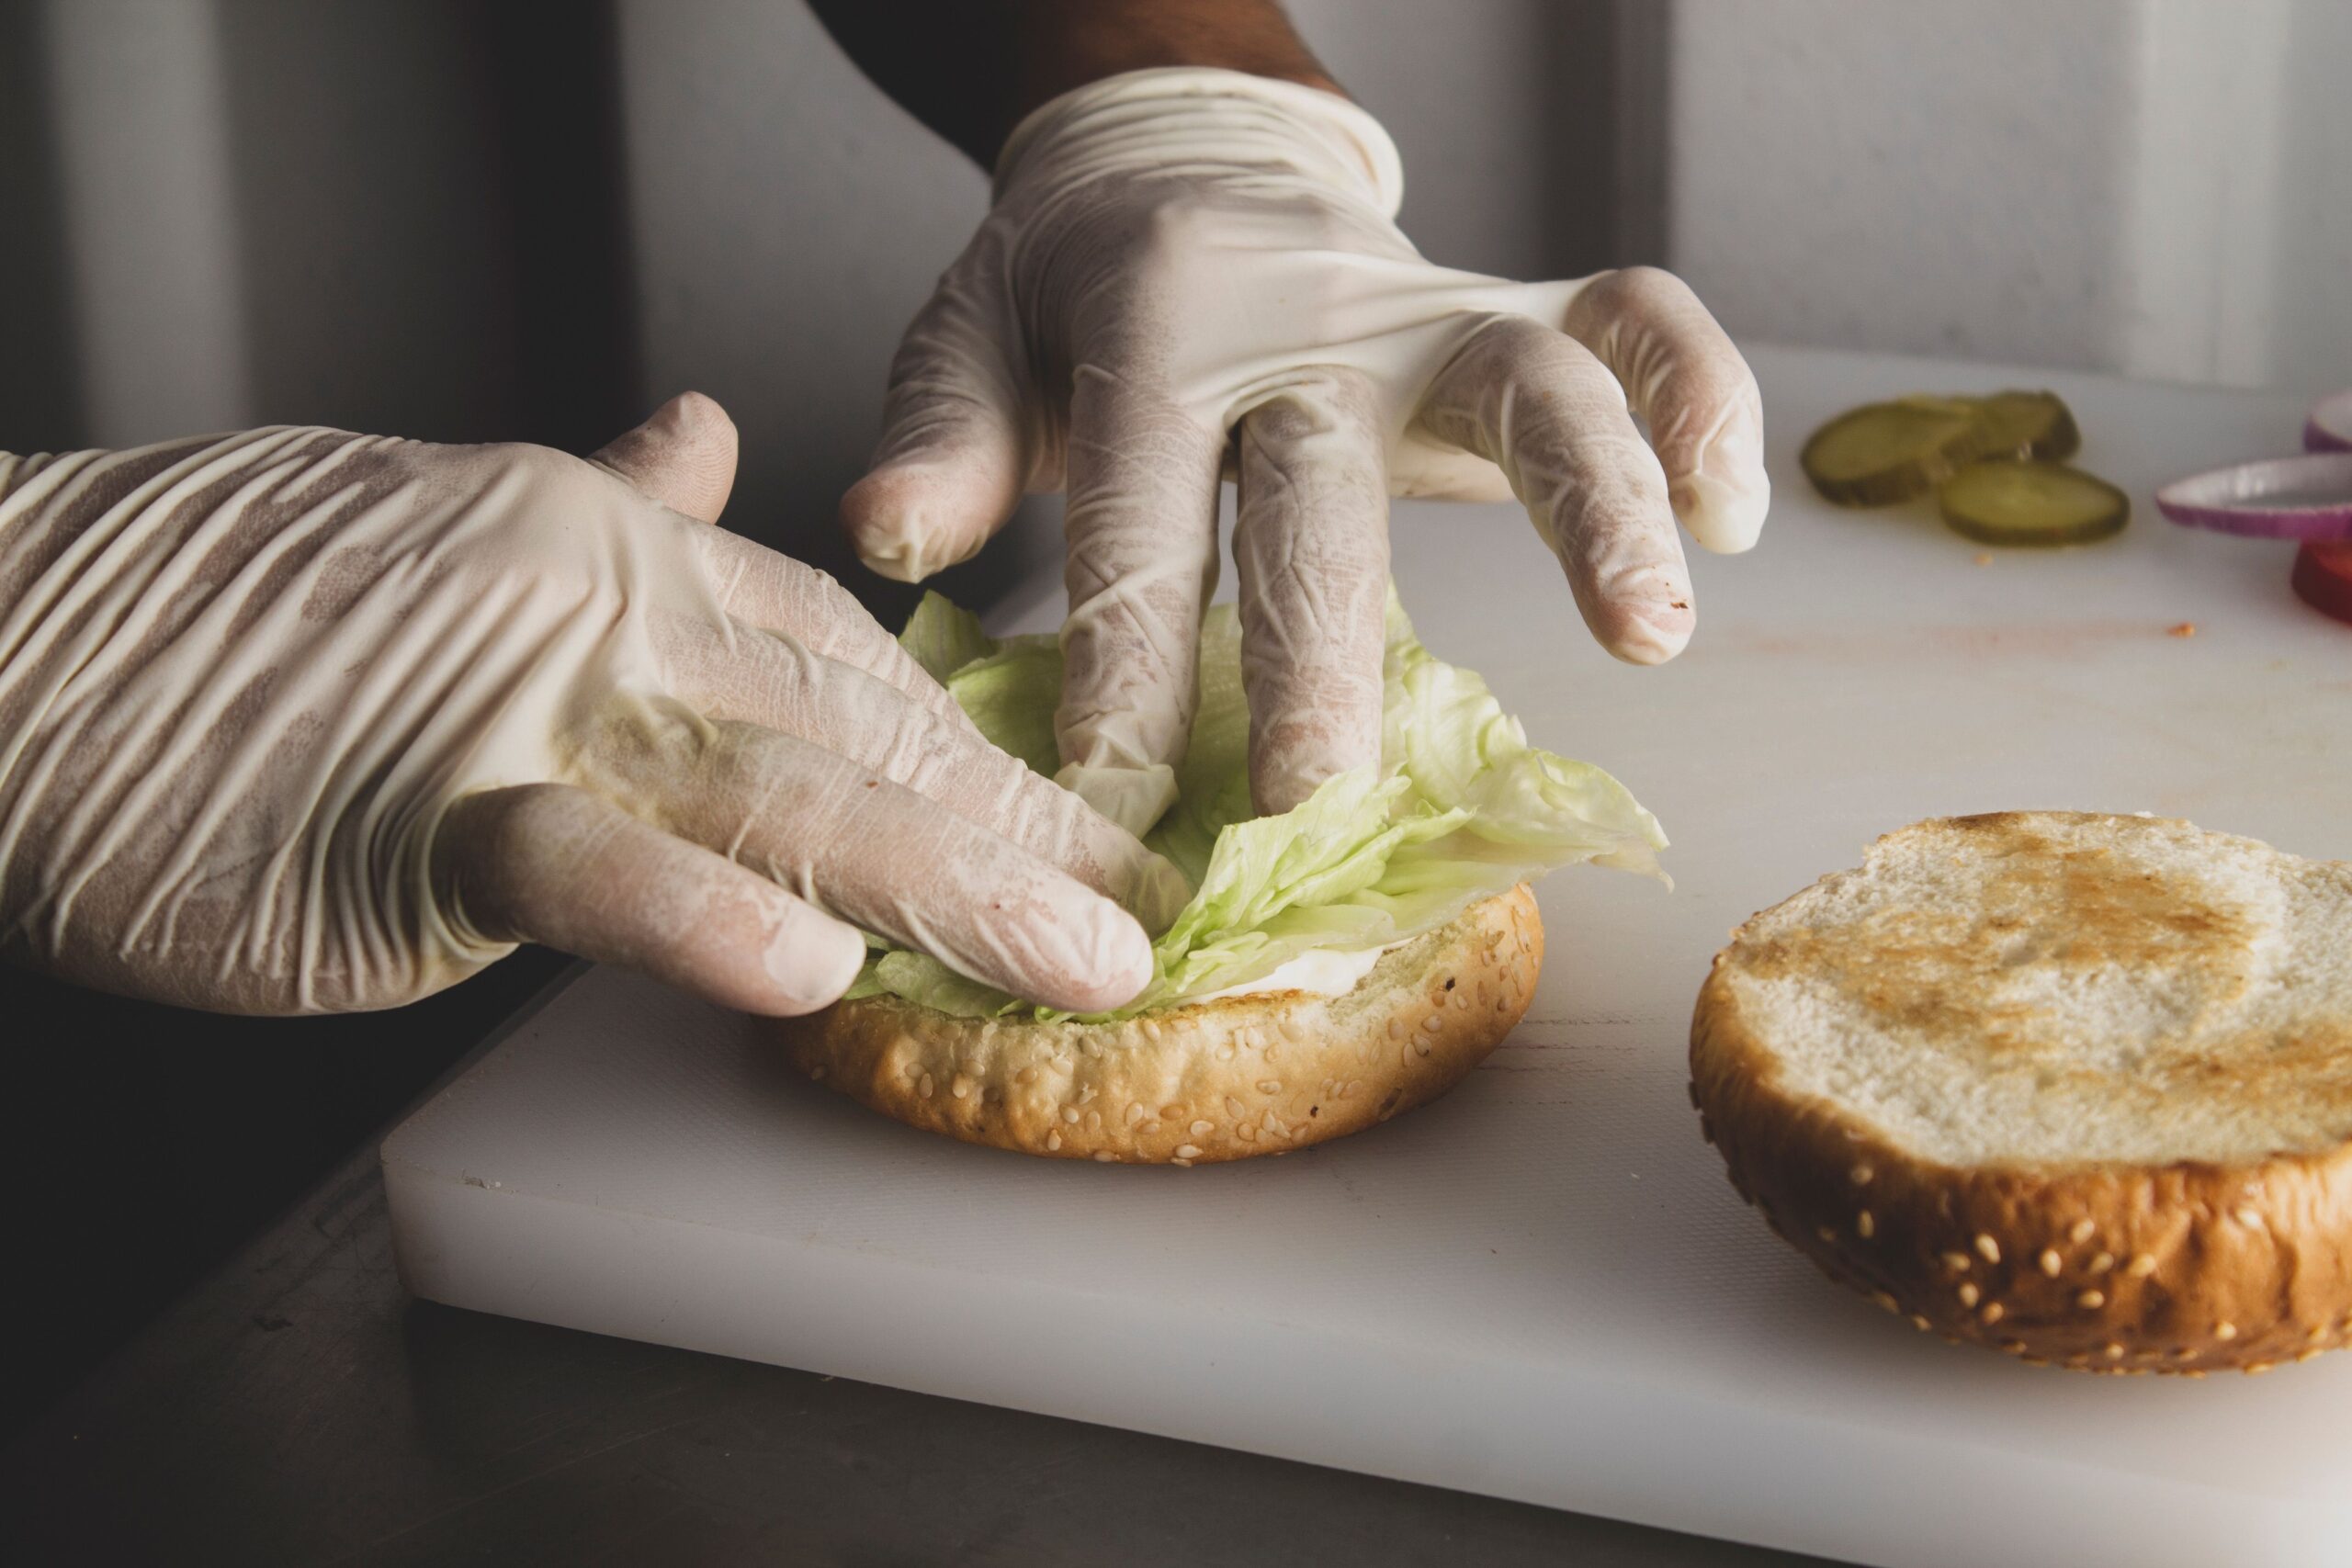
Food prep worker in gloves placing crisp lettuce onto a toasted burger bun
Assembling ready-to-eat meals requires clean surfaces and fresh, dry greens to maintain food safety.

Refrigerator Architecture: Top-Down Storage Rules

Where items sit in your home refrigerator matters just as much as temperature settings. Raw meats should never be placed on high shelves above ready-to-eat produce or cooked leftovers, as loose plastic packaging can leak juices onto lower shelves:

  • Top Shelves: Store prepared leftovers, ready-to-eat salads, deli meats, and cheeses.
  • Middle Shelves: Butter, milk, and eggs (keep eggs in their original carton, not on the fluctuating refrigerator door).
  • Bottom Shelf (The Protein Drawer): Place raw chicken, pork, and beef in a rimmed pan or tray at the very bottom of the fridge to catch any accidental drips.
  • Crisper Drawers: Keep fruits and vegetables separate to regulate humidity and prevent ethylene gas from wilting tender greens.

Frequently Asked Questions

Should I wash raw chicken before cooking?
No. Washing raw chicken under tap water splashes microscopic droplets of contaminated water up to 3 feet across surrounding sinks, countertops, and drying racks. Cooking poultry to an internal temperature of 165°F (74°C) is the only reliable way to kill bacteria.

How often should kitchen cutting boards be replaced?
Plastic cutting boards should be discarded once deep knife grooves and serration tracks develop. These narrow crevices trap food debris and bacteria that cannot be cleaned away by standard sponges or dishwashers.

Do packaged pre-washed greens need a second wash?
Pre-washed greens labeled “triple-washed” or “ready to eat” do not require additional washing. Washing them in a household sink often exposes clean leaves to kitchen sink bacteria.

Kitchen Mise en Place: How Professional Organization Fixes Kitchen Chaos and Cooking Mistakes

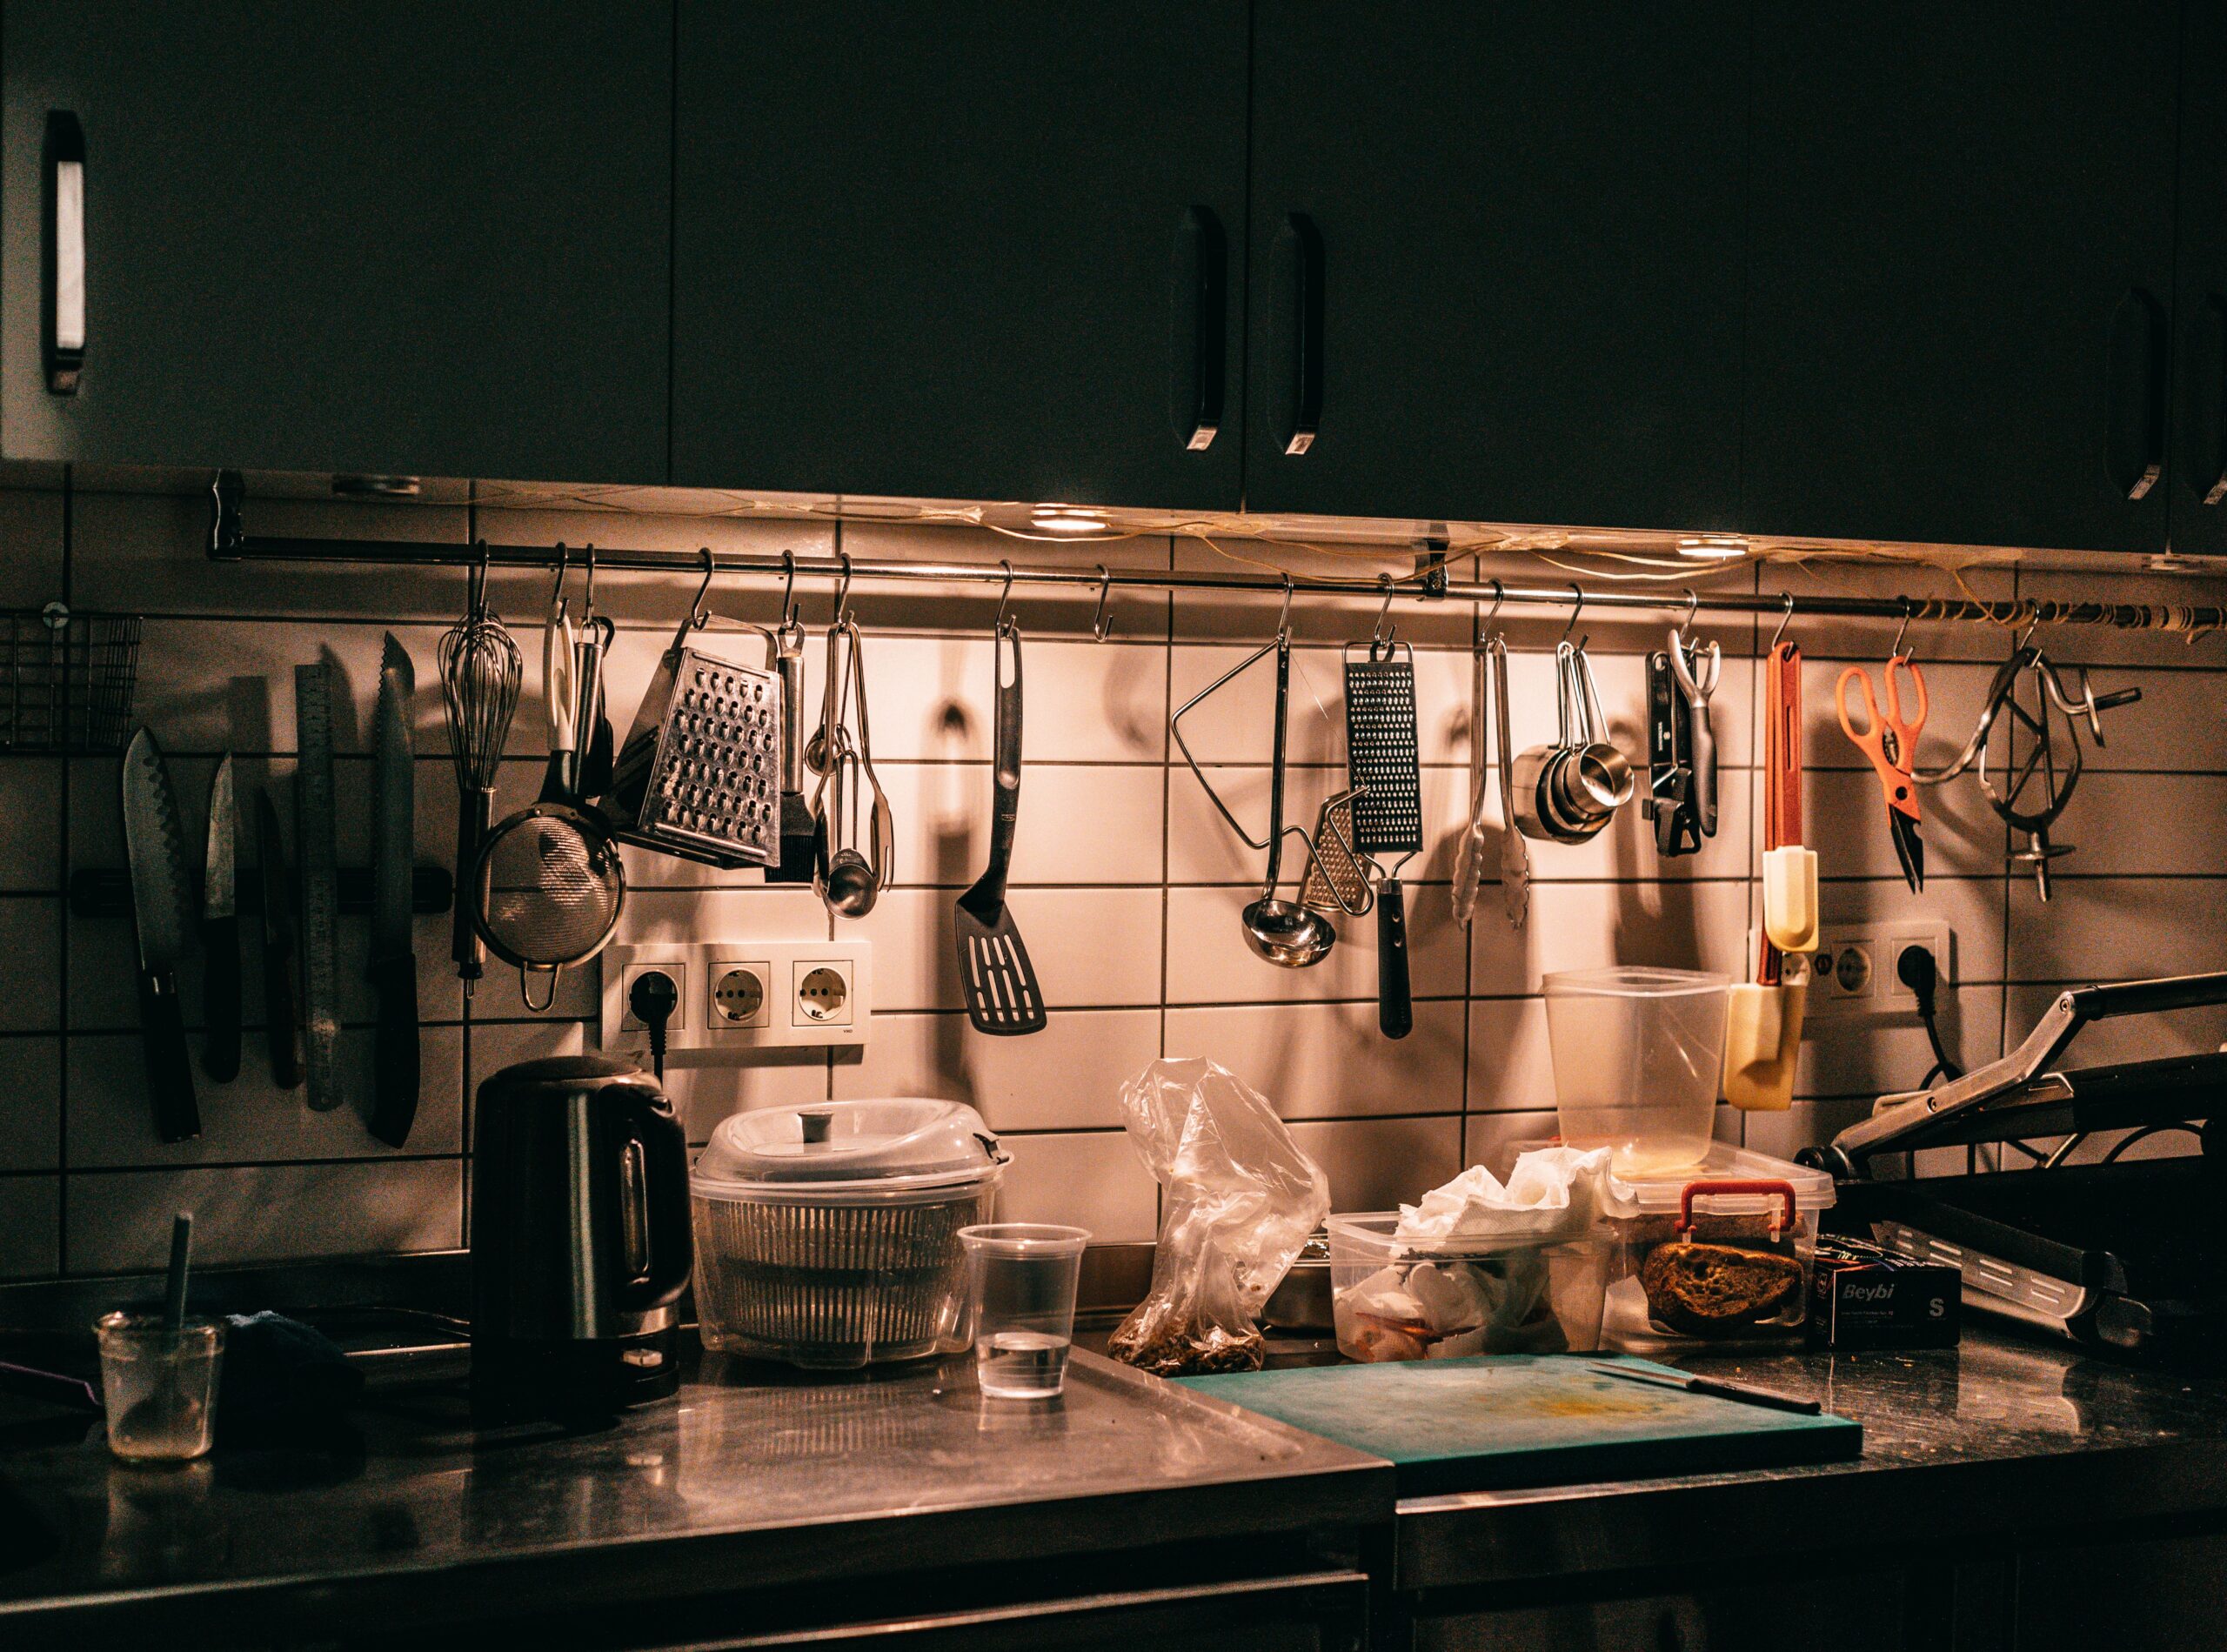
Clean modern kitchen counter with utensils and plates hanging on a wall organizer rail

Every home cook has experienced the kitchen avalanche: garlic burning in sizzling oil while you frantically search for the soy sauce, measuring spoons scattered across greasy countertops, and a sink overflowing before the food even reaches the table. In professional restaurant kitchens, dinner service moves at triple that speed without descending into pandemonium. The secret is not superior speed or knife dexterity—it is a century-old French culinary doctrine known as mise en place (literally “everything in its place”).

Clean modern kitchen counter with utensils and plates hanging on a wall organizer rail
Dedicated hanging rails and clear counter space keep essential tools within arm reach.

What Mise en Place Really Means for Home Cooks

In culinary schools, mise en place is treated as a mental state rather than merely chopping vegetables into small ramekins. It means eliminating surprises before applying thermal heat. When you chop, measure, portion, and arrange all components ahead of time, cooking transforms from a frantic multitasking emergency into a relaxed sequence of execution.

  • Decoupling Prep from Cooking: Slicing aromatics while something is actively searing divides your focus, almost always resulting in uneven cuts or scorched pans.
  • Pre-Heating with Intention: Pots and pans heat evenly when you are not rushing back and forth between the refrigerator and the burner.
  • Stress Elimination: Having pre-measured liquids and sauces right next to your burner allows you to deglaze pans at the precise culinary moment.

Setting Up an Ergonomic Culinary Station

Professional line cooks organize their prep area around the concept of the working triangle: a setup where hands move naturally from raw ingredient to cutting board, into holding bowls, and straight to the waste bin without crossing paths.

  1. Clear the Decks: Remove unnecessary clutter, drying racks, and decorative appliances from your primary counter space. You need at least three square feet of uninterrupted surface around your cutting board.
  2. Position the Garbage Bowl: Keep a large stainless steel bowl or compost bin on the top corner of your board. Scrape peels, trimming ends, and stems straight into the bowl, eliminating endless trips across the floor to the trash can.
  3. Group Ingredients by Cooking Phase: Arrange small glass bowls or deli containers chronologically from left to right: base aromatics first, mid-cook vegetables second, and finishing herbs or acids last.
Busy culinary workstation with hanging stainless steel utensils and prep containers under warm light
Organized stations allow cooks to grab necessary utensils instantly without breaking focus.

Common Workflow Mistakes and How to Correct Them

Kitchen Friction PointRoot CauseThe Professional Fix
Garlic or butter scorchesTurning on the burner before mincing and measuring liquidsNever turn on heat until every vegetable is cut and all sauces are poured.
Spills on work surfacesCracking eggs directly over cooking skillets or hot battersCrack eggs flat on the counter into a small ramekin first to catch shells and control additions.
Massive post-meal cleanupLetting dirty dishes pile up while food simmers on the stovePractice “Clean as You Go”—wash prep knives and wipe boards during idle simmering steps.
Crowded cutting boardLeaving prepped vegetables stacked in corners of the boardTransfer sliced food immediately into small stacking bowls or wide sheet pans.
Overhead shot of cracked eggs in a carton next to whisked mixture and a stovetop
Cracking ingredients into dedicated prep bowls keeps cooktops clean and prevents accidental messes.

The “Clean As You Go” Discipline

The hallmark of an experienced cook is a spotless kitchen counter while dinner is finishing in the oven. Adopting this rhythm eliminates the dreaded post-dinner cleanup wall:

  • Hot Soapy Sink Basin: Before chopping your first vegetable, fill your sink halfway with warm, soapy water. As soon as a whisk, peeler, or measuring cup is finished, drop it in for an effortless quick rinse.
  • The Damp Towel Sweep: Keep a folded damp kitchen towel on your workstation hip. Wipe flour, stray seed husks, or oil splatters immediately after each task.
  • Utilize Idle Cooking Windows: While your onions sweat for 8 minutes or a soup simmers, resist checking your phone. Use those minutes to wash your chef knife, put spice jars away, and wipe down your cutting board.

Frequently Asked Questions

Do I need expensive glass bowls to practice mise en place?
Not at all. Professional kitchens rely almost exclusively on reusable, dishwasher-safe plastic deli containers (pint and quart sizes). They stack compactly and cost very little.

Doesn’t prepping everything first make cooking take longer?
Counterintuitively, it cuts total time. Searching for ingredients mid-recipe causes panic, disrupts burner timing, and leads to burned dishes that require starting over.

What is the best surface to crack eggs on?
Always crack eggs against a flat counter surface rather than the sharp rim of a bowl or pan. Sharp edges drive exterior shell fragments inward through the membrane into the yolk.

The Secret to Restaurant-Quality Steak at Home: Searing, Internal Temps, and the Resting Phase

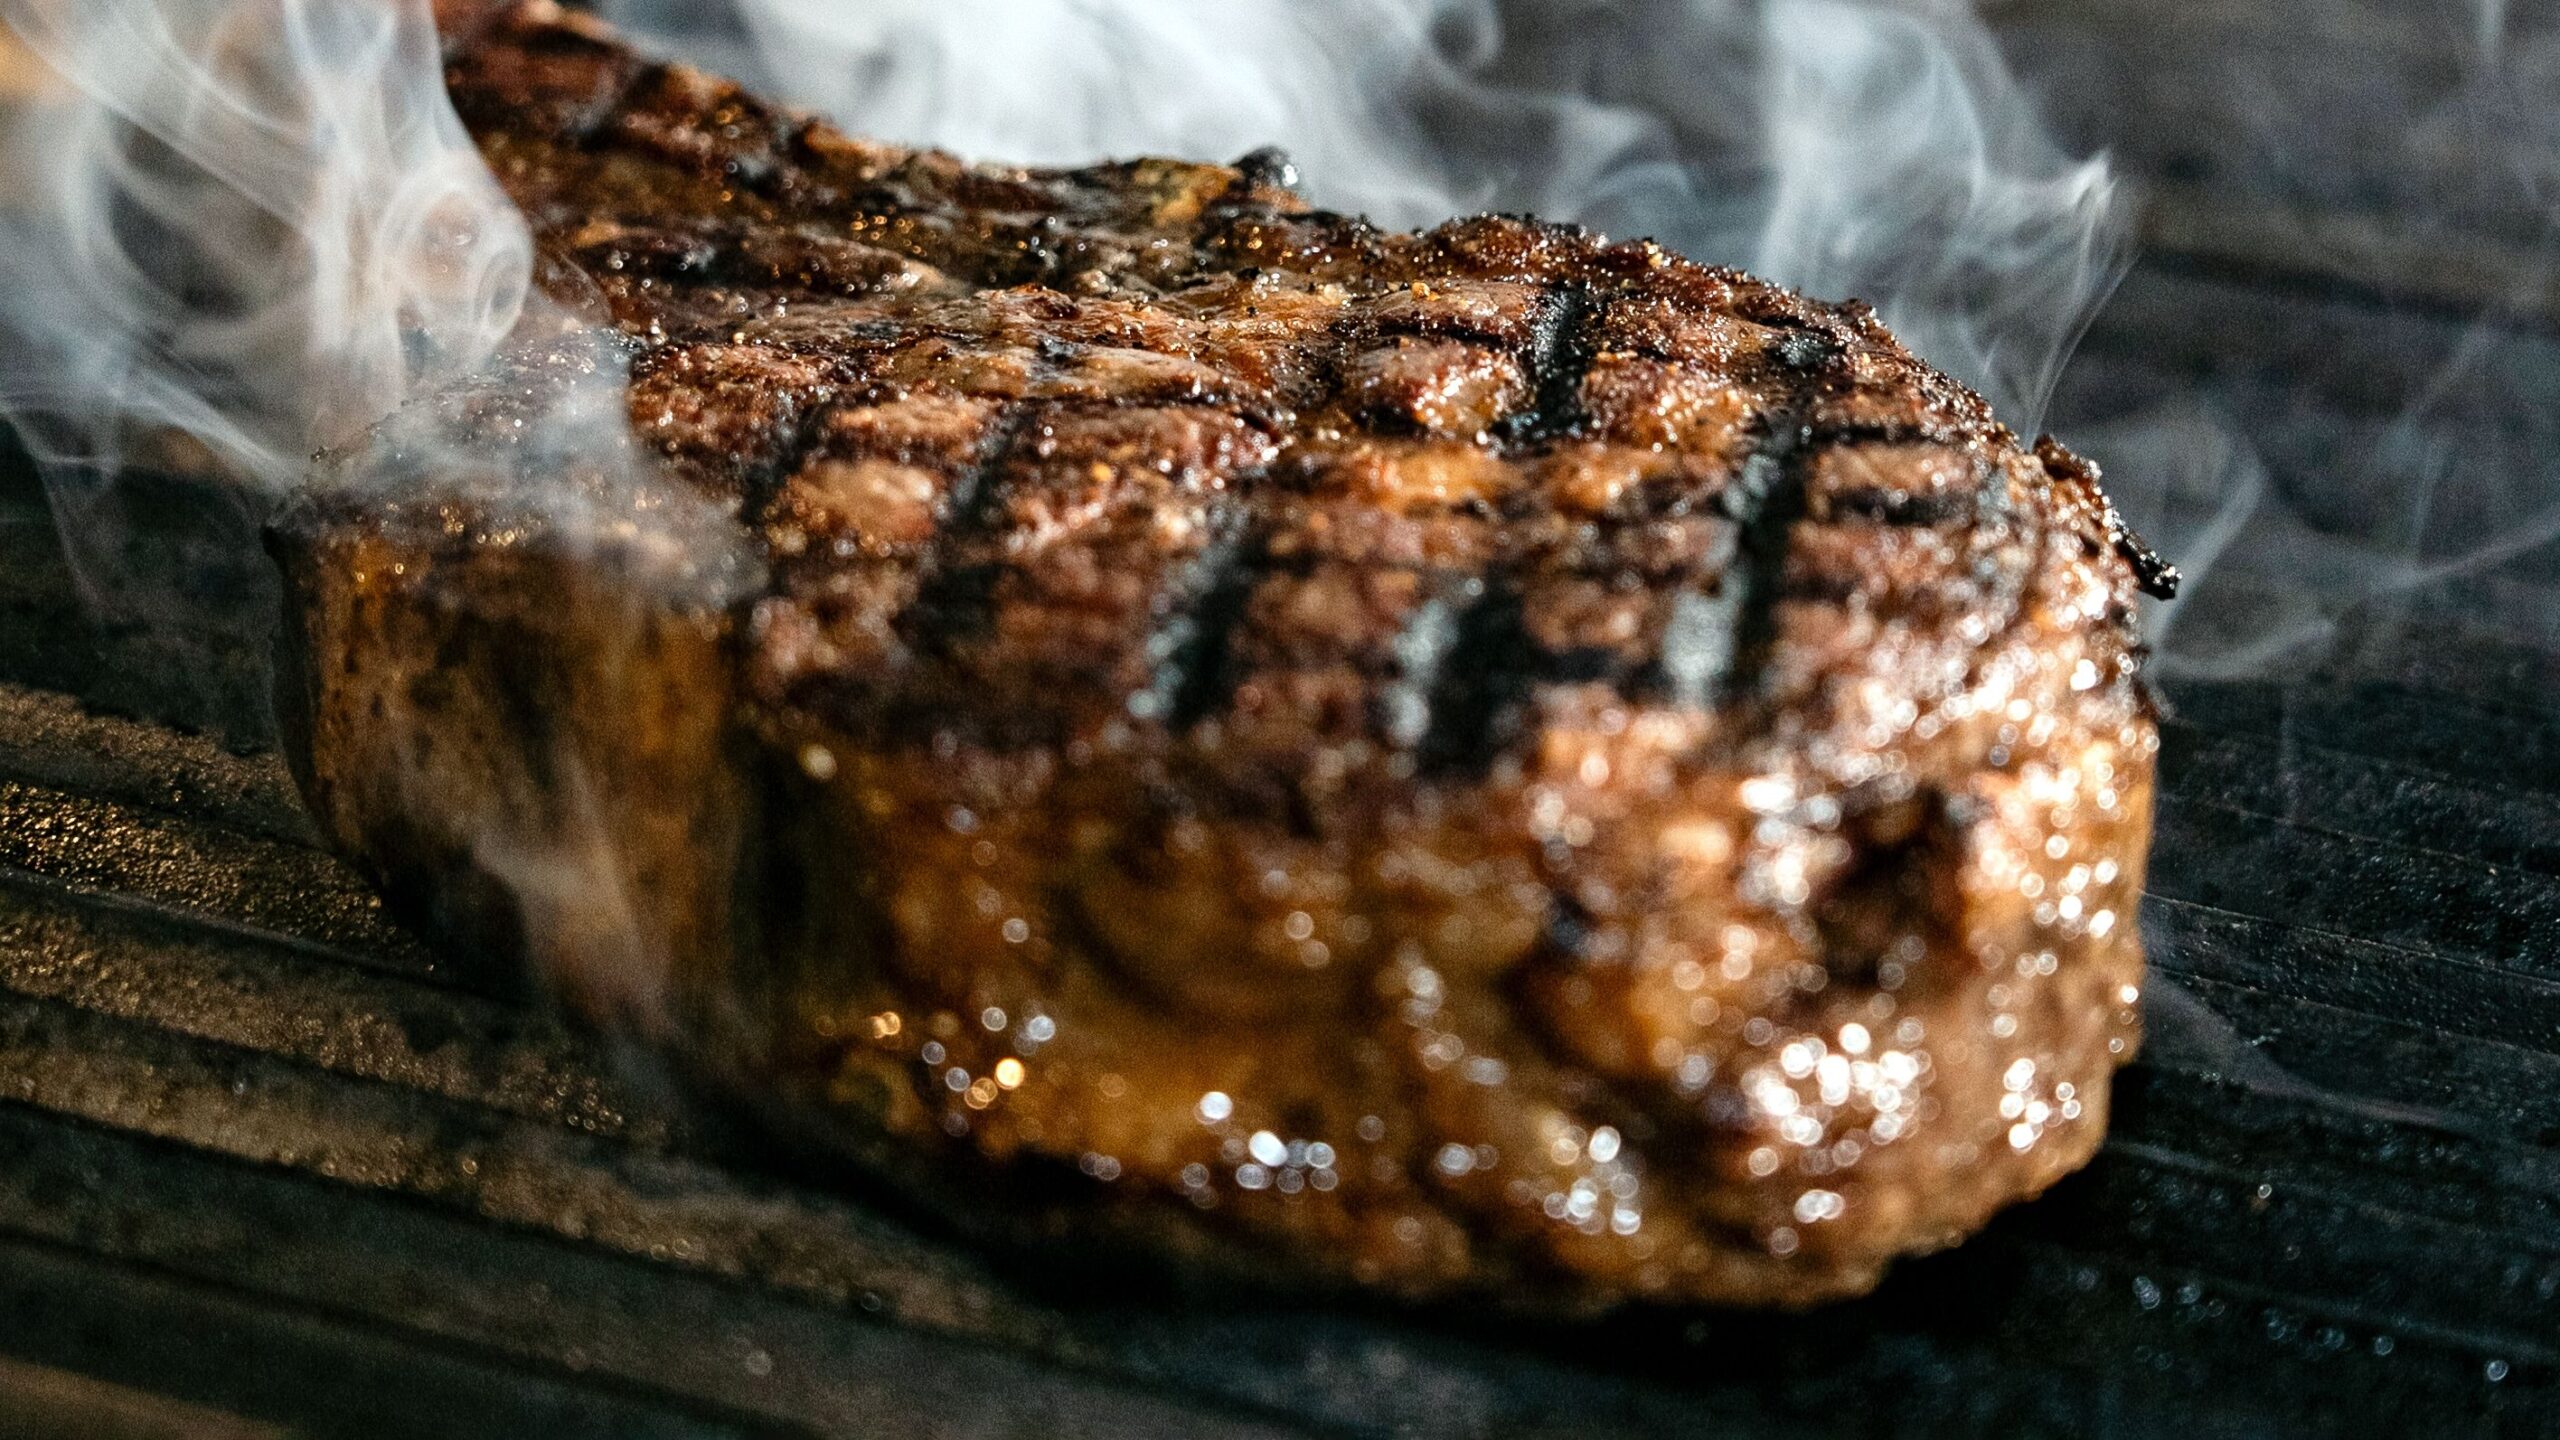
Grilled bone-in tomahawk ribeye steak resting on a wooden carving board

Few culinary experiences rival slicing into a prime steak with a deeply caramelized exterior crust that gives way to an evenly pink, tender interior. Yet, recreating that steakhouse perfection in a home kitchen often leads to familiar frustrations: gray bands of overcooked meat, rubbery fat caps, or juices pouring out onto the cutting board before the first bite. Achieving consistent steakhouse results relies on understanding food science—specifically the Maillard reaction, internal thermal inertia, and post-cook resting physics.

Grilled bone-in tomahawk ribeye steak resting on a wooden carving board
Proper pre-salting and high-heat searing create an intensely flavorful, deeply caramelized crust.

The Foundation: Dry Brining and Surface Moisture Control

The single biggest obstacle to achieving an exceptional crust is surface moisture. When a wet steak hits screaming-hot iron or an open grill grate, the heat energy boils surface water into steam rather than browning the protein. Steam limits the meat surface to 212°F (100°C), preventing the flavorful Maillard reaction from taking place until all water evaporates.

  • The Dry Brining Technique: Season your cut heavily on all sides with coarse kosher salt 12 to 24 hours before cooking. Place it uncovered on a wire cooling rack inside the refrigerator.
  • Osmosis at Work: Salt draws out moisture, dissolves into a concentrated brine, and is gradually reabsorbed deep into the muscle fibers, breaking down tough proteins and seasoning the entire cut evenly.
  • Pellicle Formation: The circulating cold air dehydrates the exterior surface, forming a tacky, dry skin (pellicle) that browns almost instantaneously upon contact with cooking fat.

Searing Dynamics: Traditional Sear vs. The Reverse Sear

How you apply heat depends directly on the thickness of your steak:

  1. Standard Skillet Sear (Steaks Under 1.25 Inches): Preheat heavy cast iron until lightly smoking. Add a high smoke-point fat (such as avocado oil or refined beef tallow). Lay the meat down and sear for 2 to 3 minutes per side. During the final 90 seconds, add cold unsalted butter, smashed garlic, and fresh thyme, basting the foaming fat continuously over the top.
  2. The Reverse Sear (Steaks Over 1.5 Inches): For thick-cut ribeyes, bone-in tomahawks, or Porterhouse steaks, traditional pan-searing burns the outside before the center warms. Instead, bake the steak gently at 225°F (107°C) in an oven or indirect grill zone until the center registers 15°F below target doneness. Finish with an aggressive 60-second sear per side over maximum heat.
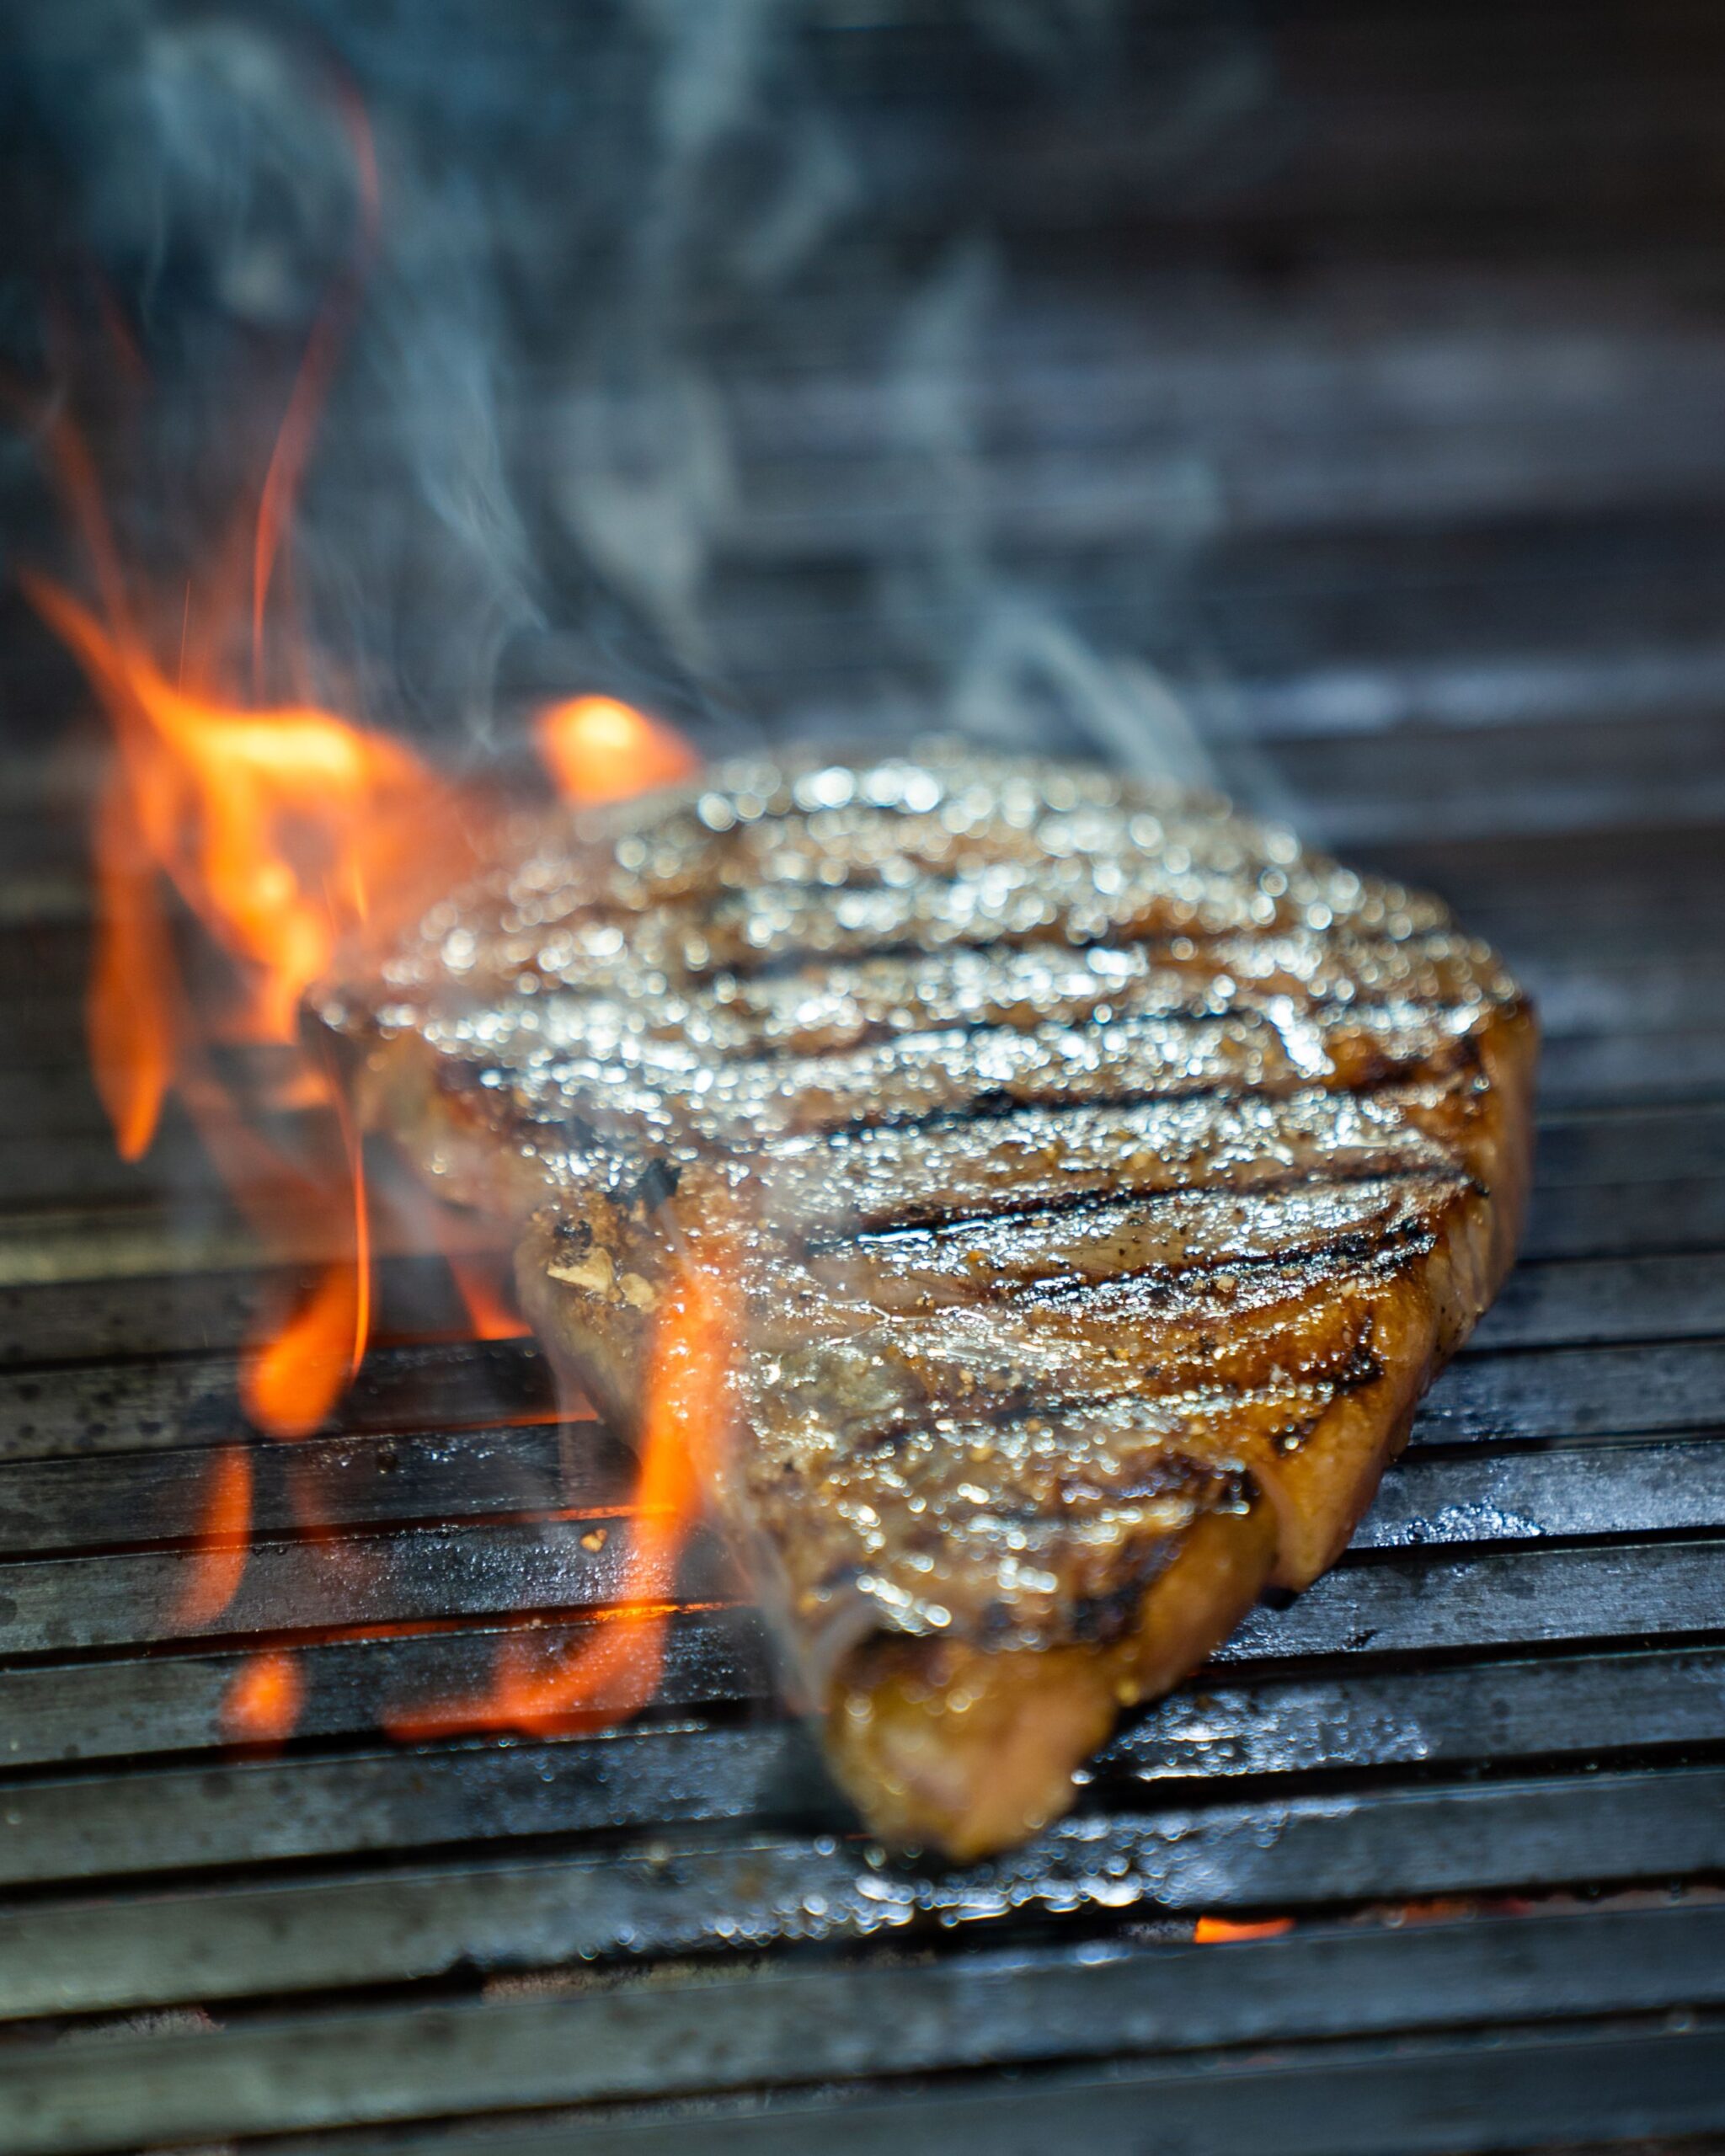
Juicy beef steak grilling over open flame grates with high heat flare-ups
High thermal contact triggers immediate browning while rendering outer fat layers.

Internal Temperature Reference Guide

Poking steak with your finger to check firmness is notoriously unreliable due to variations in fat marbling and muscle grain. Use an instant-read digital probe thermometer inserted horizontally into the deepest center of the meat, avoiding direct bone contact:

Target DonenessPull from Heat AtFinal Rested TempCenter Description
Rare120°F / 49°C125°F / 52°CCool, bright red center throughout
Medium-Rare (Optimal)130°F / 54°C135°F / 57°CWarm, deep pink center with optimal rendered fat
Medium140°F / 60°C145°F / 63°CFirm, light pink center with reduced juices
Medium-Well150°F / 66°C155°F / 68°CMostly gray-brown with slight rose tint
Well Done160°F / 71°C+165°F / 74°C+Firm, thoroughly cooked brown center
Thick cut beef steak searing on a hot grill with rising smoke
Monitoring core internal temperatures prevents unintentional overcooking.

The Science of Carryover Cooking and the Resting Phase

Removing steak from direct heat does not immediately stop cooking. The intense surface heat migrates inward toward the cooler core—a process known as carryover cooking. A thick steak will easily rise another 5°F to 8°F while resting on your cutting board.

  • Moisture Redistribution: During high-heat searing, muscle fibrils tighten and squeeze intracellular water toward the cooler center. Slicing immediately causes that trapped liquid to flood the board, leaving the meat dry.
  • Viscosity Recovery: Resting for 8 to 10 minutes allows muscle fibers to relax, while internal fats and gelatin cool slightly and thicken, locking juices firmly inside every bite.
  • Avoid Tight Foil Tents: Wrapping resting steak tightly in aluminum foil traps hot moisture, creating steam that softens your crisp crust. Rest meat uncovered or beneath a loose foil dome.

Carving Technique: Cutting Against the Grain

Even a perfectly cooked cut can taste tough if carved improperly. Muscle tissue runs in long, parallel fiber bundles, known as the “grain.” Always identify which direction these lines run, position your knife at a 90-degree perpendicular angle across them, and slice cleanly across the grain. This shortens the muscle fibers, resulting in effortless, melt-in-your-mouth tenderness.


Frequently Asked Questions

Should I let my steak sit at room temperature before searing?
While common advice suggests bringing meat to room temperature for 30 minutes, tests show internal temps only rise a few degrees. What matters far more is ensuring the meat surface is dry brined and wiped completely free of exterior moisture.

Can I use extra virgin olive oil for searing steak?
No. EVOO has a lower smoke point that scorches at standard searing heats, leaving an acrid flavor. Use high smoke-point fats like avocado oil, clarified butter (ghee), or beef tallow for the initial sear.

When should I add cracked black pepper?
Add black pepper near the end of cooking or during butter basting. Whole cracked pepper corns burn and turn bitter when exposed to the high heat required for an initial sear.

The Complete Guide to Cooking Oils: Smoke Points, Flavor Profiles, and Best Uses

Chef drizzling golden extra virgin olive oil over a fresh radish and cucumber salad

Walk down the grocery store cooking oil aisle, and the overwhelming array of options can leave even confident home cooks bewildered. From cold-pressed extra virgin olive oil and unrefined avocado oil to neutral canola, grapeseed, and sesame oils, each bottle behaves differently once it encounters heat. Using the wrong oil at high temperatures leads to scorched flavors, acrid kitchen smoke, and degraded nutritional compounds, while using a refined oil in a raw dressing wastes an opportunity for rich culinary depth.

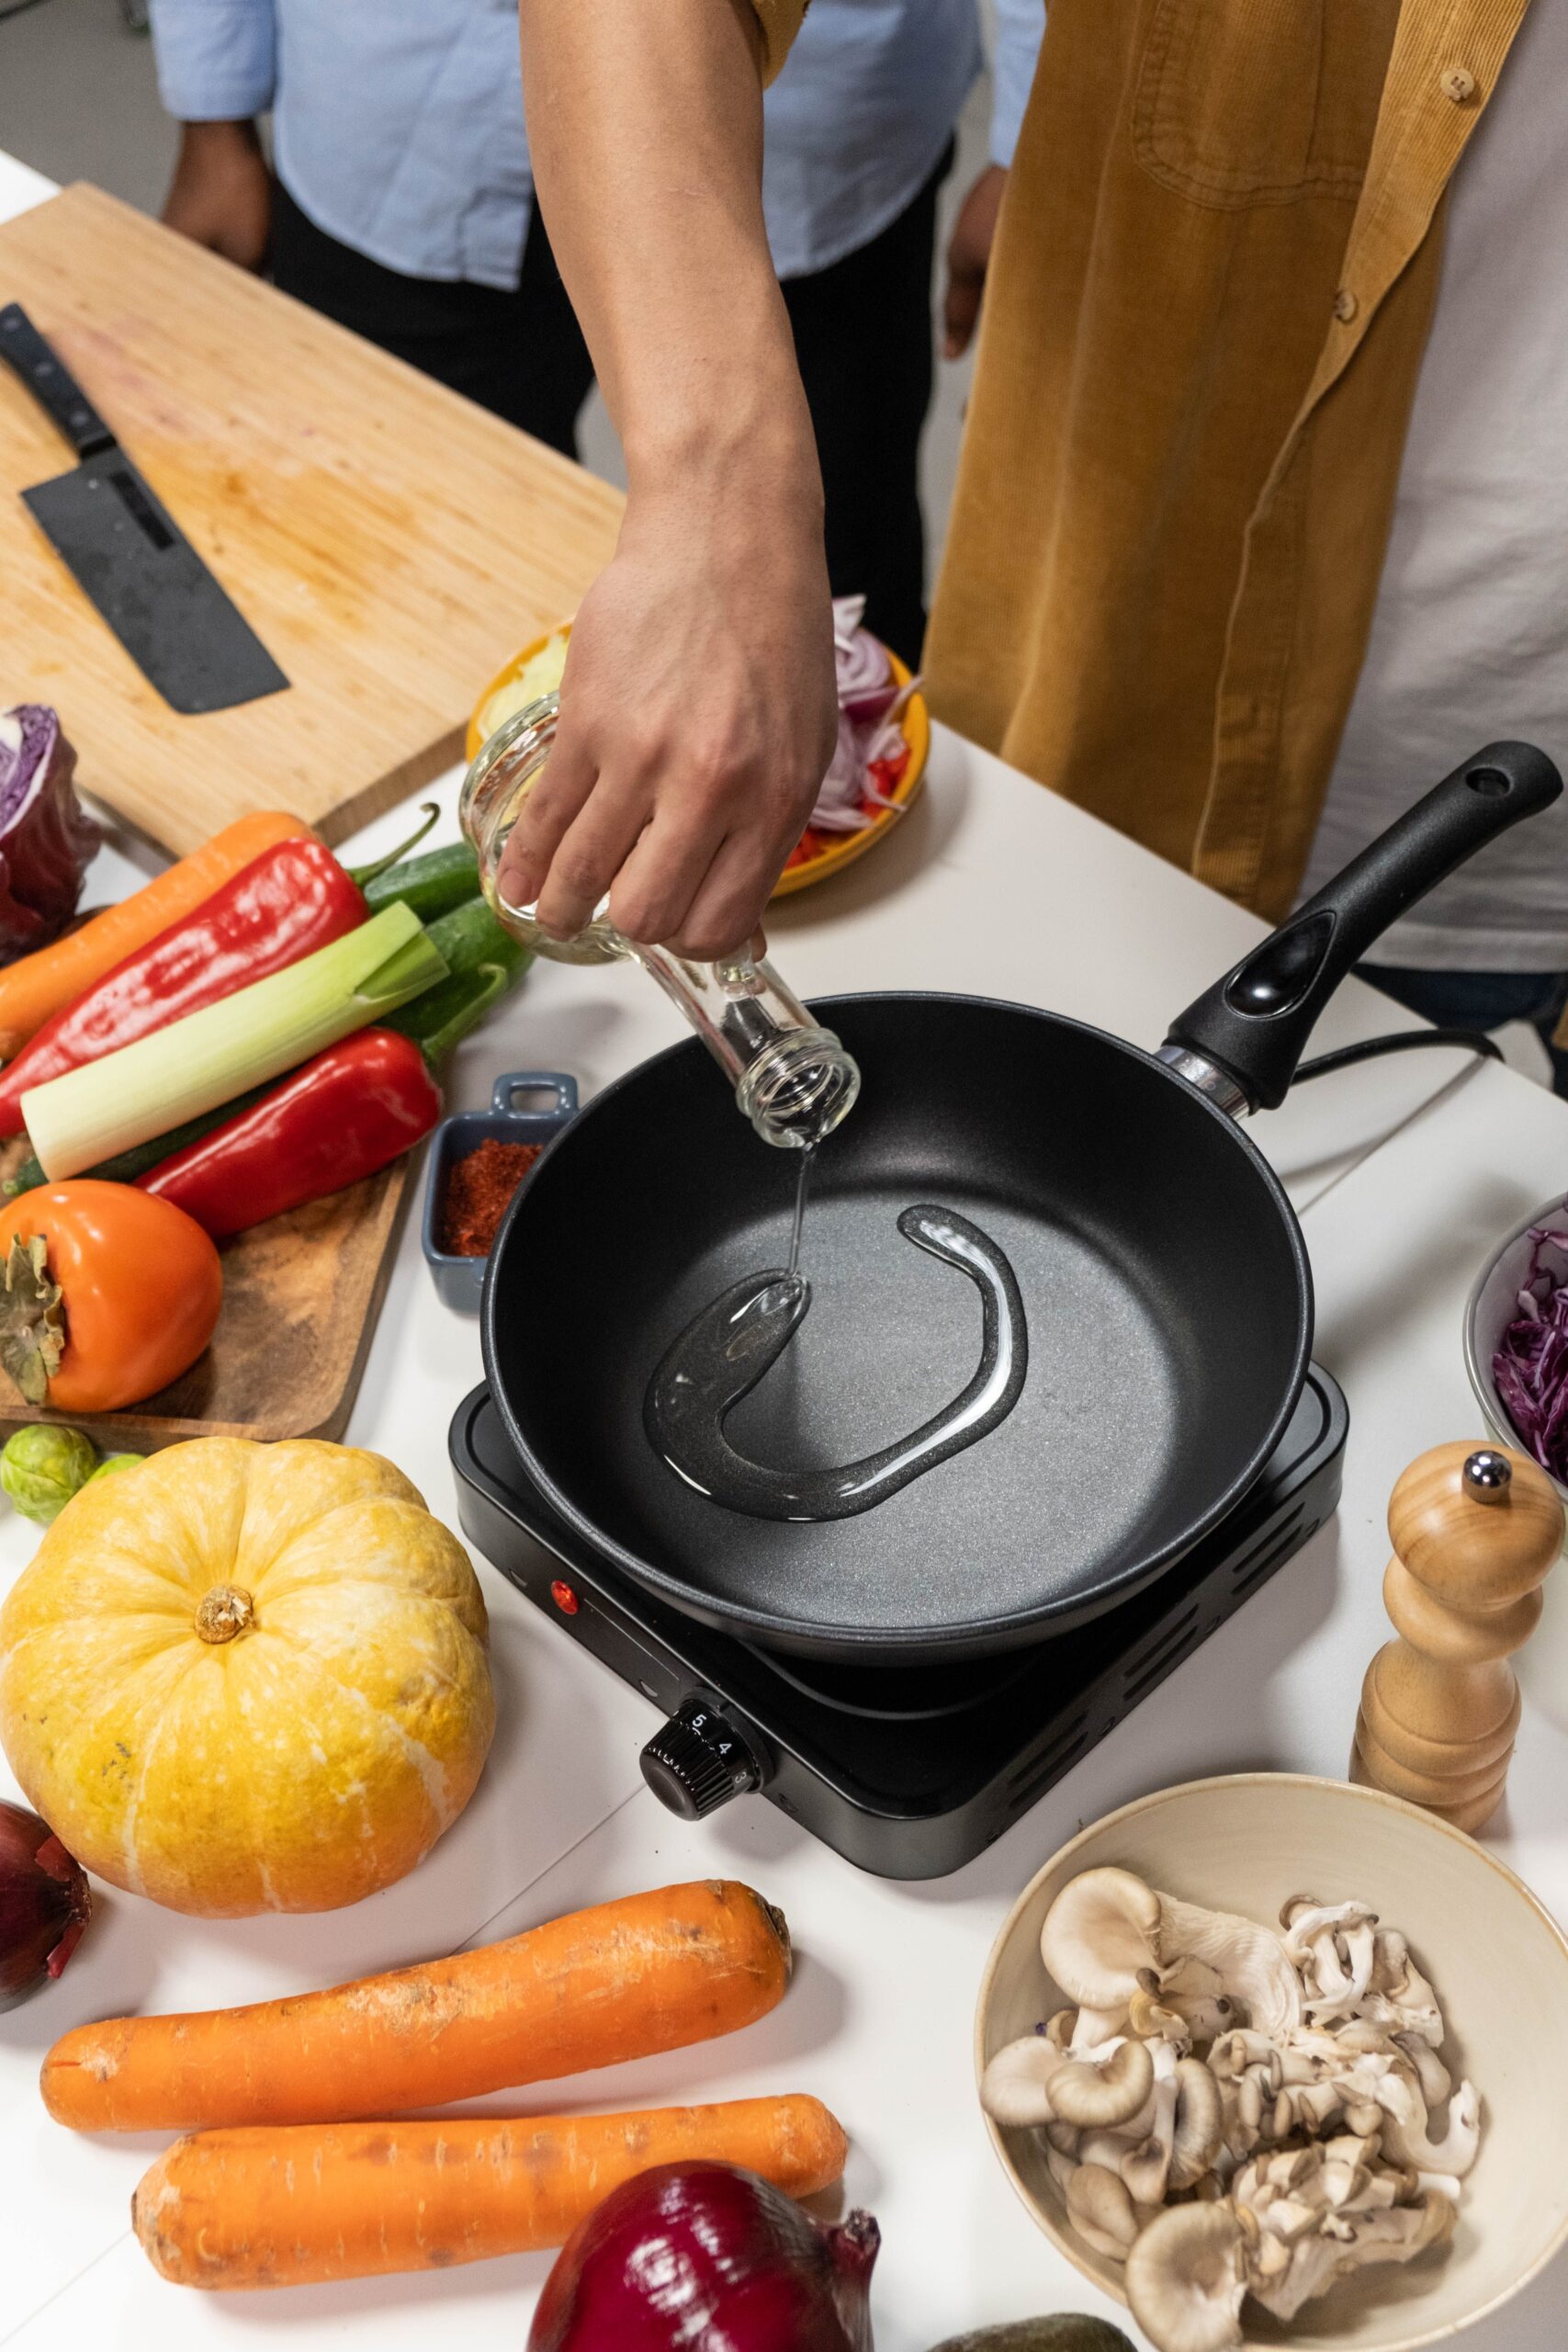
Pouring cooking oil into a nonstick frying pan surrounded by fresh vegetables
Matching the correct cooking fat to pan temperature guarantees crisp textures without burning.

Understanding Smoke Points and Thermal Degradation

The smoke point of a cooking oil is the exact temperature threshold where volatile compounds, free fatty acids, and residual plant matter begin to break down, producing visible bluish smoke and harmful free radicals. Once an oil passes its smoke point, three critical changes occur:

  • Flavor Rupture: Beneficial aromatics oxidize immediately, imparting a sharp, bitter, and burnt taste to the entire skillet.
  • Acrolein Formation: The glycerol backbone of the fat decomposes into acrolein, an irritant that causes eyes to water and fills the kitchen with choking fumes.
  • Loss of Nutrients: Delicate polyphenols, vitamin E, and natural antioxidants disintegrate rapidly under prolonged overheating.

Cooking Oil Smoke Point Reference Chart

Oil TypeSmoke Point (°F / °C)Flavor CharacteristicsIdeal Culinary Application
Avocado Oil (Refined)520°F / 270°CExtremely neutral, clean finishHigh-heat searing, wok stir-frying, deep frying
Grapeseed Oil420°F / 215°CNeutral, light viscositySautéing, homemade mayonnaise, marinades
Extra Virgin Olive Oil375°F–405°F / 190°C–207°CFruity, grassy, peppery backnoteGentle sautéing, raw dressings, drizzling, dipping
Refined Coconut Oil400°F / 204°CMild, sweet undertoneBaking, pan-roasting vegetables, shallow frying
Toasted Sesame Oil350°F / 175°CIntensely nutty, robust aromaFinishing drizzle only; never used as a primary frying fat
Chef drizzling golden extra virgin olive oil over a fresh radish and cucumber salad
Cold-pressed unrefined oils retain delicate polyphenols best suited for raw finishing.

The Extra Virgin Olive Oil Controversy: Can You Cook With It?

A persistent myth suggests that cooking with Extra Virgin Olive Oil (EVOO) produces toxic compounds even at moderate heat. Recent food chemistry studies clarify the reality: quality extra virgin olive oil is remarkably stable due to its high levels of monounsaturated oleic acid and potent antioxidant polyphenols. These compounds protect the oil from rapid lipid oxidation far better than many multi-seed oils.

However, practical temperature discipline applies:

  • Medium-Heat Cooking (Under 375°F / 190°C): Sautéing aromatics like garlic and onions, gently sweating vegetables, and baking Mediterranean flatbreads enhances dish complexity without damaging the oil.
  • Finishing Drizzle: To truly appreciate early-harvest, single-origin EVOO with its bright peppery finish, reserve it for drizzling over warm soups, fresh mozzarella, or raw garden salads immediately before serving.
Chef in white apron pouring cold-pressed olive oil into a traditional bowl
Drizzling oils from a moderate height evenly distributes dressing across fresh ingredients.

Refined vs. Unrefined: How Processing Dictates Use

The word “refined” often carries a negative connotation in grocery aisles, but in the realm of culinary oils, refinement is a mechanical and filtration process with specific performance benefits:

  • Unrefined / Cold-Pressed: Extracted solely through mechanical pressure without heat or chemical solvents. Retains all native vitamins, minerals, and volatile flavors, but features lower heat tolerance and shorter shelf life.
  • Refined Oils: Filtered to strip away loose particulate matter, free fatty acids, and strong aromas. This results in a crystal-clear liquid with a dramatically higher smoke point and completely neutral taste, ideal for flash-searing ribeyes or baking cakes where added fat flavor would clash with sugar.

Proper Storage: Defending Oils Against Rancidity

Even premium oils turn rancid quickly when subjected to culinary kitchen enemies: light, oxygen, and heat. Rancid oil develops a dull, stale waxy aroma resembling cardboard or crayons and should be discarded immediately.

  1. Store in Dark Glass or Metal Tins: Clear plastic or transparent glass bottles expose delicate fats to UV rays, accelerating photo-oxidation.
  2. Keep Away from Stovetops: Never store everyday cooking oil directly beside your burner or above the range hood where heat continuously degrades the lipids.
  3. Seal Caps Immediately: Exposure to atmospheric oxygen starts the oxidation clock; always recap bottles tightly after pouring.

Frequently Asked Questions

What is the best all-purpose oil to keep in a home kitchen?
A quality extra virgin olive oil for dressings and gentle sautés, paired with a bottle of refined avocado oil or grapeseed oil for high-heat roasting and searing, covers 95% of cooking needs.

Can cooking oils go bad in the pantry?
Yes. Unrefined oils usually remain peak fresh for 3 to 6 months after opening, while refined varieties can last up to a year when stored in a cool, dark cabinet.

Why does olive oil turn cloudy in the refrigerator?
Natural waxes and saturated fatty acid chains solidify at cold refrigerator temperatures. The cloudiness disappears without affecting quality once the bottle warms back to room temperature.

How to Keep Fresh Herbs and Greens Crisp for Weeks (The Smart Storage Guide)

Fresh leafy greens and herbs misted with water in market produce bins

Few culinary disappointments compare to reaching into your refrigerator crisper drawer only to discover that the vibrant bunch of cilantro, parsley, or dill you bought three days ago has melted into a dark, slimy mush. Fresh culinary herbs provide vibrant aroma, bright acidity, and essential color to everyday cooking, yet they are among the most perishable items in your entire kitchen. Understanding the plant physiology behind wilting versus rot allows you to extend their fresh shelf life from a mere four days to nearly a full month.

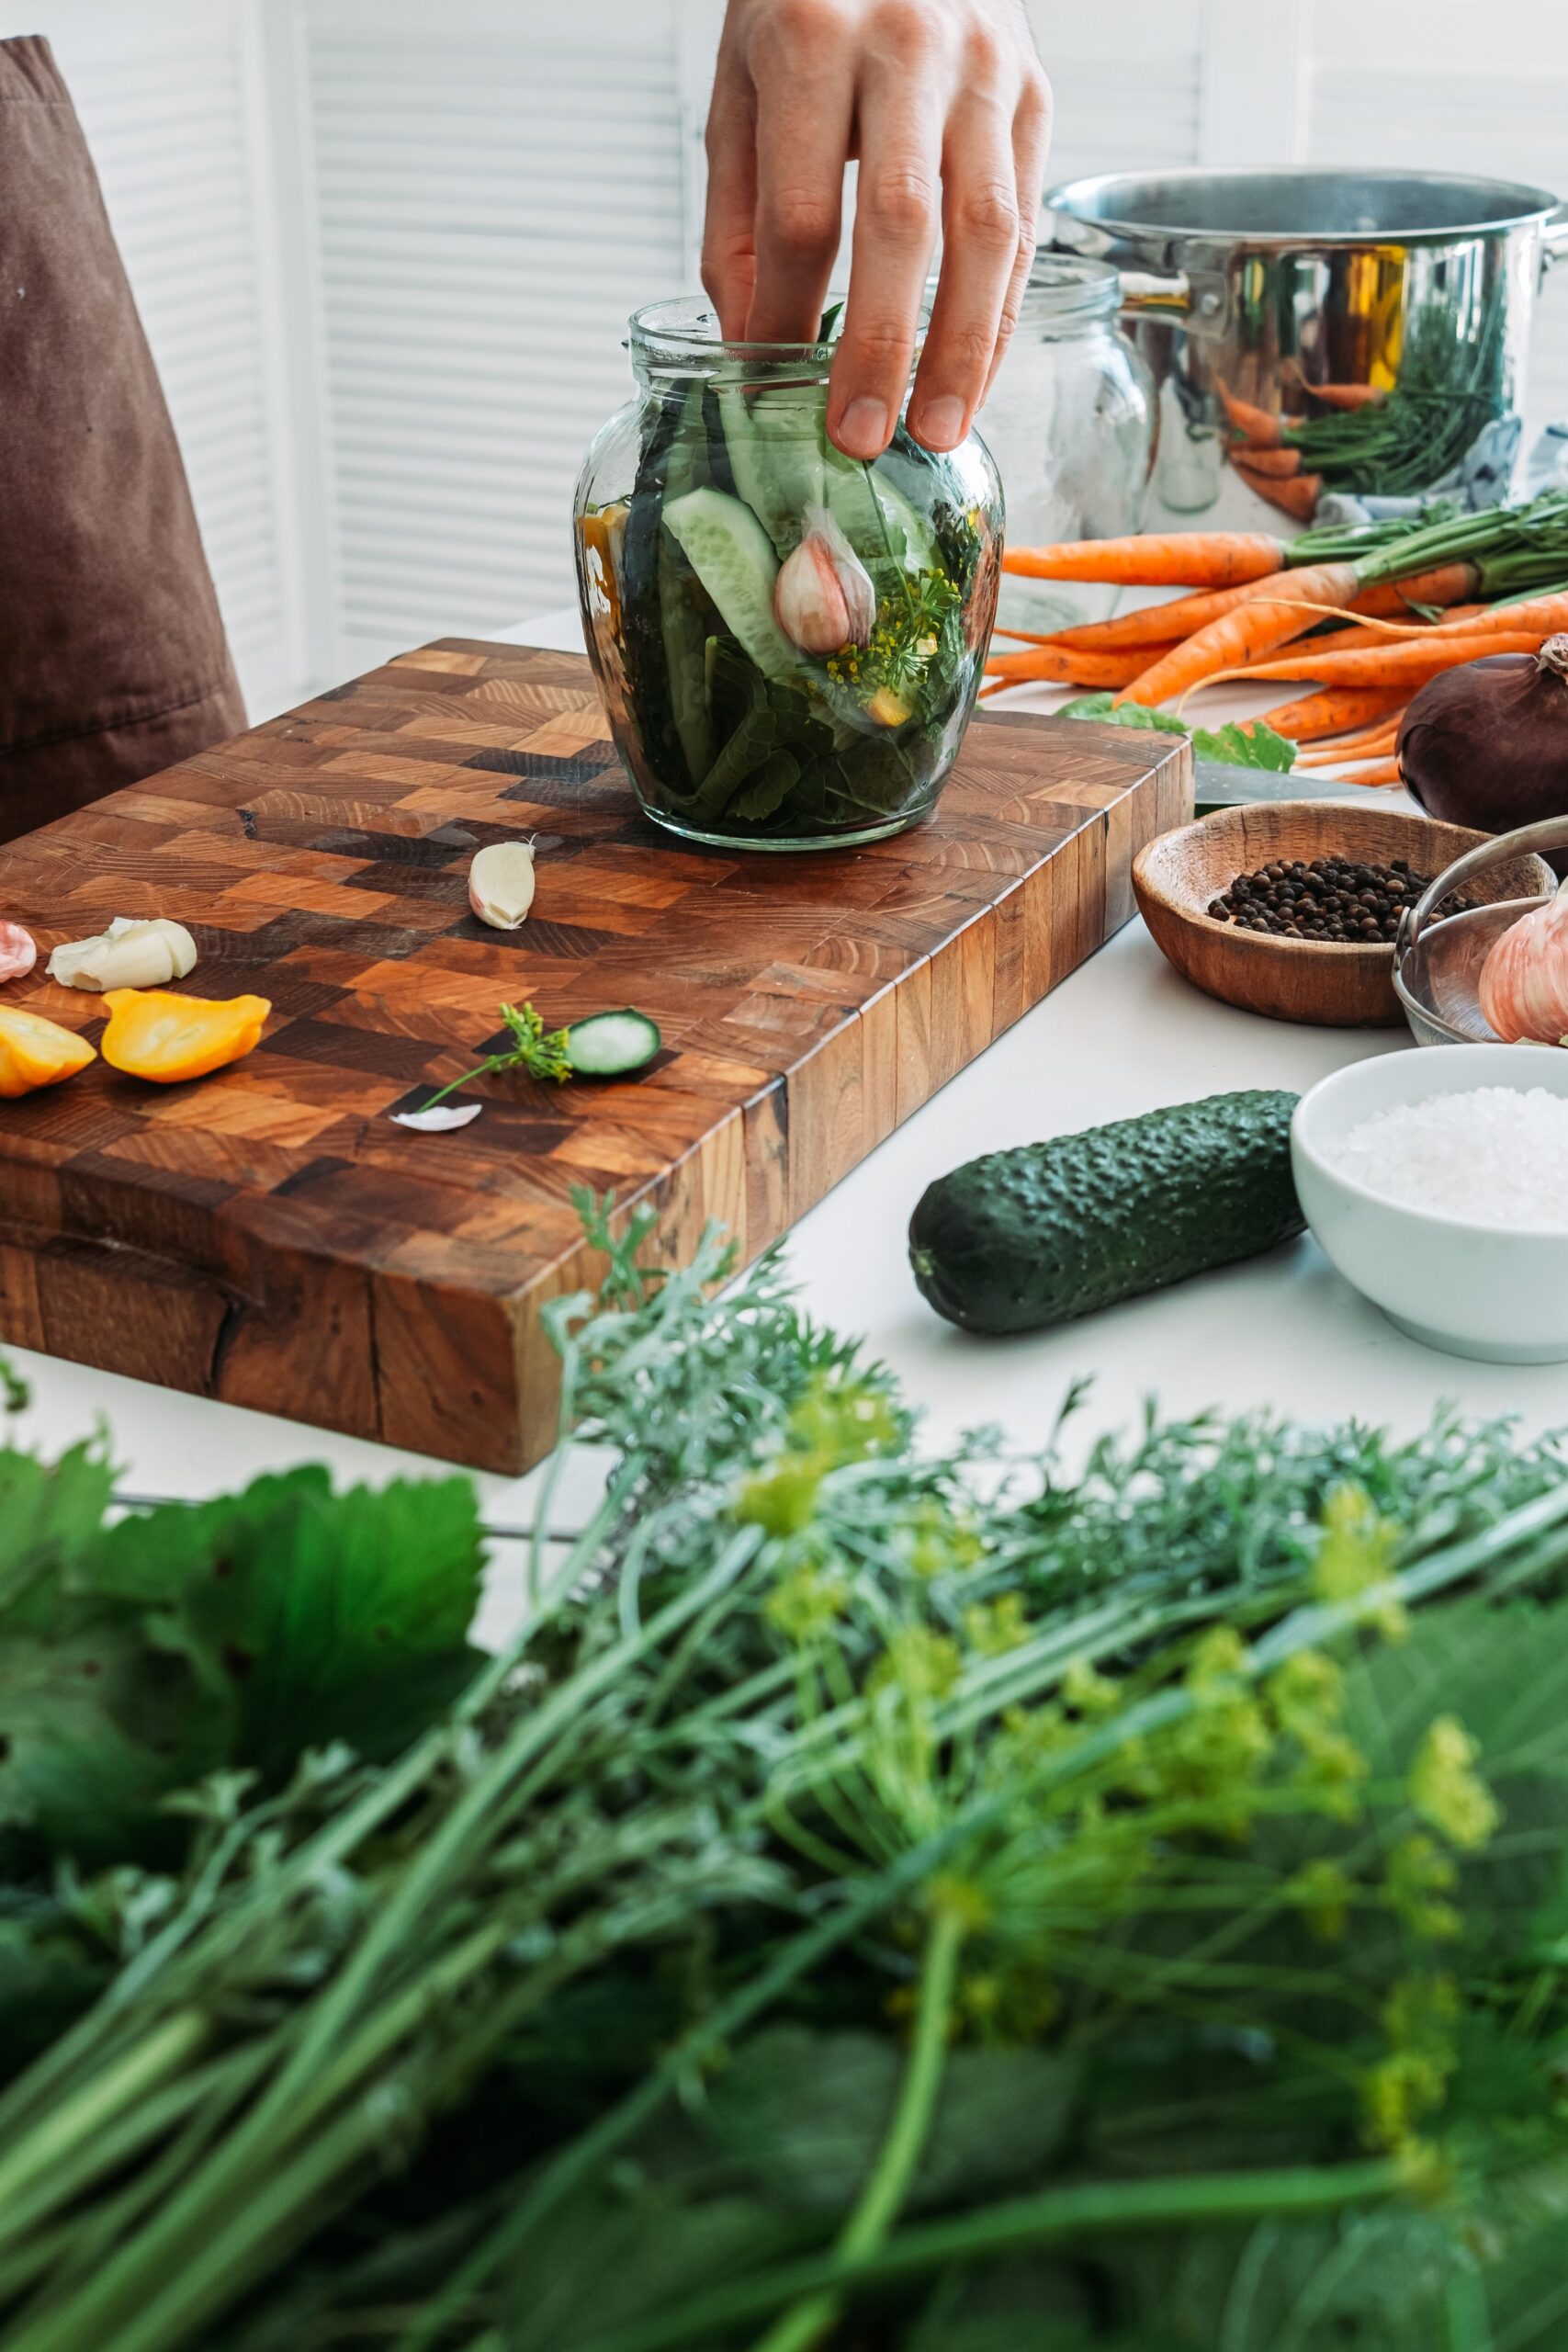
Packing fresh dill garlic and pickling cucumbers into glass jars for preservation
Proper moisture regulation and clean airtight storage preserve cellular integrity in fresh herbs.

The Science of Decay: Moisture vs. Dehydration

To keep leafy produce alive and crisp, you must balance two opposing environmental hazards:

  • Dehydration (Wilting): Cold refrigerator air is naturally dry and constantly circulated by fans. Left uncovered, herbs lose intracellular moisture through evaporation, causing cell walls to collapse into limp foliage.
  • Trapped Condensation (Rot): Sealing damp greens tightly inside plastic grocery bags traps stagnant humidity. Bacteria and mold spores thrive in standing water, turning fragile leaves brown and slippery within 48 hours.
  • Gas Production (Ethylene): Many fruits and vegetables emit ethylene gas as they ripen. Storing delicate herbs adjacent to apples or tomatoes accelerates yellowing and premature decay.

Tender Herbs vs. Hard Herbs: The Fundamental Rule

You cannot treat all garden herbs identically. In culinary preparation, they fall into two distinct structural categories:

Herb ClassificationCommon VarietiesPrimary Preservation Strategy
Tender HerbsParsley, Cilantro, Dill, Mint, ChervilWater-stem hydration method (like fresh-cut flowers)
Hard / Woody HerbsRosemary, Thyme, Oregano, SageBreathable damp-towel roll inside airtight container
Warmth-Loving ExceptionsSweet Genovese Basil, Thai BasilRoom temperature bouquet away from cold refrigeration
Fresh leafy greens and herbs misted with water in market produce bins
Commercial displays mist produce to fight dry airflow, a principle you can adapt at home.

How to Store Tender Herbs: The Water Glass Technique

Tender herbs possess soft green stems that absorb water readily, exactly like fresh flower arrangements:

  1. Trim the Stems: Remove rubber bands and twist ties immediately. Use a sharp chef knife to trim half an inch off the base of the stems on a slight diagonal.
  2. Strip Submerged Leaves: Strip off any low foliage that would sit beneath the water line to prevent bacterial growth.
  3. Place in Clean Water: Set the bunch upright into a mason jar or sturdy glass filled with 1 to 2 inches of fresh, cool water.
  4. Cover Loosely: Place a clean plastic produce bag loosely over the top foliage, creating a personal greenhouse dome that retains ambient humidity while allowing air exchange. Place in the middle shelf of your refrigerator.
  5. Change Water Periodically: Swap out cloudy water for fresh water every 3 to 4 days to keep stems drinking smoothly.

Crucial Exception: Never refrigerate fresh basil. Basil is native to warm tropical climates; cold refrigerator temperatures blacken the delicate cell walls within hours. Keep your basil jar on your kitchen counter in indirect sunlight, uncovered.


How to Store Hard Woody Herbs: The Towel Roll Method

Woody herbs like rosemary and thyme do not draw water through dense fibrous stems efficiently. Submerging them causes leaves to drop. Instead, apply the moisture-lock wrap:

  1. Inspect and Clean: Discard any broken, blackened sprigs before storage.
  2. Prepare the Wrapper: Lightly dampen a single sheet of heavy paper towel. It should be barely cool to the touch, not dripping wet.
  3. Roll Snugly: Lay sprigs flat in a single layer along the paper towel and roll it gently into a neat cylinder like a cigar.
  4. Seal in Glass or Hard Plastic: Slip the paper roll into a reusable airtight glass container or zip-top bag. The paper absorbs excess moisture while keeping the surrounding microclimate humid.
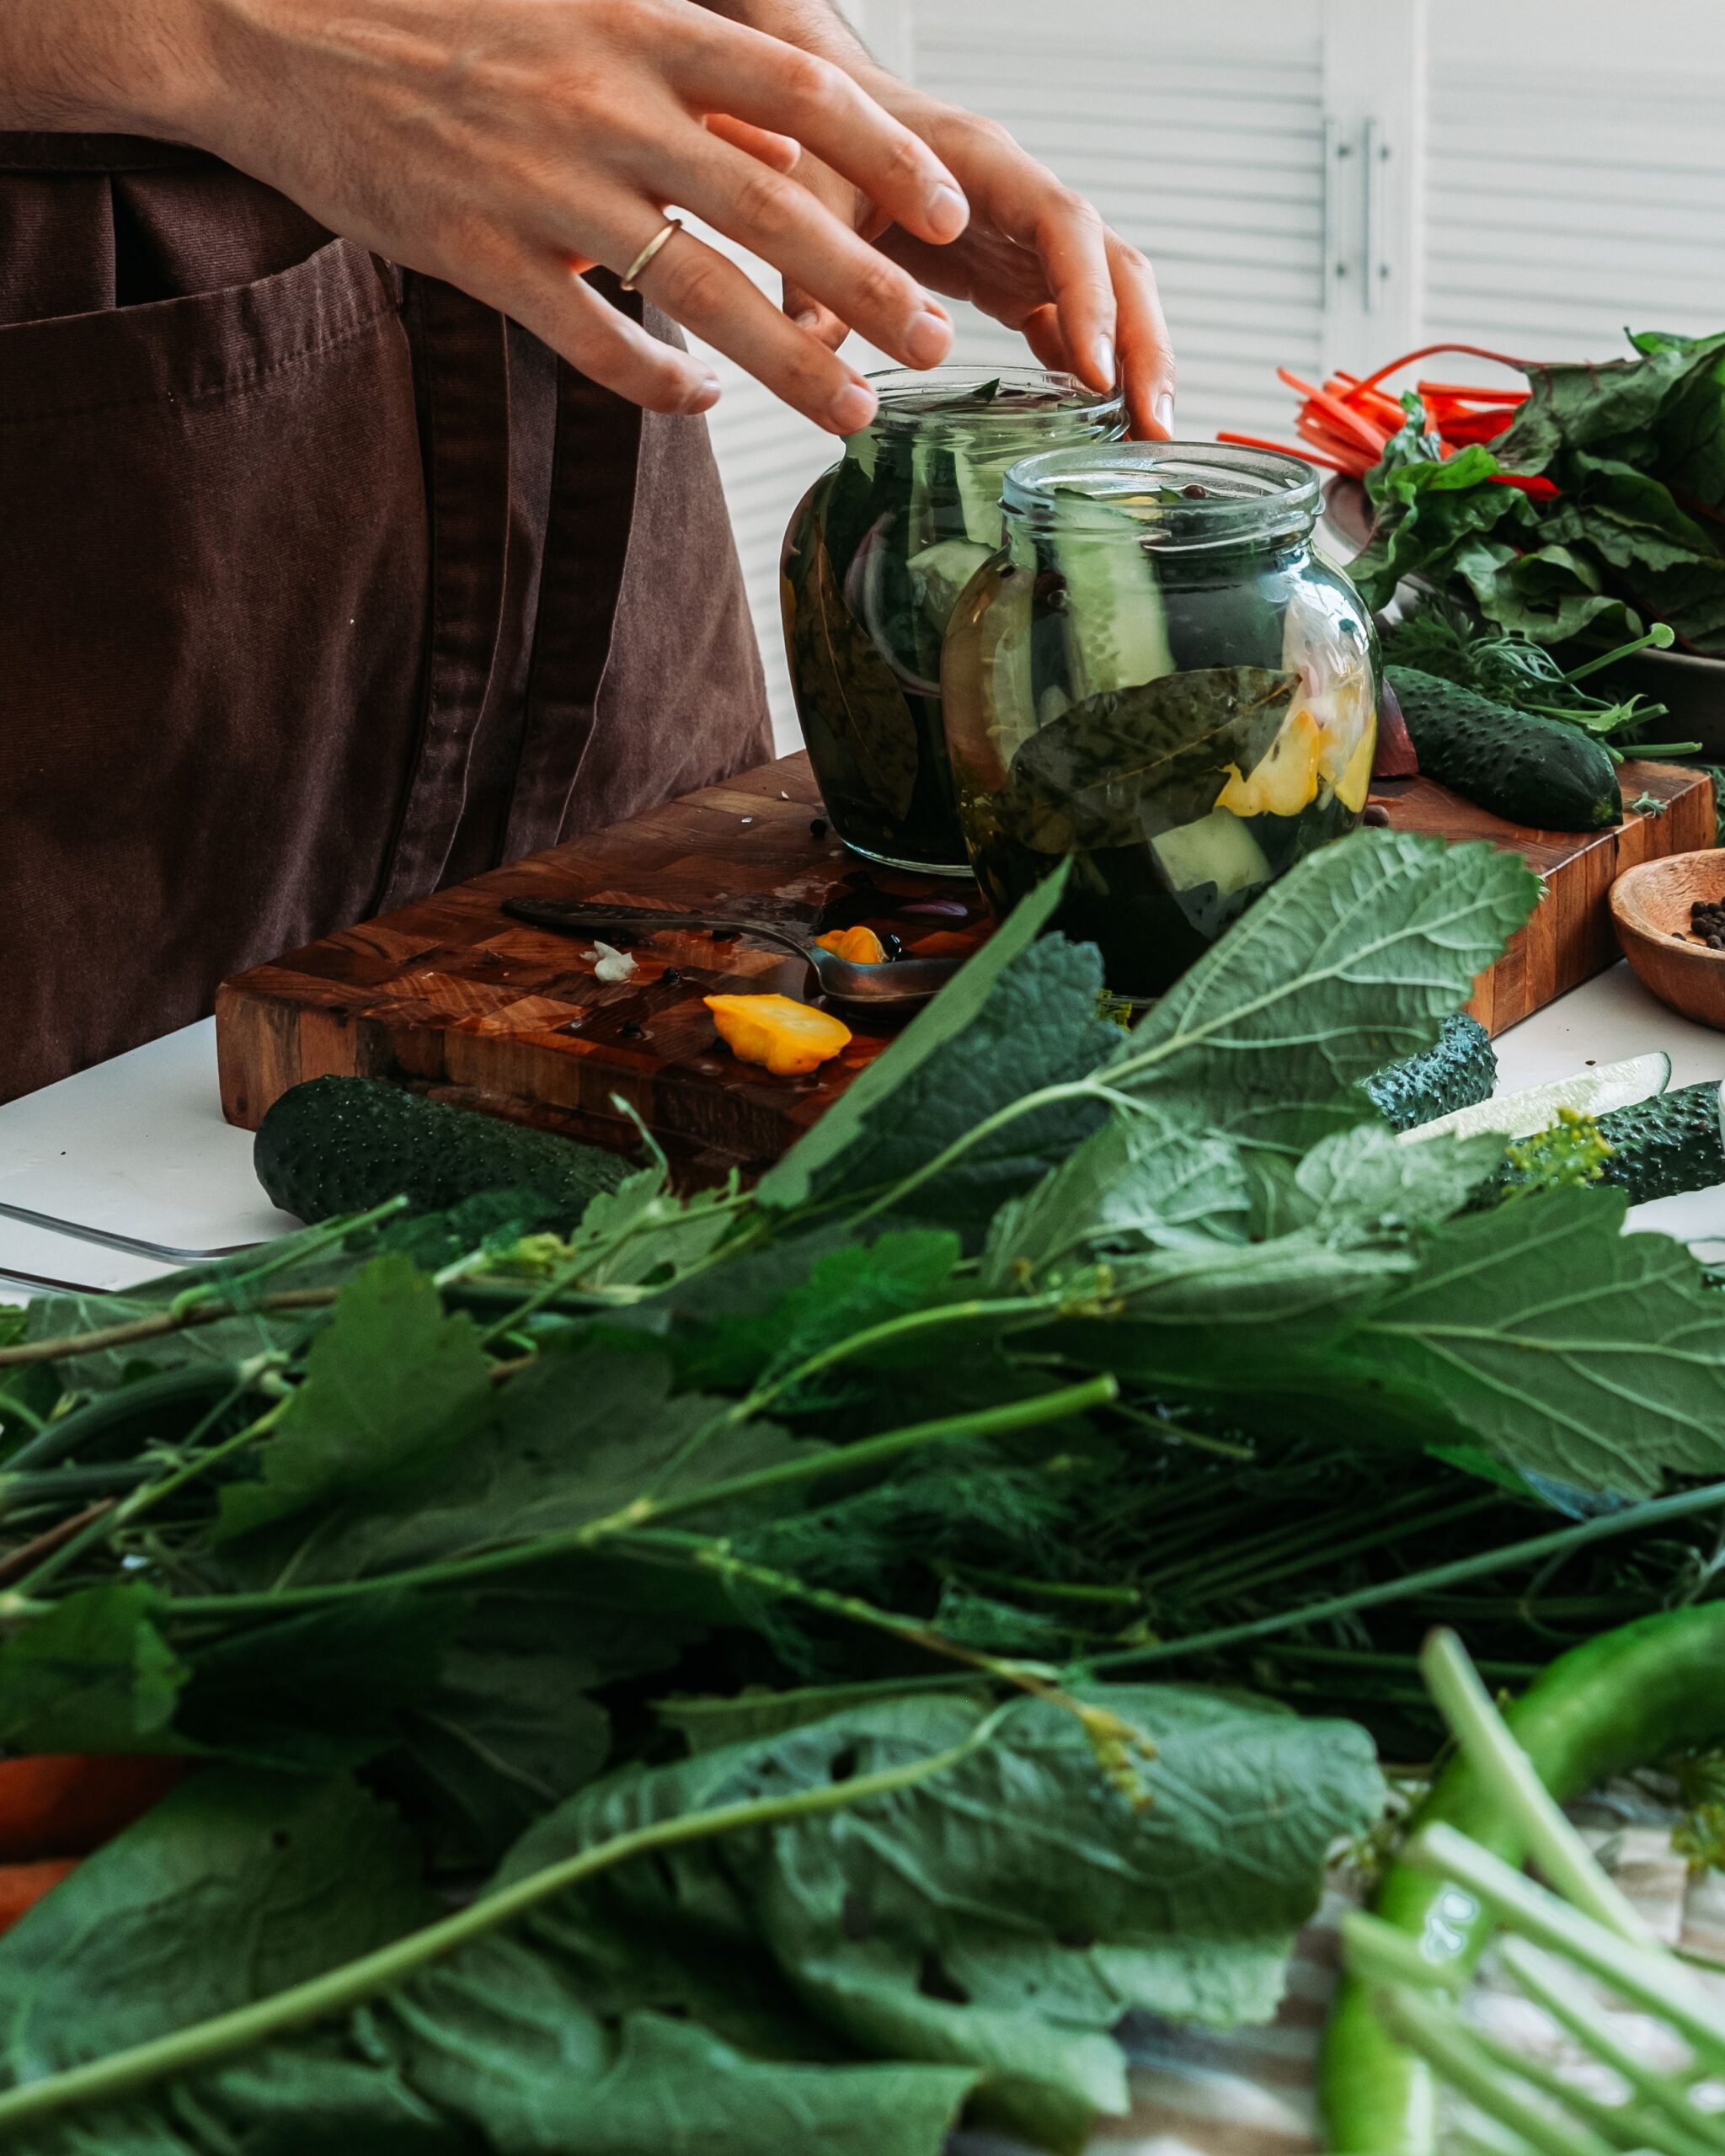
Glass pickling jars with cucumbers and fresh garden herbs on a wooden cutting board
Sealing hard herbs in controlled environments preserves aromatic volatile oils for weeks.

Freezing Surplus Herbs in Olive Oil: The Ice Tray Hack

If you have an abundance of herbs you cannot use within three weeks, drying them often dulls their flavor. The best chef-approved technique is freezing them suspended in fat:

  • Finely mince clean rosemary, thyme, sage, or parsley.
  • Pack clean ice cube trays two-thirds full with the chopped greens.
  • Pour extra virgin olive oil or melted unsalted butter over the top until the herbs are completely submerged.
  • Freeze solid, pop the cubes into a freezer bag, and drop one straight into hot sauté pans, stews, or pasta sauces for instant fresh flavor.

Frequently Asked Questions

Should I wash fresh herbs immediately after buying them?
Wash herbs only immediately before using them unless you own a salad spinner to dry them completely. Storing even slightly damp herbs speeds up bacterial decay dramatically.

Can I revive limp parsley or cilantro that has started to wilt?
Yes! If the leaves are only dehydrated and not discolored or slimy, submerge the entire bunch into an ice water bath for 15 minutes. The cellular walls will re-hydrate and snap back to crisp life.

How long do herbs keep when stored using the mason jar technique?
Stout bunches of flat-leaf parsley and fresh dill routinely stay vibrant, firm, and fully flavorful for 3 to 4 weeks with regular water refreshes.

Essential Knife Skills Every Home Cook Should Master for Faster, Safer Prep

Chef demonstrating the protective claw grip technique while slicing fresh chives on a wooden board

Ask any seasoned line cook or executive chef which single tool defines their efficiency in the kitchen, and they will point to an 8-inch chef’s knife. Yet for countless home cooks, prepping vegetables remains the slowest, most exhausting part of cooking dinner. Slippery onions wobble across plastic cutting boards, herbs end up crushed and bruised rather than cleanly sliced, and fingers stay dangerously close to sharp edges. Mastering basic culinary knife mechanics transforms cooking from an intimidating chore into a fluid, rhythmic, and safe daily ritual.

Chef demonstrating the protective claw grip technique while slicing fresh chives on a wooden board
The protective claw grip secures round produce while shielding fingertips from the blade.

The Foundation: Blade Anatomy and Board Stabilization

Before cutting a single vegetable, culinary schools teach two fundamental setup rules that prevent 90% of household accidents:

  • The Damp Towel Anchor: A cutting board that slips across a smooth kitchen counter is an accident waiting to happen. Always dampen a thin paper towel or dishcloth and place it directly beneath your wooden board. Press down firmly; the board should not budge under pressure.
  • Choosing the Right Board Material: Hardwood edge-grain or end-grain cutting boards (like maple, walnut, or acacia) absorb blade impact and keep your steel sharp. Glass, marble, and ceramic boards dull knife edges within minutes and should never be used for chopping.
  • Understanding Blade Balance: A standard Western or Japanese gyuto knife is designed with a pivot center right where the blade enters the handle (the bolster). Holding the tool at this balance point gives you full leverage without fatiguing your wrist.

How to Hold a Chef’s Knife: The Pinch Grip

Most home cooks grasp the handle like a hammer or extend their index finger straight along the top spine of the blade. Both habits reduce control and force your wrist into strained, jerky motions.

The correct technique used across commercial kitchens is the Pinch Grip:

  1. Pinch the base of the blade right where the steel meets the handle between your thumb and the side of your bent index finger.
  2. Wrap your remaining three fingers (middle, ring, and pinky) comfortably around the handle itself.
  3. Lock your wrist in a neutral line. The knife now becomes an extension of your forearm, allowing the weight of the steel to do the cutting rather than downward muscle pressure.
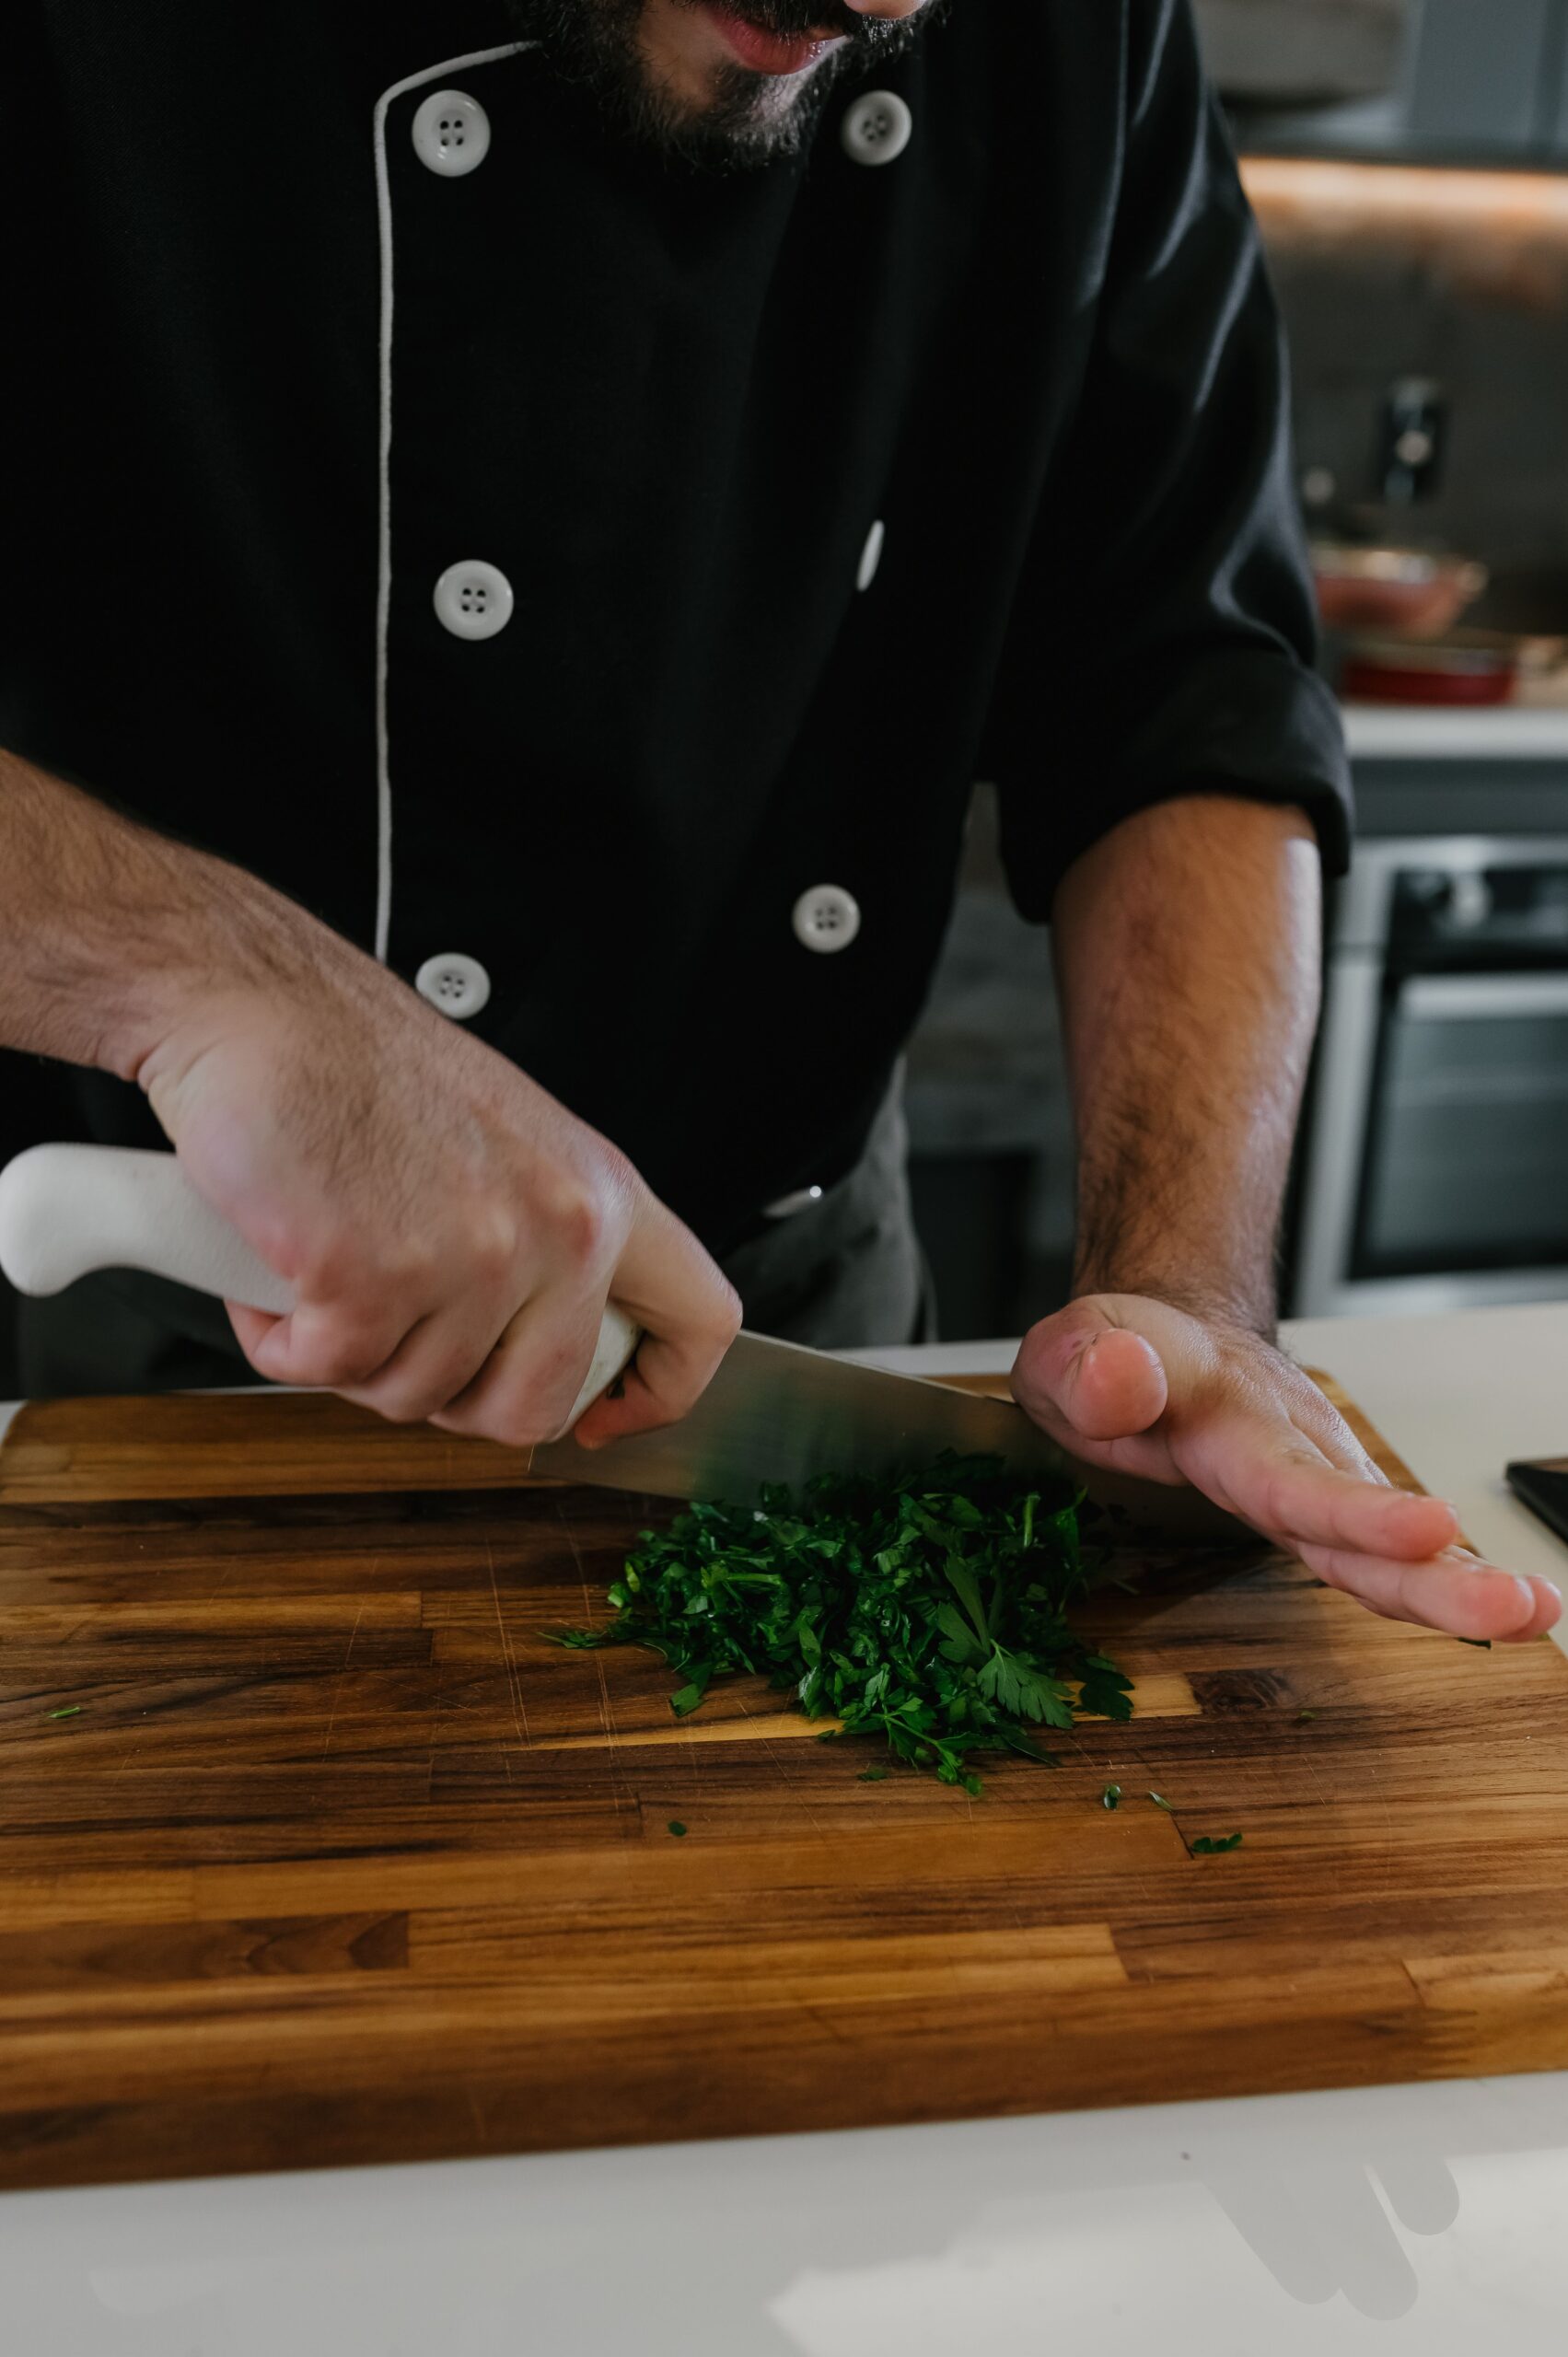
Professional chef mincing fresh flat-leaf parsley using the two-handed rock chop method
The rolling rock chop allows rapid, uniform mincing of herbs without bruising delicate cellular walls.

Guiding the Blade: The Protective Claw Technique

Your non-knife hand is responsible for holding the vegetable in place and guiding cut thickness. Leaving fingertips exposed or flat against the food is the most common cause of painful kitchen cuts.

  • Curl Your Fingertips: Curl your fingers inward like you are clutching a small ball, tucking your fingernails completely beneath your knuckles.
  • Rest the Flat of the Blade: Rest the broad side of your knife blade gently against the middle flat of your guiding knuckles. The blade edge remains lower than the knuckle joint, making it physically impossible for the knife to catch your fingertips.
  • Walk Backwards: As you slice through carrots, cucumbers, or celery, inch your claw hand slowly backward along the food. Keep thumb tucked behind the fingers at all times.

Core Chopping Motions: Slice, Glide, and Rock

TechniqueMotion MechanicBest Suited For
The Rock ChopKeep blade tip on the board; roll the curved belly up and down smoothlyLeafy herbs, garlic cloves, flat greens, and coarse mincing
The Forward Push-CutPush the knife forward and downward simultaneously through the vegetableFirm root vegetables, carrots, potatoes, hard winter squashes
The Draw Cut (Pull-Cut)Draw the sharp heel toward the tip in a light, single backward glideTender tomatoes, soft stone fruit, raw meat cuts, delicate citrus
Sliced tomatoes and fresh vegetables prepped on a round cutting board for mise en place
Uniform vegetable cuts ensure even cooking rates across sauté pans, soups, and roasting trays.

Why Cut Uniformity Matters in Everyday Cooking

Uniform cuts are not just about culinary aesthetics—they directly impact cooking chemistry. When vegetables in a pan vary wildly in size, tiny fragments turn to bitter mush before thicker chunks even soften. Uniformly diced mirepoix (onions, carrots, and celery) browns evenly, releases moisture at identical rates, and forms the balanced flavor base of rich sauces and braises.


Essential Maintenance: Honing vs. Sharpening

Many home cooks mistakenly believe a dull knife is safer than a sharp one. In reality, a dull blade requires heavy downward force, slips off smooth vegetable skins (like bell peppers and tomatoes), and easily cuts hands. Maintaining your edge requires two distinct tools:

  • The Honing Steel (Weekly Alignment): A long metal or ceramic rod does not remove steel. Instead, it straightens the microscopic teeth of the blade edge that curl during cutting. Glide the blade down the rod at a 15-to-20 degree angle 4 to 5 times per side before major prep sessions.
  • Whetstone or Professional Sharpening (Twice Yearly): When a honed knife still squashes rather than cleanly slices through a ripe tomato skin, the edge has lost metal and must be ground on a sharpening stone to restore bevel geometry.
  • Washing Discipline: Never put fine kitchen knives in the dishwasher. High-pressure water knocks blades into racks, dulling the edge, while intense alkaline detergents corrode high-carbon steel and swell wooden handles. Hand-wash with warm water, wipe dry immediately, and store safely on a magnetic wall strip or wooden block.

Frequently Asked Questions

What is the best all-around knife size for a beginner?
An 8-inch chef’s knife or a 7-inch Santoku is the sweet spot. It offers enough length to halve large cabbages or squash, while remaining nimble enough for fine garlic mincing.

How should I scrape cut vegetables off my wooden board?
Never scrape ingredients with the sharp cutting edge of your knife; this curls and blunts the blade in seconds. Always flip the knife and use the flat spine, or use a stainless steel bench scraper.

How can I stop crying while chopping onions?
Keep your knife razor-sharp. A sharp blade cleanly slices onion cells without crushing them, releasing significantly fewer aerosolized syn-propanethial-S-oxide compounds into the air.

The Essential Guide to Seasoning Cast Iron for Perfectly Non-Stick Eggs

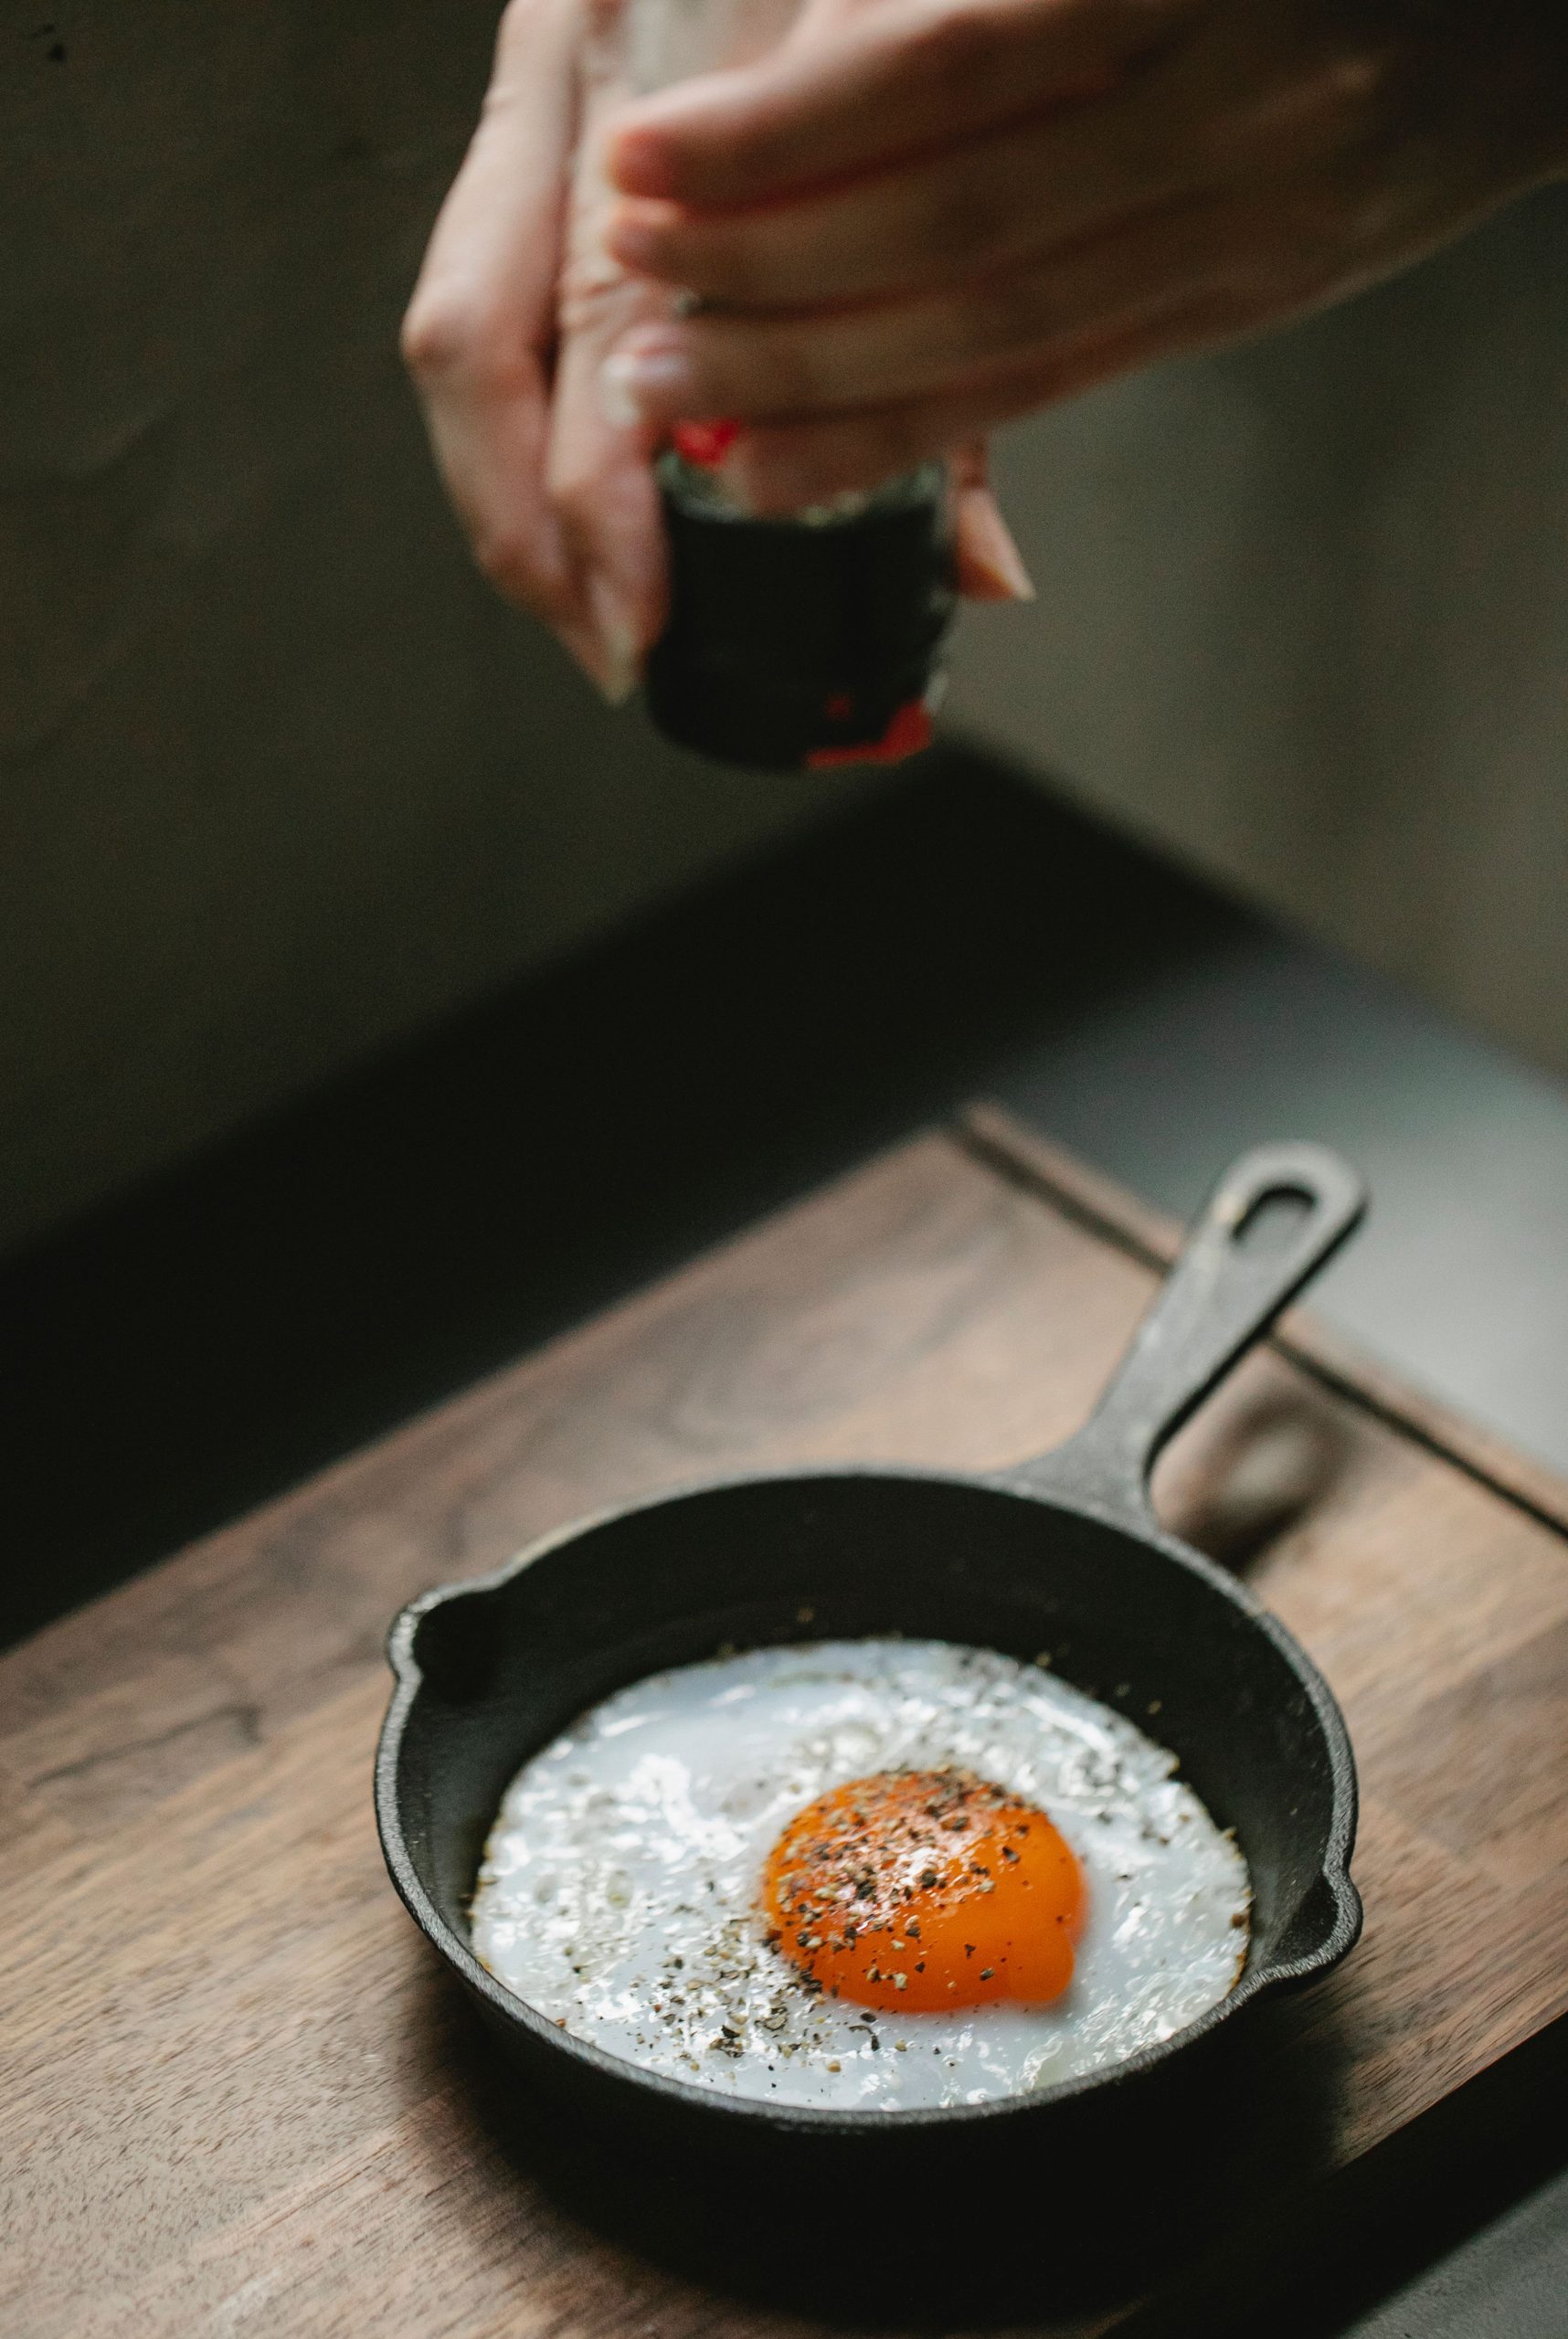
Adding freshly ground black pepper to an egg in a cast iron pan

Few pieces of kitchen cookware evoke as much passion—or spark as much culinary anxiety—as the traditional cast iron skillet. While viral videos showcase delicate sunny-side-up eggs gliding effortlessly across obsidian-black surfaces like stones on frozen ice, the reality for many home cooks is starkly different: torn yolks, stubbornly charred egg whites fused to bare metal, and an exhausting cleanup ordeal. Achieving true non-stick performance on cast iron requires neither magic nor decades of inherited seasoning; it is an approachable balance of surface oil polymerization and strict temperature management.

Seasoned cast iron skillet with a fried egg on a wooden board
A well-polymerized patina creates an exceptionally durable non-stick cooking surface.

Demystifying Seasoning: The Science of Oil Polymerization

A widespread misconception is that seasoning refers to leftover spices, cooking oils, or residual bacon grease lingering on the skillet floor. In reality, seasoning is a biochemical transformation called cross-linked polymerization. When an extremely thin layer of unsaturated cooking oil is heated beyond its smoke point against porous raw iron, the fatty acid chains break down, oxidize, and fuse together. This reaction bonds a glassy, organic plastic-like barrier into the microscopic valleys of the metal casting, creating a rust-resistant, naturally slick shield.

  • Microscopic Pore Sealing: Raw cast iron surfaces are naturally pitted and granular; polymer fills those crevices to produce a level plane.
  • Layered Hydrophobic Coating: Polymerized oil repels liquid moisture, protecting reactive iron from oxidizing into rust while preventing wet proteins from locking onto pores.
  • Cumulative Durability: Each subsequent cooking session with moderate fat builds microscopic strata, darkening the pan into an indestructible heirloom finish.

Oven Seasoning: Building an Unshakeable Foundation

If your skillet looks dull gray, feels coarse, or causes proteins to seize on contact, laying down a fresh structural base resets the cookware completely. You need only a neutral fat with high smoke properties and a standard kitchen oven:

  1. Deep Cleansing & Complete Desiccation: Scrub the pan thoroughly with warm water and mild dish soap to remove loose dust or stale fat. Dry immediately with a lint-free cloth, then place the skillet over low burner heat for 3 minutes to banish all trace humidity.
  2. Micro-Application of Oil: Dispense half a teaspoon of high-smoke point oil—such as grapeseed, organic canola, or pure vegetable shortening—into the warm skillet center.
  3. The Complete Buff-Out: Using a dedicated cotton rag, rub the oil thoroughly across the entire skillet: cooking basin, exterior sidewalls, and handle. Switch to a completely clean, dry rag and aggressively wipe the pan until it appears totally dry. If the metal retains any visible gloss, excess oil will turn sticky and mottled during baking.
  4. High-Temperature Baking: Line the bottom rack of your oven with aluminum foil to catch stray drips. Place the skillet completely upside-down on the middle rack. Heat the oven to 450°F (230°C) and bake undisturbed for 60 minutes.
  5. Controlled Cooling: Turn off the oven, leave the door closed, and allow the iron to cool naturally to room temperature over 2 hours. Repeat this procedure twice for a pristine glassy foundation.
Adding freshly ground black pepper to an egg in a cast iron pan
Uniform seasoning and precise burner temperature ensure delicate egg whites release effortlessly.

How to Cook Eggs That Slide: Heat, Fat, and Patience

While an even patina is necessary, cooking flawless eggs without sticking is largely an exercise in thermodynamics. Cast iron possesses tremendous heat retention, yet conducts heat slowly compared to aluminum. Follow this systematic kitchen sequence:

  • Gentle Progressive Pre-Heating: Never drop eggs into cold iron or place a cold pan over high flame. Warm your skillet over medium-low heat for 4 to 5 minutes until radiant warmth is palpable two inches above the base.
  • The Butter Barrier: Cooking oils lubricate, but unsalted butter provides visual cues. Add half a tablespoon; the butter should froth and melt smoothly without browning instantly. Swirl to coat the floor and inner rim.
  • Tempering the Eggs: Cold eggs straight from refrigeration shock hot cooking surfaces, dropping temperature instantly and causing albumen proteins to grip bare iron. Let eggs sit on the counter for 5 to 10 minutes beforehand.
  • Patience During Protein Coagulation: Slide the egg into the foaming butter and resist nudging it immediately. Allow the white to set undisturbed for the initial 60 to 90 seconds. As albumen firms up, it contracts and naturally releases itself from the seasoned patina. A gentle shake of the pan or nudge with a thin silicone spatula will send the egg gliding smoothly.
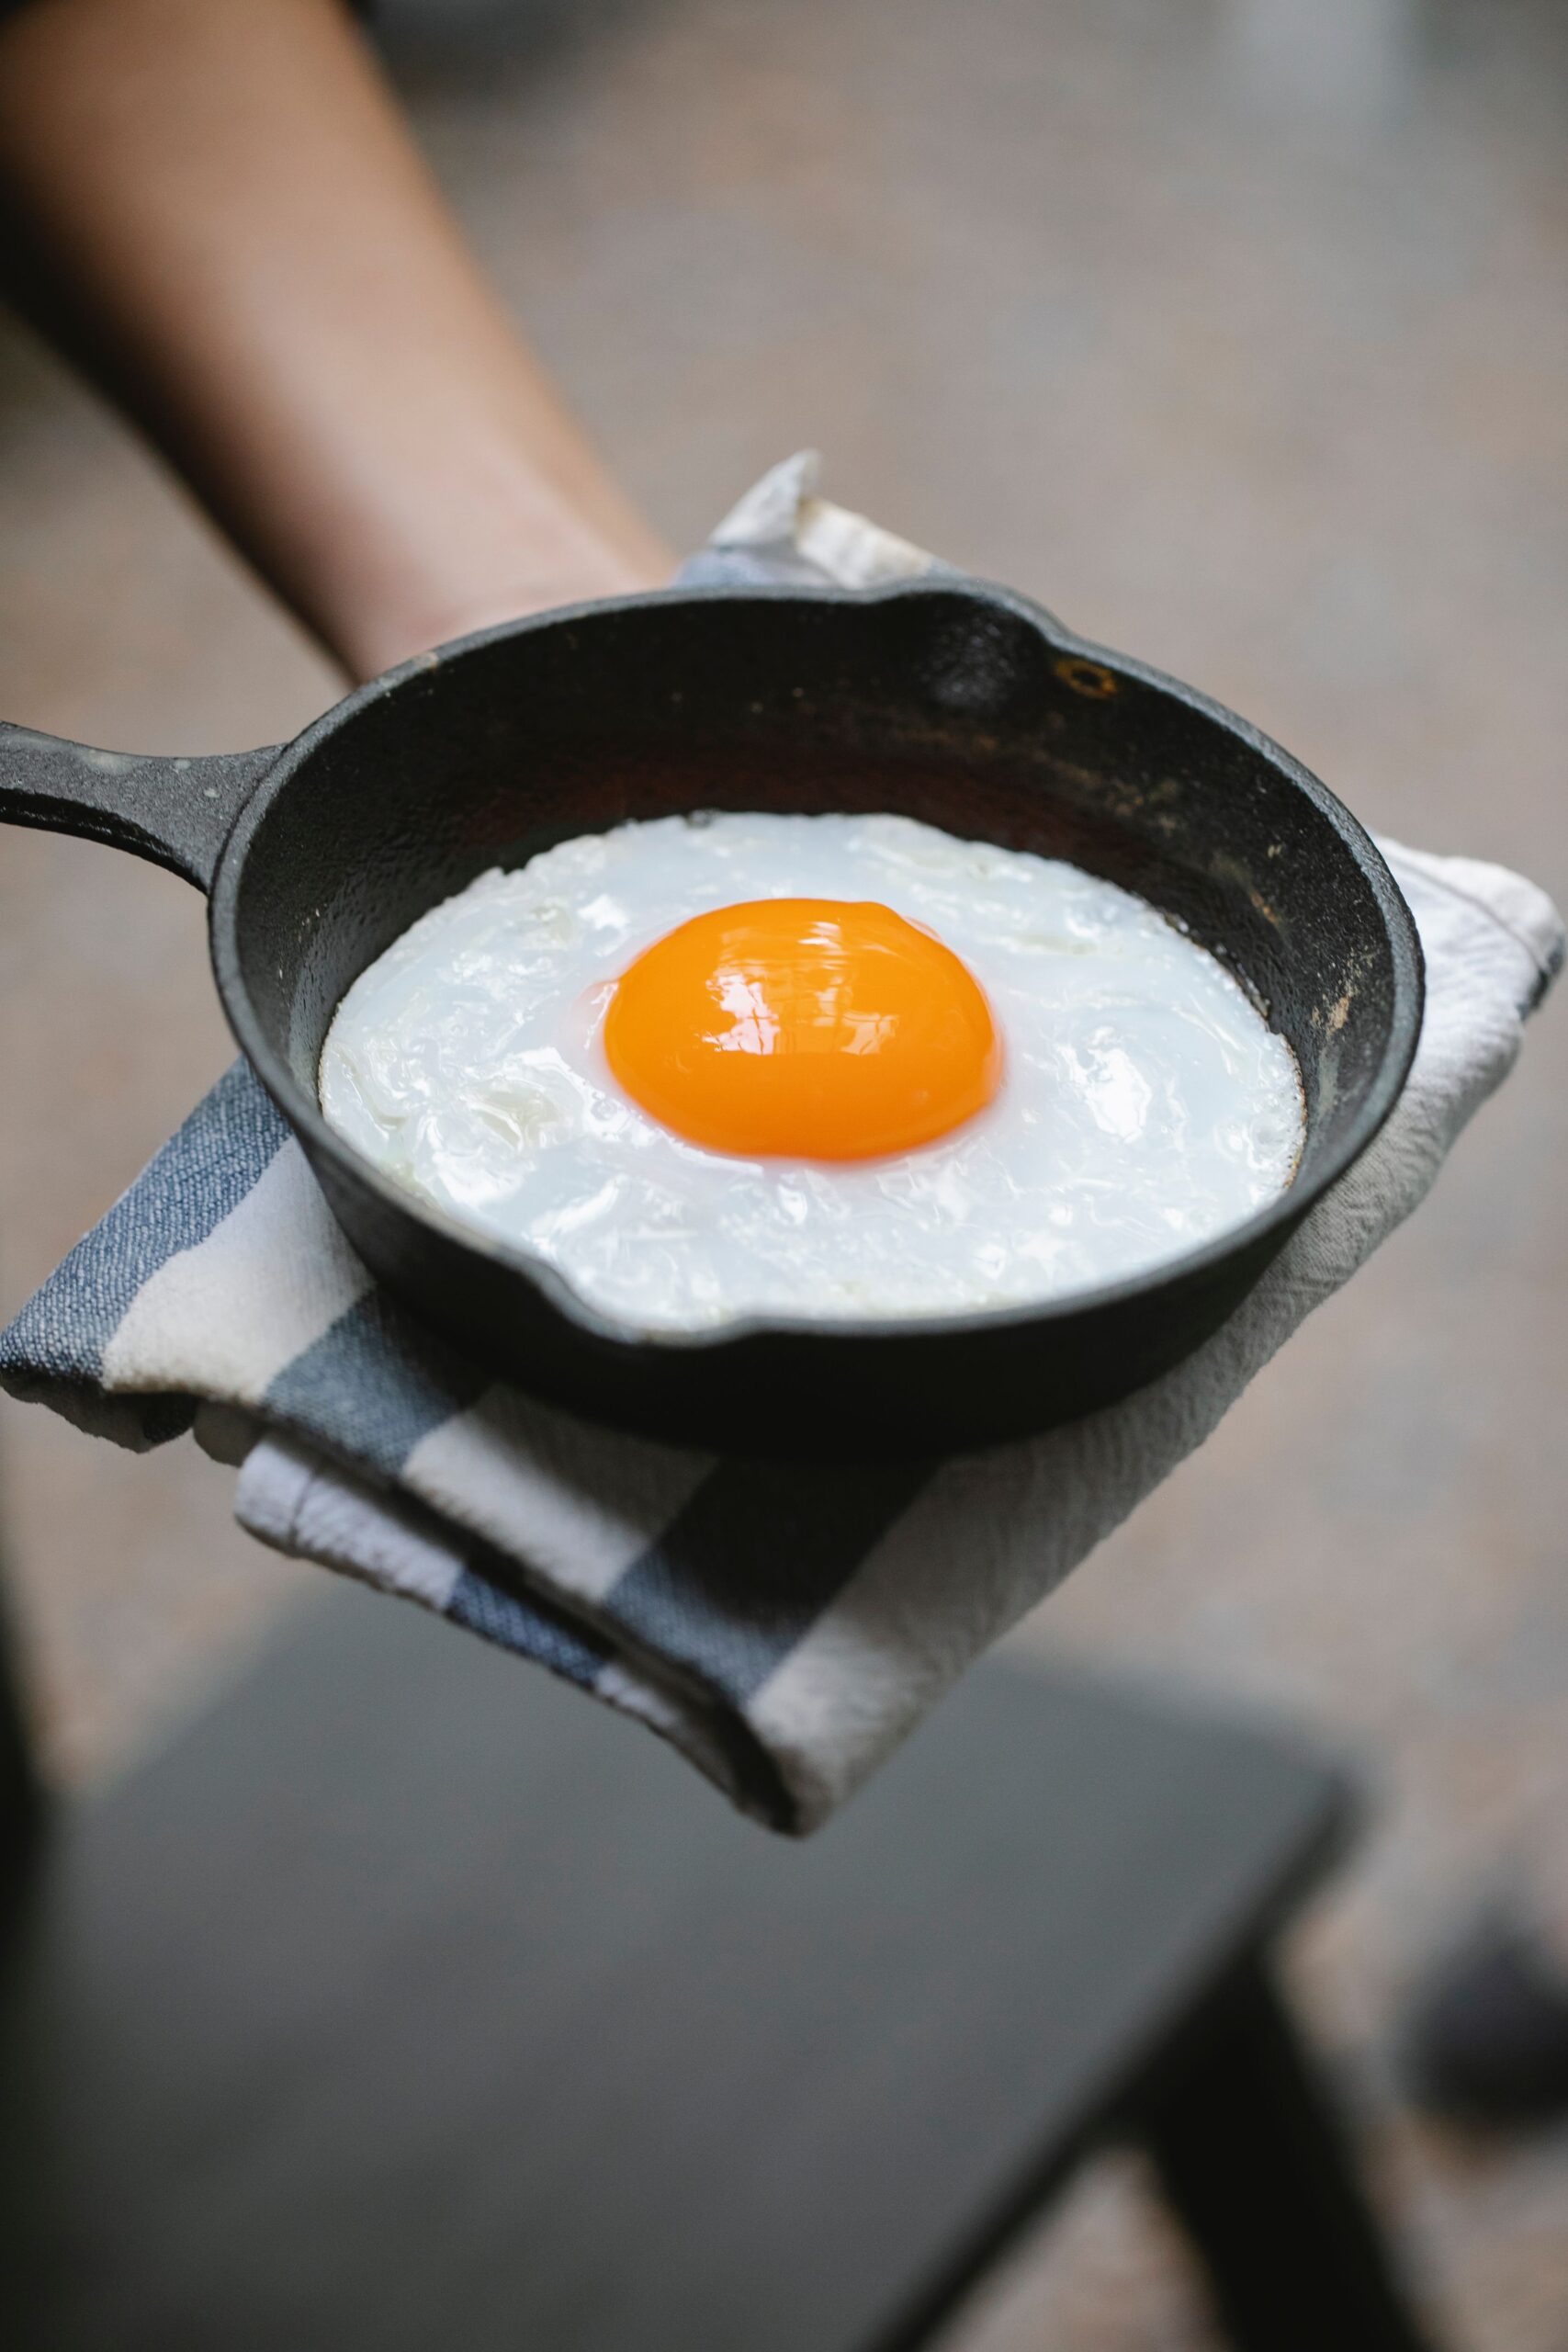
Perfect sunny-side up egg in a small cast iron skillet held with a kitchen towel
A beautifully cooked sunny-side-up egg with unbroken yolk cooked in mini cast iron.

Cast Iron Troubleshooting Matrix

SymptomPrimary CauseCorrective Action
Sticky, gummy cooking surfaceExcess oil applied during oven seasoning cycleScrub vigorously with coarse salt and warm water, then reheat dry pan to 450°F to fully cure fat.
Egg whites tear and adherePan was underheated or fat was added cold with the eggPreheat pan for a full 5 minutes over medium-low; let butter foam completely before dropping eggs.
Black flakes in cooked foodCarbonized food burnt onto pan surface over peeling seasoningScrub away loose carbon with a stiff bristle brush; re-season with a thin wiped coat of oil.
Dull orange discoloration (Surface Rust)Pan air-dried wet or exposed to excess ambient humidityScrub clean with steel wool down to fresh metal, wash, dry on stove, and execute a fresh seasoning coat.

Maintenance Protocols: Keeping the Patina Pristine

Longevity comes down to everyday hygiene practices that safeguard the polymerized oil film:

  • Clean While Lukewarm: Wash the skillet promptly while it retains moderate heat. Warm water paired with a nylon brush or chainmail scrubber cleans debris in seconds without scraping seasoning away.
  • Soap Is Safe, Dishwashers Are Fatal: Modern mild dish detergents lack lye and will not degrade cured polymers. Never put cast iron through an automatic dishwasher, which strips seasoning and triggers immediate oxidation.
  • Stovetop Dehydration & Oil Conditioning: After drying with a towel, set the pan over medium heat on your stove for 60 seconds until bone-dry. Wipe two drops of neutral cooking oil across the cooking floor with a paper towel before putting the pan into dry storage.

Frequently Asked Questions

Can I cook acidic foods like tomato sauce in cast iron?
Brief sautés with cherry tomatoes are completely safe on mature seasoning. However, simmering acidic tomato sauces or wine reductions for hours can wear down young seasoning layers and impart a metallic aftertaste.

Which oil is best for regular cast iron seasoning?
Grapeseed oil, refined avocado oil, and canola oil are top choices due to their elevated smoke points and favorable fatty acid profiles that cross-link smoothly without turning tacky.

Do I need metal spatulas to cook eggs?
A flexible, thin stainless steel fish spatula is ideal. Its beveled edge slips smoothly under tender egg whites, while gradually polishing microscopic high spots on the pan surface over time.