Few baked treats match the sensory appeal of a homemade chocolate brownie that strikes the exact boundary between a chewy confection and a dense, melt-in-your-mouth fudge. Yet, countless home bakers end up with either dry, cake-like squares or underbaked greasy centers. Achieving that coveted bakery-style texture—complete with an ultra-thin, tissue-paper crinkly top—relies on food chemistry rather than complicated culinary tools. By understanding butter emulsion, cocoa fat saturation, and sugar dissolution, you can bake flawless brownies every time.
Fudgy vs. Cakey: The Science of Fat-to-Flour Ratios
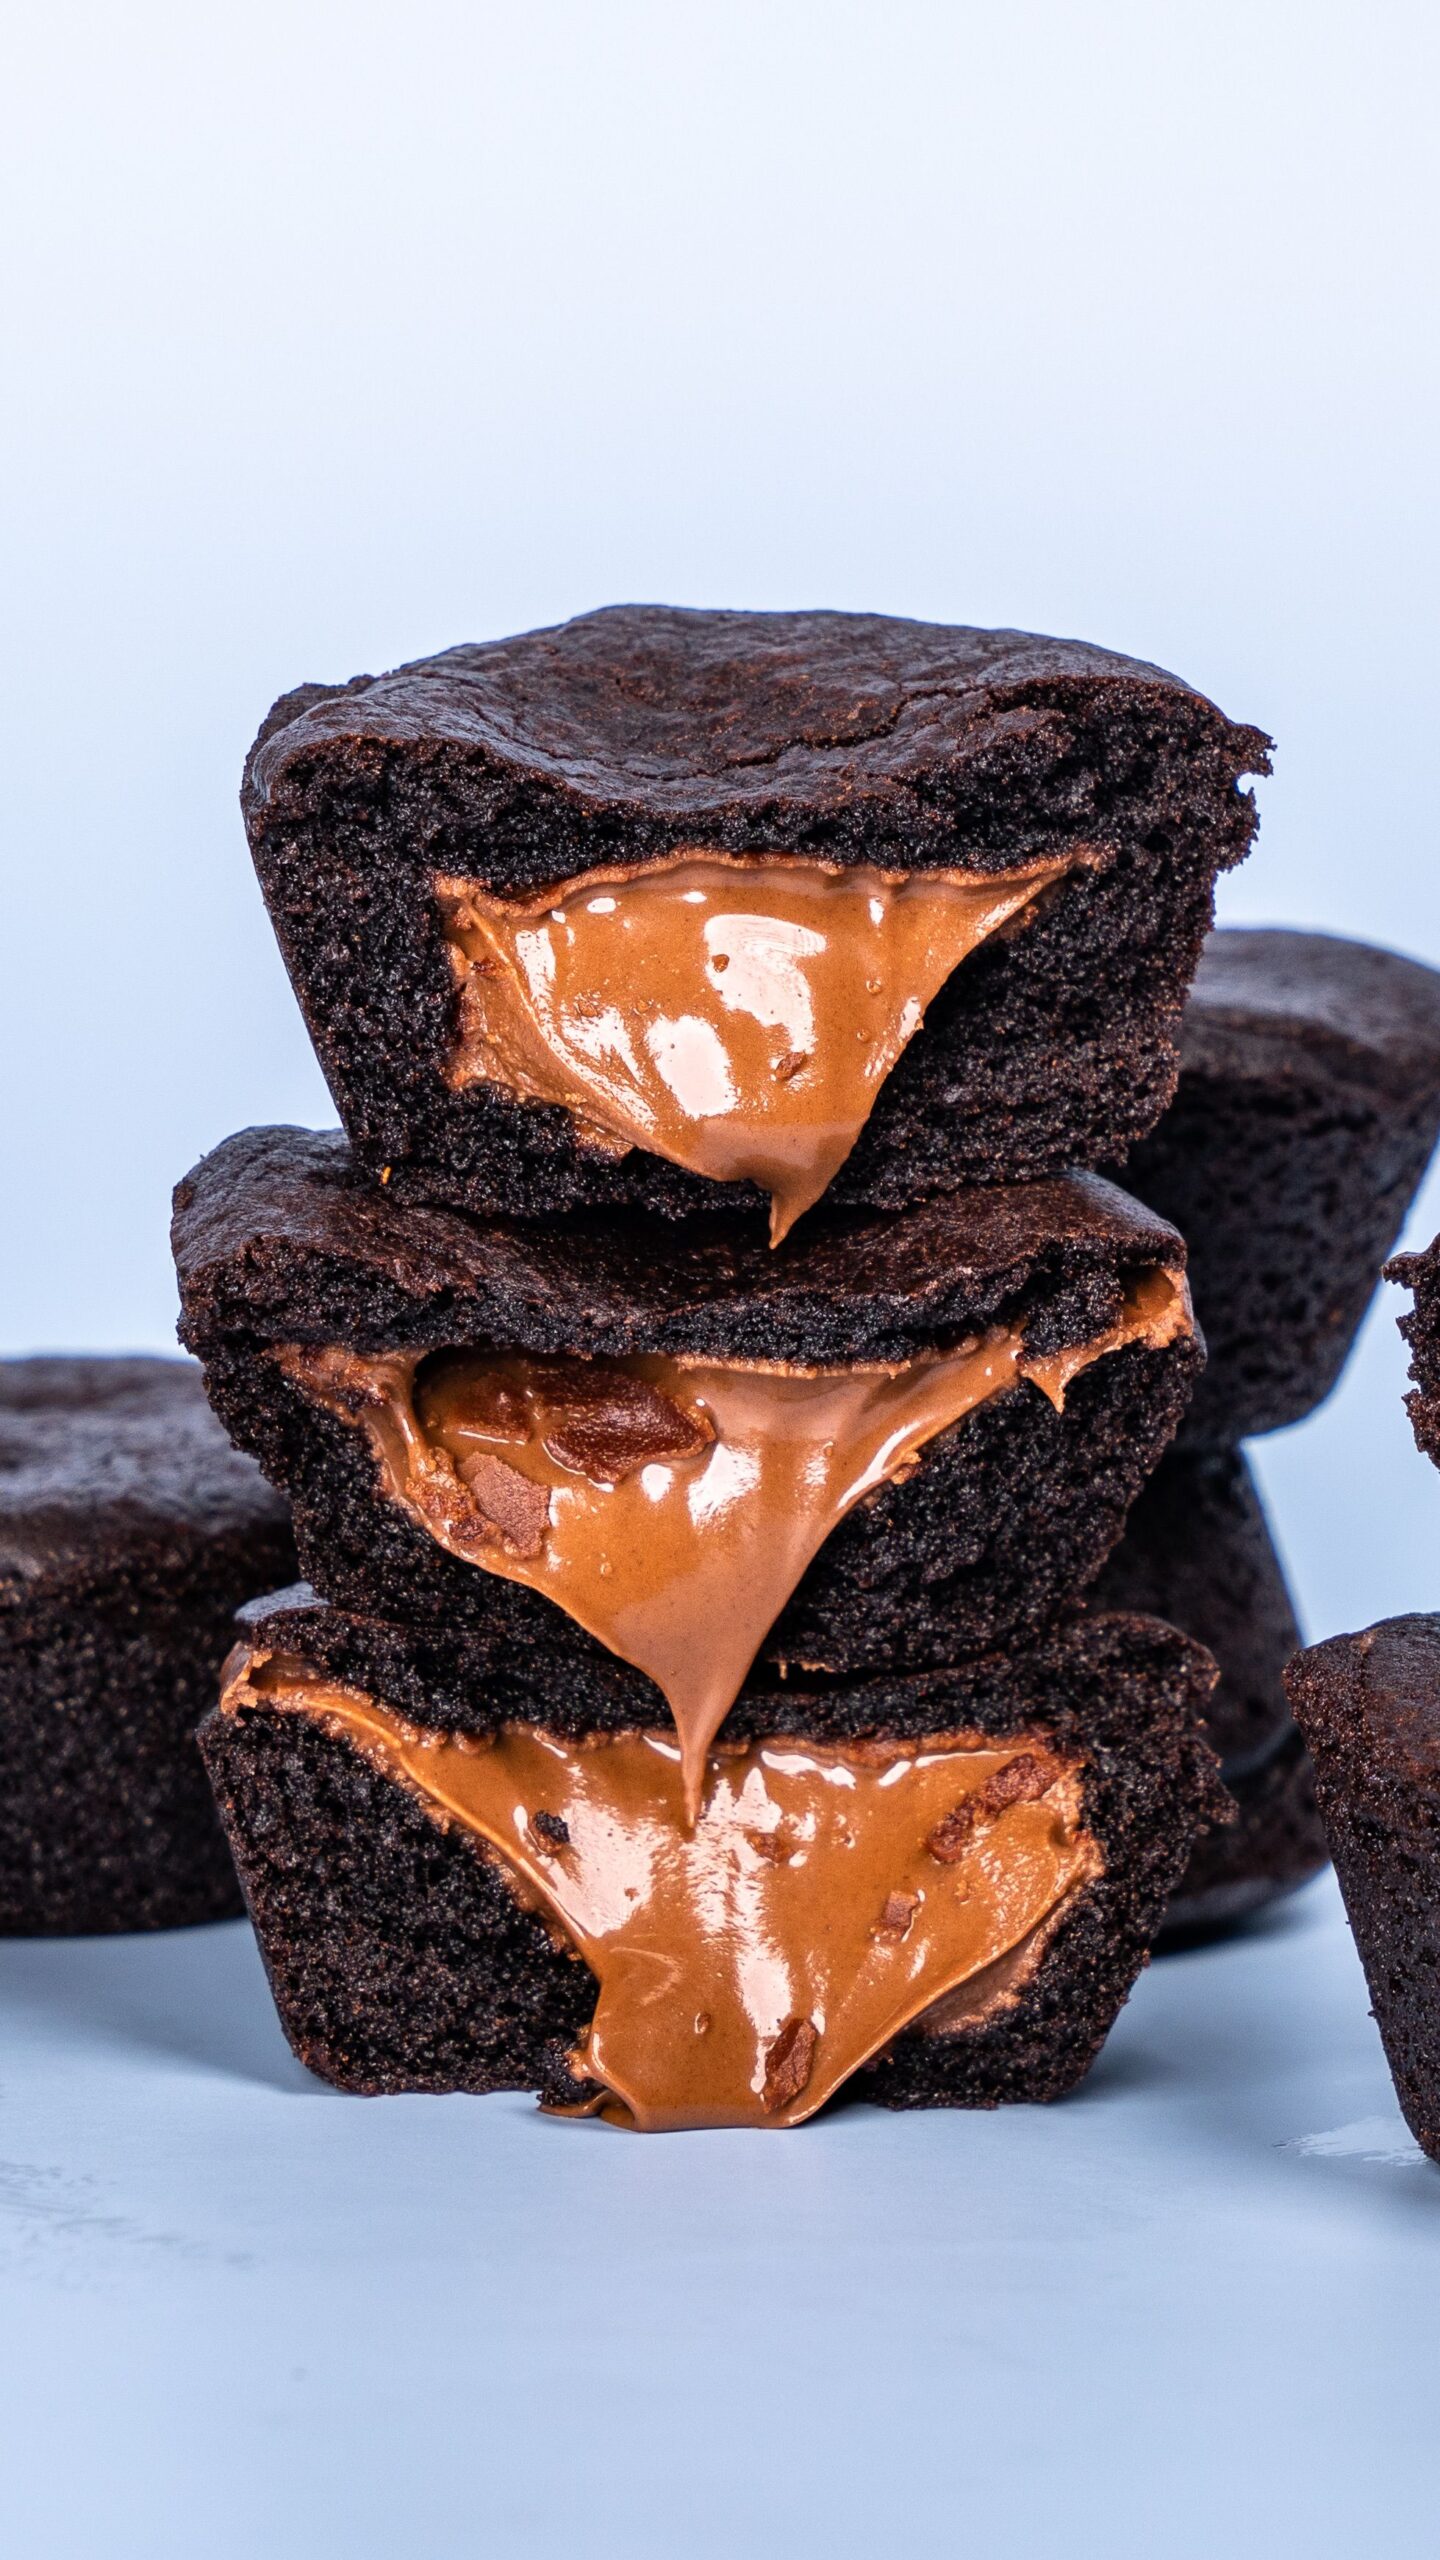
The structural difference between a light, airy cake and a fudgy brownie comes down to two primary baking mechanics: chemical leaveners and the fat-to-flour ratio.
- Eliminating Chemical Leavening: Authentic fudgy brownies should contain zero baking powder or baking soda. Adding chemical leaveners releases carbon dioxide during baking, creating an open crumb structure that converts dense fudge into sponge cake.
- High Fat-to-Flour Proportions: Cakey brownies rely on high flour volumes and creaming butter with sugar to trap air pockets. Fudgy brownies invert this formula: they maximize pure melted chocolate and butter while reducing all-purpose flour to the bare minimum needed to bind proteins together.
- Dutch-Processed Cocoa vs. Melted Chocolate: Relying exclusively on dry cocoa powder yields a dry crumb. Combining high-percentage dark chocolate (60% to 70% cacao) with melted butter provides essential cocoa butter lipids that set into a velvety solid at room temperature.
The Chemistry Behind the Glossy Crinkly Crust
That coveted paper-thin, glossy crust is not created by baking temperature; it is a microscopic layer of meringue formed on top of the batter before entering the oven.
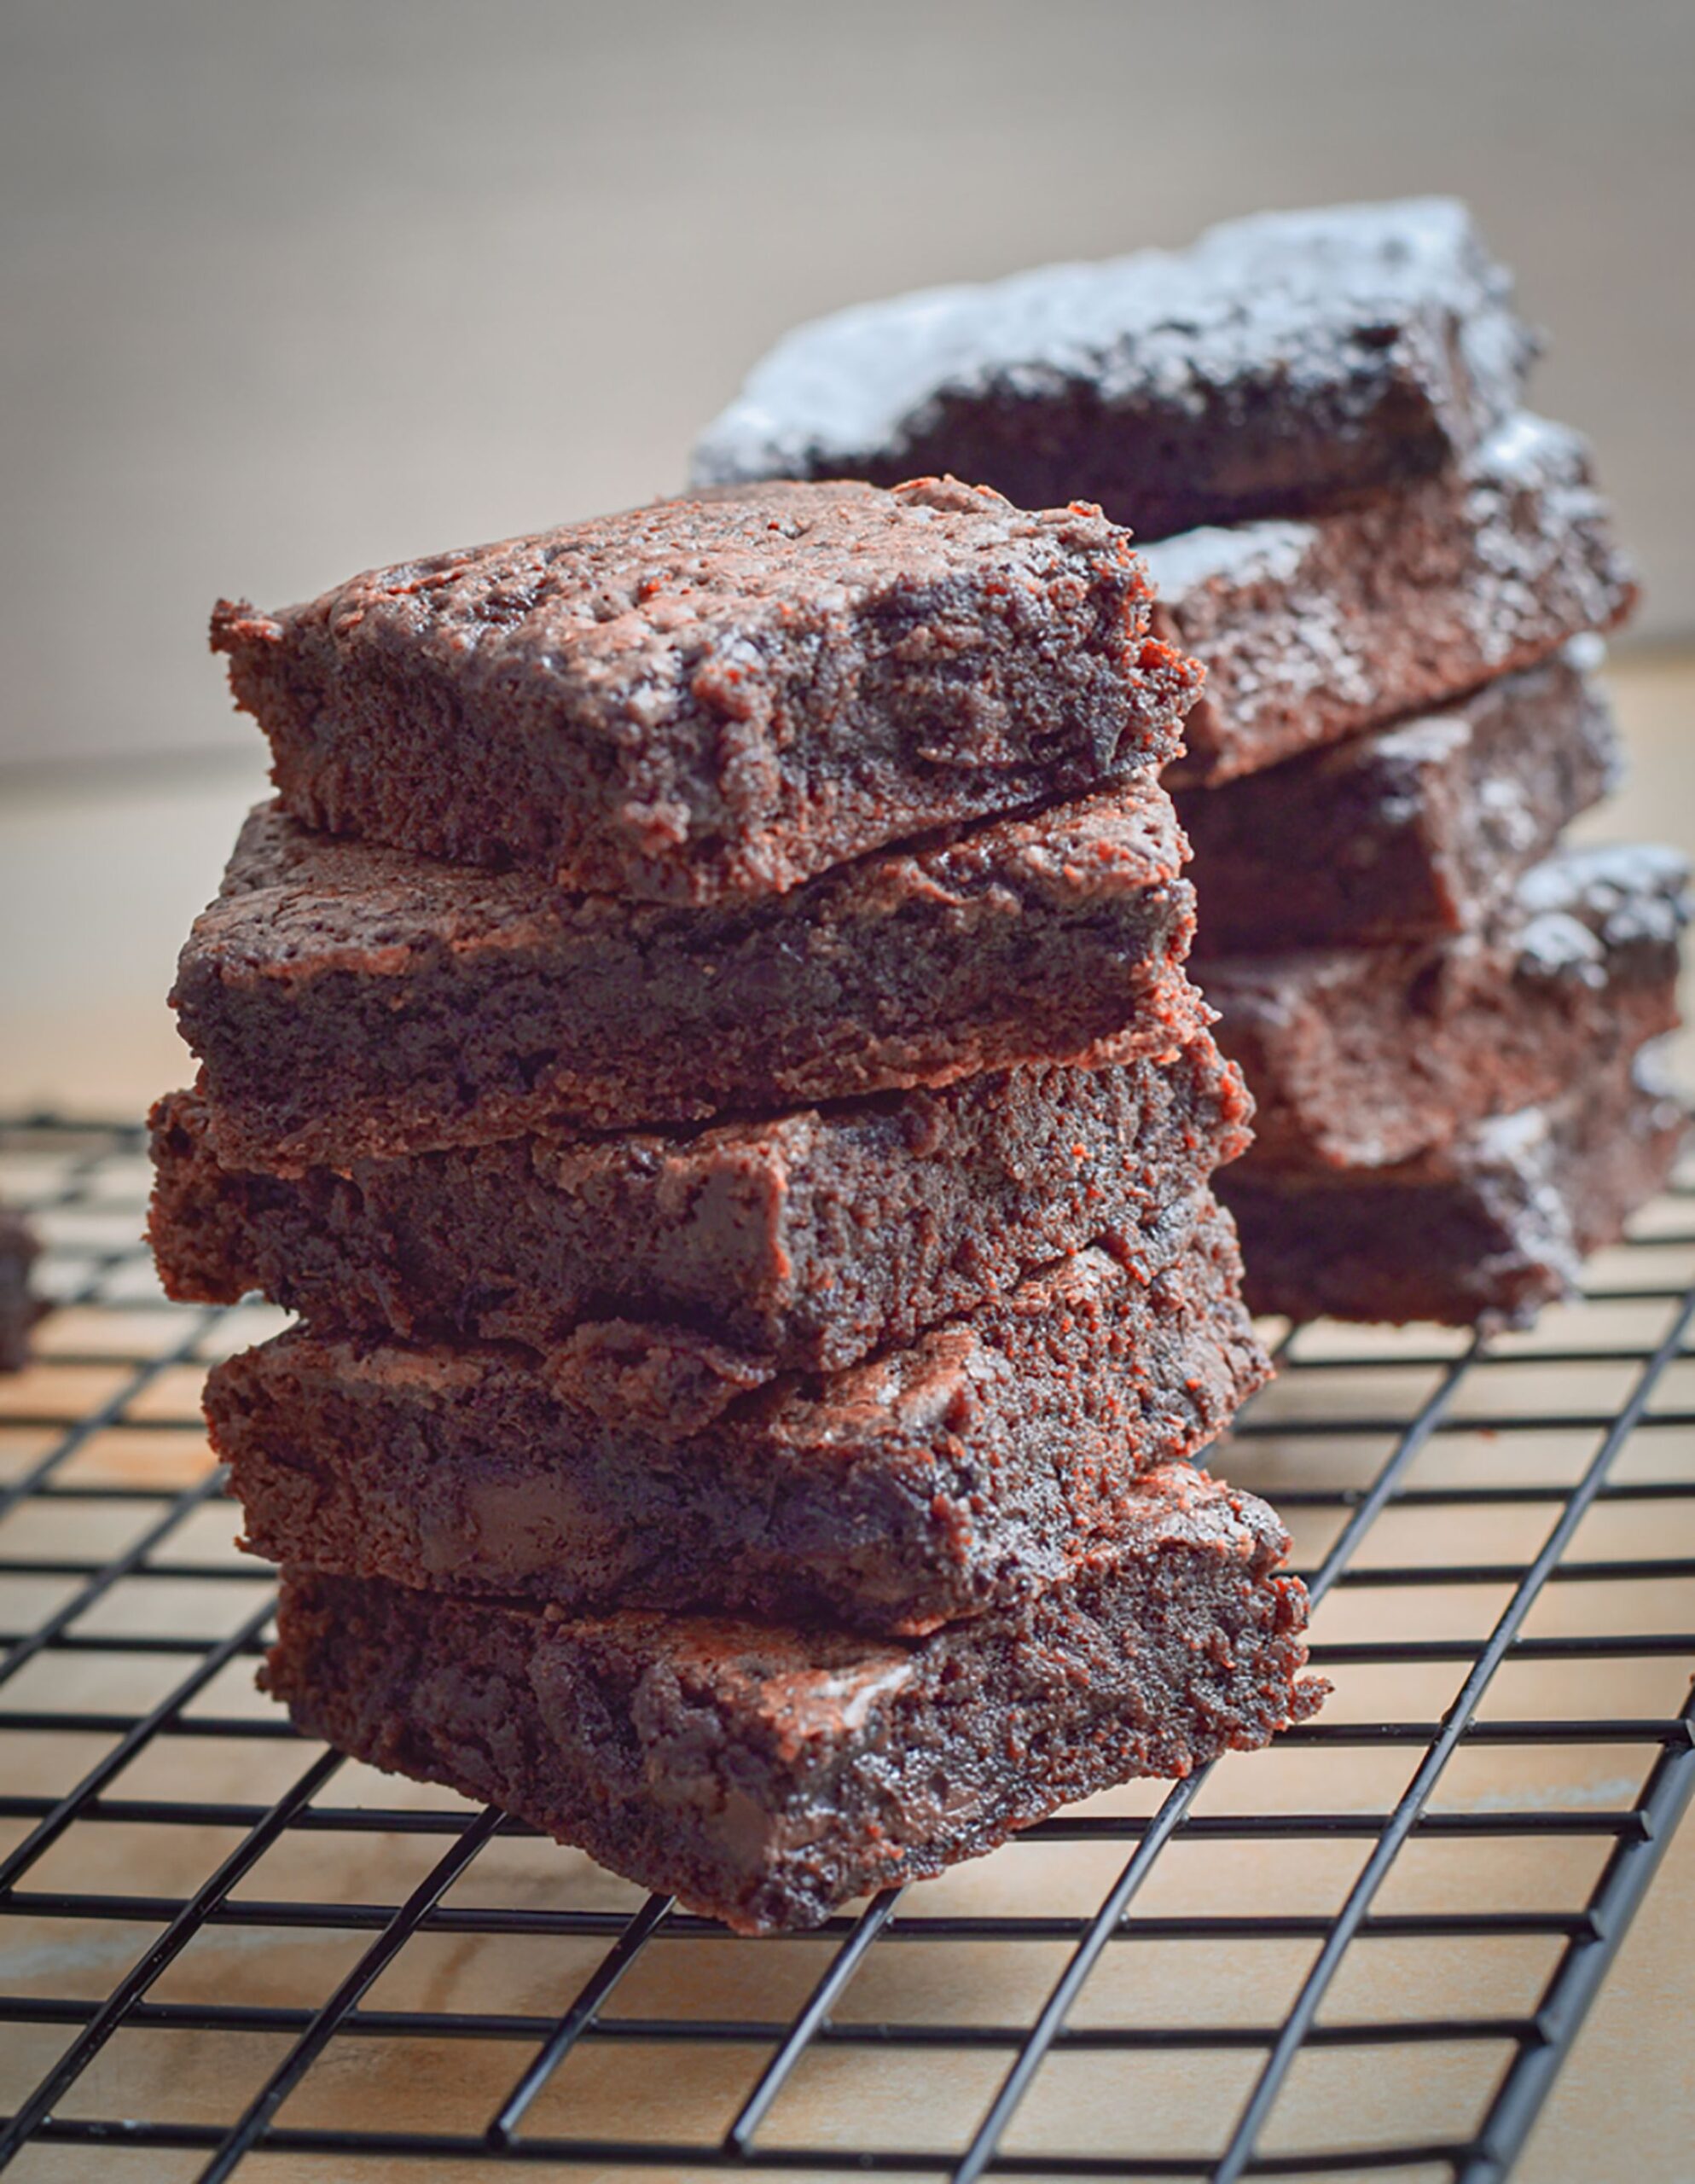
To produce this surface every single time, follow two strict steps:
- Dissolve the Sugar Completely: Granulated sugar must dissolve into the moisture of the eggs. Whisk room-temperature whole eggs and granulated sugar vigorously for 3 to 5 minutes until the mixture turns pale, thick, and ribbon-like.
- Warm Fat Incorporation: Pouring warm (not boiling) melted butter and chocolate into the whipped eggs draws the dissolved sugar to the surface as the batter rests in the baking pan. In the oven, this thin sugar-protein film dries out first, fracturing into the classic crinkled lid.
Core Ingredient Specifications
| Ingredient | Exact Measurement | Functional Role in Baking |
|---|---|---|
| Dark Chocolate (65%-70%) | 8 oz (225g), chopped | Supplies rich cocoa solids, deep bitterness, and essential cocoa butter. |
| Unsalted Butter | 1 cup (2 sticks / 225g) | Provides clean dairy fat to tenderize gluten and emulsify chocolate. |
| Granulated Cane Sugar | 1 1/4 cups (250g) | Essential for dissolving with eggs to create the glossy top crust. |
| Brown Sugar (Packed) | 1/2 cup (100g) | Adds natural molasses hygroscopic moisture for a rich, chewy center. |
| Large Eggs | 4 whole eggs + 1 yolk (room temp) | Provides structure, protein binding, and rich emulsifying lecithin. |
| All-Purpose Flour | 3/4 cup (95g), spooned & leveled | The minimal structural anchor; overmeasuring causes cakey texture. |
| Dutch Cocoa Powder | 1/3 cup (30g), sifted | Delivers an intense, alkalized chocolate backnote without acidity. |
| Fine Sea Salt & Vanilla | 1 tsp salt + 1 tbsp pure vanilla | Cuts through sugar sweetness and amplifies deep chocolate aromatics. |
Step-by-Step Baking Protocol
- Pan Preparation: Preheat your oven to 350°F (175°C). Line an 8×8-inch or 9×9-inch metal baking pan with parchment paper, leaving an overhang on two sides to act as a sling. Avoid glass baking dishes, as glass conducts heat slowly and creates gummy, uneven edges.
- Melt the Fat Phase: In a heatproof bowl set over a pot of barely simmering water (double boiler), melt chopped dark chocolate and unsalted butter together, stirring gently until smooth and glossy. Remove from heat and let cool until lukewarm.
- Whip Eggs and Sugars: In a large mixing bowl, combine whole eggs, the extra egg yolk, granulated cane sugar, and brown sugar. Beat with a hand mixer or balloon whisk vigorously for 4 full minutes until pale, frothy, and noticeably thickened. Stir in pure vanilla extract and sea salt.
- Emulsify: Slowly stream the lukewarm melted chocolate mixture into the whipped eggs, folding gently with a silicone spatula until thoroughly incorporated into a uniform batter.
- Fold the Dry Ingredients: Sift the all-purpose flour and Dutch cocoa powder over the wet batter. Fold gently with your spatula just until dry flour streaks vanish. Do not overmix, as working the batter develops tough gluten strands.
- Bake with Precision: Spread the thick batter evenly into your prepared baking pan. Bake at 350°F for 28 to 32 minutes. When tested with a wooden toothpick inserted into the center, it should come out with a few moist crumbs clinging to it—never wet liquid batter, and never completely clean and dry.
The Critical Cooling and Slicing Rule
The most common mistake home bakers make happens after taking the pan out of the oven. Slicing into a warm brownie releases trapped steam immediately, turning the fudgy interior gummy and messy.
- Cool at Room Temperature: Allow the brownies to cool completely in the metal pan on a wire rack for at least 2 hours. The residual heat finishes setting the center.
- The Refrigerator Chill: For razor-sharp bakery edges, transfer the cooled pan to the refrigerator for 60 minutes. Cold temperatures solidify the cocoa butter and dairy fat, creating clean cuts.
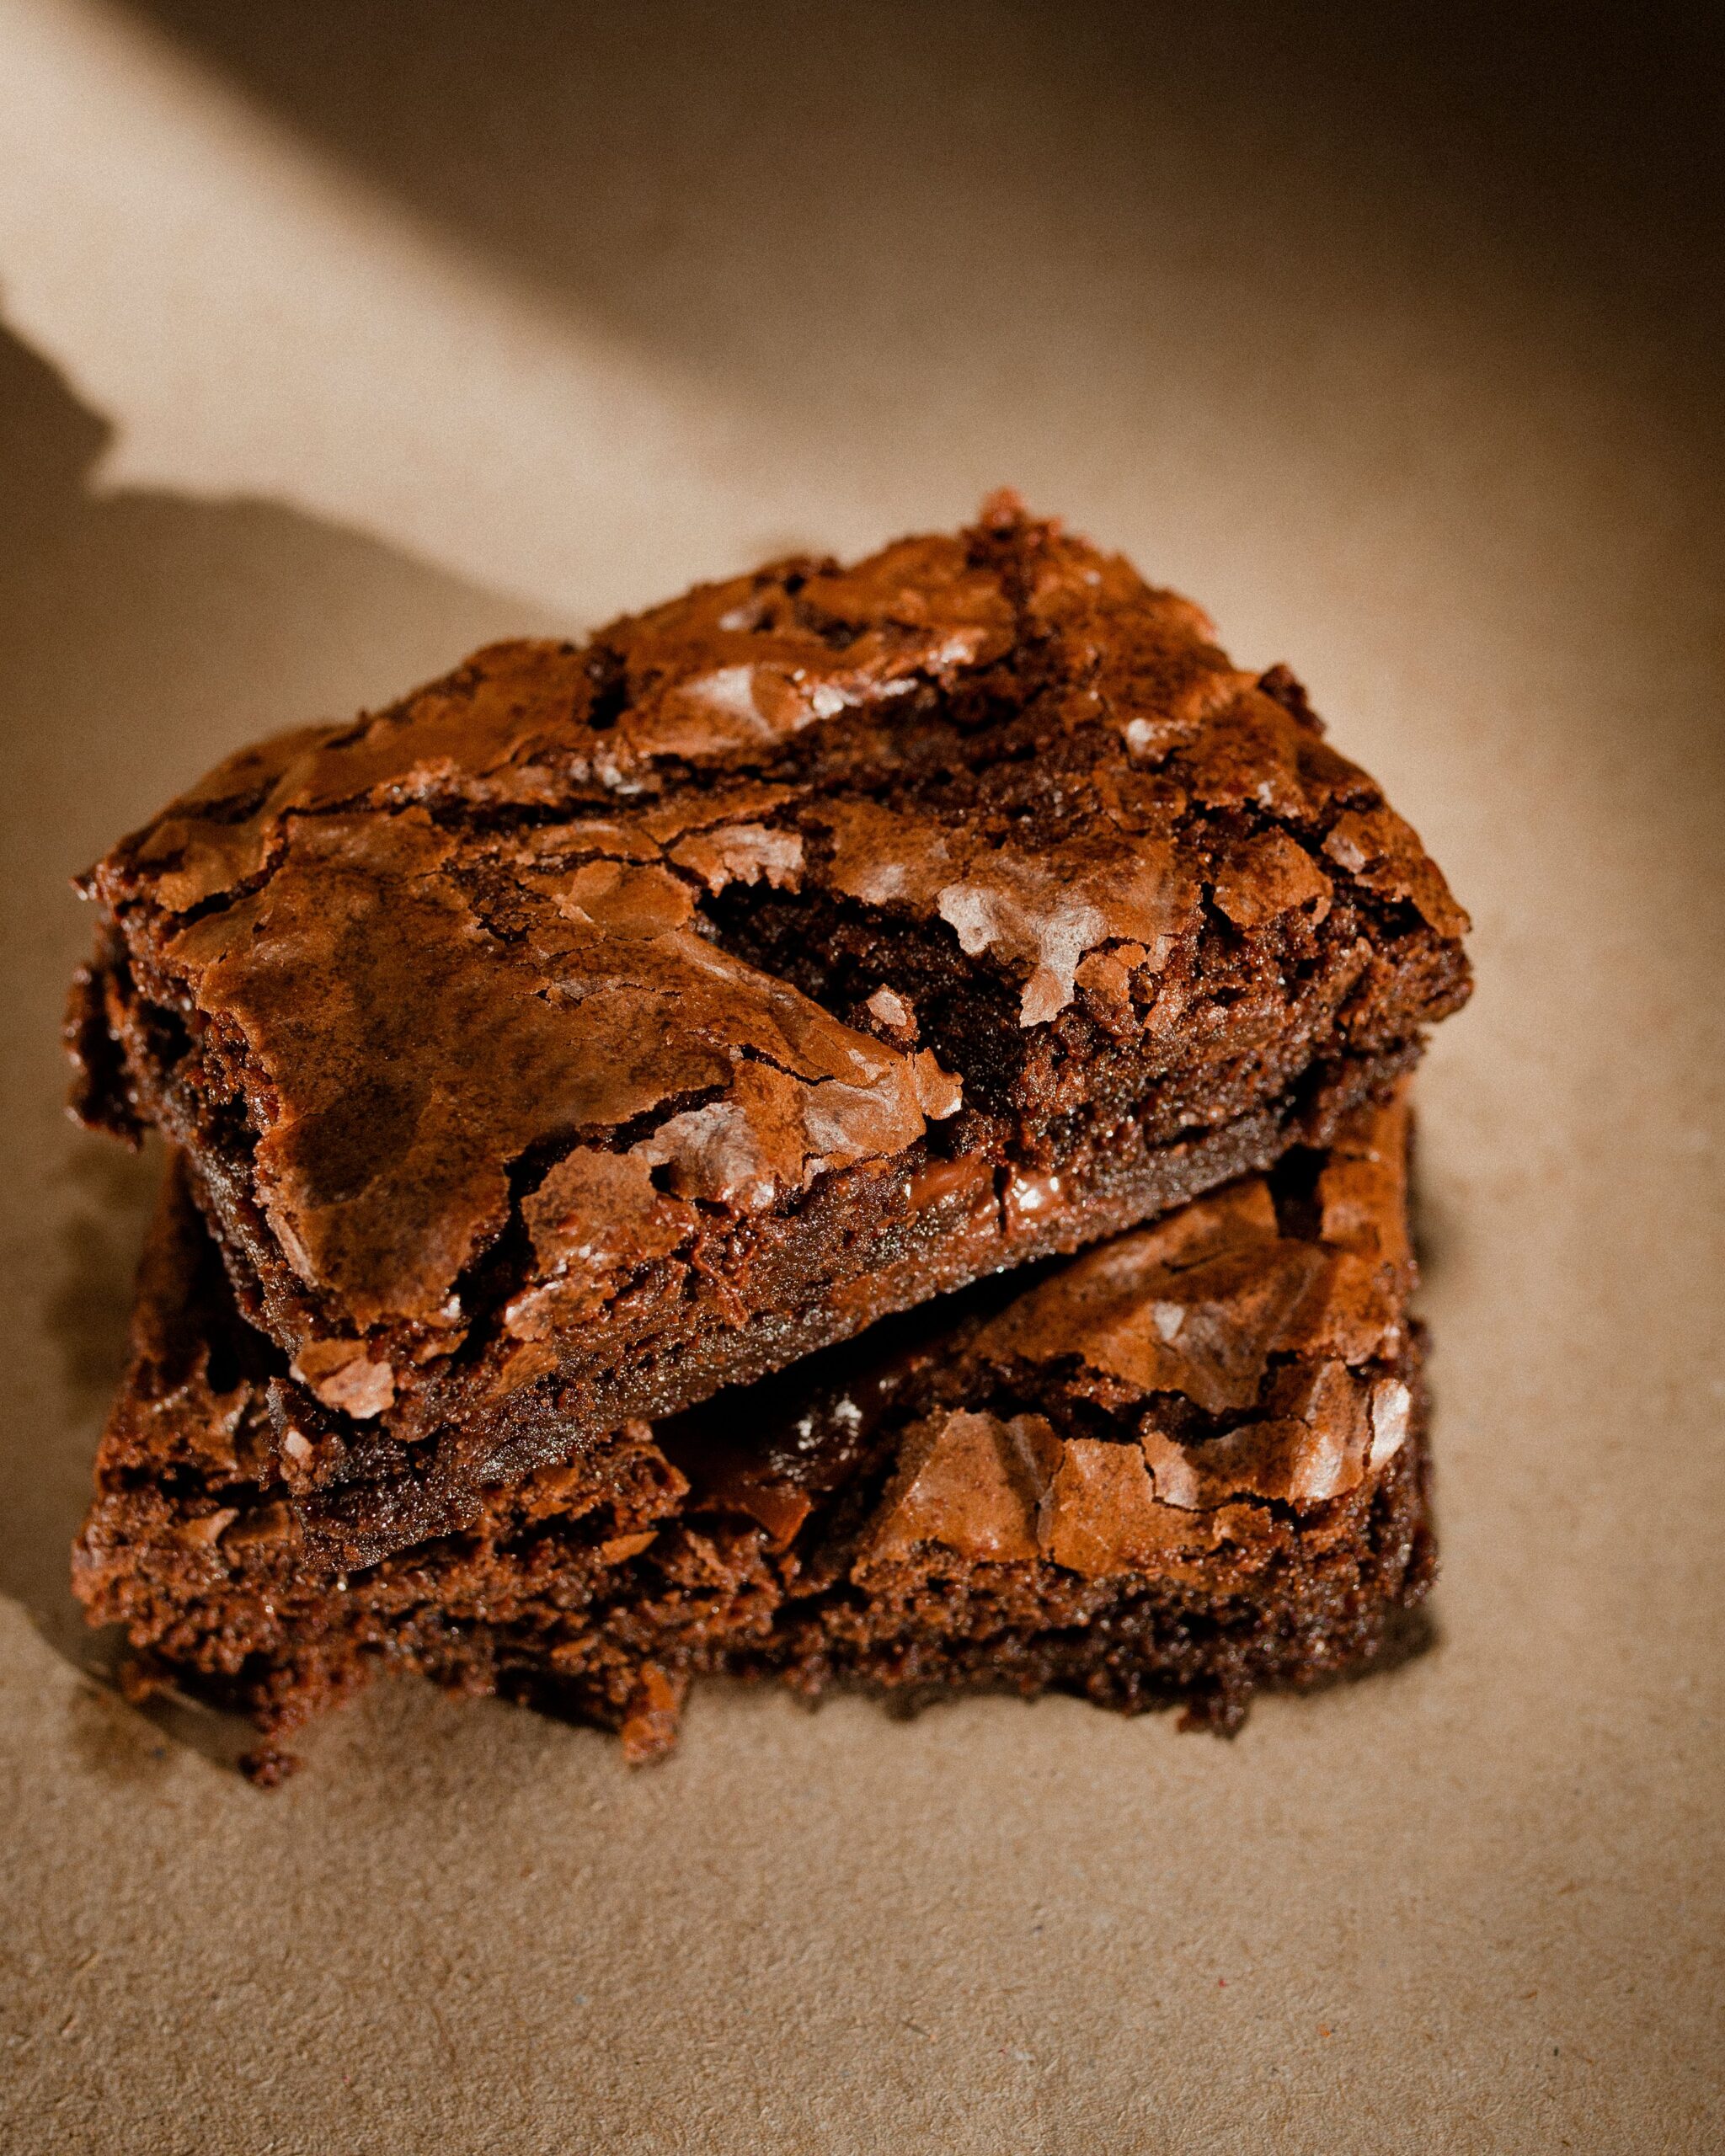
- Clean Slicing Technique: Use the parchment sling to lift the entire brownie slab onto a cutting board. Run a large, sharp chef knife under warm water, wipe it clean with a towel, and make a single downward slice. Wipe the blade clean between every cut.
Frequently Asked Questions
Can I use chocolate chips instead of chopped chocolate bars?
Baking chocolate chips contain added emulsifiers and stabilizers (such as soy lecithin) formulated to keep them holding their shape under heat. For melting into batter, real baking chocolate bars melt smoother and yield a superior fudgy crumb.
Why are my brownies greasy on the bottom?
Greasy brownies occur when the fat separates from the sugar-egg emulsion during baking. Ensure your melted butter-chocolate mixture is lukewarm—not hot—before combining it with room-temperature eggs.
How should I store homemade brownies to keep them moist?
Store sliced brownies in an airtight glass or tin container at room temperature for up to 4 days, or refrigerate for up to a week. They can also be frozen for up to 3 months wrapped tightly in wax paper and foil.